How to mix music: the essential guide for beginners
Learn the fundamentals of audio mixing, how to mix your tracks, and discover resources and techniques to help you mix like a pro.
Basics of Mixing Music
Learn the basics of mixing music with answers to some of the most frequently-asked questions.
Learn how to mix a song
Learn how to mix a song from start to finish using iZotope’s plug-ins included in
![]()
![]()
Music Production Suite 7
What is audio mixing?
Audio mixing is the process of combining multiple audio tracks into a single track, adjusting levels, panning, and adding effects to create a balanced and cohesive sound. It involves fine-tuning elements such as volume, equalization, reverb, and compression to enhance the overall quality and clarity of the audio. The goal of mixing to ensure that all elements of the audio blend harmoniously and suit the intended aesthetic or production requirements.
What is the difference between mixing and mastering?
Mixing happens at the start of post-production, when a mixing engineer sculpts and balances the separate tracks in a session to sound cohesive when played together, often with the guidance of a client and/or a reference track. Mix engineers reduce imbalances between instruments by adjusting balance and color, tighten rhythmic patterns, and emphasize important song elements with tools like EQ, compression, panning, and reverb.
A mastering engineer then listens to the whole piece as a stereo mixdown. They’re thinking about the finished product and if there’s something they might need to do to improve the sound. This involves correcting and enhancing aspects of the mix including level and tone to ensure optimal playback quality across all systems and formats before distribution. In cases where a project contains more than a single track, Mastering engineers not only work to improve each individual track but also work to establish a consistent listening experience across an entire album.
Should you mix your own music?
Yes! You should mix your own music, especially if you’re just starting out on your music making journey. Some beginner artists feel like it might be a waste of time to learn how to mix their own music and would rather leave this work to a dedicated mixing engineer. The truth is, learning to mix your own music will not only give you more creative freedom with your tracks, it will also give you a better understanding of the mixing process so you can speak knowledgeably about mixing music if you ever do hand your tracks off to another mixing engineer in the future.
Having a decent grasp on basic mixing concepts will allow you to create better sounding tracks, make good decisions for your instrument selections and arrangements, and communicate clearly about your vision with collaborators. Plus, mixing your own music comes at a fraction of the cost of hiring a mixing engineer, so learning how to mix can really be a huge investment into your art. Just be careful to avoid beginner mixing mistakes.
What do you need to start mixing music?
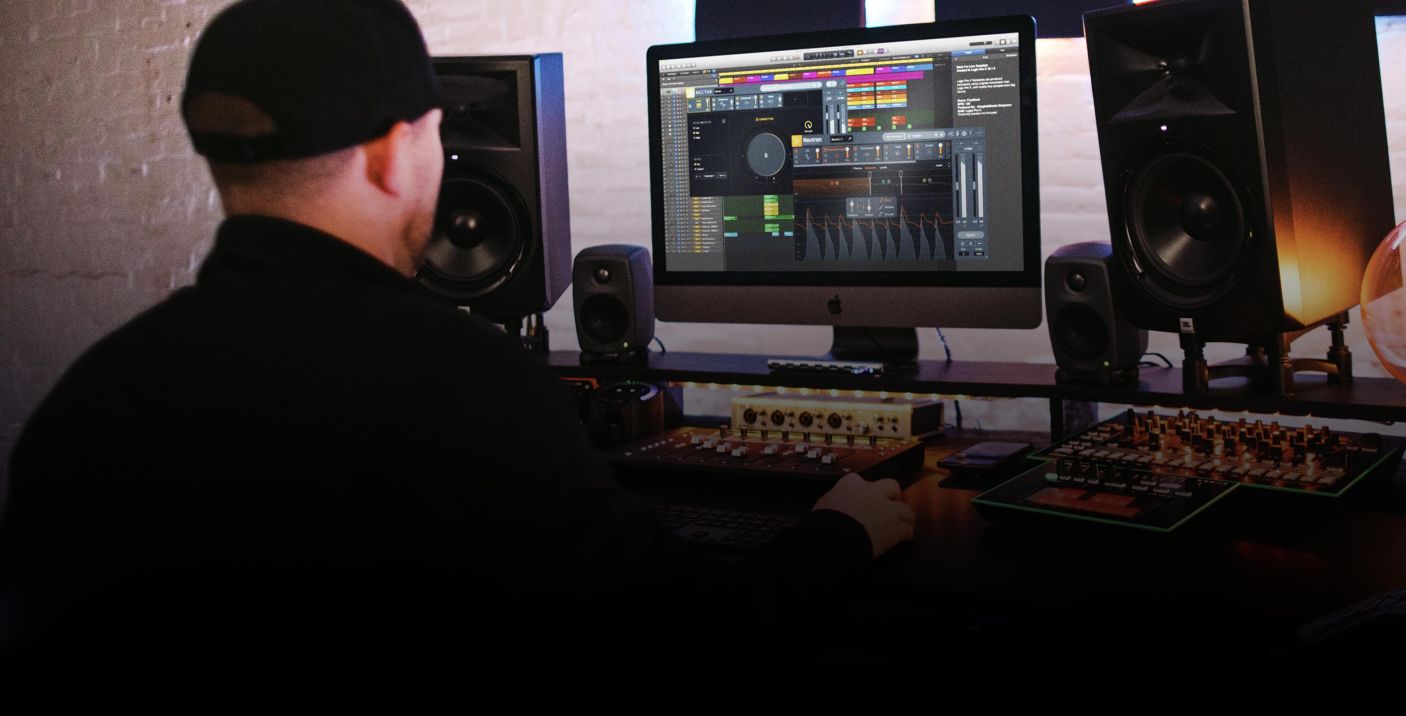
Mix engineers use a computer with a Digital Audio Workstation (DAW) to record, organize, and mix their tracks. Inside of a DAW, mix engineers will use audio plug-ins that can add, enhance, or analyze the audio within the project. Engineers also use Musical Instrument Digital Interface (MIDI) controllers to perform tasks like sequencing drums, trigger sounds and virtual instruments, and improve their workflow. Lastly, a high quality pair of headphones, studio monitors, and the proper room setup will help the engineer develop a great-sounding mix.
What does a mixed song sound like?
Listen to this audio example mixed and mastered with plug-ins from
![]()
![]()
Music Production Suite 7
Consider the elements that your ear is hearing moving from the unmixed version to the mixed version of the song. Are some instruments better defined? Do the levels sound better? Does the voice sound more sculpted? These are all things to consider when mixing a song and prepping it for the mastering stage.
Start mixing with Music Production Suite.
How to Mix Music
While there are many aspects of mixing music, these are basic steps and techniques used to achieve a professional mix.
Before you begin: consider the key elements of mixing
Think of an audio mix as a sonic “soundstage.” There are a few essential elements that we use to control that image, all of which are included in the plug-ins within iZotope’s ![]()
![]()
Music Production Suite 7
Level
Also known gain staging, it seems pretty simple—when we want to hear something louder, we turn up a fader. And the louder components of the mix grab the listener’s attention more than the quieter components. We adjust the levels in the mix to sound cohesive together.
Panning
Panning refers to the horizontal (left/right) placement of sounds within a mix. Panning can be helpful on instruments that sit in the same frequency range. By panning one to the left and the other to the right, you can separate the two instruments and reduce the chance of one instrument masking the other, and making it harder to hear.
Pitch Correction
Pitch correction, or vocal tuning, is the process of modifying the original pitch of an instrument to “correct” it and make sure it fits within the key of the song.
EQ
EQ can be thought of as a more detailed level control that lets us boost and cut levels at specific frequencies. EQ is the easiest way to shape the tracks in your mix so they fit together—and provides a powerful way to add personality and character to the individual tracks.
Audio Dynamics
Audio dynamics are a major part of mixing that includes a host of processors (compression, expanders, gates) that change the volume of a sound over the course of its lifespan. Dynamics are a huge part of a sound’s identity, so having the ability to control dynamics is an invaluable tool for producers and mix engineers.
Time-based effects
Time-based effects can help form the sensations of depth and space. Time-based effects such as reverb and delay can make an instrument seem further away, or sometimes bigger than a dry instrument. Another factor to consider when mixing is adding creative effects with effect plug-ins to add distortion, create unique textures, or get a vocal to really shine.
Learn more about audio dynamics in our Audio Dynamics 101 video series.
Audio Dynamics 101: What Is a Limiter?
Audio Dynamics 101: What Is a Compressor?
Audio Dynamics 101: What Is an Expander?
Audio Dynamics 101: What Is a Noise Gate?
Step 1: Calibrate your ears
Much like we calibrate input levels when recording, we should calibrate our ears before mixing. It’s important to train your ears with quality reference material: music that’s well performed and expertly mixed. Later on in the mixing process, you can visualize the frequencies with tools like iZotope
![]()
![]()
Insight 2
![]()
![]()
Tonal Balance Control 2
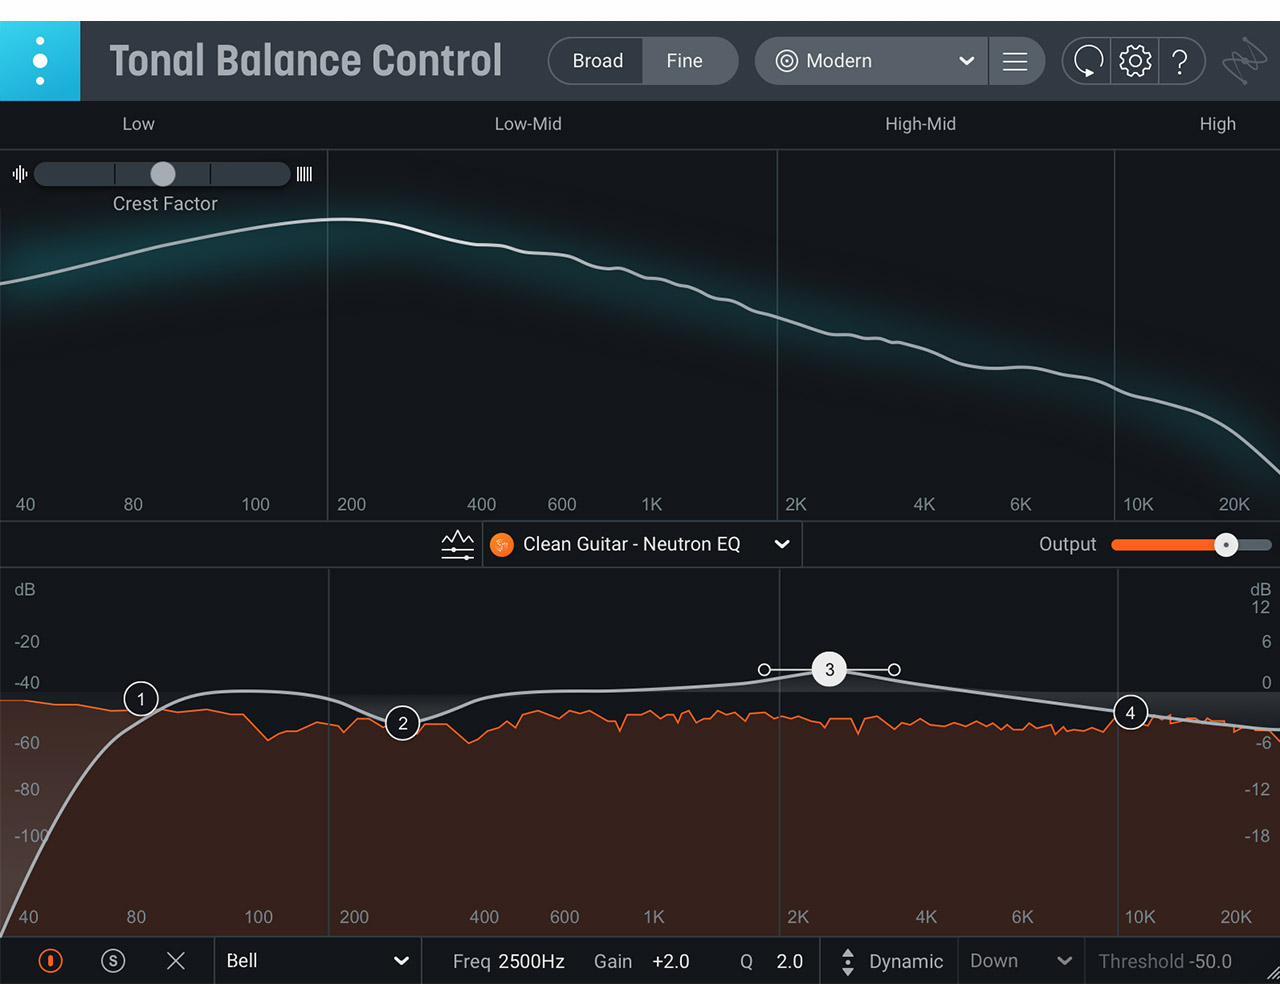
Tonal Balance Control
Step 2: Listen to the rough mix
The first thing you should do when you open your mix is listen to it as a whole. During your second pass, you should start examining the tracks in the mix. Remember, when you are baking a cake, you need to know what ingredients are in front of you.
Using a plug-in like
![]()
![]()
RX 11 Advanced
Step 3: Start the mixing process
There are a few different ways to approach your mix when you begin. Some mixers begin with the lead vocal, and some begin with drums. The reason for beginning with a lead vocal is that the lead vocal is the ‘star’ of the track. In most western music, all of the elements of a song exist to serve the lead vocal. The reason for starting with drums is that the drums are the foundation of the song, and the other elements of a mix are built on the drum track. When listening to music, most people either want to sing along or dance— therefore, the two most important elements of a mix should be the lead vocal and the backbeat (drums).
For example, when working on a pop song it’s good to start with the lead vocal since pop music is primarily based around a melody, but when working on a rock song, which is usually based around a band performance, you may want to start with the drums because of the way the songs are structured.


Looking for guides on how to mix different genres? Take a look at the tutorials below.


Make mixing easier with assistive audio technology
One way to get to a great starting point in your mix with these processors is taking advantage of assistive audio technology used in mixing plug-ins like iZotope
![]()
![]()
Neutron
Vocals also get their own assistive audio technology in
![]()
![]()
Nectar 3 Plus
Step 4: Mixing within the song structure
Now that you’ve created the basic framework and shape of your mix, it’s time to create some motion within the mix to complement the arrangement. When listening to a song, you’ll notice changes in energy from section to section. For example, have you ever noticed how the energy changes when a song transitions from a verse to a chorus?
Part of what you’re noticing (especially in a good mix) is how the mix compliments that transition. The most important thing is to create a forward motion that best compliments and presents the song. One of the most important elements that we have available to us in music is that, unlike a painting or a sculpture, a song develops over time. It isn’t static, it is dynamic, and our mix should reflect this.
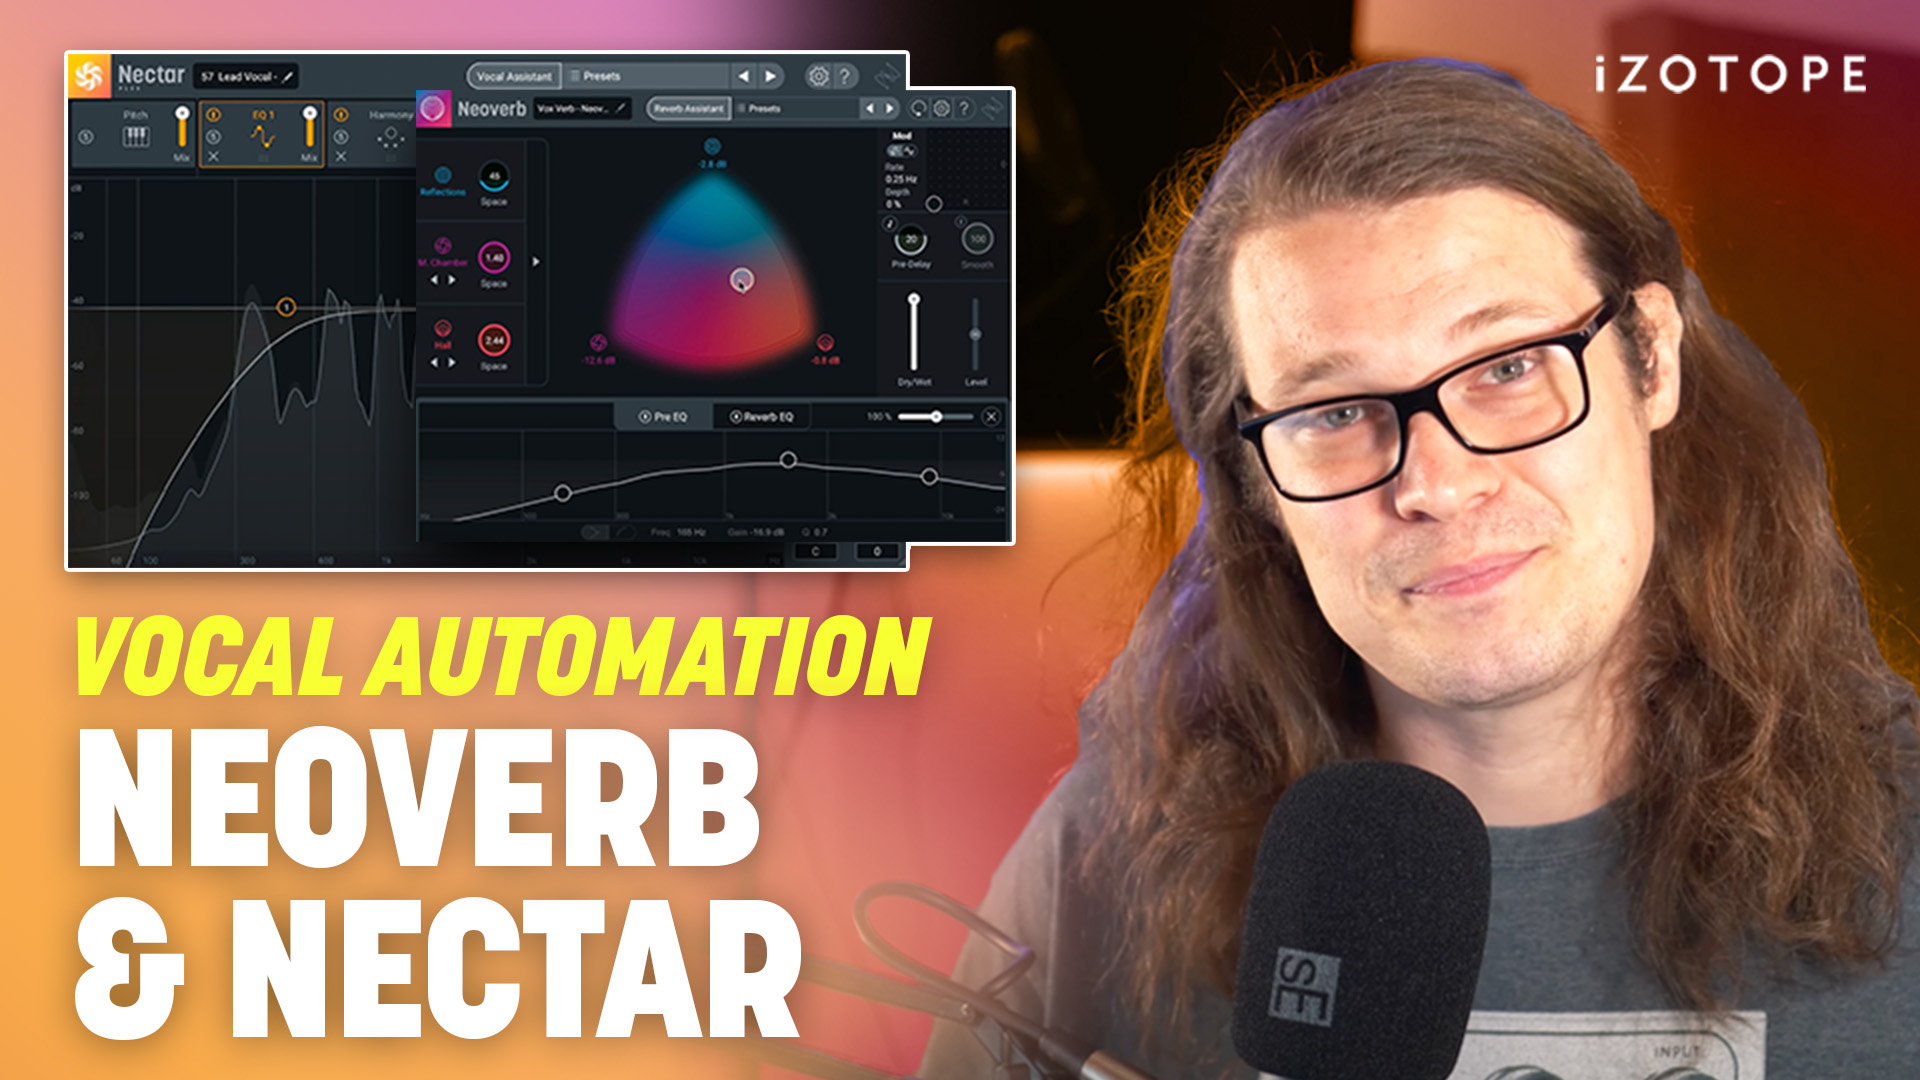
Step 5: Incorporate Automation
We use automation to achieve the same effect as all of the elements above. We want to both “even out” uneven performances dynamically, and emphasize particular points of excitement within a mix.
Many mixes utilize automation. For instance, automation on a lead vocal can keep the vocal on top of the mix and emphasize particular words and phrases within the song to achieve the best emotional impact. Another good use of automation is to emphasize a ‘build’ on a particular instrument to make the section feel more dramatic. Automation is also helpful for changing the level of tracks from section to section within a song. Plug-ins like Neutron can handle many mix automation needs.
Believe it or not, there will be a point where you feel your mix is ready or close to ready! This could also be the point where you’ve lost all perspective and need another set of ears to listen to it.
Step 6: Finishing the mix
After the mix is largely finished, creatively speaking, the final steps are no less important. First, the mix needs to be delivered to the client for their approval. Then, any required revisions should be made and approved. And lastly, the mix should be delivered to the mastering engineer. If you plan on mastering the project yourself, check out our guide: How to Master a Song from Start to Finish.
A note on audio file formats:
When ready to bounce or print your mix, you need to decide what format, bit depth, and sample rate you’ll print. If you’re going to send your mix to get mastered, keep all of the parameters the same as the audio files in your mix. By doing this, you are also maintaining the audio quality of your file and allowing the mastering engineer the possibility to do bit depth or sample rate conversion at the final stage with higher-quality conversion tools.
Learn More About Mixing Music
Below are a series of helpful resources to get you started on your mixing journey.
Learn from pro mixing tutorials
We’ve partnered with dozens of professional mixing engineers to help you produce better mixes through video tutorials and intuitive guides.
Learn how to produce, mix, and master with Reid Stefan

As a
![]()
![]()
iZotope Music Production Suite Pro: Monthly