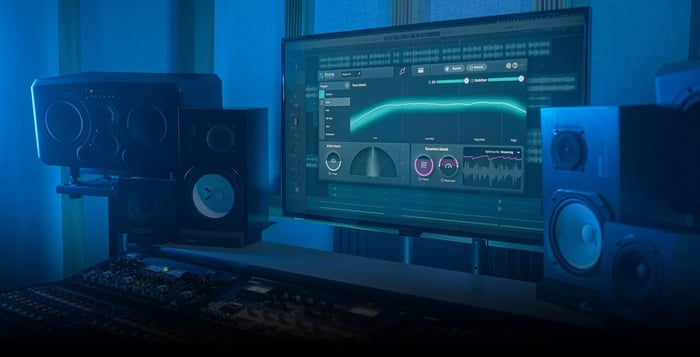
What Is audio mastering?
Mastering is the final stage of audio production—the process of putting the finishing touches on a song by enhancing the overall sound, creating consistency across the album, and preparing it for distribution.
Mastering is the final stage of audio production—the process of putting the finishing touches on a song by enhancing the overall sound, creating consistency across the album, and preparing it for distribution.

For Denver-based DJ and producer Discognition, finishing records became a question of speed, trust, and context. With his recent remix of Eli &...
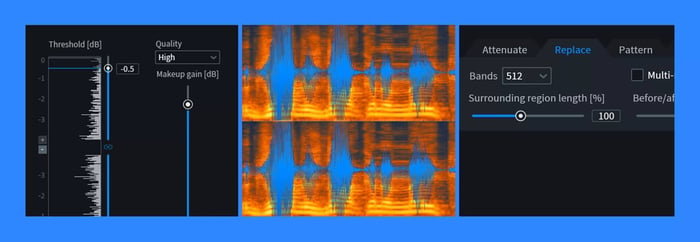
Have you ever been mixing a great track that sounded fantastic – except for one glaring problem: a moment of unprofessional distortion? Audio...

Aruna Abrams has spent the last decade shaping the sound of modern vocal-driven electronic music, but her newest project required a different kind of...

Folks, it’s RX season – and that means there’s no better time to talk about cleaning up vocals for music and post production, including...

Our Summer Sale is here with one of the best opportunities to upgrade your studio setup and improve your creative workflow. Whether you’re looking...

Here’s a common scenario in audio post-production: someone sends you a two-hour file. There’s gold in there – the perfect interview clips for a...

Learn the basics of audio cleanup with answers to some of the most frequently-asked questions. Learn about groundbreaking tools for audio cleanup and...
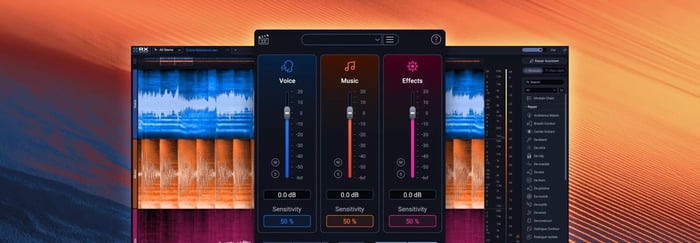
"Fix it in post" is a phrase that can induce heart attacks – especially when you receive a stereo mix where the music is burying the dialogue....

To our friends, artists, partners, collaborators, and community: After three months of hard work, and three months of extraordinary loyalty from you, I...
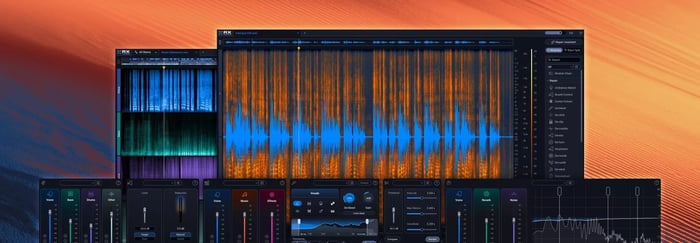
RX 12 is here, ushering in a new era of machine learning technology designed to make the impossible possible. This latest generation of the...

Learn the basics of mixing music with answers to some of the most frequently-asked questions. Audio mixing is the process of combining multiple audio...
Why do the Beatles recordings sound the way they do? What about the classic jazz recordings of Rudy van Gelder in the 1950s? What makes my car’s...
