Ultimate Guide to Audio Effects
Audio effects are processing techniques that alter the sound of an audio signal in some way. Learn about the types of audio effects used in music production, what they sound like, and when to use them in a mix.
In mixing, we can have a lot of fun right from the start. We can create a fantastic balance of all the instruments with nothing more than a mouse, virtual faders, and virtual pan pots. But we can also have fun with all the plug-ins and processors at our disposal—things like reverbs, delays, flangers, phasers, filters, compressors, spectral processors, and more.
Now, if you’re new to the game, maybe that list left you feeling a bit blurry. Have no fear: we’re going to define different types of audio effects here, show you what they sound like, and give you solid examples of when to use them in a mix.
Follow along with iZotope


Music Production Suite 7
What are audio effects?
Audio effects are processing techniques that alter the sound of an audio signal in some way. They can be used to shape the tonal character of a sound, add color and texture, or create special effects.
They can be applied to individual tracks in a mix or to the mix as a whole, and can be used to enhance the character of a sound or create unique effects.
Time-based effects
Time-based effects are audio effects that operate on the time domain of an audio signal, rather than the frequency domain. They include effects such as reverb, delay, and echo, which create a sense of space and time in the mix by adding echoes and reflections of the original sound.
Reverb
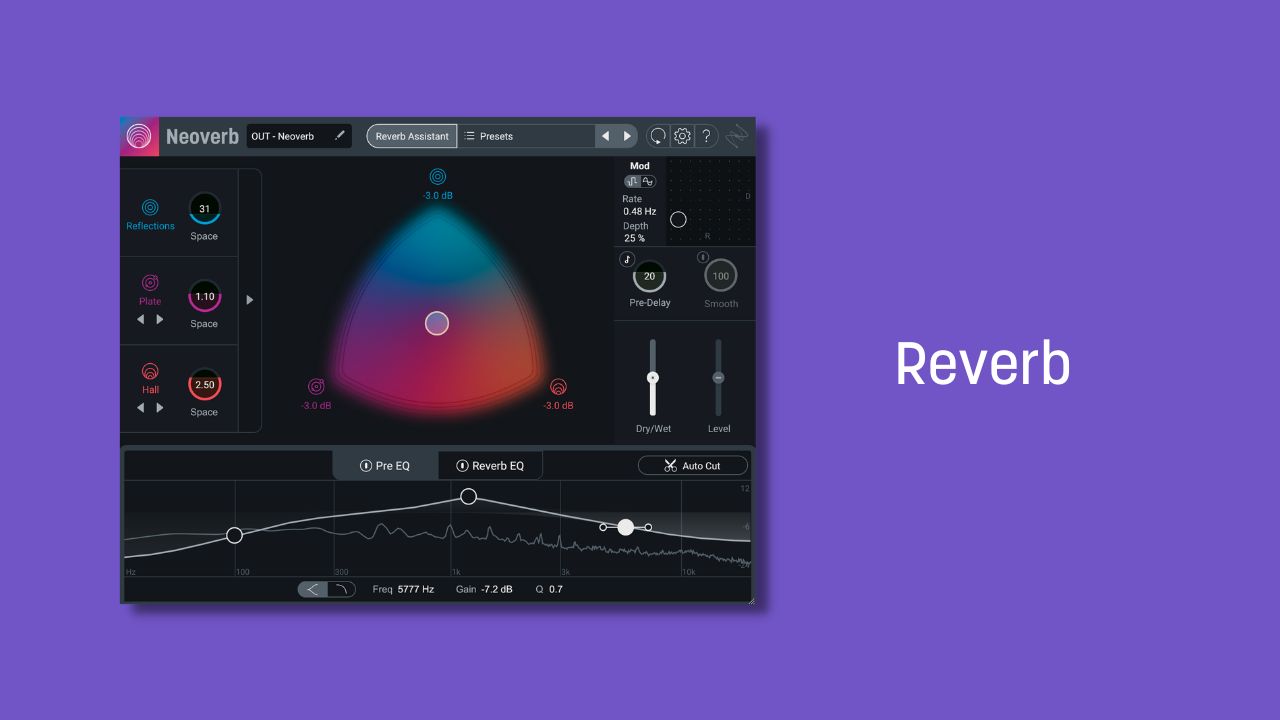
Reverb simulates the natural echo and decay of sound in a room or space, adding depth and space to a sound. Sound waves move through space, and when they meet a physical impediment, they either bounce back in a series of reflections or get absorbed to some degree. As said in this tutorial about reverb, we “hear this series of reflections as a single, continuous sound, which we call ‘reverb.’”
We utilize reverb in audio production for a host of different reasons. Sometimes we want to simulate a realistic environment. Sometimes we want to beef up a rather short sound. Sometimes we want to add more than a hint of drama. Reverb can do all that.
Let me show you how with a recording of my voice with added reverb using Neoverb.
As you can hear in the example, reverb can create an otherworldly, “ethereal” effect on an instrument like vocals. Reverb can also be used to put your instrument in a specific space or room, like a car, a church hall, and more.
Now that you know what reverb is and what it sounds like, you can learn more about using reverb on vocals, common reverb mistakes in music production, and more tips and tutorials on our reverb page.
Delay
A delay audio effect plug-in records the input signal, waits for however long you want it to, and then plays it back. In the natural world, you can hear a type of delay called an “echo” in open spaces where the reflective surface is far enough away that the reflection will sound separated from the original.
In a music production setting we can use delay creatively to create a unique sound and emphasize specific parts of a song.
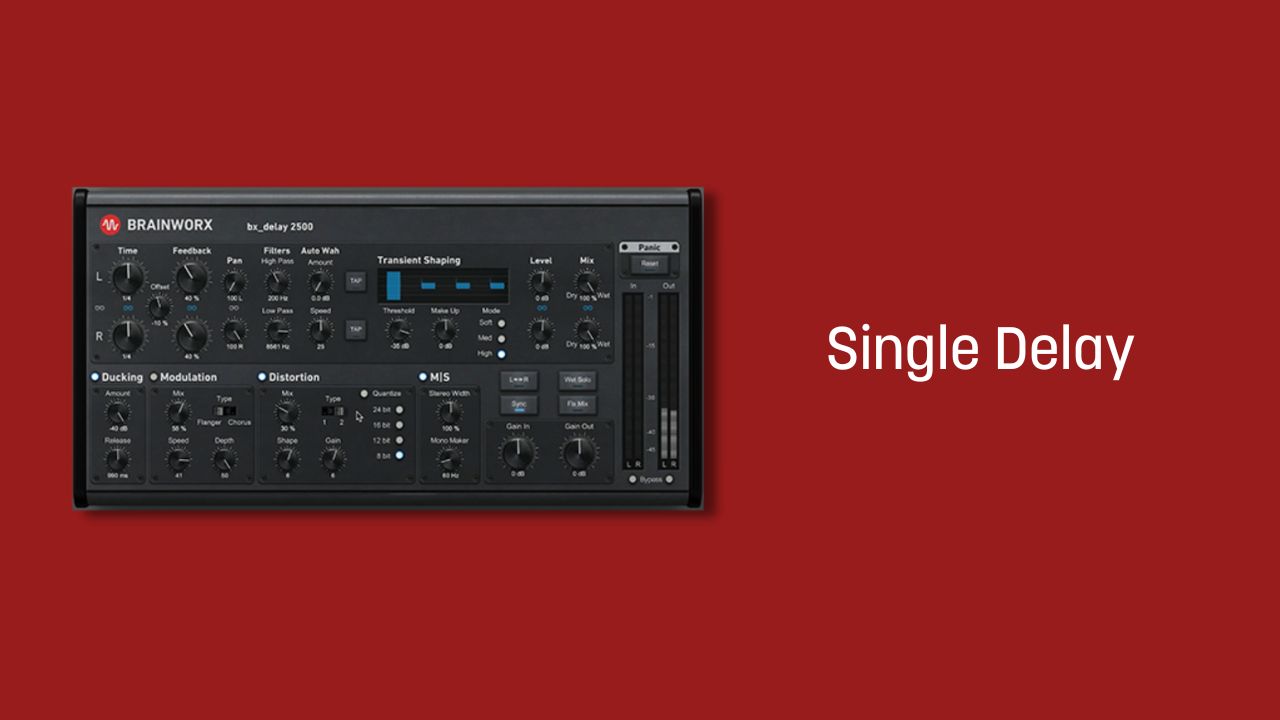
Depending on the plug-in controls, the delay can just repeat once, giving you a single discrete echo. The video below shows how a basic single delay sounds using the bx_delay 2500 delay plug-in from Brainworx.
The delay could also be fed back into its own circuit, creating a tapestry of sound. Think of a climber shouting “hello!” on top of a mountain and hearing the echo repeated.
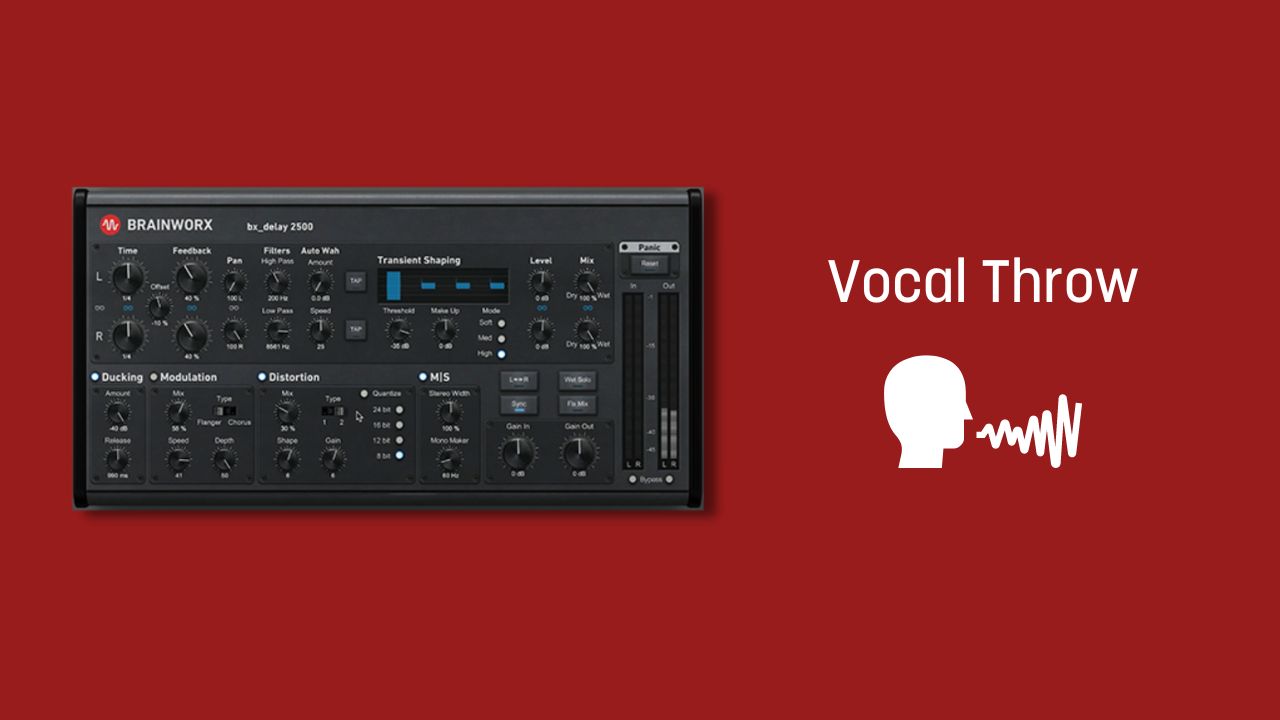
Delay can be used for a whole host of reasons, just like reverb. It can emphasize a vocal line—a technique we call a vocal throw. Hear how the words “bright” and “night” are emphasized with a delay throw for added drama.
Delay can evoke an established genre—like a classic slap echo on a rock vocal to give it added punch and definition.
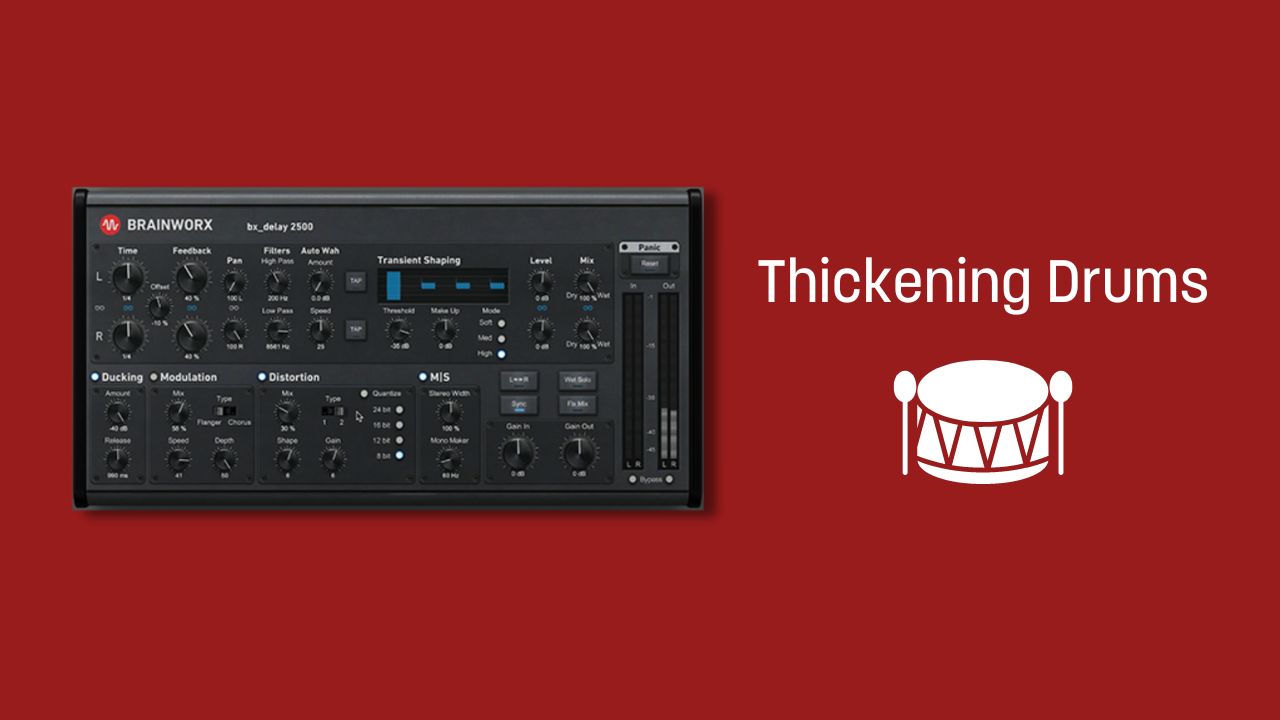
Delay can also add subliminal depth to instruments like drums. Here I’m using bx_delay 2500 to subtly thicken my drum kit.
Now that you have a basic understanding of delay, learn more about the differences between reverb and delay in a music production setting in our in-depth tutorial.
Modulation effects
Modulation effects are audio effects that alter the pitch, frequency, or phase of an audio signal in some way. They are often used to add movement and interest to a sound, or to create special effects.
Phasers
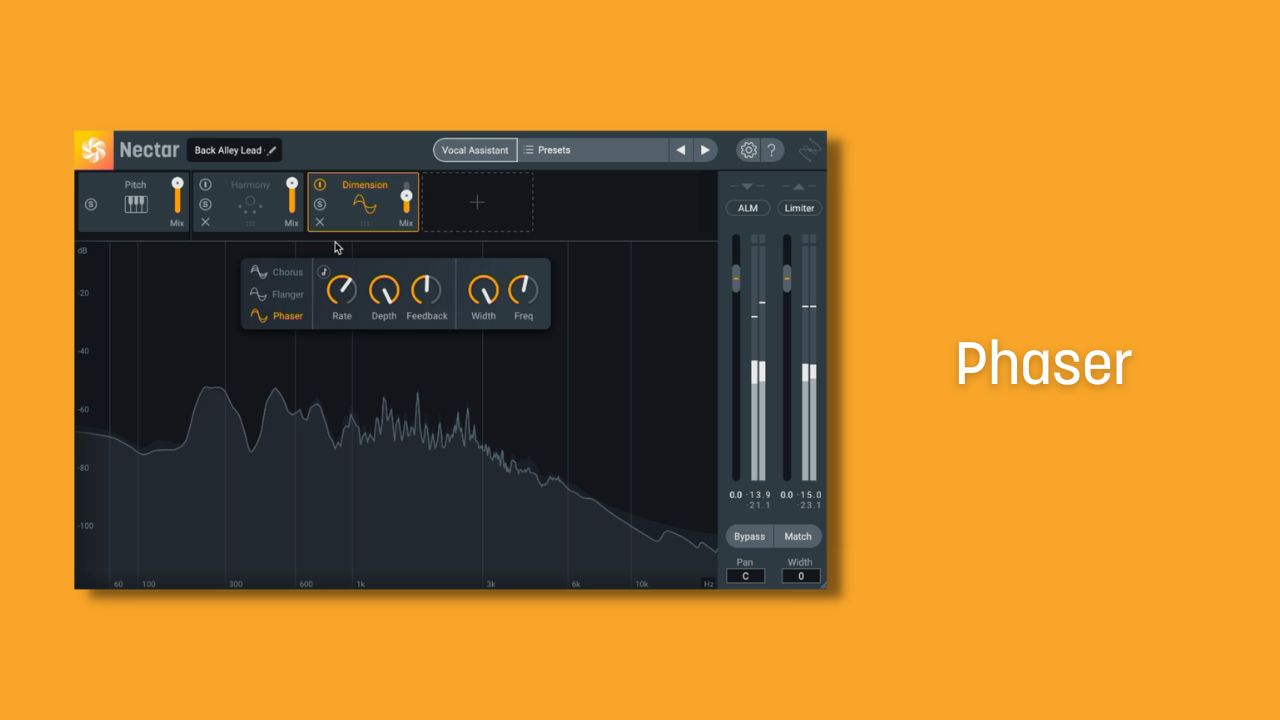
Phasers utilize a circuit called an all-pass filter to change the phase relationship among various frequencies of the copied and original signals. As the copied signal passes through the all-pass filter, certain frequencies get phase-shifted, and the output gets mixed back in with the original signal. As the outputs of the all-pass filters combine with the original, notches are formed at the frequencies where the all-pass circuits create phase-shifts.
The bolded words highlight my basic theme here: take some of the frequencies, adjust their timing ever so slightly, and you’ve basically (and I do mean “basically”) described a phaser.
Phasers are often used to add movement and interest to a sound, and can be particularly effective on electric guitar, keyboard, and synth sounds. They are often used in conjunction with other effects, such as reverb or delay, to create a more complex and layered sound.
The beginning of Army Ants by Stone Temple Pilots uses phasers on guitar:
Hear how the guitar has a vacillating tonal characteristic? That’s a phaser in action.
In the video below, listen to what a phaser sounds like utilizing Nectar’s Dimension module.
Flangers
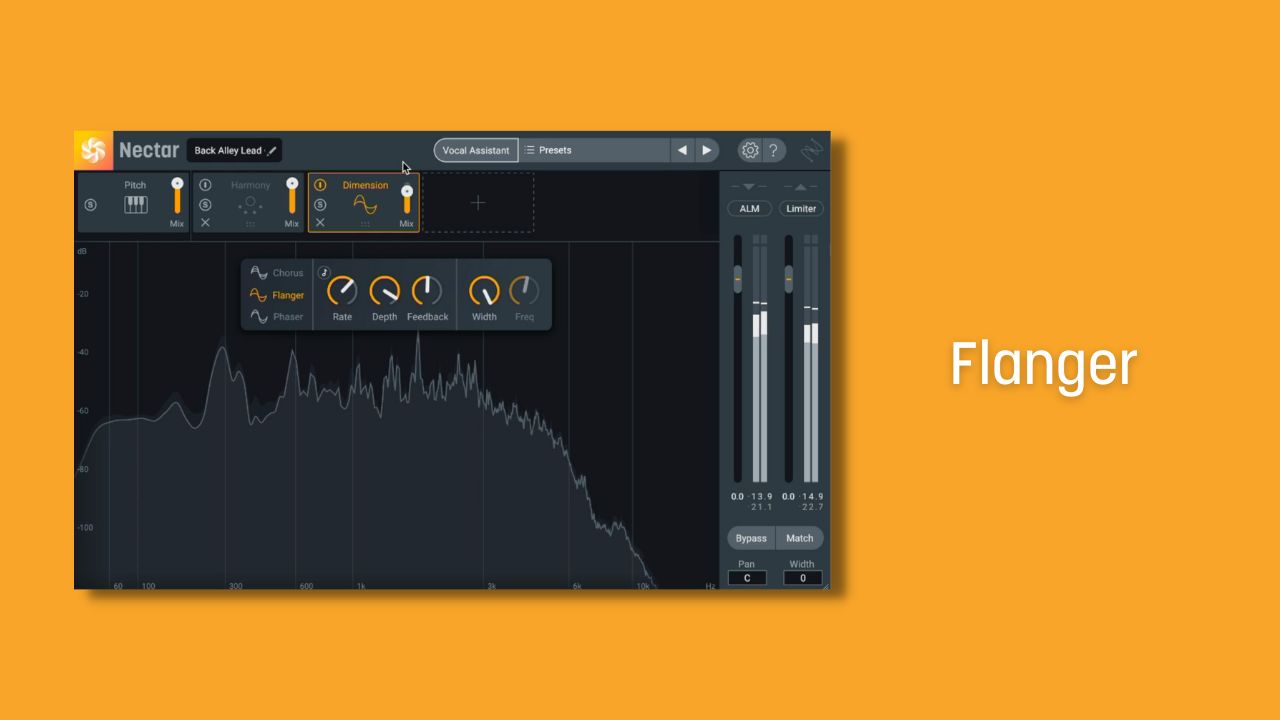
Flanging is a popular effect that sounds like sweeping or “whooshing” across high frequencies. The inner-workings of a flanger are very similar to that of the phasing effect, except instead of messing with frequencies, you’re solely modulating the delay time of a copied signal. Flangers tend to have a harsh, metallic timbre.
I’ll show you what I mean in this video using Nectar's Dimension model to add flanging to a guitar.
Just like phasing, flanging can be used to evoke certain times and genres (flange a whole drum set and you’re calling back the 1970s a la “Life in The Fast Lane.”)
And, just like phasing, flangers make fantastic tools for thickening harmonic parts in the mix.
For more on the science behind flanging, check out our modulation effects guide.
Chorus
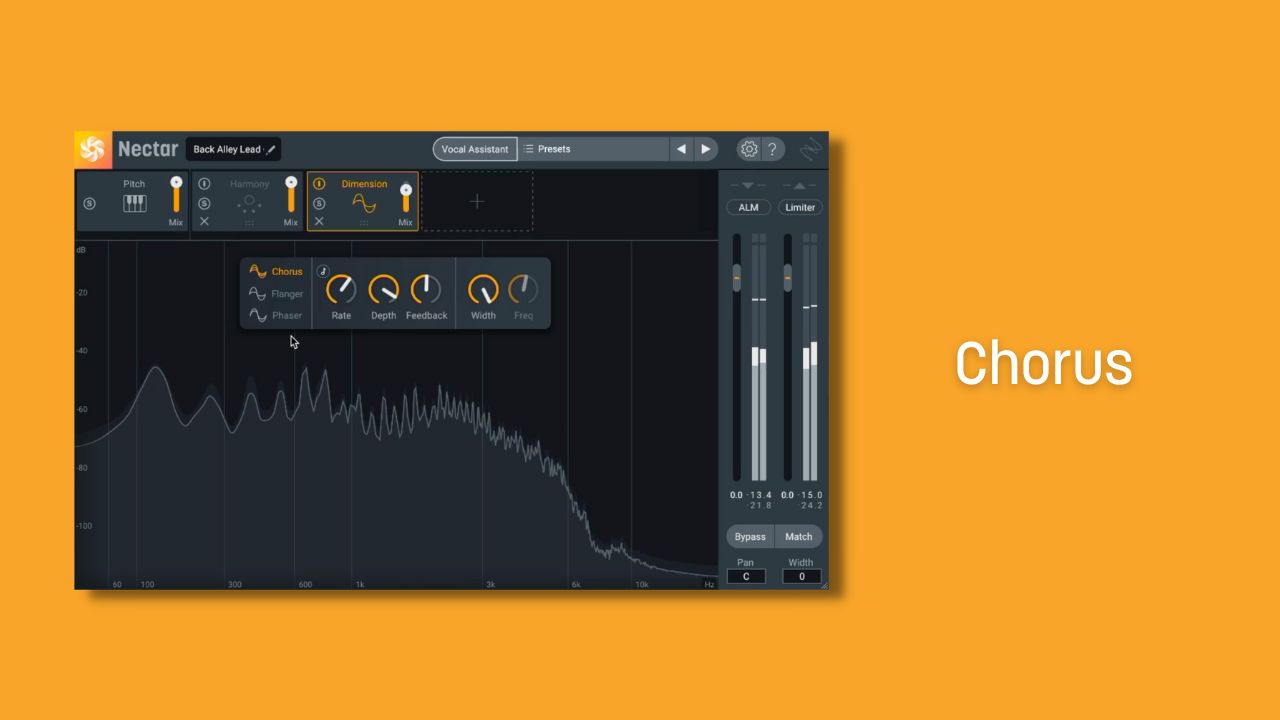
The chorus effect in music production is meant to simulate the subtle pitch and timing differences that occur when multiple musicians or vocalists play the same note, but vary slightly in pitch and timing. We can describe the sound of “chorusing” as a doubling effect that adds thickness, shimmer, and helps a signal sound “larger” than it would on its own.
Chorusing can evoke genres and moods (90s clean tone guitars on Metallica records, or 70s fusion keyboards). They can also add a fantastic bit of thickening to a vocal, a bass, or any other harmonic instrument.
When using a chorus effect, we play with pitch and delay simultaneously. Observe what happens when we add a chorus effect to guitars:
Dynamic audio effects
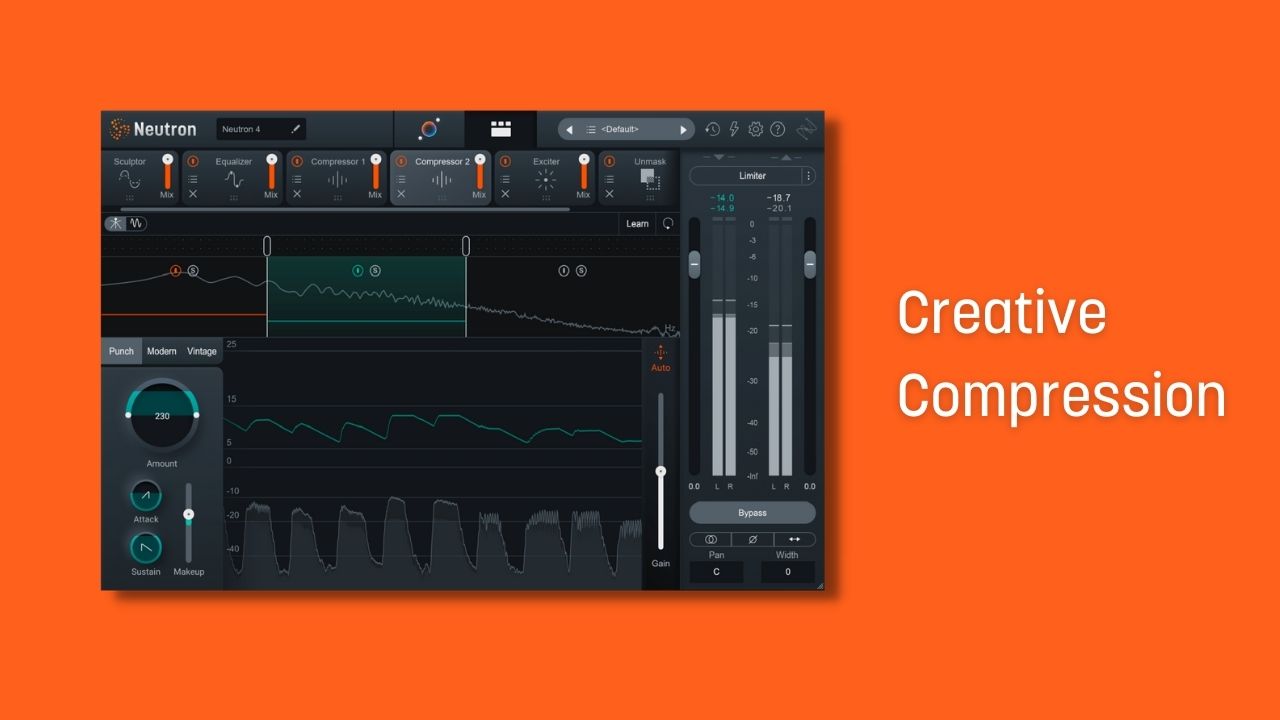
Now, when I say dynamic audio effects, you probably think about something like compression—and you’d be right to do so. But we’re talking about compression in a more creative setting, rather than your typical utilitarian scenarios.
Compression
Compression reduces the dynamic range of an audio signal. Simply put, this means we can make the loud parts quieter, and the quieter parts louder, effectively reducing the difference between the two. Compression can help you even out a signal like a dynamic vocal take or a thin-sounding drum kit.
When used in music production, compression can be used to a creative effect. This includes sidechain compression, where one instrument is tied to another. I demonstrate some creative sidechain compression techniques in the video below.
Compression can also evoke a stylistic era or genre. Consider what happens when you go “all buttons in” on an 1176-style compressor like the Purple Audio MC 77 compression plug-in by Brainworx.
You go from a flat sounding drum loop to a lively, punchy, and nostalgic sound with compression.

Purple Audio MC 77 compression plug-in
Drum Loop Before & After Compression
Expansion
Expanders are the opposite of compressors. They’re often used to increase dynamic range, whereas compressors restrict dynamic range.
“Upward expanders” amplify the level of signal that passes the threshold, rather than attenuate it like a “downward compressor.” A “downward expander” attenuates a signal that drops below the threshold, rather than amplifies it like an “upward compressor.”
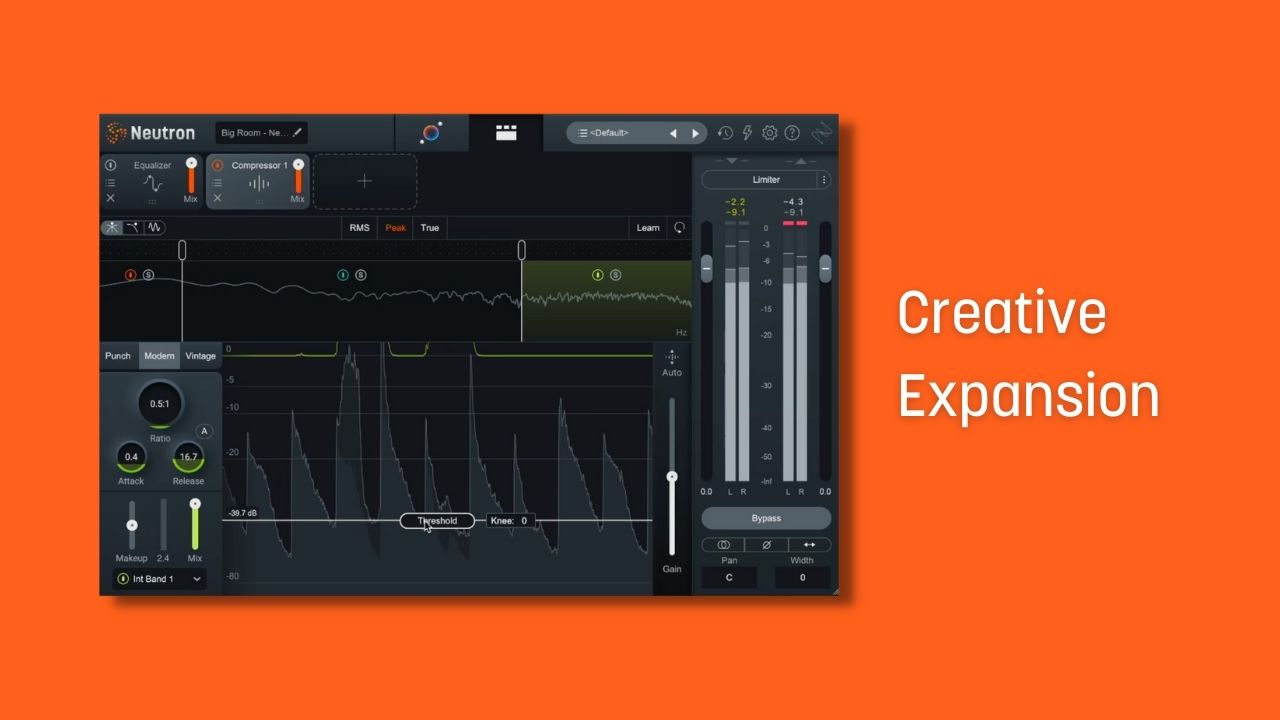
Expanders have their utilitarian uses and their creative uses. Look what we can do to a basic electronic track if we use multiband sidechain expansion as an effect in a variety of ways.
The first way we can implement creative expansion in music production is creating a sidechain expansion effect. We can take a compressor like the one in Neutron and lower the threshold to under 1:1. This means the compressor will actually expand. The highs will be triggered off the lows for a funky vibe in the beat.
The second way you can do this is by using an Equalizer like the one in Neutron with Dynamic expansion sidechained to a node. This can amplify a specific frequency like a hi-hat, creating a new sound and texture in your mix. Hear these examples in action in the video below.
As you can see, things can get very crazy very quickly when you’re messing around with compression and expansion, so be sure not to go overboard!
To learn more about expansion, read our tutorial on how to improve your dynamic range with upward expansion and downward expansion.
Gating
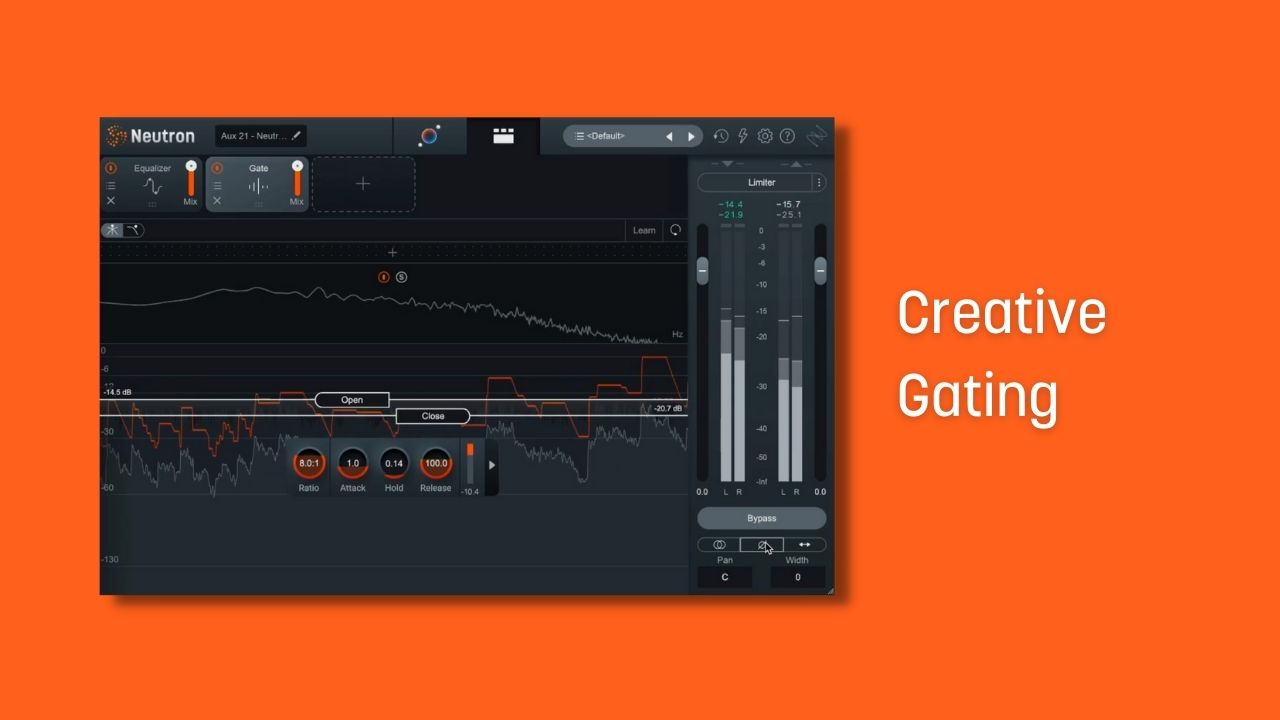
A gate is an audio processor that works to eliminate sounds below a given threshold in a recording. Noise gates are similar to compressors in that they both reduce the volume of audio. However, compressors work on audio signals that pass over the given threshold, whereas noise gates reduce signals that are under the given threshold.
On the utility side of mixing, we use gate plug-ins to control things like drum bleed. But gating can also be a creative effect. You can learn more about gates in our tutorial on noise gates.
In this video, watch how using a gate creatively can add additional texture to an instrument and bring a new dimension to the track.
Filters
The term “audio filter” describes a circuit—either analog or digital—that primarily shapes frequencies (phase is also affected by most filters, though explaining this phenomenon is outside the purview of this article).
Filters can block high frequencies completely, cut all the low frequencies from a signal, let only the midrange through, and accomplish a whole host of other things for us. Filters are a fundamental building block in audio processing. They’re in everything we use, from our everyday equalizers to our most dramatic effects.
Equalizers (EQ)
Equalization (EQ) in music adjusts the balance of frequencies in an audio signal, allowing you to boost or cut specific frequency ranges to shape the tonality of a sound. Ever mess with the treble knob in a car stereo? That’s an equalizer. Want to make a vocal brighter, or make it less harsh? You’re probably going to reach for, you guessed it, an equalizer. An equalizer is probably the most common effect we use in every production or mix—and it’s made of filters.
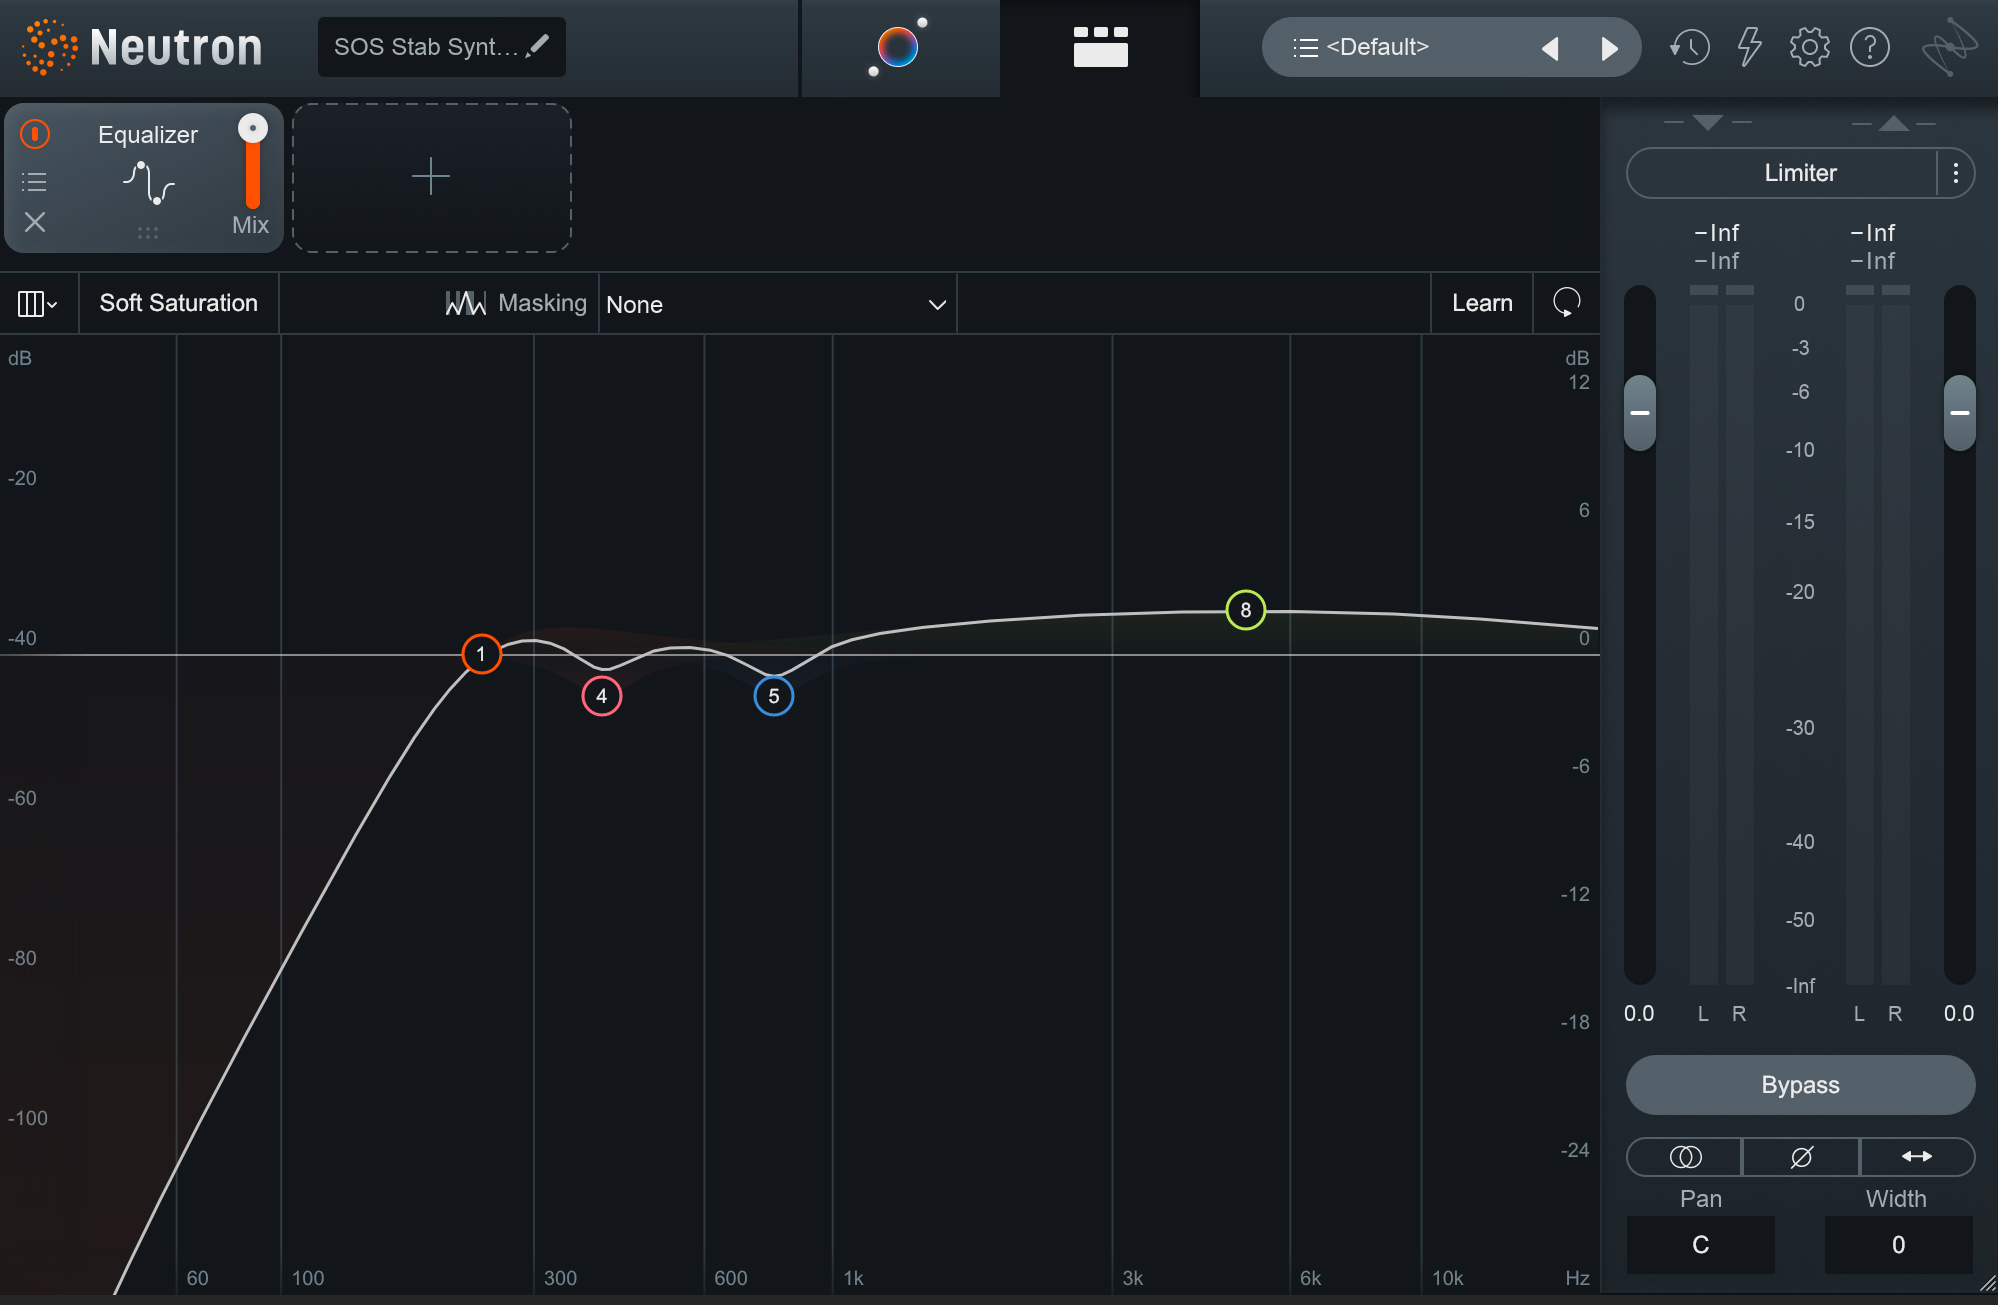
EQ module in iZotope Neutron
This is Neutron’s EQ—and every numbered thing you see in this screenshot is, in fact, a filter. Taken together, they make an equalizer.
Here's what an equalizer can sound like when applied to an instrument:
Music Before & After Bell Filter EQ
Wah Wah, auto-filters, and more
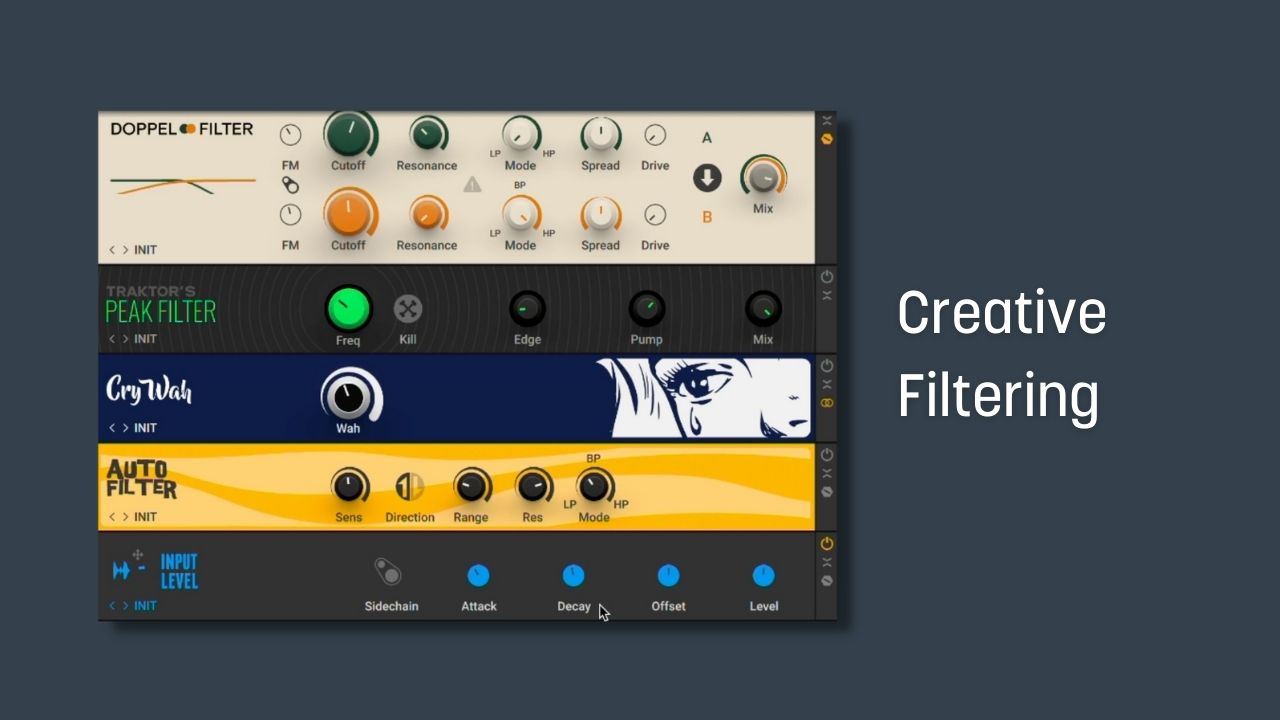
If we slap a filter on a signal—say a guitar—and we actively change the frequencies of this filter in real-time, we’re now using filtering as a creative effect.
In fact, the common wah-wah pedal is an example of this process—but it doesn’t stop there. I’ll show you what I mean in this video, where I'm using audio filter plug-ins included in Guitar Rig to add creative effects to my guitar.
In a creative context, filters can be used to indicate drops, differentiate the bridge from the chorus in a rock tune, or in a seemingly endless array of atypical scenarios. Indeed, filters can help you express your unique personality.
Spectral effects
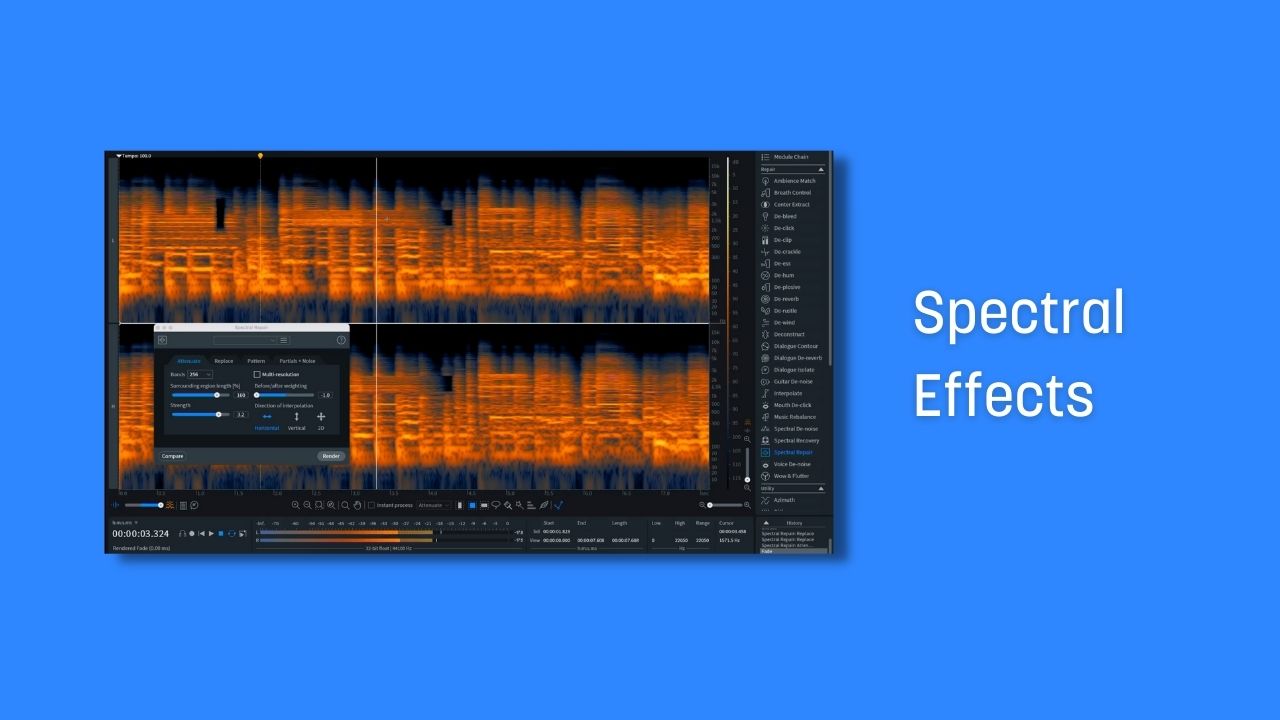
Spectral effects involve analyzing the sound through a mathematical calculation called a Fast Fourier Transform, or FFT for short. The complexities of the signal are broken down into many discrete sound waves. These sound waves can be easily pictured in programs like iZotope RX.
Indeed, part of what makes RX so powerful is that you can see every part of the sound. It’s like reading the code of The Matrix: once you know what you’re looking at, it all makes sense.
Though spectral processing is essential for post-production and forensic work, you can pretty much do any creative thing you imagine in a spectral processor.
Observe what happens when you alter the Spectrogram in RX using Spectral Repair. We can transform the signal in multiple ways to create new sounds and spaces.
Start using audio effects in music production
Now that you have a handle on the basic building blocks of creative audio processing, go forth and play around! Looking for more information on the subject? Read more about audio effects on our audio effects tips and tutorials page, and how to employ them in your signal chain.
And if you haven't already, you can start experimenting with all of these audio effects using iZotope


Music Production Suite 7
