9 common reverb mistakes mixing engineers make
Avoid these common reverb mistakes that can muddy your mix and learn how to use reverb effectively to create depth, clarity, and space.
You might have seen previous articles listing common compression mistakes and EQ mistakes. What’s next? We're exploring some of the most common mistakes mixing engineers make when dealing with reverb and how to avoid them.
Again, here’s the phrase that has, by now, become boilerplate: if you find yourself guilty of any of these, don’t worry – so have I; so have we all. Also, keep in mind that this is not an exhaustive list. These represent only the most glaring misuses I’ve come across.
Without further ado, let’s get to it!
Follow along with this tutorial using iZotope Aurora, an intelligent reverb for cleaner mixes.
1. Slapping reverb on every track
This is a rookie move that many of us outgrow quickly. Nevertheless, it bears repeating here: if you’re going to be processing every track in a group (say the drums, for example) don’t slap a reverb plugin on each track. Instead, send each track to a bus and put the reverb there.
Why do we do this? Because slapping reverb on every track is the quickest way to overload the CPU and render your session unworkable.
It often seems as though the manufacturers of DAWs want us to fall into this trap, as they frequently put reverb in their track presets – which even seasoned pros might call upon when perusing soft-synth choices on the quick.
If you work in this way, always check to see if there’s a reverb on that preset. Also, see if the sound can work without reverb, or, conversely, if the sound can be bussed to a reverb you’ve already set up. You’ll prolong the CPU headache for just that much longer.

Putting reverb on too many tracks can overload your CPU
2. Adding reverb on a bus instead of the track
This might seem counter-intuitive, but I promise it’s true: if ambiance needs to be glued to the sound, track-based reverb might actually be better.
An example: For years, I struggled with toms, as the raw tracks never sounded quite like a “classic record.” I would set up a reverb on an aux and send the toms there. Still, the blend never felt right; it always sounded like a dry tom plus reverb – never a coherent, single sound.
One day, against my better instincts, I decided to put a Lexicon emulation directly on the toms themselves (I bused them to their own group, putting the reverb on this bus as an insert). I worked with early reflections and a mix knob heavily favoring the dry signal. The result was much closer to what I wanted – and it took far less time to get there.
The lesson here is to recognize when the sound in your head would be better served by placing the reverb on a track. There is no hard and fast rule, but toms, background vocals, and sometimes the entire drum bus tend to get this treatment in my mixes.
Check out the difference, here, between toms bused to their own channel, and toms put directly on the bus.
Here are the drums on their own:
Just a basic mix, nothing special happening, with no reverb at all on the toms.
This is what happens if we send each tom to a bus with a simple plate reverb on it:
This is too much of an errant reverb wandering out in the soundscape for me. It sounds cheap and badly mixed.
Now, I’ll take the same exact plate reverb and stick it directly on a submix of toms, before an instance of compression. I’ll turn the blend down so that dry plays at unity, and wet signal comes in at -16 dB in relation to unity.
No, the reverb isn’t as obvious as it is in the second example. But the drums pop in a polished way that they didn’t in the first example, and that is the function of using reverb on the toms here. The toms have more depth and more space.
3. Reaching for an EQ instead of changing the reverb
I’ll often see students hate the reverb they’ve chosen, and then reach for an EQ to compensate for a bad reverb. Don’t do that.
Why? Because you’re still working against the fundamental characteristic of the reverb.
Audio mixing, in its most pleasurable state, should feel more like a flow than a battle, so don’t make it harder for yourself in this initial stage.
When you’re choosing a reverb, blast the plugin loud and clear. If the reverb doesn’t work right away, change it! Either change the engine (if it has multiple algorithms, such as Aurora) or just put a new plugin in there. Only after it works, generally, should you go about tweaking parameters until it sets well.
You want to work smart, not hard. Picking the reverb should be an intuitive and fun process.
4. Not knowing the reverbs in your arsenal
Every reverb has its own parameters, some of which are intelligible to the common user, some of which require the deepest of dives. Taking the time to learn your reverb plugins inevitably pays off, as you’ll wind up with a finer degree of control over the processor.
Still, it’s a daunting enterprise – and I know this from experience: many are the reverbs whose interfaces I’ve given perhaps a passing glance. Even so, I delude myself into thinking I’m getting the most out of them!
Slapping a new reverb onto a sound and seeing what happens might be a way to force a creative choice. It may even work two times out of seven. But I maintain that it pays off to do a bit of homework:
Grab a guitar, a vocal, a mixed drum track, a snare, a synth part, and set them aside in their own session. When you have some free time, open that session, and take out your handy pen and paper (or open a text document if you’re so inclined). Spend an hour or so investigating your new reverb as you would a new instrument, learning its intricacies and taking notes as you do.
Let me also address inevitable questions regarding when to use a room, a plate, a chamber, a hall, or a spring reverb. Such qualifications are important; if you’re in a new space with unfamiliar tools, knowledge of these classifications will give you your starting point. But once you’ve made your own personal connections with these archetypes, they are not nearly as important as understanding the specific processors in your arsenal.
You might find, when you do so, that one brand’s plate gives you the same mileage as another company’s hall, even though they are not remotely the same. This will help you work more efficiently, and prepare you for situations where you’re in unfamiliar terrain.
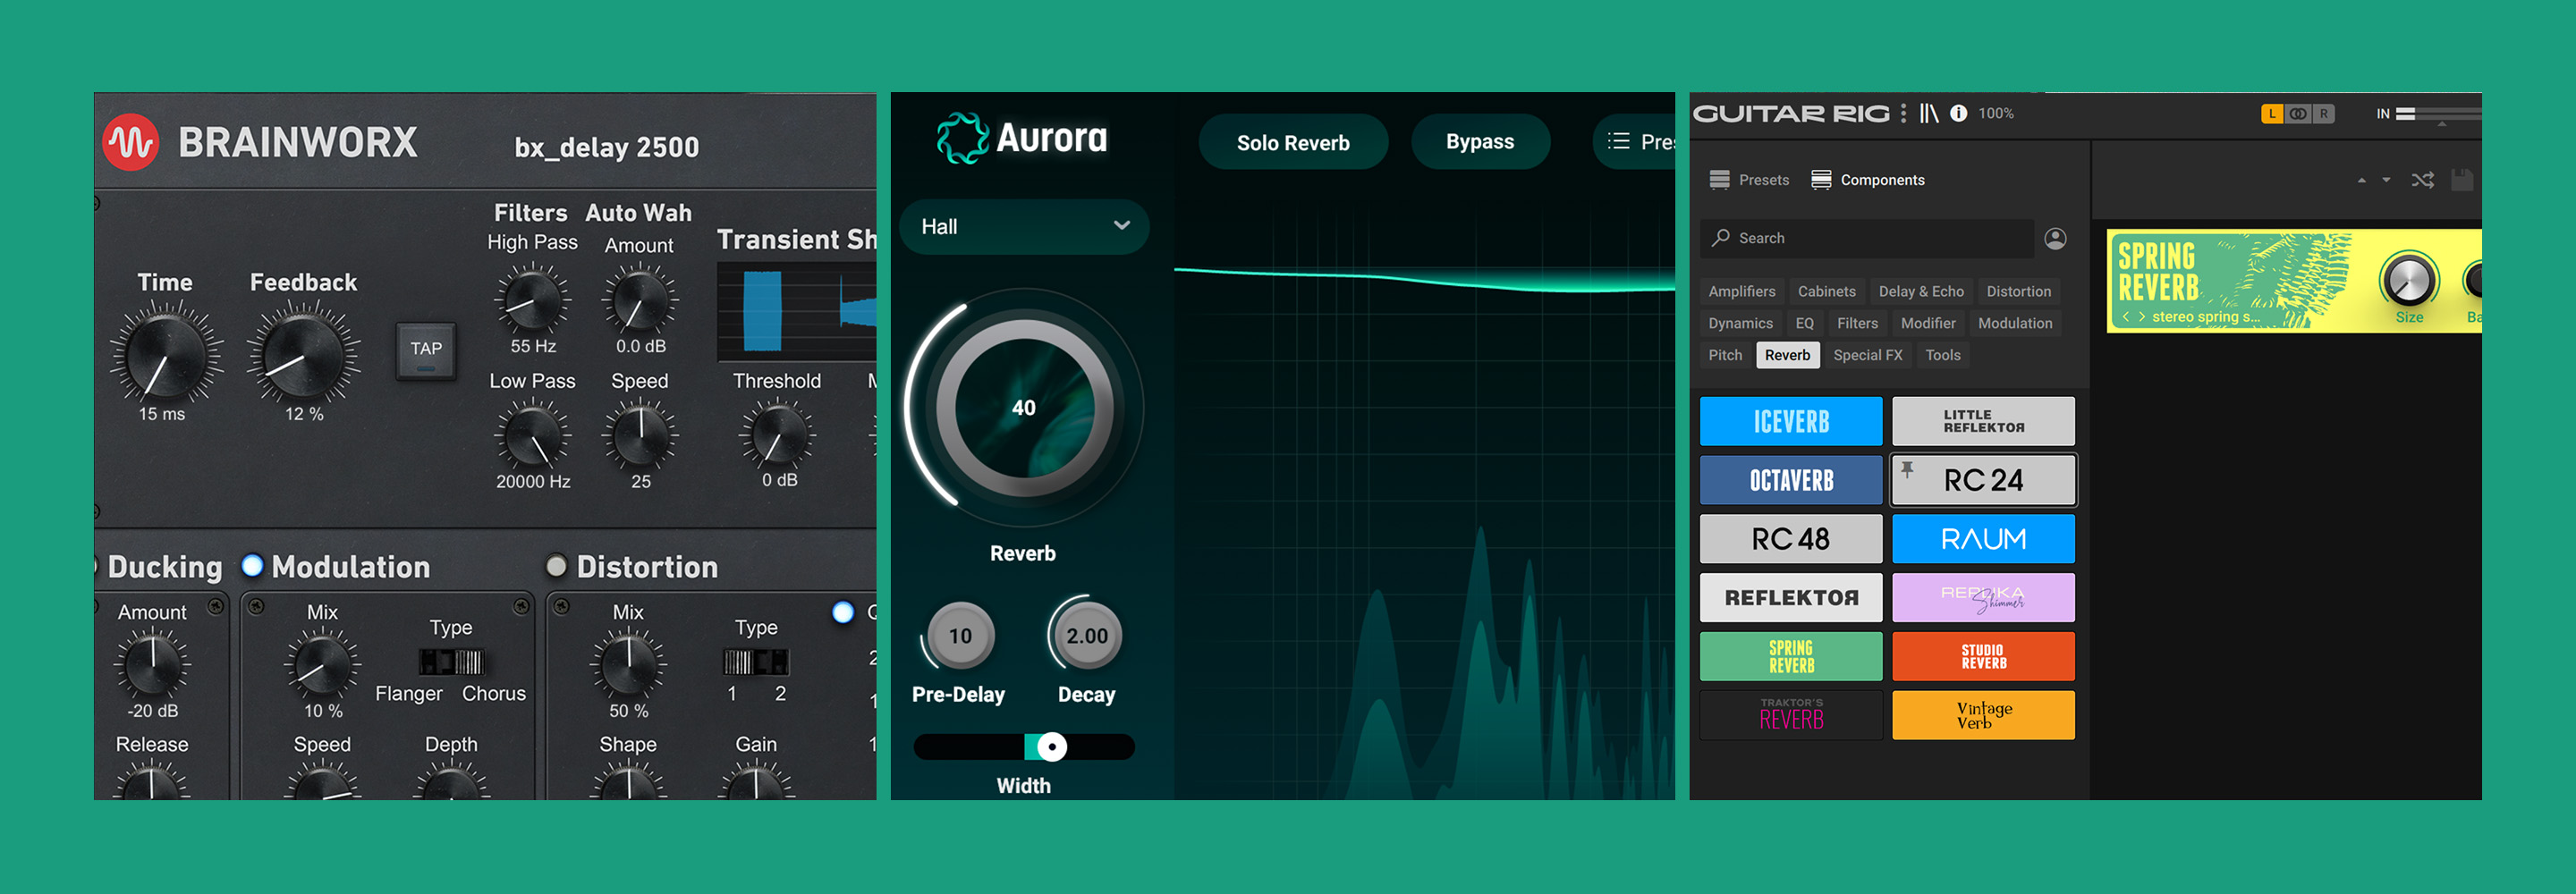
Now is a good time to note that the Native Instruments universe is chockablock with reverbs, from Aurora to Guitar Rig 7 Pro to various offerings from Plugin Alliance – including the Bettermaker BM60, a personal favorite
5. Failing to control the reverb
One hallmark of an inferior mix is reverb that announces itself too early, or sticks around for too long. An example would be an overly-reverberated drumset entering a sparse mix, Ringo Starr style; if you piled heaps of uncontrolled reverb on these drums, they might not blend with their surroundings. They might even shock the listener. Such mistakes can make a mix sound cheap, and rather like a demo. If you remember that balance and context are key, you’ll be able to avoid this pitfall.
Now is a fantastic time for mentioning iZotope Aurora, which has fantastic tools for controlling reverb built right into the plugin itself.
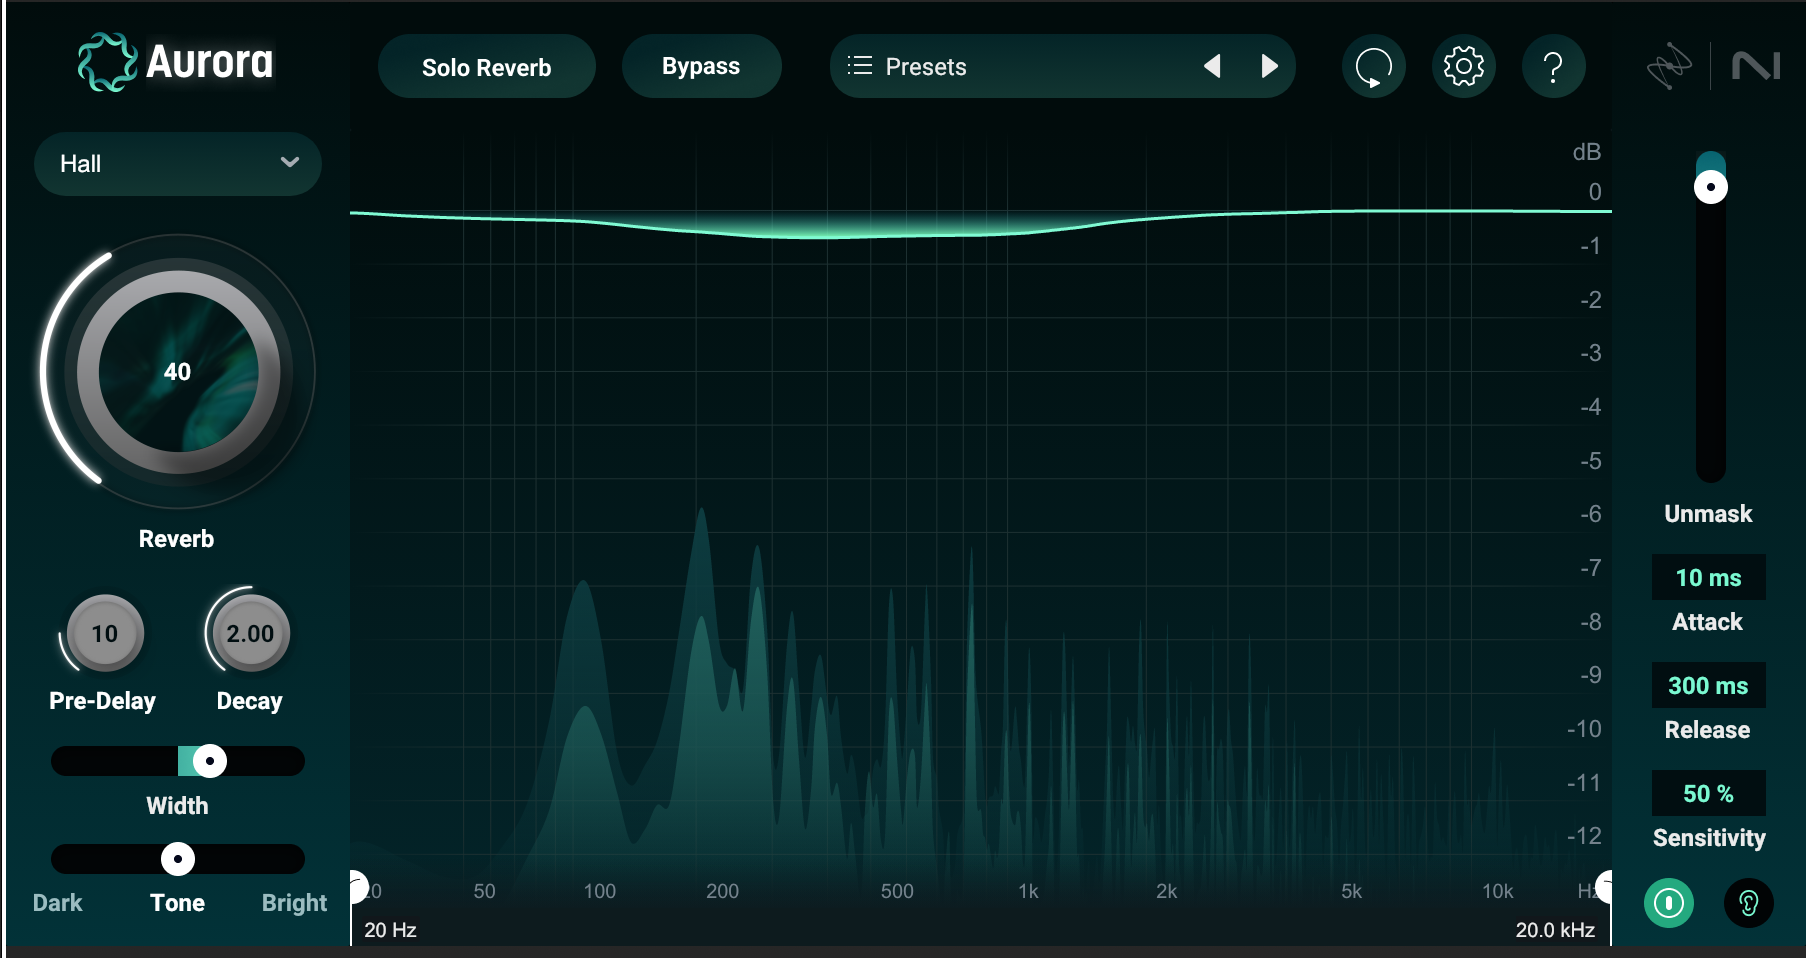
iZotope Aurora reverb plugin
Aurora analyzes the input signal and applies intelligent, spectral ducking to the resulting reverb. It knows which frequencies need to be tamped down, and it only applies reduction when it needs to.
This process is achieved not with multiband compression, but with the spectral FFT processing present in plugins like Ozone. If a resonance build-up moves from 400 Hz to 500 Hz as the song transitions from verse to chorus, Aurora will track the change instantly and apply an appropriate amount of spectral ducking.
Observe this static mix of the song "To Be Alive" by Pete Mancini:
Now, I’ll put Aurora on every single track in the song – counter to my previous advice, i must admit – but still: thanks to the built-in spectral unmasking, the mix sounds all the better for it:
It’s a reverb choice you feel, rather than hear. This is not a move I would make with just any reverb.
If Aurora is not in your arsenal, the practical tool for controlling your reverb is automation. That snare fill entering the arrangement? Automate its send lower than you’d like and see if that actually makes the mix sound cleaner and feel less cheap. Once all the elements have been around for a while, you can up the send.
That vocal reverb lingering too long after the chorus? Automate its level down in concert with the chorus’s ending for a tight transition back into the next section. These moves go a long way.
6. Applying reverb just because you can
Like EQ and compression, reverb is a tool many beginners slap on just because they think they should. But remember what reverb is supposed to do in the first place:
In its most conservative implementation, reverb communicates a sense of space and a feeling of depth. In its most liberal employment, reverb is meant to transport you to places you’ve never been.
The panacea for “slapping on reverb just ’cuz” is to take a moment, close your eyes, and ask yourself the following question: “Where am I trying to put this sound?” The answer could be “in a church.” The answer could also be “further back into the mix” or “the planet Zebulon.” These answers necessitate different approaches to reverberation. So always ask yourself the question!
7. Using many different kinds of reverbs in one mix
There’s no quicker way to make an unfocused musical hodgepodge than to use a ton of reverbs in one mix. Indeed, it can be quite self-defeating: as the reverbs bounce around each other, they do so in ways that don’t make sonic or contextual sense, and thus, give away the fake.
Remember: the goal of reverb is either to create a sense of ambiance, a feeling of depth, or a means of transport to an entirely new locale.
When you’re using multiple reverbs of various densities and times, you are pulling listeners into multiple spaces at the same time; the brain can often feel such trickery. You could also be destroying any chance at depth by slathering on heaps of refracting, reflecting mud.
This isn’t to say you should never use different reverbs in one track; variety, after all, is the spice of life. On a 90’s-style ballad, there’s nothing wrong with putting the toms in a room, the snare in a hall, and the singer in a cathedral. It’s when every single guitar gets their own individuated space – with no sense of a congruent picture – that the fakes start to spring up.
8. Failing to gussy up the reverb
Yes, we previously said not to EQ reverbs automatically – and that advice still stands. However, once a reverb is balanced, you very well should treat it further for a variety of reasons.
Your vocal verb might sound great before the drums come in, but once they enter, all that ambiance might be masking the snare. Here, EQ is your friend, particularly one that helps detect masking such as Neutron 5. Similarly, if the sound is good, but still too pristine, a tape emulation, such as the one from Kiive, Ozone, or Neutron, could add some pleasant harmonic distortion to temper the clarity.
I’ll give you an example with a sparse electronic sort of beat:
I want a spring reverb on that snare, so I use the one from Guitar Rig 7 Pro:
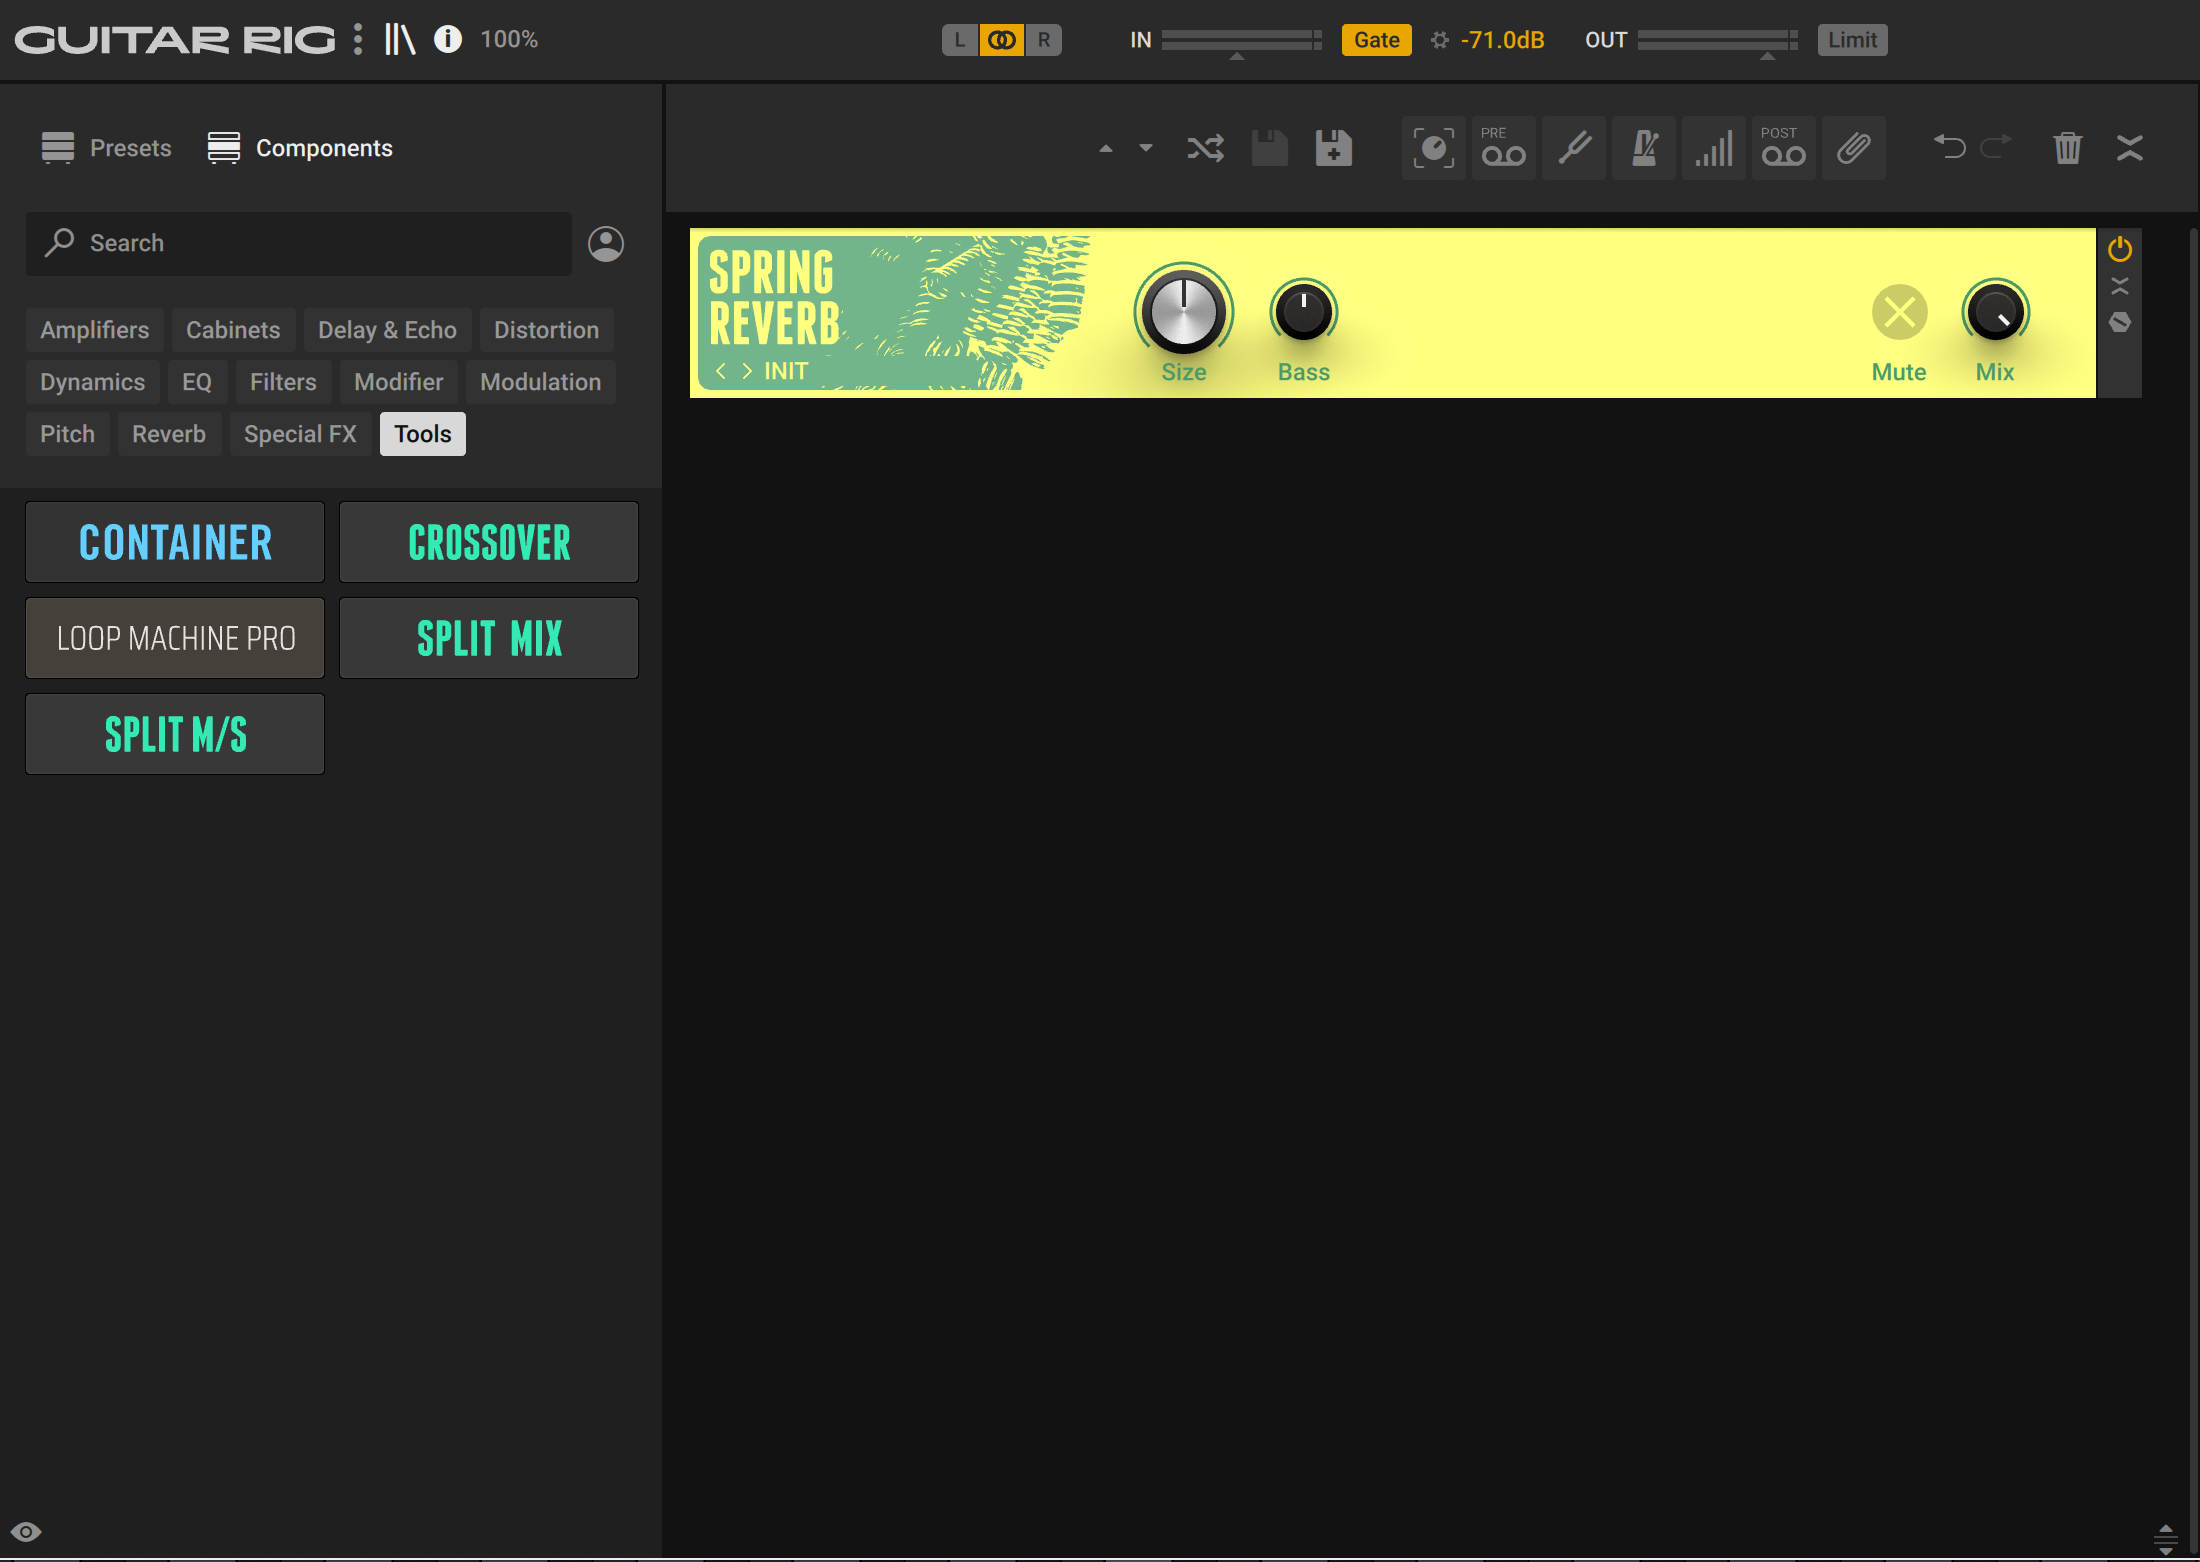
Spring reverb on the snare drum using Guitar Rig 7 Pro
Listen to the reverb in solo, and listen to how it fits in the mix:
It’s fine, but a bit boring. Just for funzies, let’s do a bunch of horrible things. Let’s distort the heck out of the reverb with Ozone Exciter and the Black Box Analog Design from Plugin Alliance:
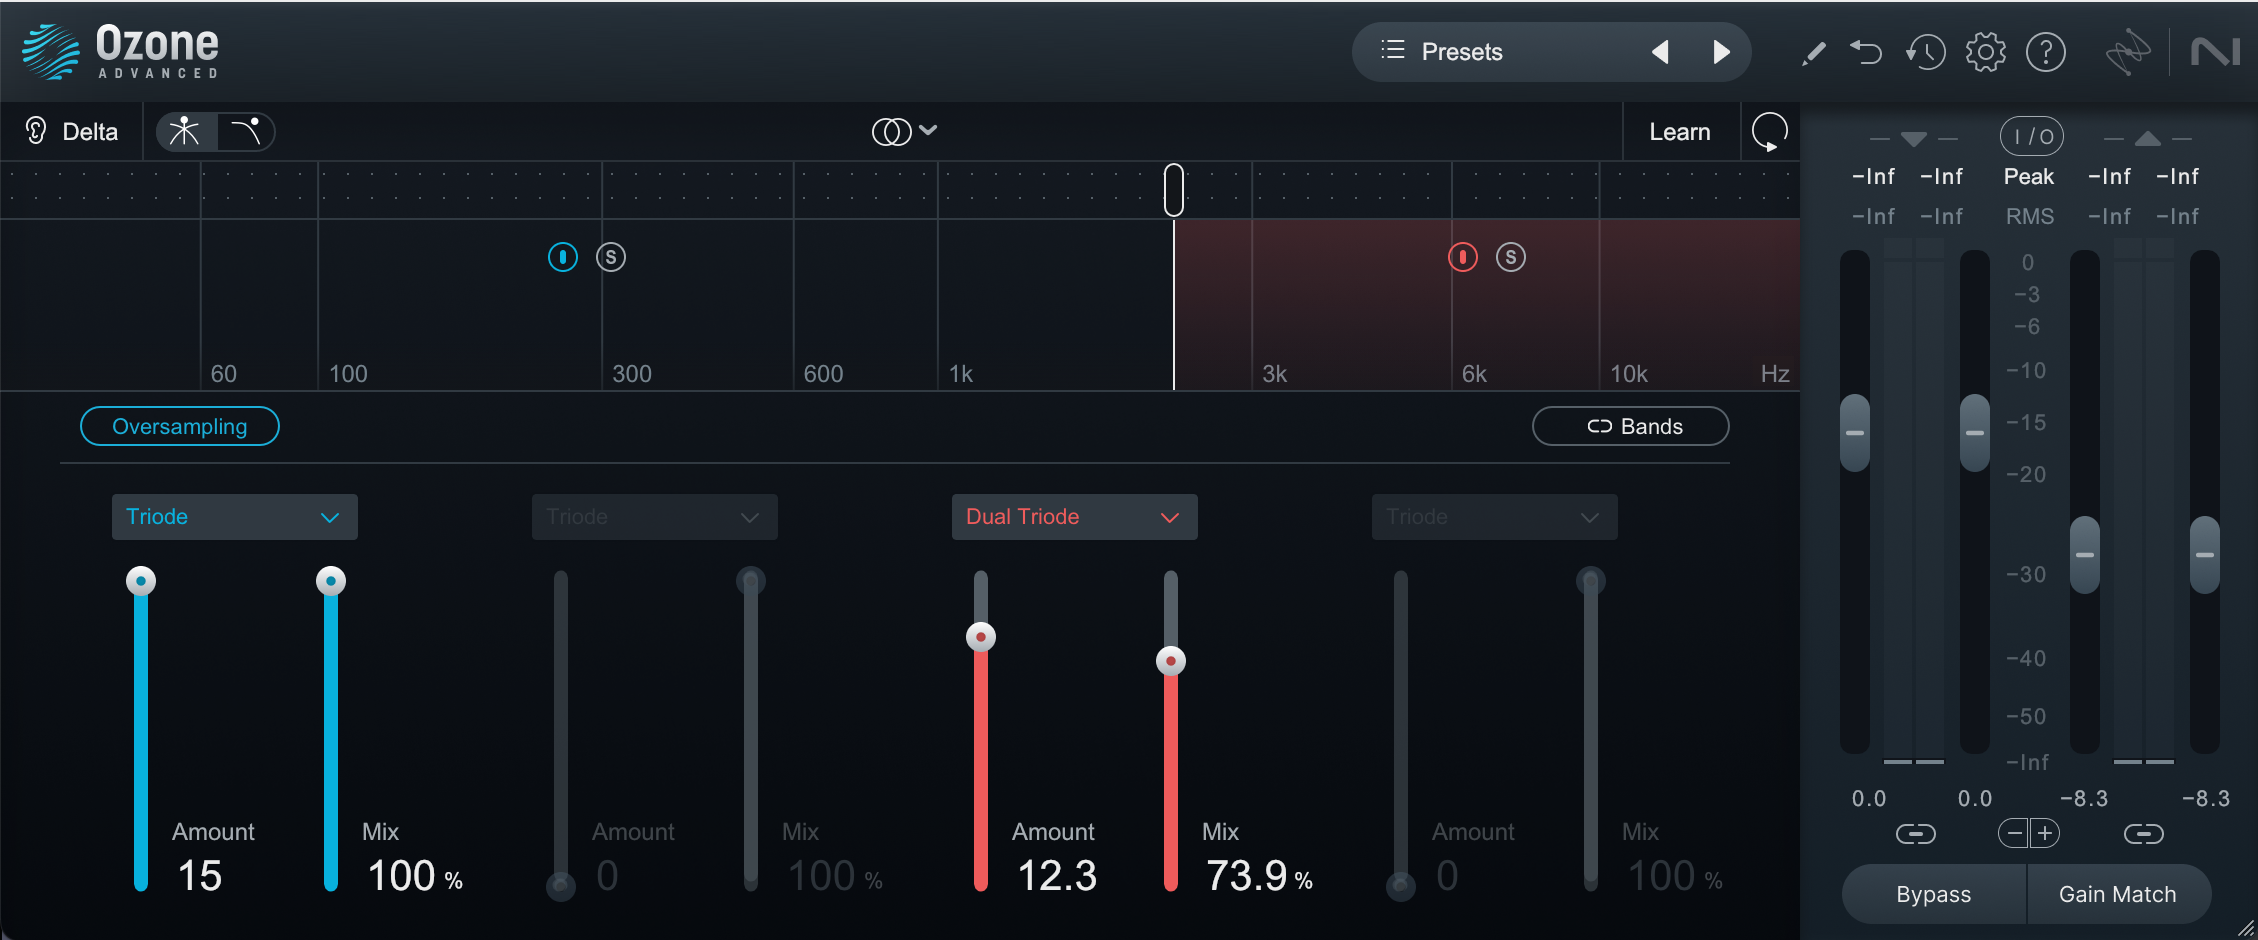
Ozone exciter on snare reverb

Black Box Analog Design from Plugin Alliance on snare reverb
Now some EQ to cut the lows, boost the low-mids, and accent the highs.

Neutron EQ on the snare reverb
And now the crazy part: a delay, followed by a grain glitch effect, autopanned in Guitar Rig, followed by a flanger, and blended into the mix:

Swirling panning, multiple effects blended into the mix
Guitar Rig is capable of executing a lot of evolving effects, and the LFO modulator paired with the Split L/R module make for an exciting autopanner.
Next, the AMEK EQ 250 for more sparkle:

Using AMEK EQ 250 for further sparkle and boost
And we have something more juicy, more unique:
9. Using reverb when you should’ve used delay
When creating an ambiance, we must always stop to think about what it’s appropriate. If we fail to do so, we can get ourselves into some annoying spots. Some of these annoying spots are better served with delay, and here’s an example:
Say we have a tight-sounding, fast punk record on our hands. Still, the drums feel too dry. The inclination is to put reverb on the drums, right?
Okay, sure. But what often happens in this scenario? No matter what you do, the reverb just doesn’t suit the timbre of the punk record. The tails of all those drum hits only muddy the waters, or worse, change the nature of the genre.
If this has happened to you, then perhaps delay was what you were looking for all along – delay that can be felt rather than heard.
The following is an oldie but a goodie, and I like it particularly for drums: put a stereo delay on a bus and sync its tempo to the track. Send your drums to this bus. Use subdivisions on the left and right side to create a rhythm that accentuates the groove of what’s happening on the drums. Now drop this delay down into the mix. Drop it down further.
Are you done yet? No: drop it even further. It should be so low that when it’s in, you don’t hear it, but when it’s out, the track feels less vibrant. This might be all the ambiance you need. This tip works well with pianos and guitars as well.
Use these reverb tips in your music
As we said in the introduction, this is not a complete list. There are many stumbling blocks on the road to good reverb, and listing them all would take more space than we have, and more time than you’re willing to spend reading (you’ve got mixing to do!).
I’ll leave you with this bit of advice, because I believe it’ll help: nearly every reverb mistake shares a common hallmark – a singular tell that gives away the problem. That hallmark is an indistinct and muddy soundstage, robbed of depth, and often quite cloudy in timbre.
If you hear anything like that in your mix, a good place to start troubleshooting is in your effects chain. Start muting your reverbs, and see if things get better (this is even easier if you route all your effects to one dedicated aux track). Then, start introducing your effects back into the mix one by one. Once you hear the offender, look to the mistakes above and see if the problem pertains. Even if it doesn’t – even if you’ve managed to create yourself an entirely new fiasco – thinking critically about your reverb choices in the manner laid out above will help you out of the jam. You’ll find your head won’t be swimming as much, and neither will your mix.
