Mix Bus 101: Why, When, and How to Group Tracks into a Bus
Learn everything you need to know about the mix bus, master bus, and aux bus to get better sonic control and improved organization within your mixes, all while being more CPU friendly.
Are you looking for better sonic control and improved organization within your mixes, all while being more CPU friendly? You've come to the right tutorial. If you’re not sure what a mix bus is, how to create and use one, or where concepts like subgroups, aux channels, sends, returns, or the master bus fit in—don’t worry, we’ve got you covered. We’re going to untangle each concept and share why, when, and how to use a mix bus—or two—while mixing music.
In this piece you’ll learn:
What is a mix bus?
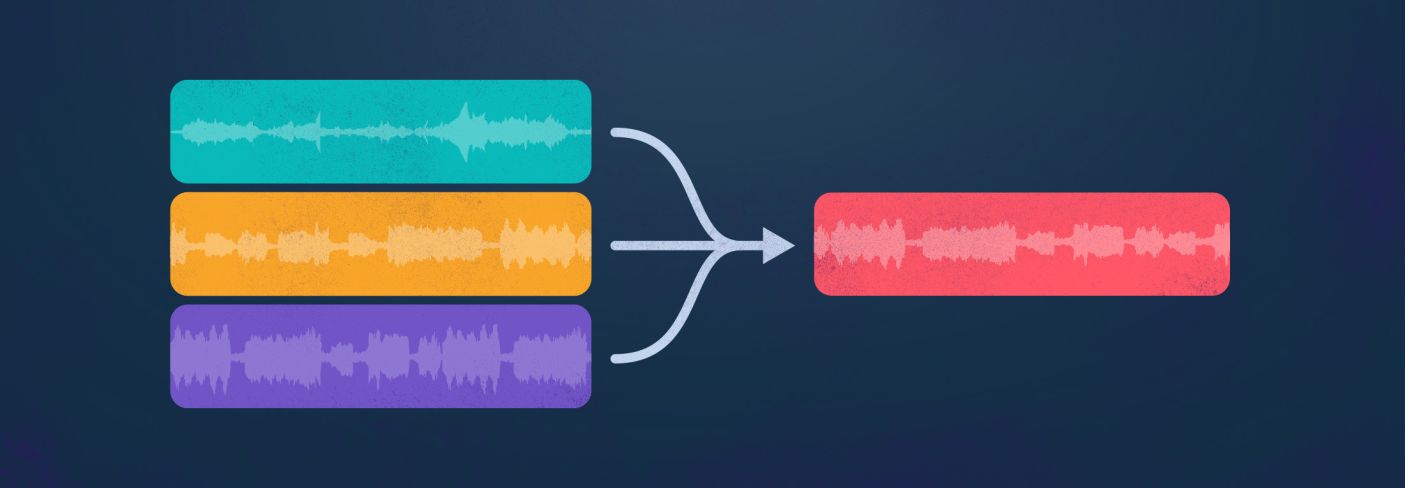
A mix bus is a way of routing multiple tracks into one channel to process them simultaneously—you can use one signal chain to affect an entire group of instruments and adjust level and pan via one channel. You can sort of think of this like a school bus where the individual signals are the kids that all get on the bus at different points along the bus route, but are then mixed together and taken to the same place.
What’s the difference between a mix bus and a master bus?
The most common mix bus is the main stereo bus, also called the “2-bus,” or "master bus." If you only have one bus in your mix, it’s this one. It’s almost always created by default and is where any new channels you create in your DAW will be routed. It’s also usually a stereo bus—unless you’re working in surround—with left and right channels. Ultimately this is where your entire mix is funneled down to two channels and it’s what’s used to create the final stereo export, render, or bounce. It’s also typically what’s routed to your speakers or headphones.
The master bus gives you a way to make final adjustments to your full mix before the audio leaves your DAW. This could be as simple as adjusting the overall level to properly utilize headroom and avoid clipping—although you shouldn’t get in the habit of using your master bus fader to control your monitor gain, rather, use the level control on your interface. The master bus could also include things like EQ and compression for tonal shaping and “glue.” More on this later.
However, the master bus isn't the only mix bus you can create in a mix session. There are at least two other ways to utilize mix buses that can significantly help with organization and control in your mix: subgroups and aux channels. We’ll look at these in more detail shortly, but first let’s look at how to create a mix bus.
How to create a mix bus
How you go about creating a mix bus—and indeed even the wording used to describe it—is going to be a little different in every DAW. Unfortunately there’s not room here to go into detail for each DAW, but here’s the general concept, followed by some links to videos that show the process for some of the most common DAWs.
Generally speaking, there are a few different ways that buses are implemented inside different DAWs. In some cases buses exist explicitly, independent of any channels. You can then assign the output of a channel to a mix bus that you wish to send it to, and additionally assign that bus as the input to another channel. Pro Tools and Logic Pro are two DAWs that work in this fashion.
In other DAWs, buses are essentially their own channel type. In other words, you create a bus channel and then route the channels you’d like to be included in that mix bus to that channel. You can then route the output of the bus channel to your master bus, or often even another channel. Cubase and Studio One both work more or less along these lines.
In yet other DAWs, there are neither explicit buses, nor specific bus channels. Instead, you can just route the output of one channel directly to the input of another. Ableton and REAPER are examples of DAWs that work in this fashion. But before you get too comfortable, keep in mind that some DAWs can create buses in multiple ways, or may even combine bus creation with track grouping or foldering functions. Check out the videos below to see some of the easiest ways to create a bus in your DAW of choice.
Ableton: Learn Live 10: Routing
Cubase: Cubase Minute Ep. 1: How to Create Group Tracks & Busses
FL Studio: FL Studio 20 mixer sends and bus how to use them
Logic Pro: Using Track Stacks in Logic Pro X
Pro Tools: Pro Tools — Introduction to Folder Tracks Part 1
REAPER: This is REAPER 6 - Folders (9/15)
Studio One: Studio One - Buses and Routing
How to use a mix bus
Now, let’s look at a few common ways we can use the buses we’ve just created. One of the most common ways to use a bus is to collect a number of similar channels together so that you can process them and control their level in a unified fashion. Another typical application is to use buses for send and return effects where a portion of the signal is duplicated for effects like reverb and delay.
Subgroups and buses
Let’s imagine that we have a full multi-tracked drum set’s worth of 10–12 channels, and we’ve got a balance between them all that we really like. Maybe we’d like to adjust the level of all the drums, and perhaps we’ve also noticed that they could all use some similar EQ adjustments.
Rather than adjusting 12 faders—risking messing up the balance—and adding and adjusting 12 EQs, we could simply assign all the drum tracks to a bus, adjust the level of that bus channel, and EQ it once as desired. This type of bus routing is typically known as a subgroup because it groups together similar instruments. In fact, it’s not uncommon to have multiple subgroups for drums, synths, vocals, guitars, keyboards, etc.
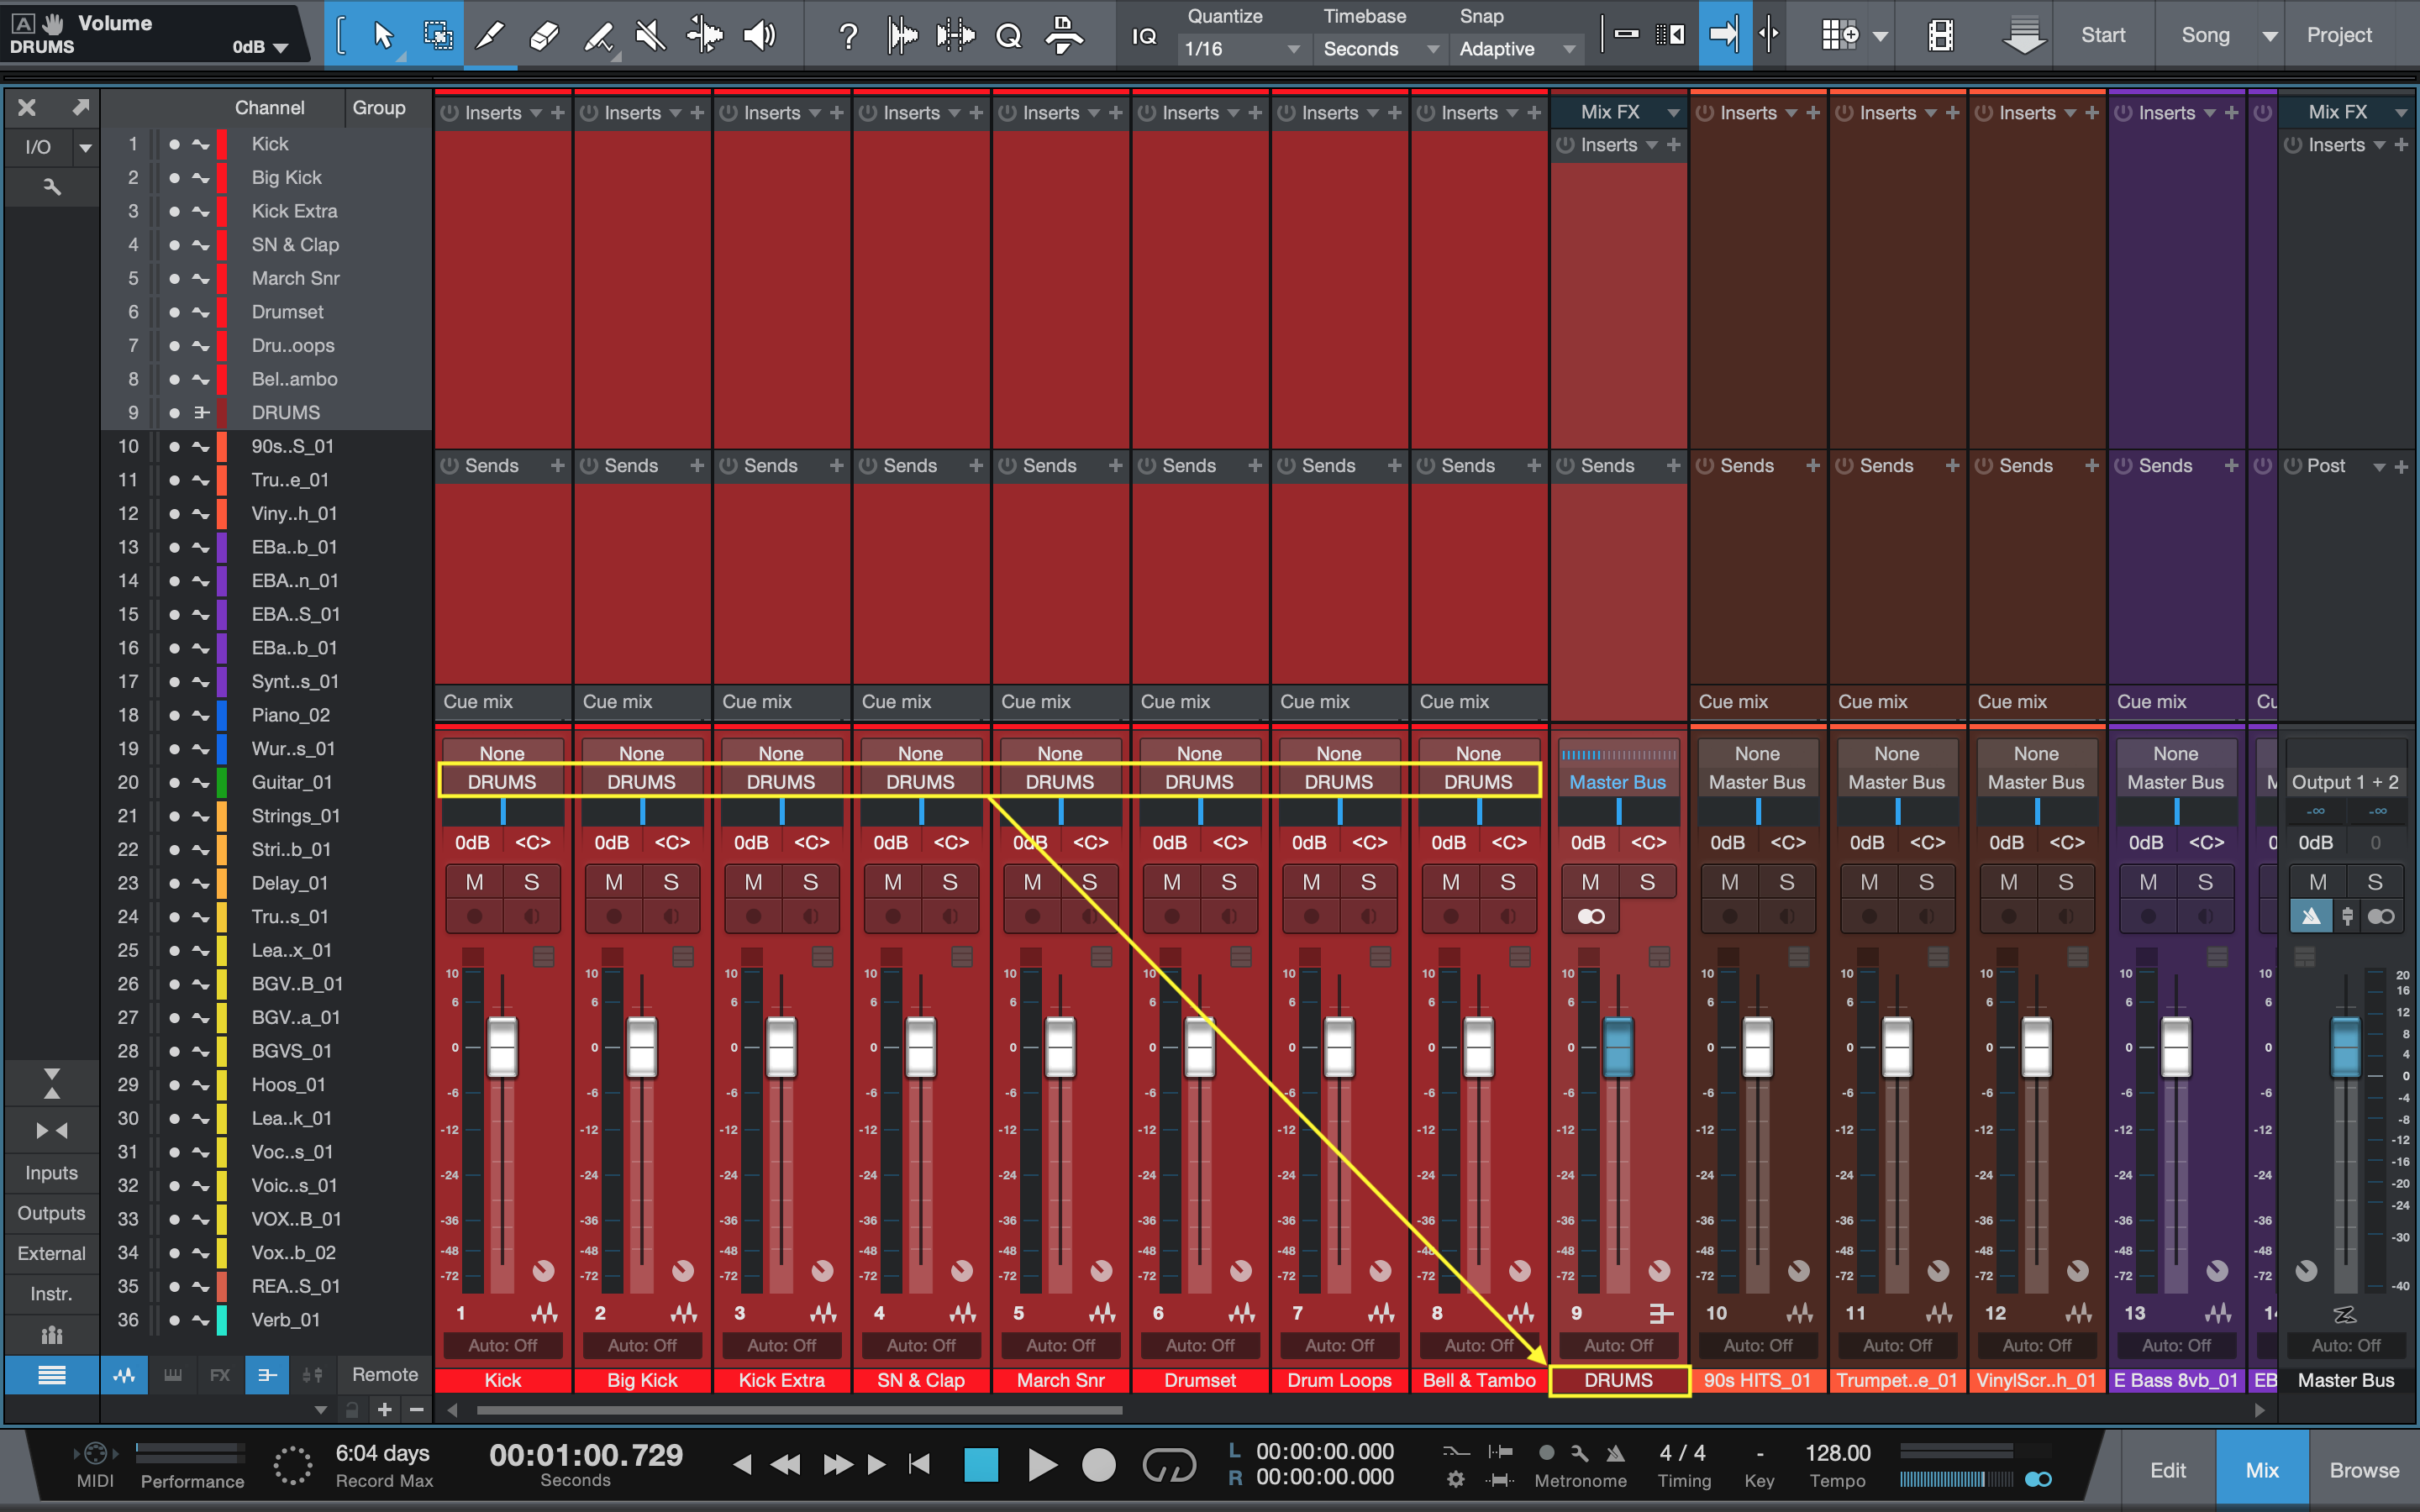
Drum channels routed to a drum subgroup bus (yellow)
Taking subgroup usage further, you could also add some compression or saturation to a bus to add “glue,” or a sense of cohesion. Do keep in mind though that while applying an EQ to a bus is identical to applying that same EQ to each individual channel feeding the bus, the same cannot be said for compression or saturation.
This is because an EQ operates the same regardless of the signal level coming into it, while compression and saturation are entirely dependent on the input level. As such, you may still want to compress or saturate the channels feeding a bus individually. And of course, if you need to make a specific EQ move to an individual channel you’re still free to do that!
Ready to add EQ to your mix bus?
Start your free trial of iZotope’s


iZotope Music Production Suite Pro: Monthly


Neutron


Ozone Advanced
Where do aux channels, sends, and returns fit in?
Auxiliary channels—also known as aux channels, auxes, return channels, FX channels, or perhaps something else, depending on your DAW—are similar to group buses. Like subgroups, they can receive their input from a mix of channels, and typically output to the master bus. Where they differ, however, is in how a signal is routed to them.
Aux channels receive a copy of the signal, leaving the original to continue on to a subgroup or the master bus. This is done via a send control, rather than the output, of the source channel(s). Sending a copy in this way allows you to maintain the original, unaltered signal, while simultaneously processing the copy, giving you independent control over each.
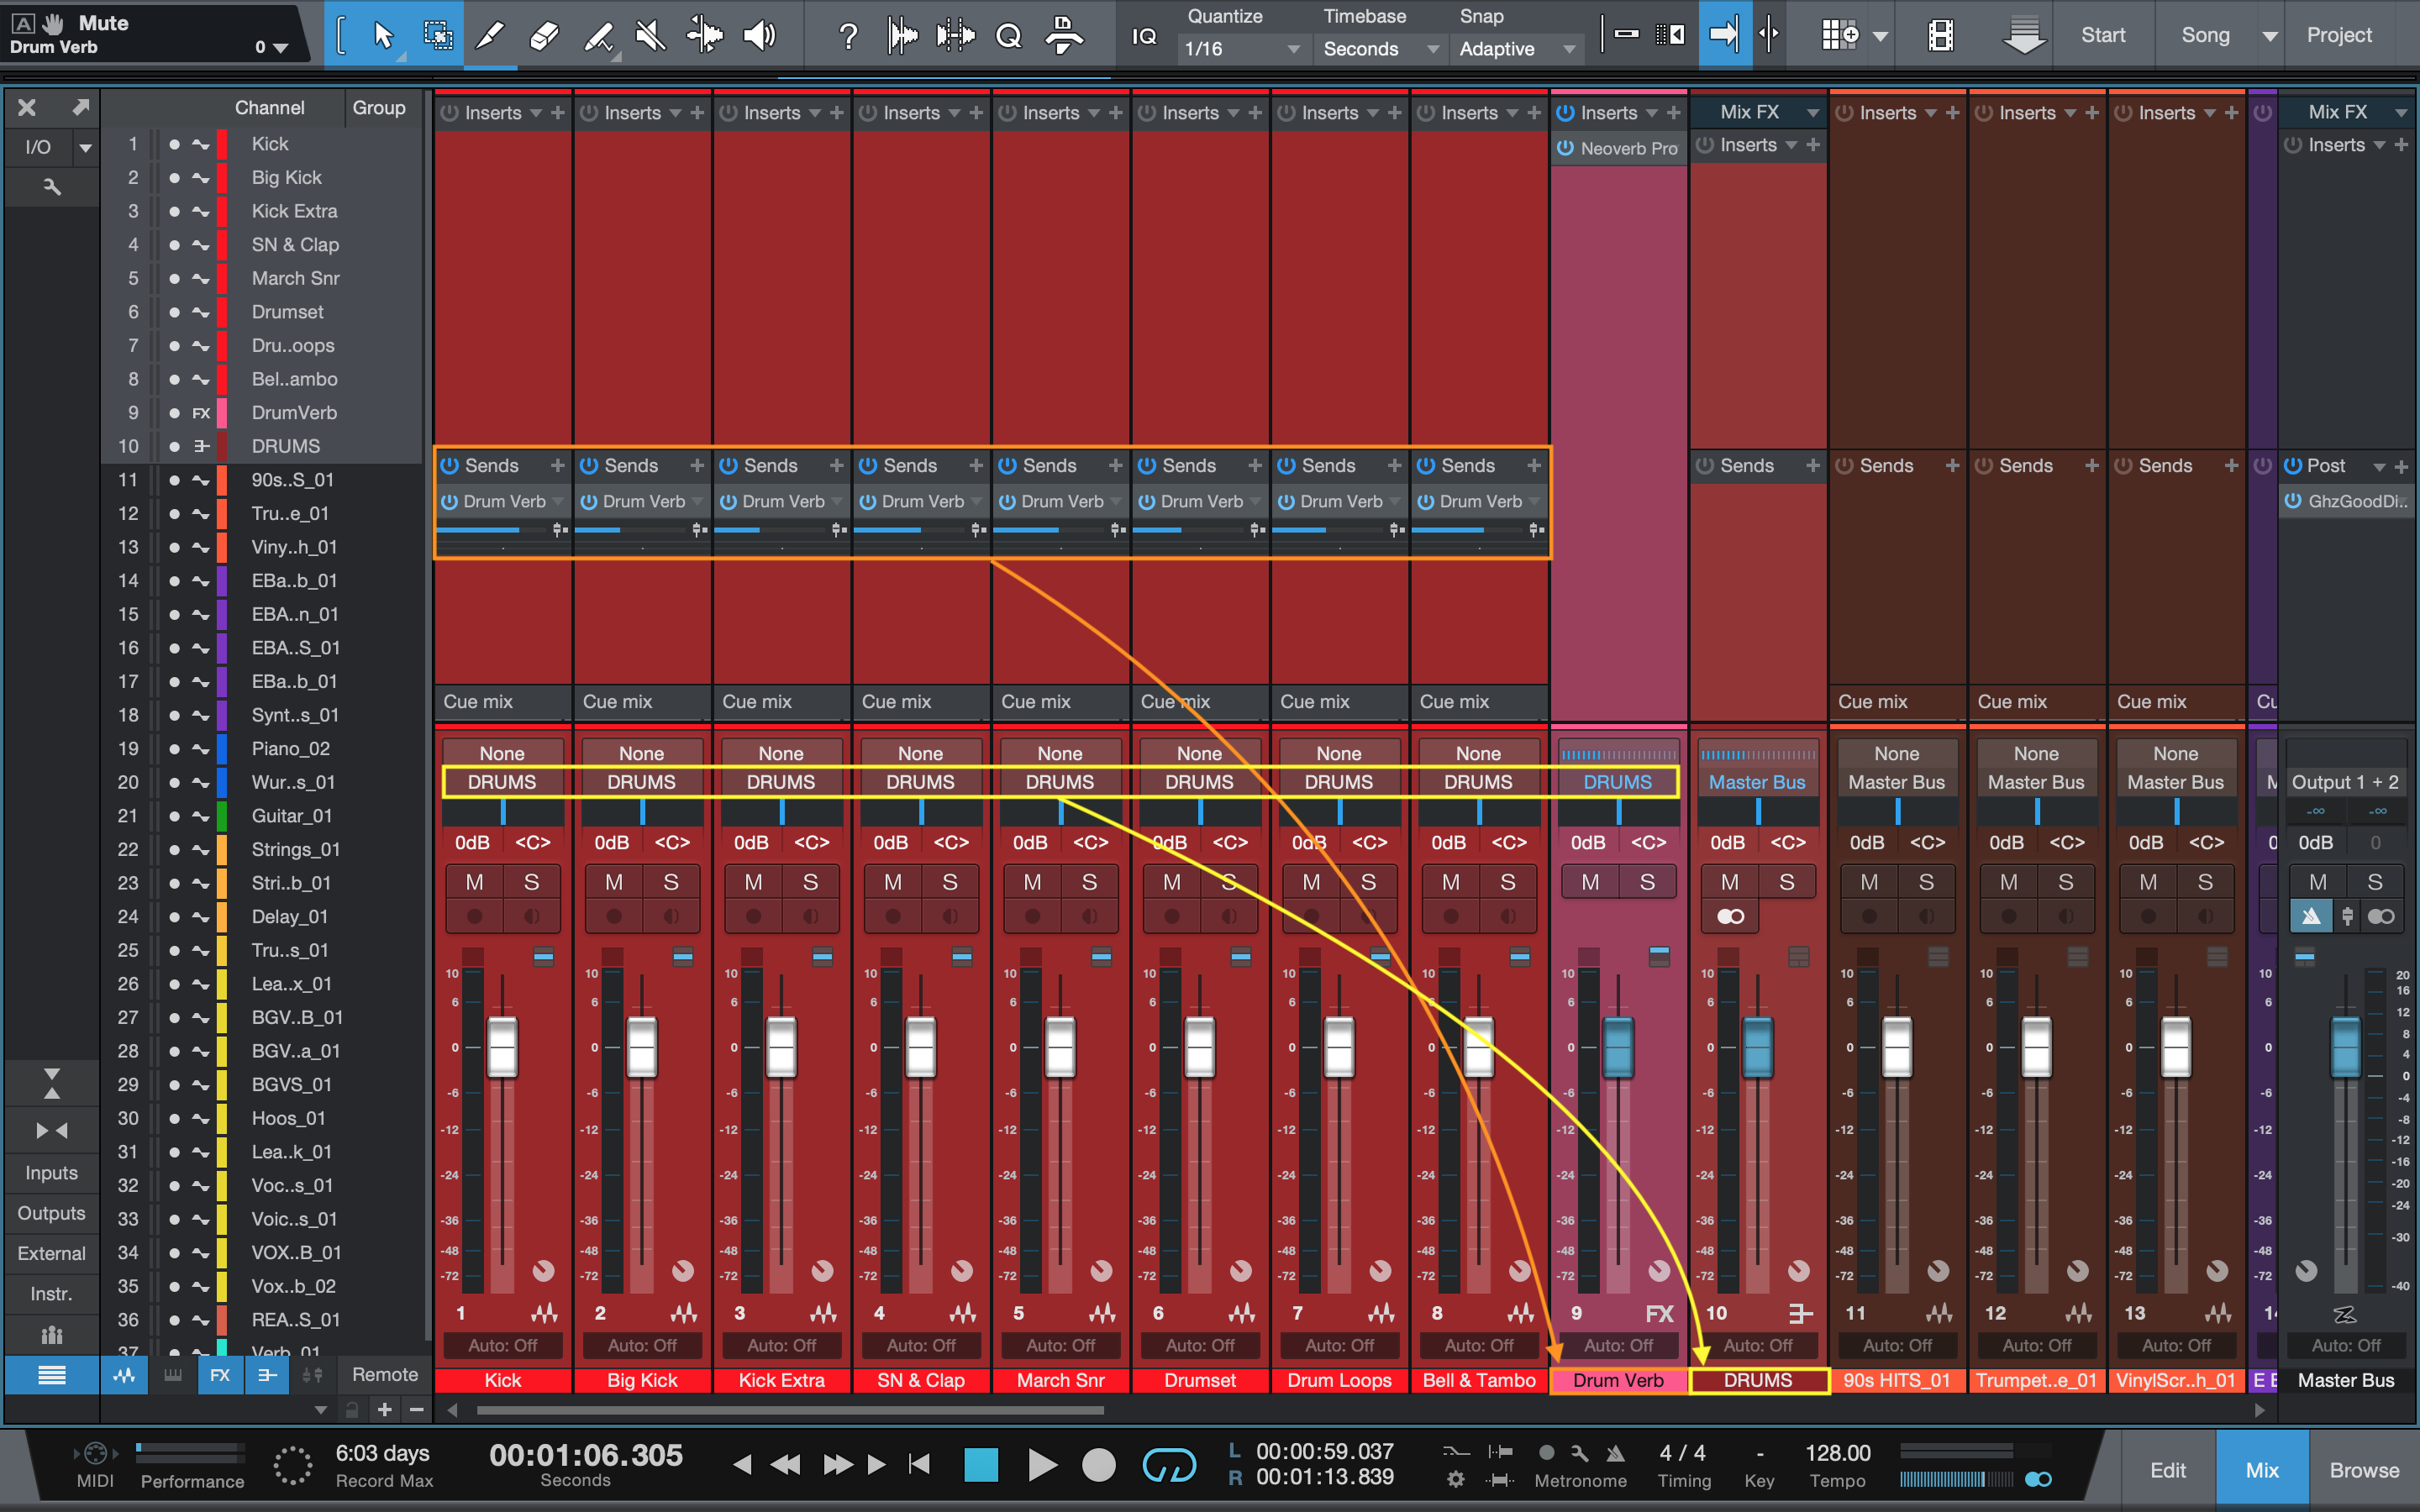
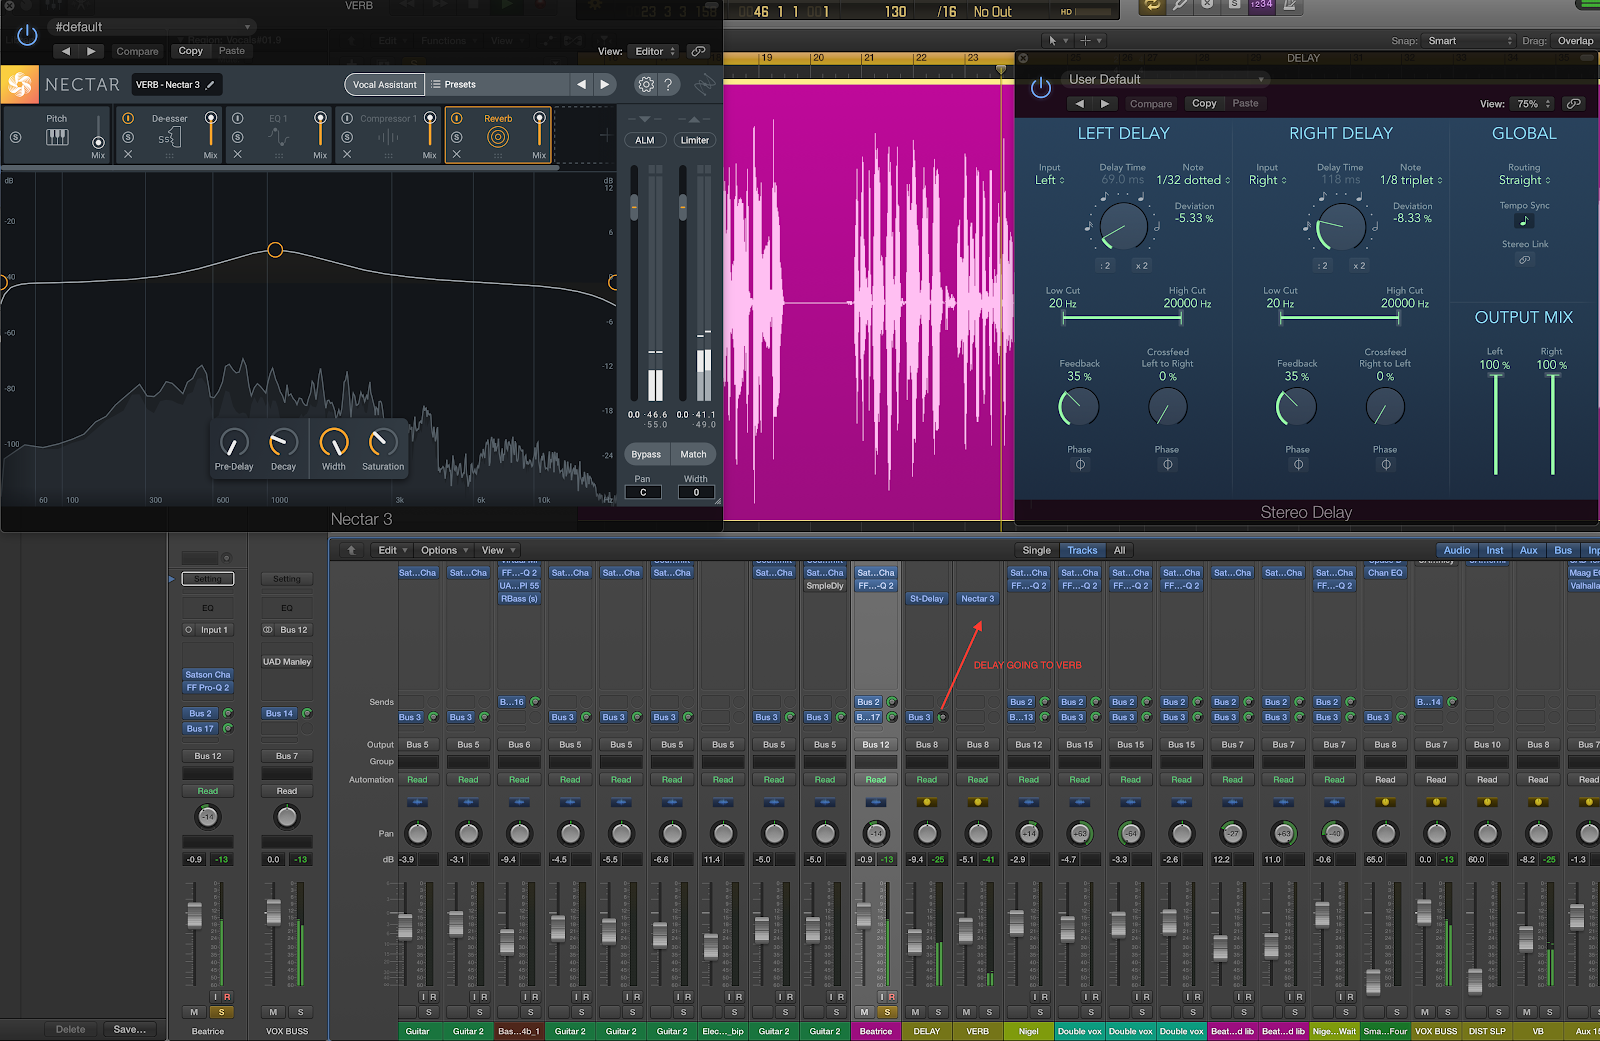
Drum channels with sends to an aux (orange), all routed to a subgroup (yellow)
For example, let’s think about our drum subgroup again and imagine that we want to add some reverb with a plug-in like Neoverb Pro to create extra space and depth around the drums. We could place a reverb on each channel, but this creates some problems. First, if later in the mix we decide we want to change the overall reverb level, we have to open each instance and adjust the wet/dry blend. Second, it’s just not especially CPU efficient as we’re asking our computer to calculate the reverberant signal once per channel.
Another option would be to add a single reverb to the drum subgroup. While this solves the CPU efficiency issue, now every drum has the same amount of reverb on it, which may not work in the mix. Rather than either of these, we could put the reverb on an aux channel, assign a bus—call it “drum verb”—to the input, and then use the sends on each drum channel to send just the amount we need to that bus. Now, we have control over the amount of reverb on each drum via the sends, and also the amount of overall reverb via the aux channel fader, all while saving on CPU cycles.
For a more detailed review of sends/returns and the difference between pre-fader and post-fader sends, check out the Get Sent section of Phillip Nichols’ great Understanding Audio Signal Flow in a DAW article.
Start using the mix bus in your DAW
Hopefully this has helped you understand the general concept of a mix bus along with some of the specific types such as the master bus, a subgroup bus, and an aux bus. Additionally, we’ve seen some of the ways we can create and utilize buses in a few different ways.
So, whether you just want to organize your tracks in subgroups or set up complex effects signal flow chains with auxiliary buses, mix buses can be a huge timesaver and simplify your work. As always, less work for you means more time staying creative, so why not get the best of both worlds and stay organized and creative? Good luck, and happy busing!
