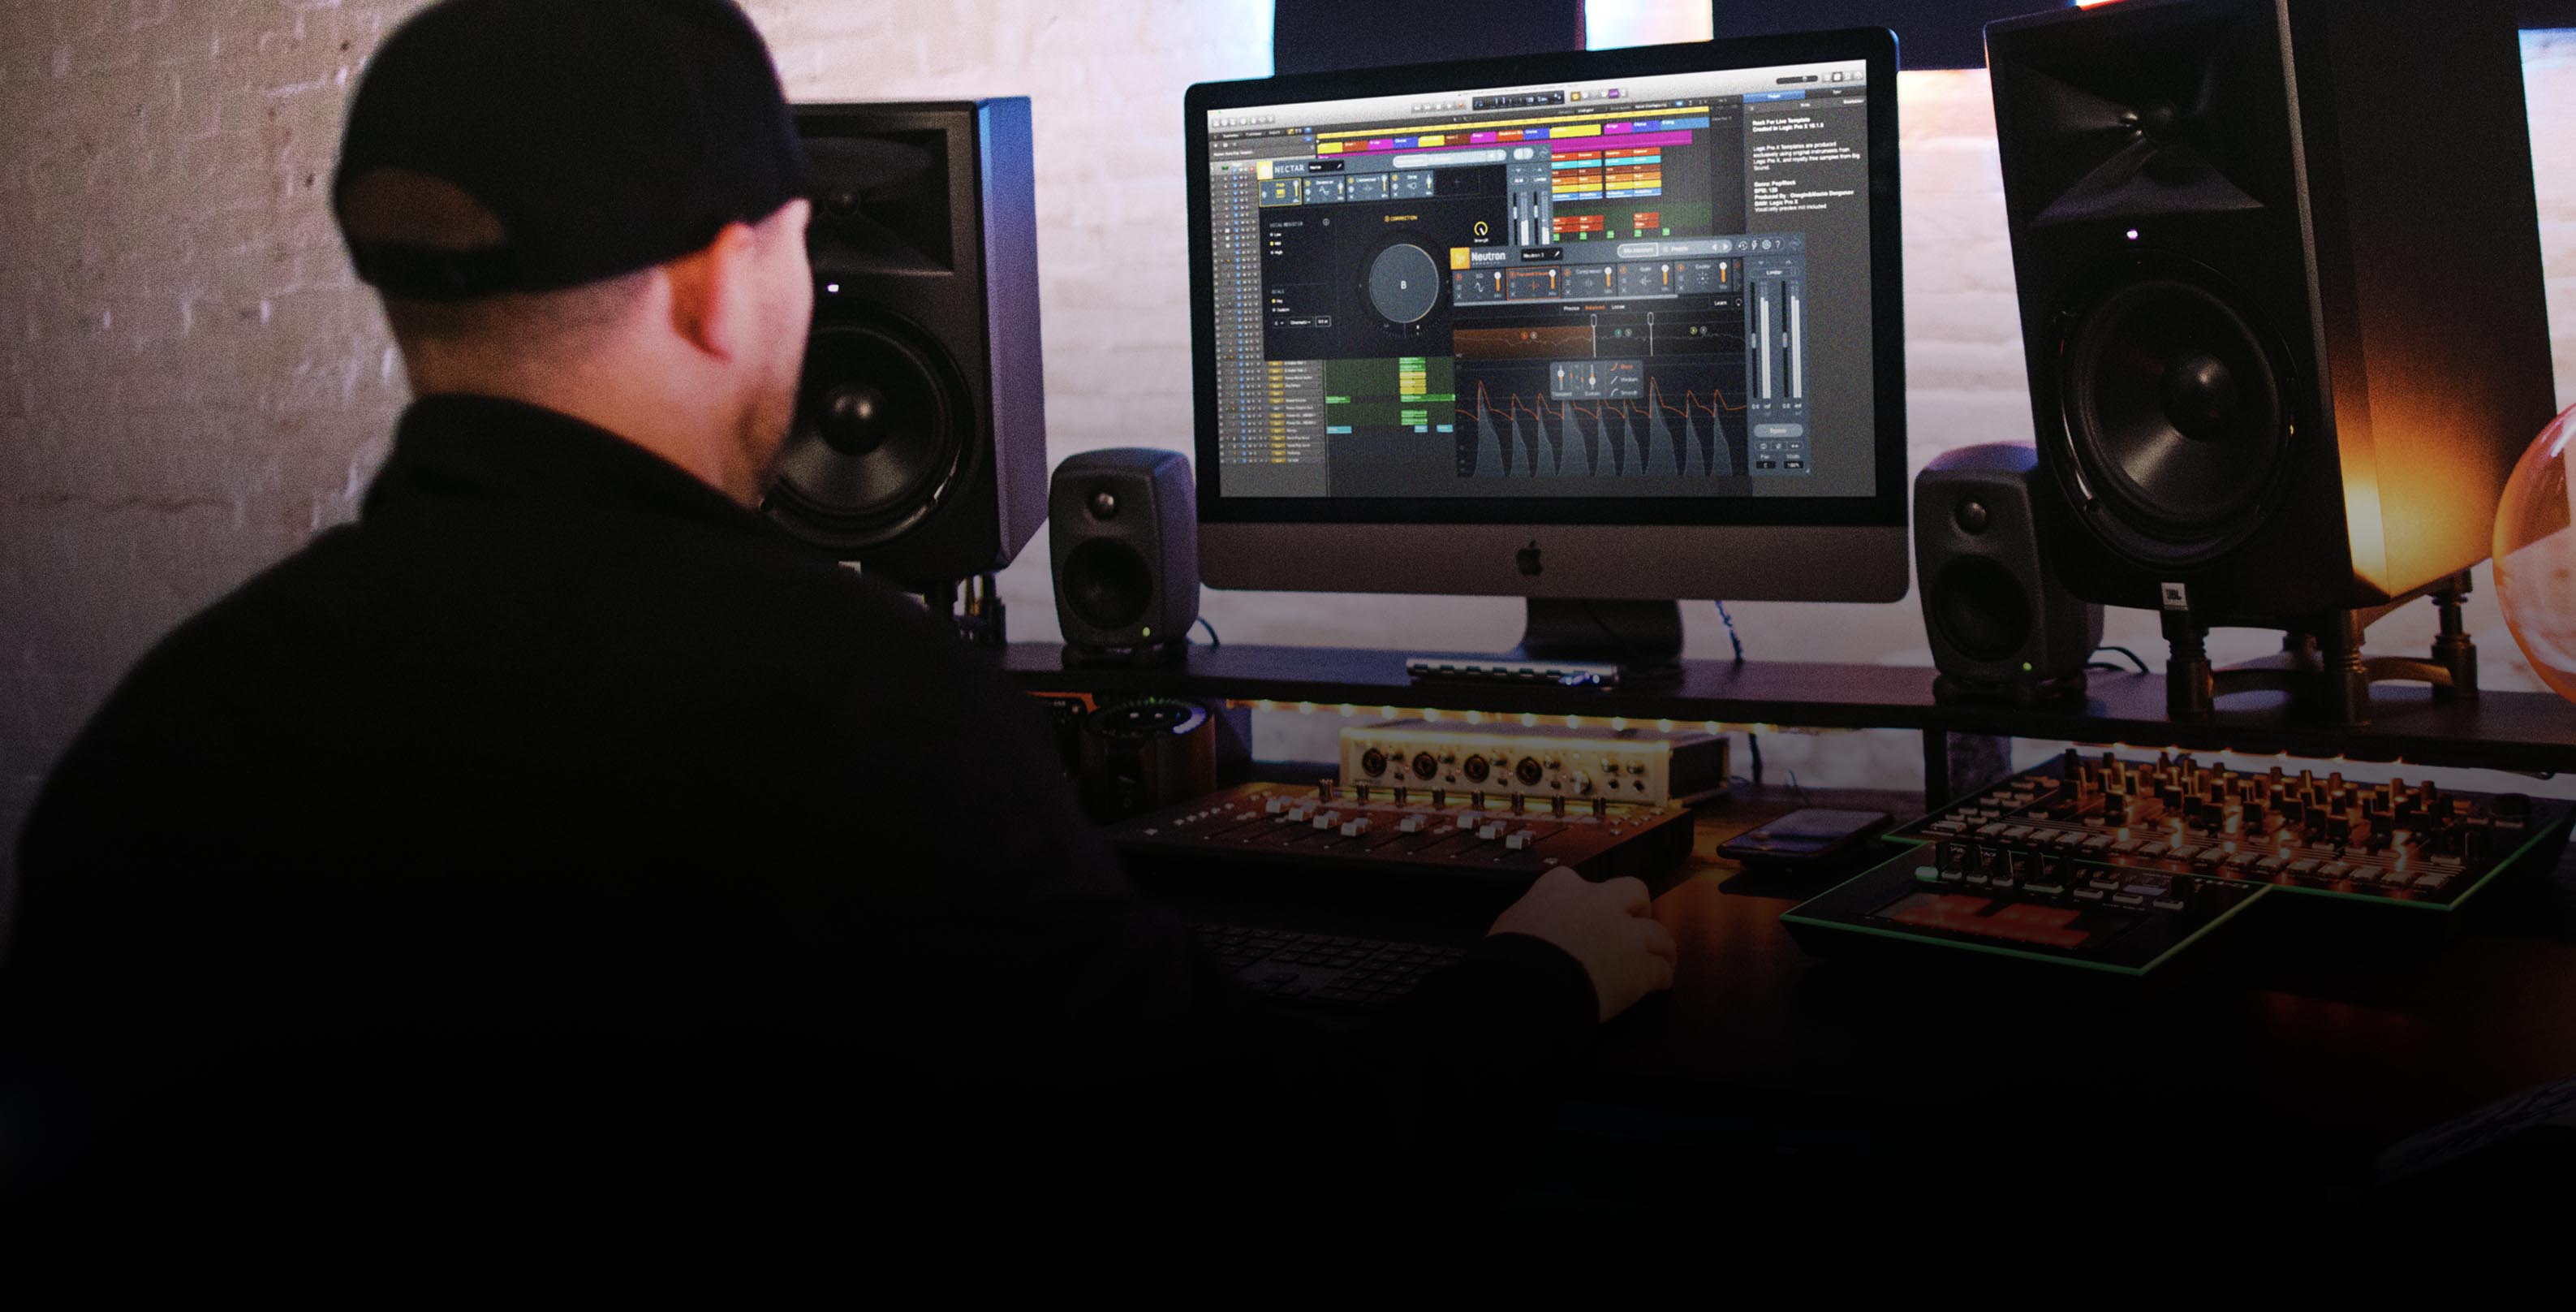
How to mix piano
Whether you’re mixing piano for a rock, sing/songwriter, pop, or folk arrangement, here’s how to mix piano to sound dynamic, full, and vibrant in your music without getting in the way of the other elements in your mix.
The piano is a symphony orchestra in one single instrument—so no wonder pianos can be confounding to mix! If you’ve ever found yourself stuck on how to mix a piano for a rock, singer/songwriter, pop, or folk arrangement, this one's for you.
In this tutorial, learn how to mix piano to sound dynamic, full, and vibrant in your music without getting in the way of the other elements in your mix.
We’ll be using many of the plug-ins included in iZotope’s


iZotope Music Production Suite Pro: Monthly


Music Production Suite 5.2


Neutron


Neoverb


Ozone Advanced


Nectar 3 Plus
Learn how to:
- Understand a piano’s frequency range
- EQ piano
- Tackle rough piano recordings
- Achieve a full sound by getting the mics in phase
- Route mics to the submix to save time and effort
- Widen a mono piano naturally with reverb
- Increase piano sustain with reverb
- Choose the right piano compression settings for the song
1. Familiarize yourself with the piano’s frequency range
The piano has a wide frequency range: its lowest note corresponds to 27.5 Hz, while the highest goes to 4.18 kHz—and that’s not including the harmonics.
With such a wide range, the piano can easily step in the way of nearly every other instrument in your mix. It can be boomy, muddy, nasal, harsh, tinny, and every other adjective we commonly use to describe sound in the mixing process.
In fact, you know those frequency cheat sheets you find online—the ones that look like this?

iZotope Carnegie Chart
You can use them as a cheat-sheet for the piano as well.
This article references a previous version of Neutron. Learn about 

Neutron 5
Once you familiarize yourself with a piano’s frequency range, you can use Neutron’s Masking Meter to help you identify where the piano's frequency content is masking other elements in a mix so you can make faster and more efficient EQ decisions that can help you create a clearer mix.
2. Piano EQ: focus on broad strokes rather than tight moves
Every recording has its own particular quirk. The piano is no exception. If anything, the instrument is even more temperamental.
Because of the piano’s harmonic complexity, each mixing move tends to affect the whole picture drastically. I can’t tell you how fast a piano can go from sounding perfect to sounding abysmal— very often, one EQ cut is the difference. Trying to fit a piano into a mix is almost like trying to fit a full-mastered track into a movie: the less you do to it the better.
Much depends on how the piano is captured at the source. You’re never going to make an upright piano, recorded in a basement, sound like a concert grand recorded in a studio. If the initial sound is good, I advise doing as little as possible. Think tone shaping over EQ’ing—broad strokes over tight moves.
The following is an example of how not to EQ a piano that already sounds good:

How to not EQ a piano
A better approach might be something like this:

Better piano EQ choices in Neutron Pro
Of course, this doesn’t tell you anything without audio examples. Here’s option 1 (the bad one) in a very busy mix I drummed up for this article:
In the next example, the piano sits in the mix better.
3. Bad piano recording? Embrace its flaws
Sometimes you’re presented with either a bad piano recording, or a badly maintained piano. The best thing to do is to re-record the piano. If you can’t, the next best approach here is to embrace all its flaws and use them to your advantage.
An example I think on fondly:
Many years ago, I did a location recording for Eliot Cardinaux, a fantastic jazz piano player. The project was distinctively different, as we set up in a community space located in Western Massachusetts. Eliot played a soft, worn, slightly out-of-tune piano.
We embraced the situation and accentuated the surroundings, doing things I’d never dream of in other circumstances, such as opening the door to catch the sound of exterior rain patter. That’s an example of making the most of a suboptimal piano in the recording process.
As a mixing reference for suboptimal pianos, I’d like to point you to “Song for Sarah Jane” by Hawksley Workman.
I have no way of knowing what the actual recording sounds like, but the result is a masterclass on how to mix an atypical piano capture. All the moves are made for vibe here, from the reverb, to the inclusion of chair squeaks.
The world is your oyster when it comes to adding effects to salvage jobs. It’s perfectly acceptable to use an EQ that looks like this:

Weird piano EQ choice in Neutron
Or transient shaping that looks like this:
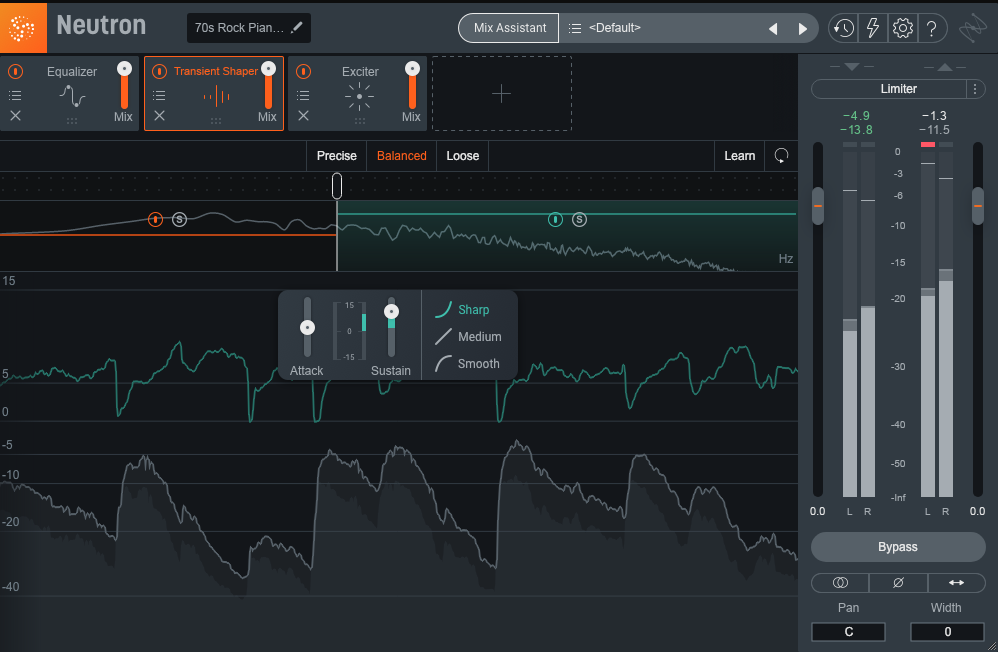
Weird transient shaper piano choice in Neutron
Because we’re also using flanging that looks like this:

Weird piano flanging in Nectar
And reverb that looks like this:

Weird piano reverb in Neoverb
In the mix, it all sounds like this:
The result sure isn’t natural—but it works!
4. Achieve a full sound by getting the mics in phase
If you’re familiar with mixing drums, this tip is going to make a lot of sense: many engineers capture the piano with two microphones in order to give you a stereo capture. This allows you to paint a vast and wide sonic picture.
Any time an instrument is mic’ed in stereo, you ought to check the phase relationship between the two mics. If they’re not perfect, you might wind up with a hollow unnatural sound. This is due to phase canceling—a phenomenon that can occur when microphones are not equidistant to the source. You can fix this problem in a few different ways.
The go-to option is to flip the polarity on one of the channels, but this really only works when the mics are completely out-of-phase with each other. If they’re not, the old polarity swap only affords you two choices: bad and worse.
Luckily, you can go deeper. Your first option is to delay one of the piano signals, using your ears to judge what sounds best. You can delay the sound with Relay, and I’ll show you how.
Here are two piano mics, one slightly out of phase with the other:
We’ll add a delay on the left side using


Relay

Adding a delay on the left side with Relay
Using our ear, we’ll settle on 1.4 ms. And in phase, it’ll sound like this:
We can also use our eyes to line up the waveform. The tip here is to look for zero crossings—moments where the waveform crosses from troughs to the crests, like so:
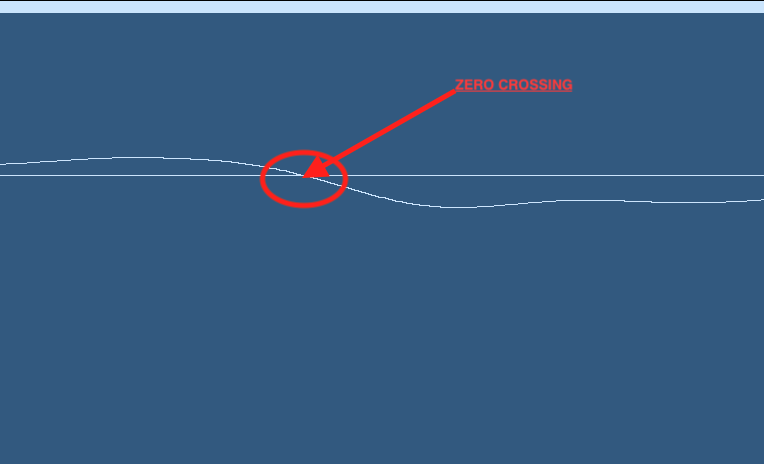
Look for zero crossings like this when lining up the waveform
Try matching up the zero crossings between the left and right mic—within reason—and you have a chance of putting the pianos in phase.

Matching zero crossings
This doesn’t always work, but in this case, it did:
Your third option is to use a plug-in to calculate the best phase relationships automatically. Many plug-ins exist for this purpose.
The fourth option is best when the mics are so different that blending them doesn’t work in any capacity whatsoever. This can happen if the engineer used drastically different mics on each side, such as a dynamic on the lower register and a condenser on the highs. Here, you simply discard whichever mic sounds worse, and work with the chosen mic in mono.
5. In a stereo recording, route the mics to a submix
Say you get two tracks for the piano. They’re meant to be taken as a stereo pair, so it’s best to process both of them simultaneously after any phase correction.
Don’t compress the left channel one way and the right another—and don’t EQ either side independently, unless you’re dealing with some truly extraordinary circumstances that need to be corrected. Also, don’t copy settings from channel to channel either; that’s a waste of CPU.
Instead, send both piano mics to a bus, and apply processing to the bus itself, like so.

In a stereo recording, route the mics to a submix
By placing your two tracks into a bus, you’ll be able to process them both simultaneously to save time and effort.
6. To widen a mono piano naturally, go with reverb over stereo trickery
Sometimes all you have is a mono piano, and sometimes the mix screams for stereo. Most of the time, stereo wideners are not your friends here.
Such manipulation on a mono piano source can sound unnatural and washy in a mix. Instead, try routing the piano to a stereo reverb, and making the reverb a part of the sound. Observe this part right here:
Sounds good enough for a mono piano part. Now we put it in a mix.
We want it to take up some stereo space, right? Let’s stretch it with the


Ozone Imager V2
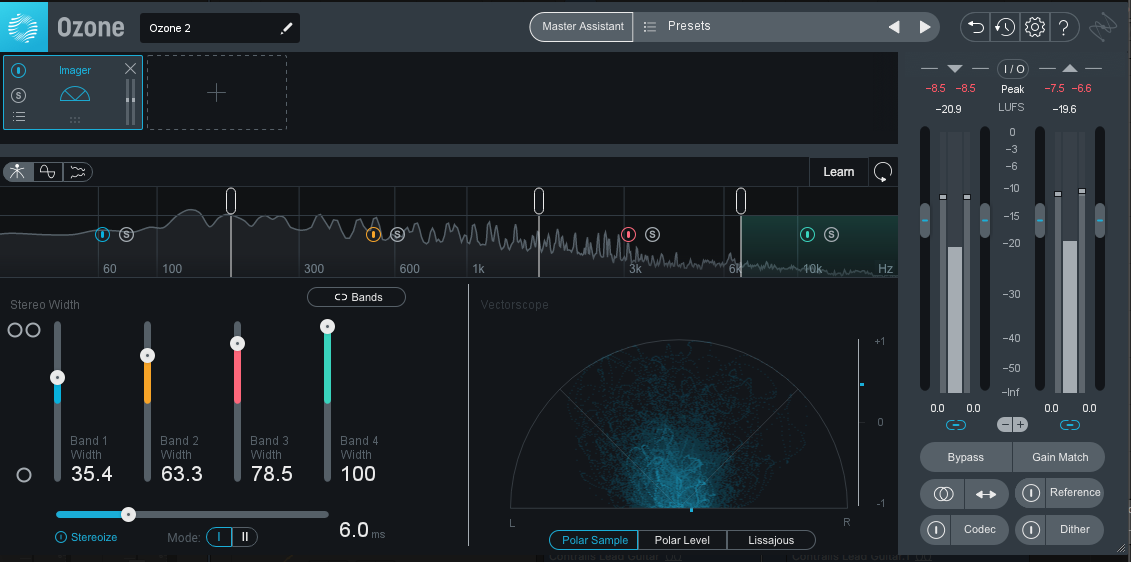
Ozone Imager stretching the piano
But this sounds a bit weird, even taxing. Instead, let’s pan the mono signal to a place in the stereo field, and add reverberation from


Neoverb

Reverb applied on the piano with Neoverb
I think this sounds much better. The piano still has a point-source location, like the guitars, but also has width, thanks to the reverb that was applied.
7. Use reverb on the piano to increase sustain
Sometimes you want more sustain out of your piano part. Maybe it was recorded inexpertly. Maybe it’s an upright piano with a naturally sharp attack, and you want to make it feel more like a smooth baby grand.
As iZotope offers a fantastic multiband transient shaper in Neutron Pro, you’d think it would be the tool for the job. On some occasions, it very well might be—but I’d opt for a different technique to try first: reverberation, applied directly on the track, as a sweetening agent.
Remember that you usually want the least processing that will suffice with pianos. This extends to a transient shaper, especially in multiband, as you’re likely to exaggerate the sustain to an unnatural degree.
Take this piano that we’ve used to death by this point:
We want those high notes to linger, so we apply sustain in the high-midrange of the transient shaper:
It doesn’t sound especially good in a mix.
Instead, let’s try Neoverb. We use it with the following settings to create a soft, pillowy tail of reverb.

Using Neoverb to blend the reverb on the piano

Using Neoverb to control the timing of the reverb on the piano
We don’t use a bus here—we apply Neoverb directly to the instrument, so as to marry this fake tail directly to the sound:
In the mix, it sounds like this:
Pretty good, and much more natural than transient shaping in this case. Of course, we’re running into another problem now: this piano part is too dynamic for the mix. This brings us to our next tip:
8. Choose the right piano compression settings for the song
We’ve made it all this way without bringing up compression—good for us! But here we are. So, how do we compress a piano in a mix? Ideally, as subtle as possible.
Unless we’re going for something out of the Electric Light Orchestra, we don’t want to squash our pianos—we want something that subtly adjusts the dynamics, perhaps adding color while doing so.
One of my favorite iZotope tools for compressing pianos is the Optical emulation in


Nectar 3 Plus

Applying compression settings on piano with Nectar
Auto Level Mode (the ALM button above the input fader) also works wonderfully for subtle dynamics control.
Start mixing piano
Allow me to take this opportunity to once again remind you of your first prerogative: first, do no harm. You are far better off taking the piano as it is and letting it dictate your decisions, rather than forcing the piano into a sonic shape it would rather not take. Let the piano itself be your guide, and you’re much more likely to achieve a great sound. And remember, you can try these tips in your sessions with a free trial of iZotope’s Music Production Suite Pro membership or getting your copy of Music Production Suite. Happy mixing!
