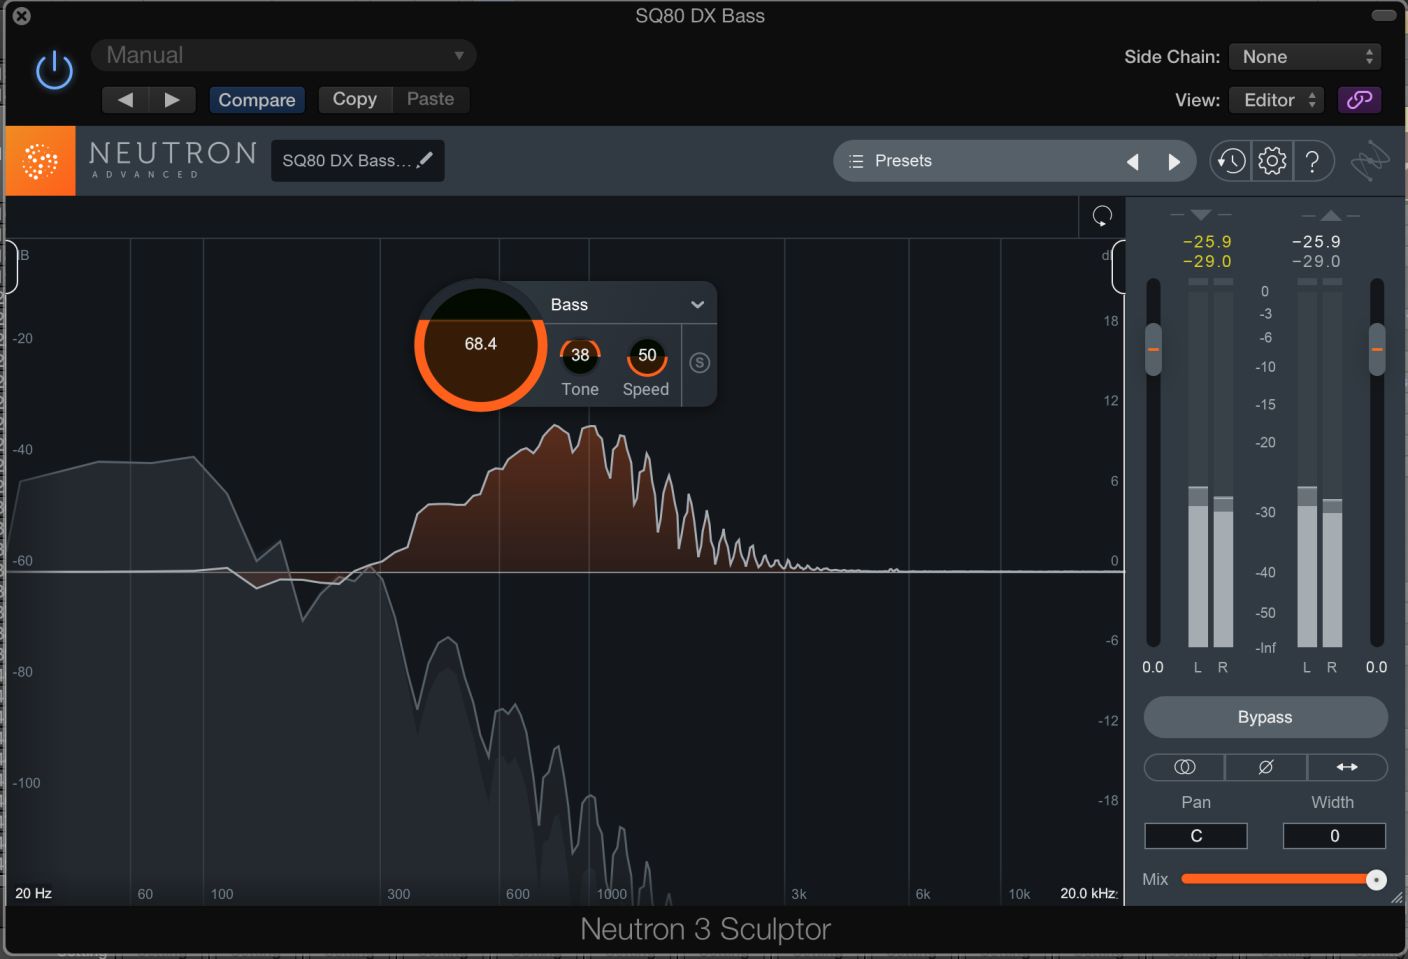
9 Tips for Using Sculptor in Neutron 3
Learn 9 ways to use Sculptor in Neutron 3 to enhance your mix. Intelligently shape tone, add depth, and more with instrument-specific target processing.
This article references a previous version of Neutron. Learn about


Neutron 5
Neutron has a brand spanking new module called Sculptor, so we thought we’d give you some concrete uses for when and how to implement


Neutron
What is Sculptor in Neutron 3?
Sculptor belongs to a new generation of processing tools built on a high degree of machine-learning and spectral technology. First, an instrument-specific algorithm, carrying its own idea of a properly balanced frequency curve, analyzes your input signal. Then, operating at incredible speeds, Sculptor performs scores of minute adjustments to get your signal closer to that predetermined curve.
You have controls to help tailor the curve to your desires: an intensity knob drives how hard Sculptor will work, while a speed control governs how fast the process kicks into effect. You can cheat the tonality to favor the highs or lows (generally) with the tone gauge, and a dry/wet control in the top pane turns Sculptor into a parallel effect if need be. With adjustable high and low cutoffs, you can even excise the lows or highs from the process altogether.
Tools like Gullfoss may be similar, but Sculptor distinguishes itself from the pack in a couple of ways. First, its multiple preset target curves allow you to select an instrument target from a list and make smaller adjustments to the weight and behavior from there. Target curves from electric pianos to cymbals to synth leads are available by means of an intuitive menu. Secondly, Sculptor's CPU-load (and the CPU-hit across the board for processing in Neutron 3) is light—you can use Sculptor handily across every track in your mix.
So what are some uses? Let’s cover a few global applications, and a few case-specific instances where using the Sculptor might be a good idea.
1. Sculpt first, tweak less later
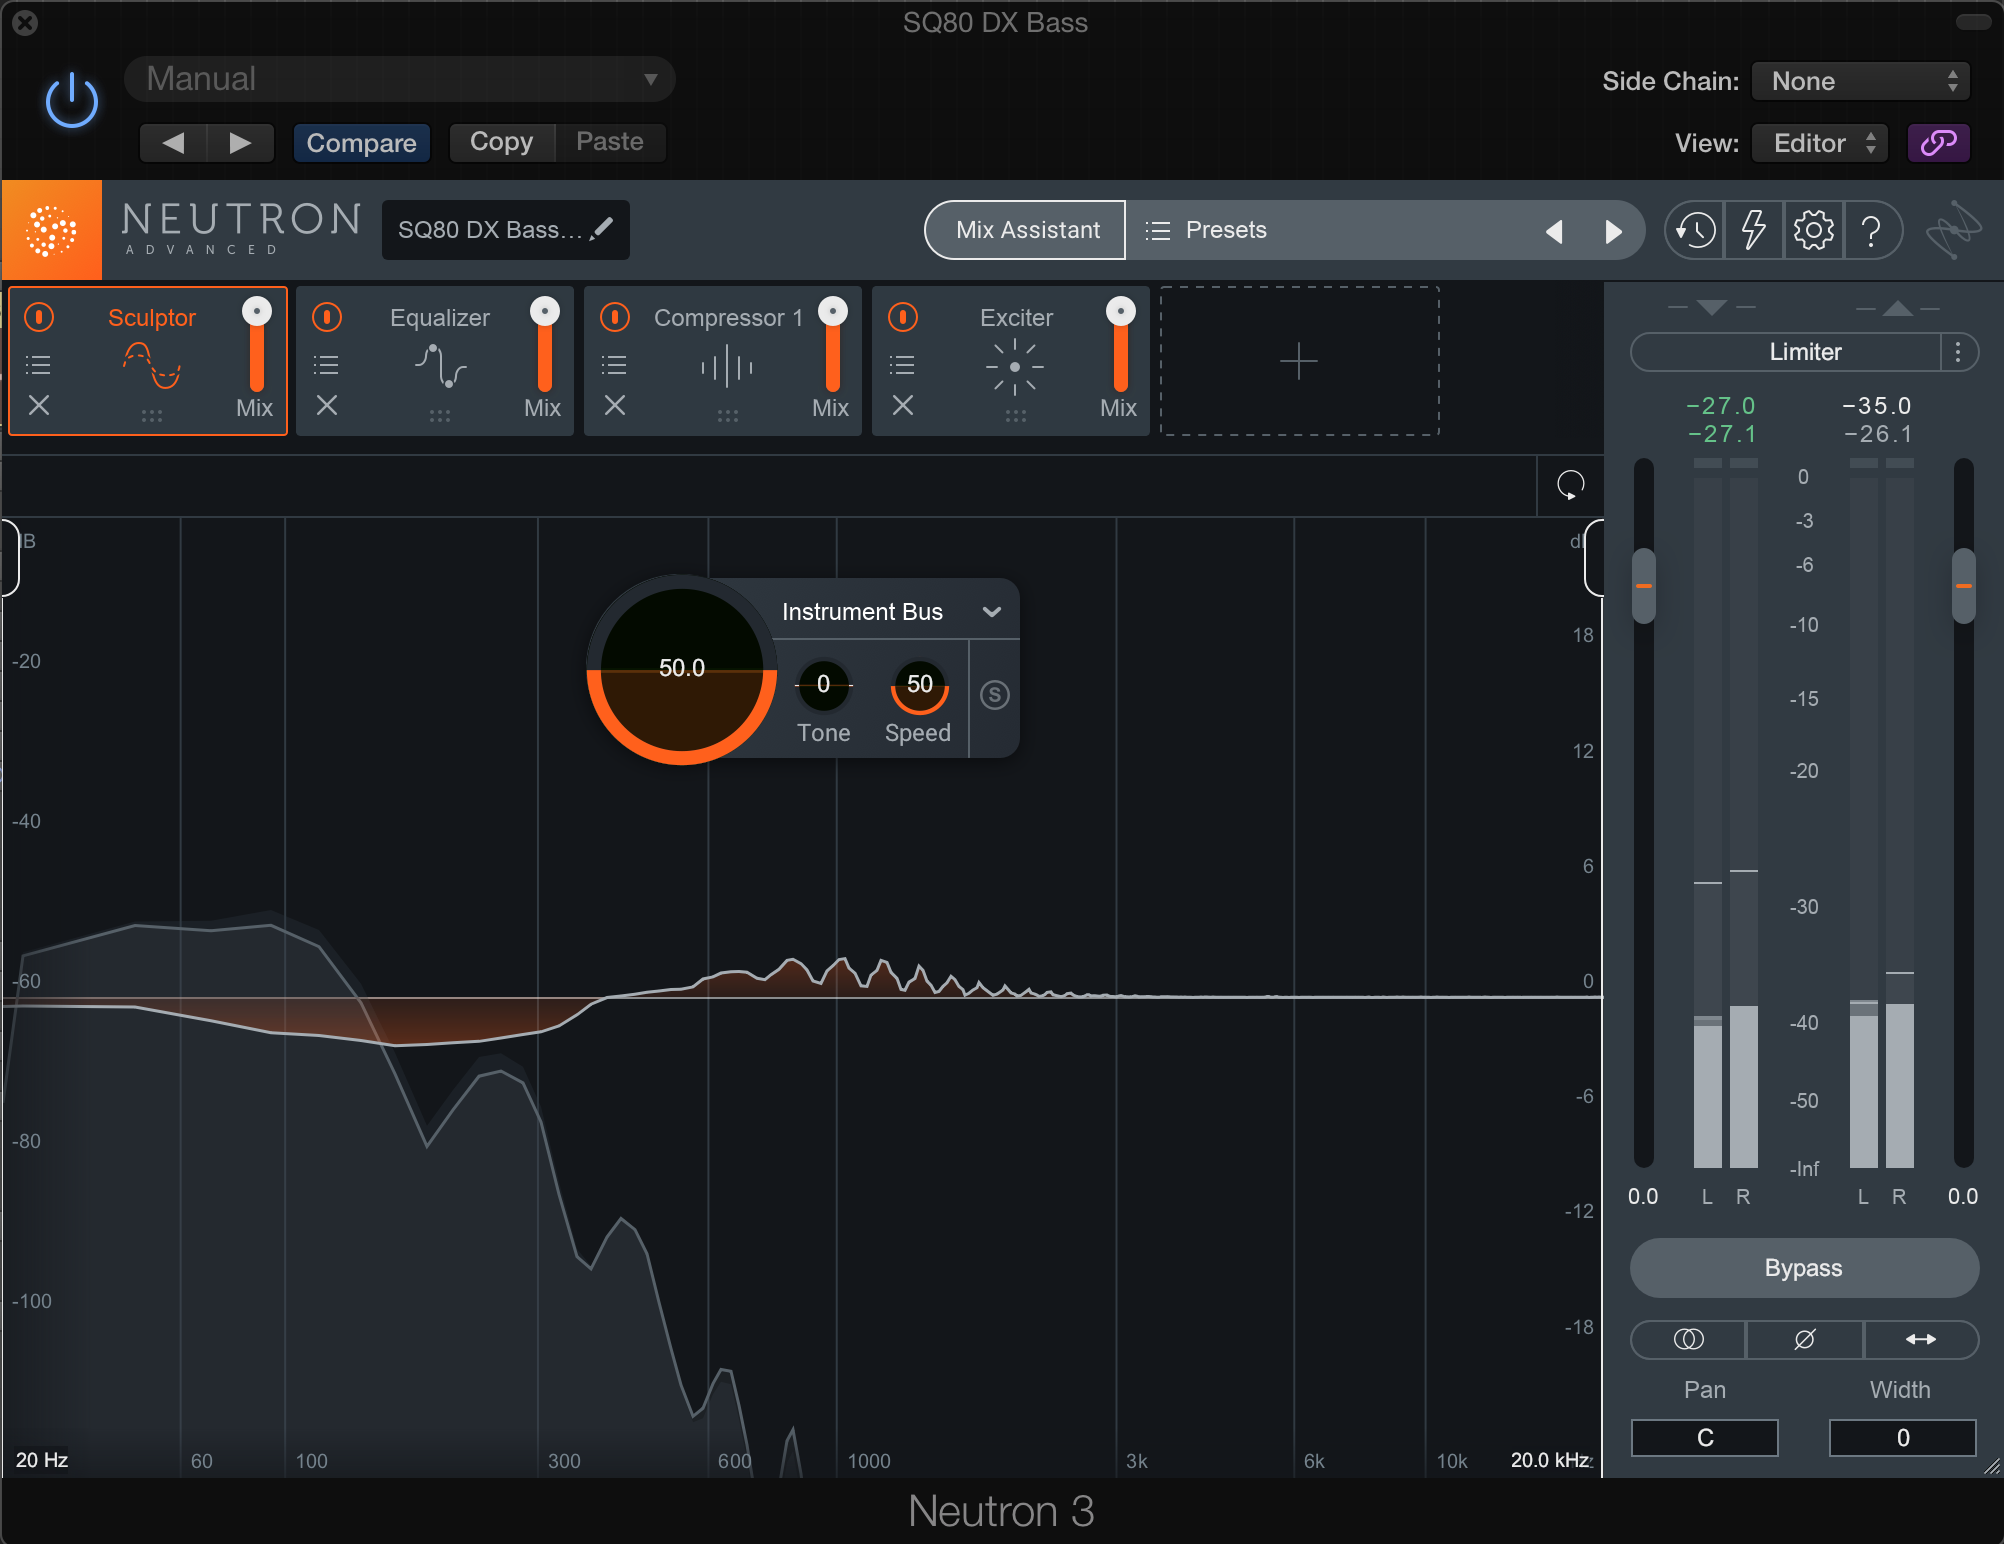
Neutron 3’s Sculptor module in Track Assistant
If you run Track Assistant now, you’ll notice that the algorithm tends to put Sculptor at the beginning of an instrument chain—and this is no accident. Running Sculptor first, before any other process, can simplify your EQ’ing.
Say you don’t like the timbre of the snare in your static mix—it sounds too much like a bucket and lacks crispness. You may find that when you apply Sculptor before any other process and tune it to snare, the instrument seems somehow bereft of its troublesome qualities. Use the tonality slider to whatever suits the mix best; perhaps you go into positive values for crispness, or negative values for a deeper, more resonant sound (without the bucket-tone you wish to avoid). The choice is yours.
You may now find that you have to add less EQ to edge the instrument into the mix. Gone are the drastic tight cuts for de-resonating, or harmonic-overtone boosts meant to cheat the instrument into a fuller tone. Instead, you can work simply, painting with EQ creatively.
Using Sculptor in this manner also helps any downstream dynamic processing, like compression or transient shaping. As a sound becomes inherently more balanced (in accordance with its instrument profile, of course), sudden peaks in volume or uncontrolled resonances should be minimized. Therefore, no egregious aspect of the sound should trigger undesirable gain-reduction, something also avoided with gain staging.
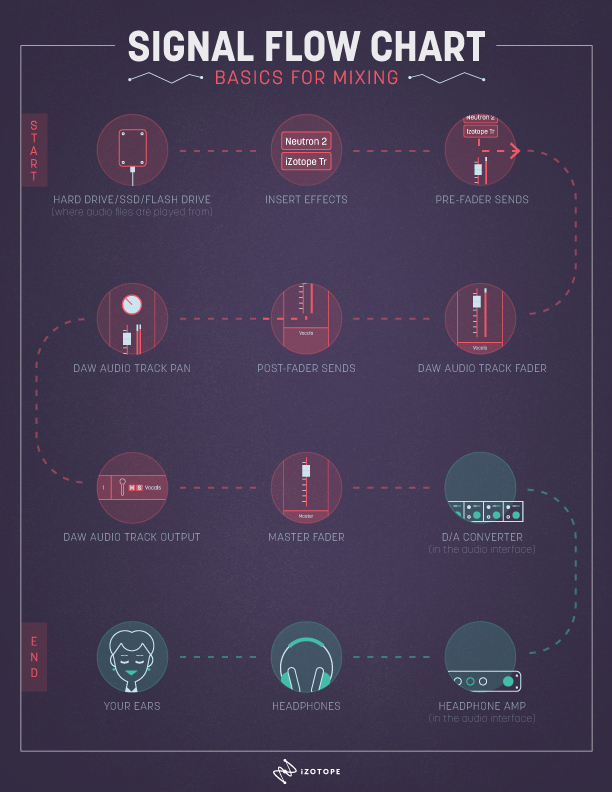
A typical mixing signal chain
2. Use Sculptor at the end of your signal chain for a final polish
As is the case with many iZotope products, you can use this module in completely different ways by virtue of where it goes in your signal chain. Sure, it works first on an instrument, handily cutting away the bad bits and elevating the good. But you can also plop it right at the end of any instrument bus, or even your stereo mix (before limiting, if you’re using a limiter).
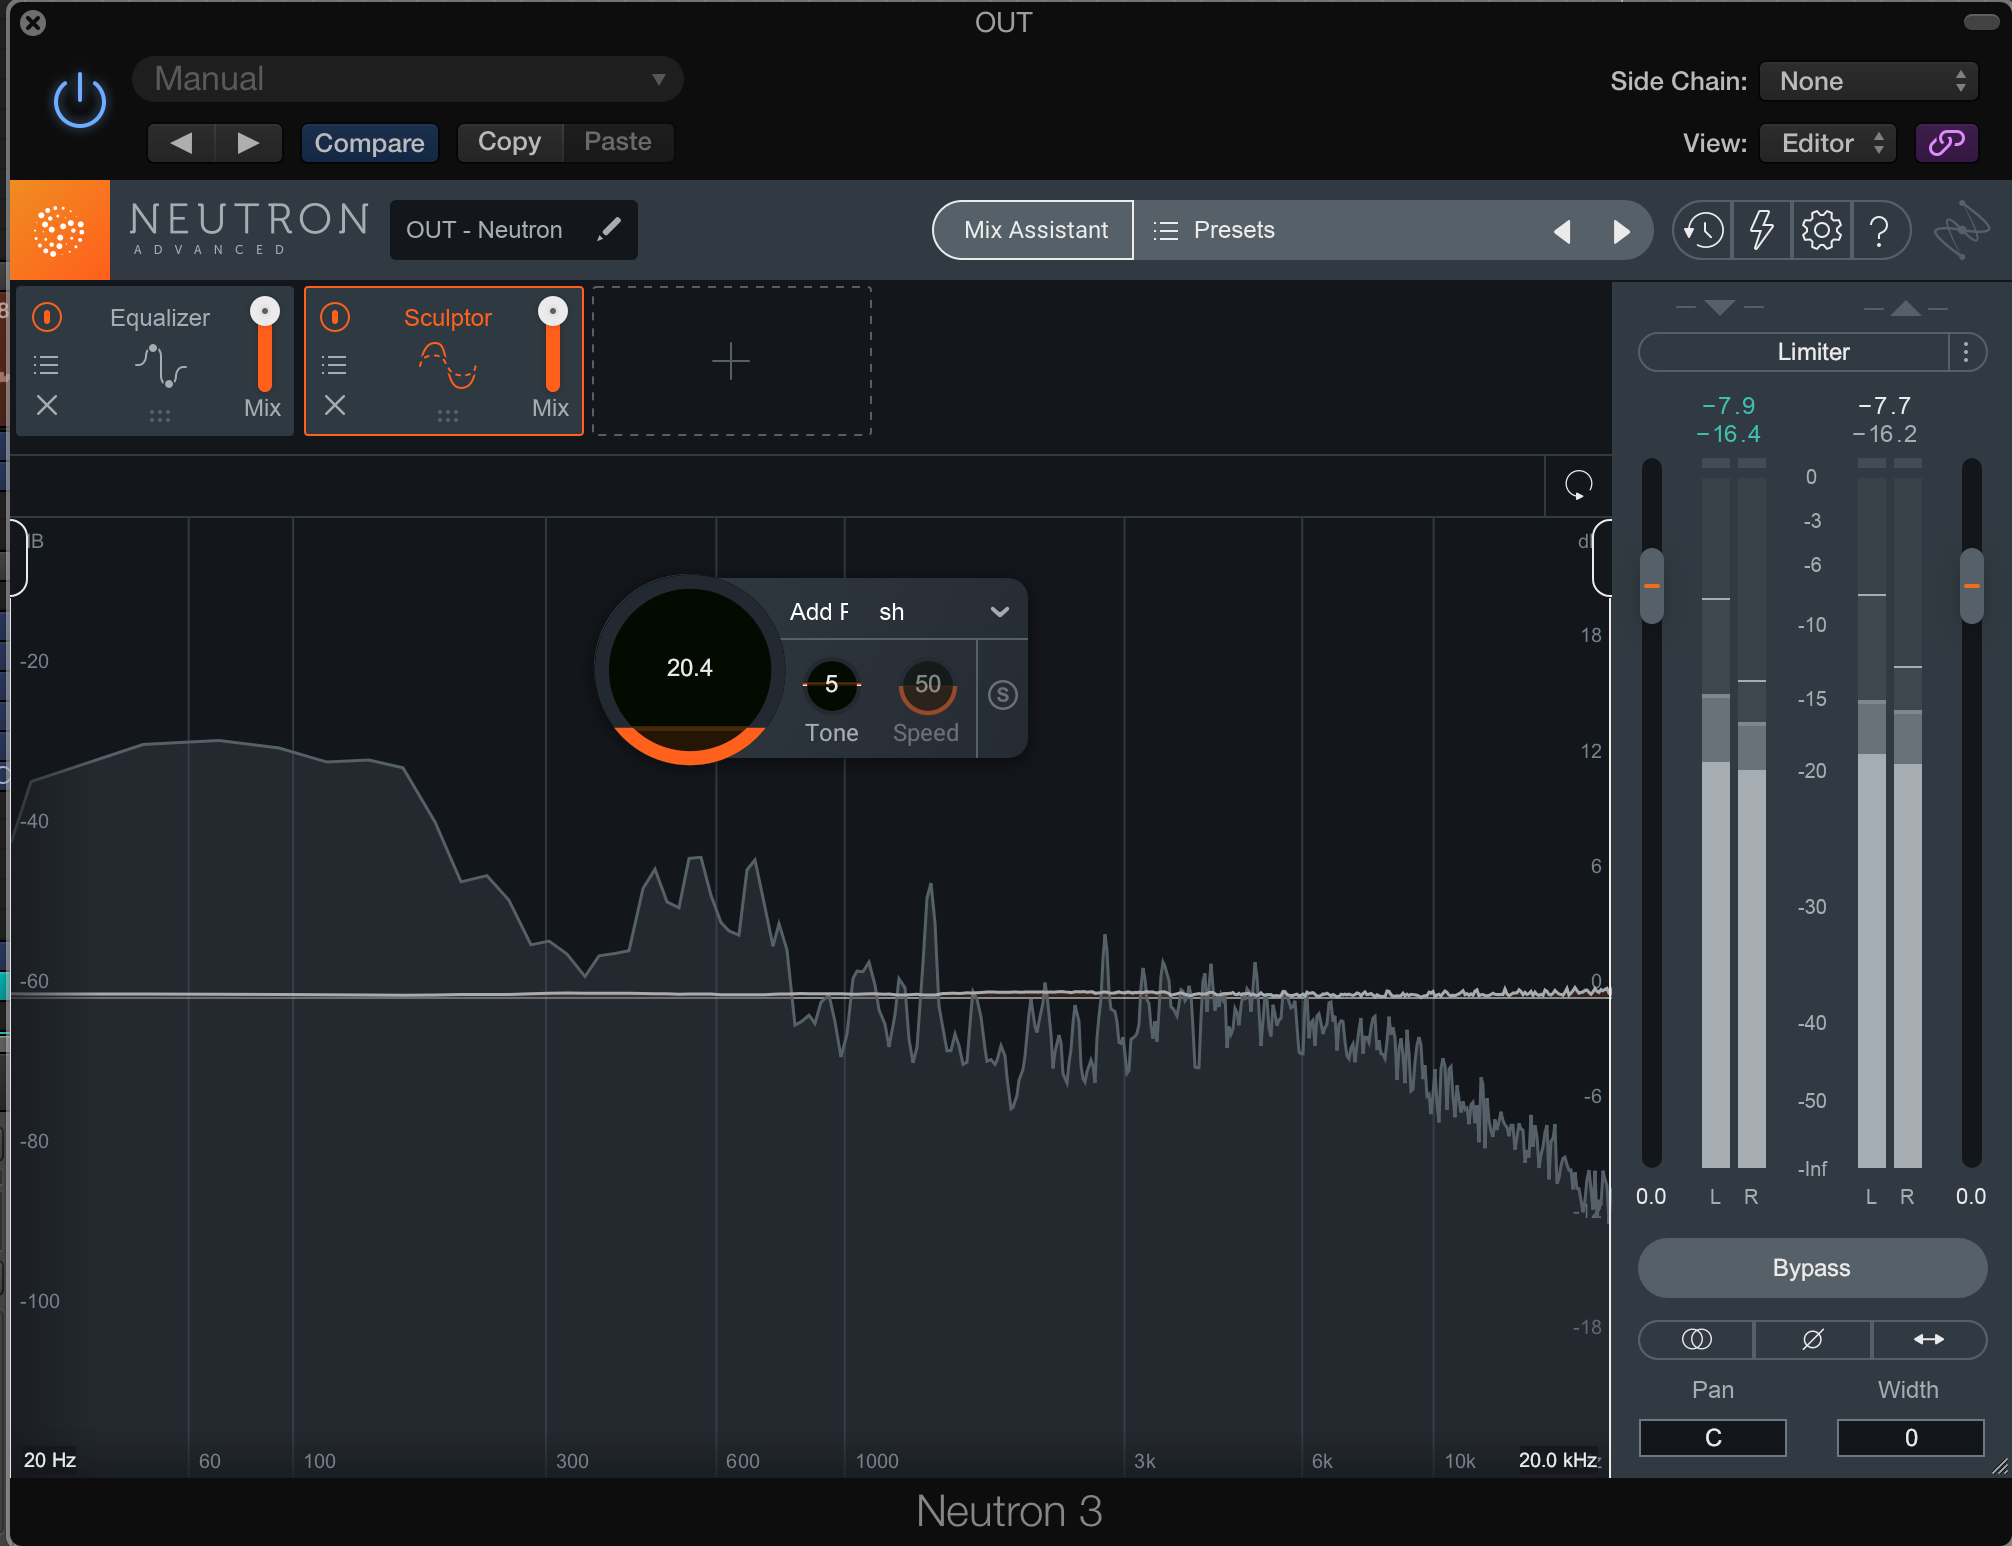
Polishing a stereo bus with Sculptor in Neutron 3
Here, you want to keep it simple and subtle. Select a profile such as Instrument Bus or Polish. I suggest you first run it drastically so you hear what the algorithm chooses to cut and emphasize. Then, return the intensity as close to zero as you can get before you notice it’s gone. An alternate method: decrease the intensity less, but back off the mix slider up top.
Top Tip: If the algorithm does too much to your highs or lows, use Sculptor’s dynamic processing by simply moving the action region boundaries. The crossover points are smooth, and you can keep undue harshness or boominess from influencing the mix if you play around with the filters.
This brings us to our next tip:
3. Turn Sculptor into a De-esser with filters
The first time I realized this sort of tech could be implemented in a band-specific way, I felt as though my head would explode: suddenly I didn’t have to indiscriminately cut a big semi-circle out of a frequency range just to notch out some offending sibilant spike within the band.
Move the action region boundaries to only process the upper midrange frequencies, tweak the tonality into the negative territory, and you can de-ess in a way that’s more dynamic than your typical De-esser (like the one found in RX Standard and Advanced). This also works on overly sibilant vocal stems. In fact, you can select voice-specific target curves, something your typical De-esser doesn’t do.
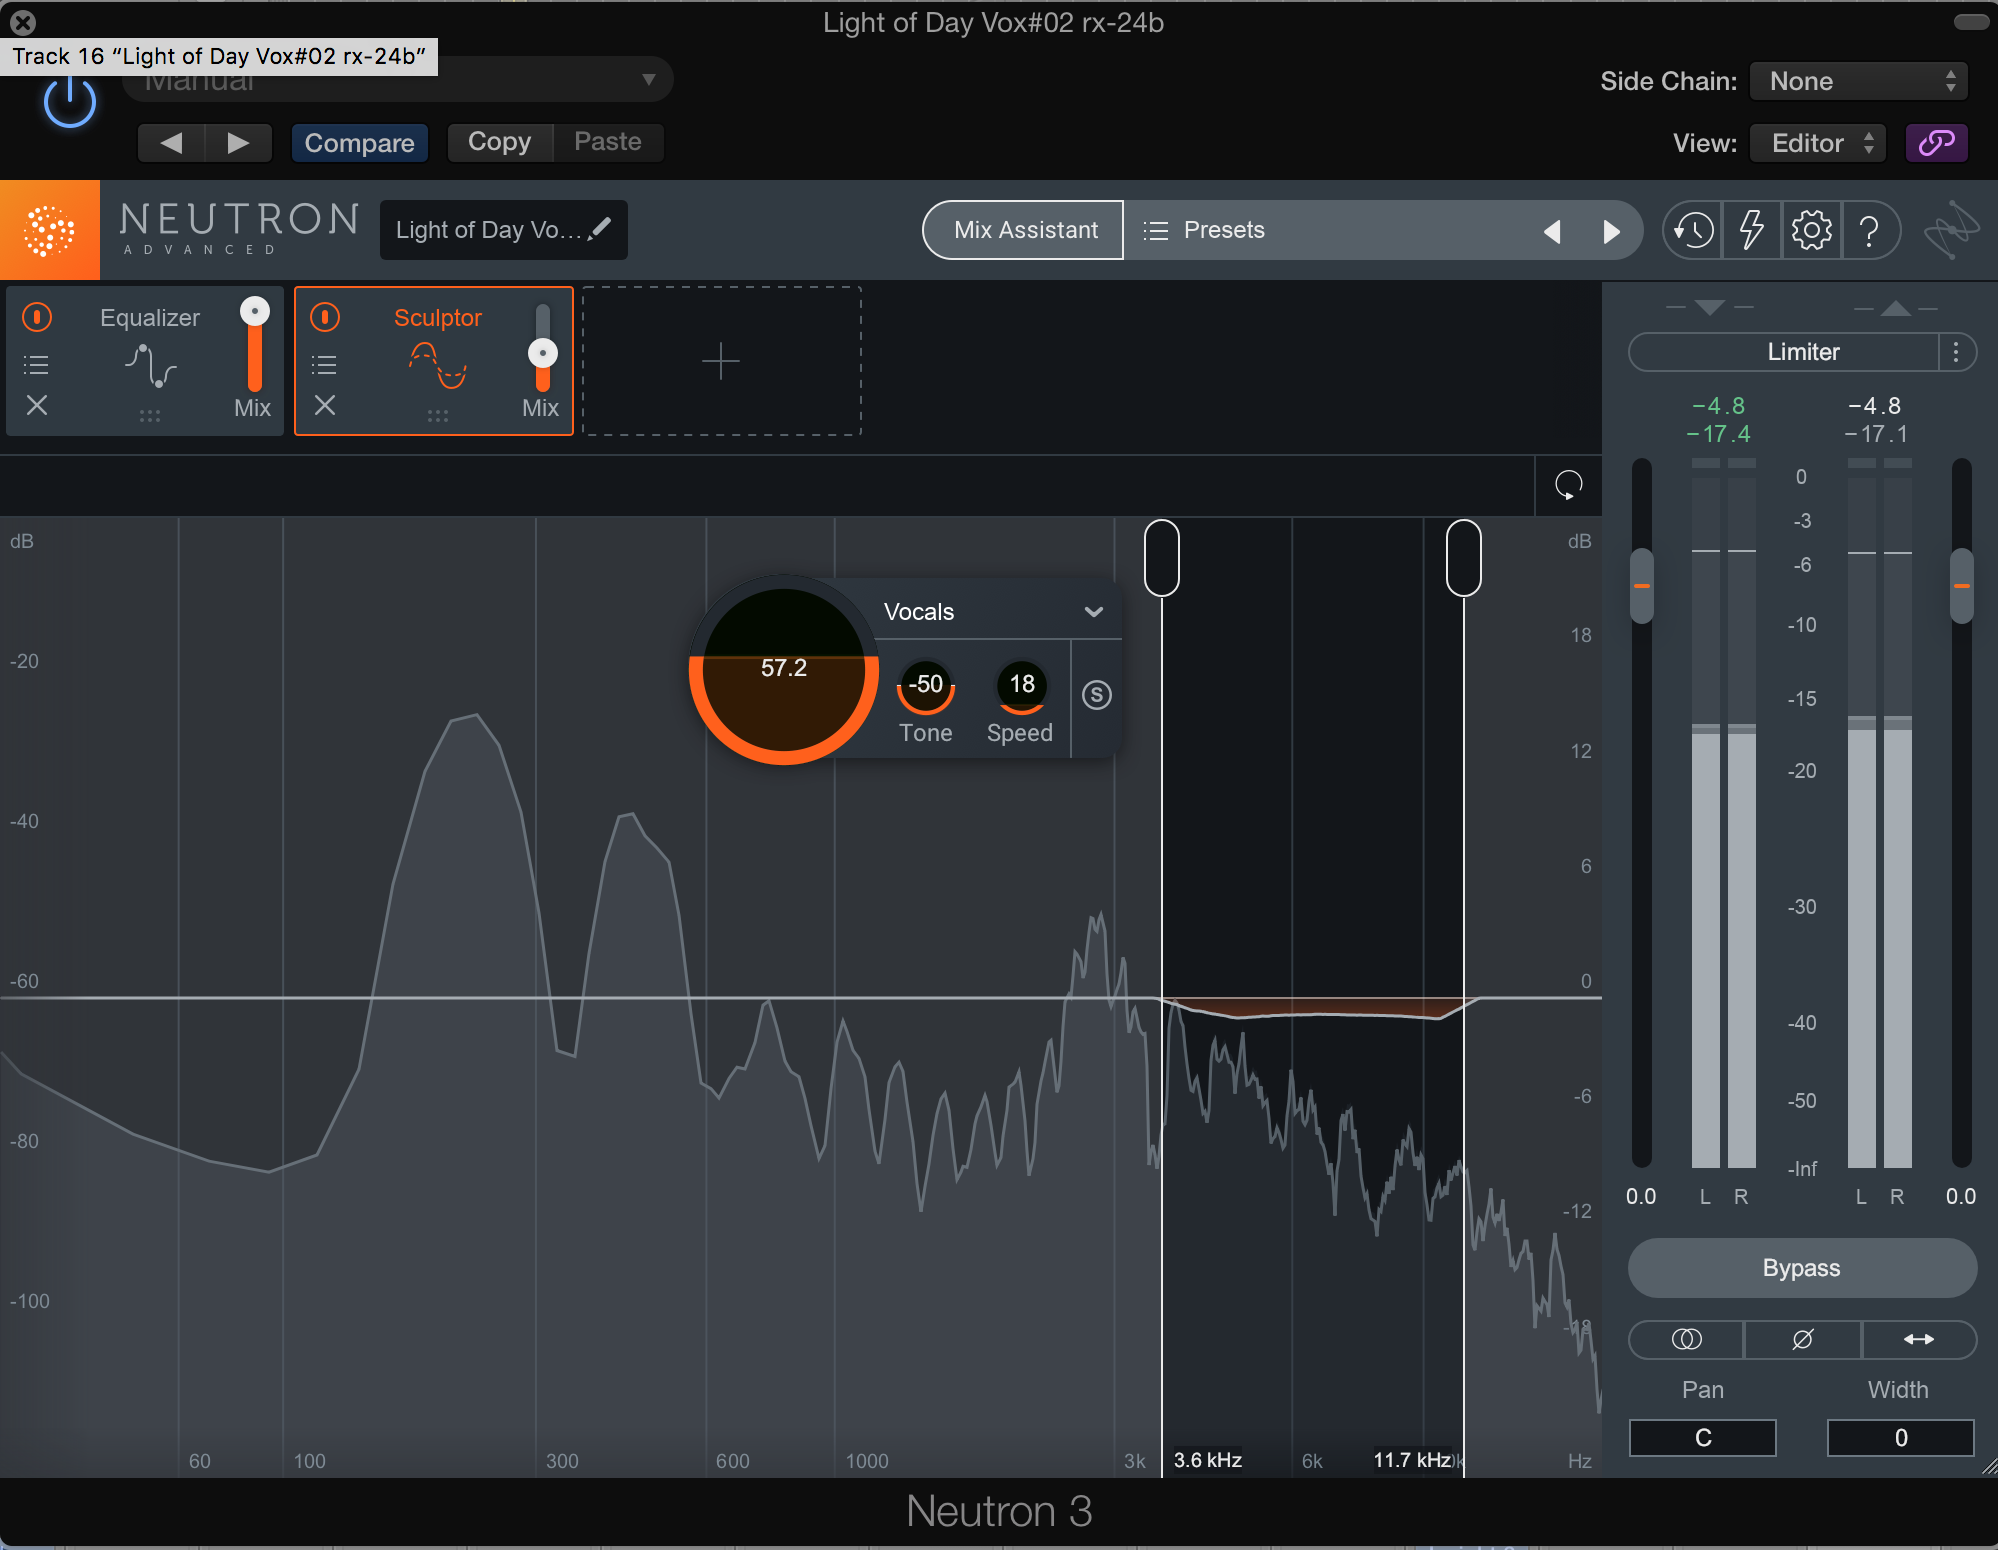
The Sculptor module acting as a De-esser
Move the band around to get out that annoying, needling presence that lurks at 3 kHz, without the deadness that traditional noise removal can impart. The same goes for your low-mid frequencies: if things are too tubby between 100 and 300 Hz, you can use Sculptor to carve out some fat.
4. Emphasize specific bands with Sculptor’s filters
As you can use the filters with negative-value tonalities to create a “De-adjectiver”, you can also do the opposite and emphasize specific presence bands with positive values. Say you have a vocal that lost its midrange due to comb-filtering or some other strange acoustical anomaly. Now you have a new tool at your disposal that acts differently from static harmonic excitement or upwards expansion.
This also works for instruments that need more life in specific frequency bands. Unlike EQ, which pushes the sound through a series of static filter shapes, Sculptor dynamically adjusts to create the ideal sound using a target curve of your choice.
5. Use Sculptor with lifeless percussive instruments, first in the chain
Moving on to specific use-cases: Sculptor pairs well with drums that lack a certain luster. I often reach for unconventional tricks to add life to papery sounding snares, but I can go a long way towards reconstituting the track with kicks, snares, toms, and high-hats if I plop Sculptor first in the signal chain.
6. Use Sculptor on a drum bus to add punch
Sculptor’s “Punch” instrument profile works well on the drum-bus. It adds a similar kind of cut as the kind you’d get out of parallel compression, but without extra routing and with a flair all its own.
Experiment with it—try Sculptor subtly or drive it hard, put Sculptor before compression, and experiment with using it after compression. You may get some great results, particularly with acoustic drums which can change timbre from hit to hit.
7. Use Sculptor to polish a vocal without harshness
Sometimes you’re done EQ’ing and compressing your vocal, and it still doesn’t have that lustrous, sumptuous sound. You feel a bit stuck: any more direct EQ to the top end would sound harsh and brittle. Any more compression would leave it feeling squashed. A parallel chain could work, but it might not be right for every section.
Keep the parallel route in mind, even after implementing Sculptor on the vocal, as parallel processing on the vocal can do wonders for adding weight and presence without overwhelming any one frequency band.
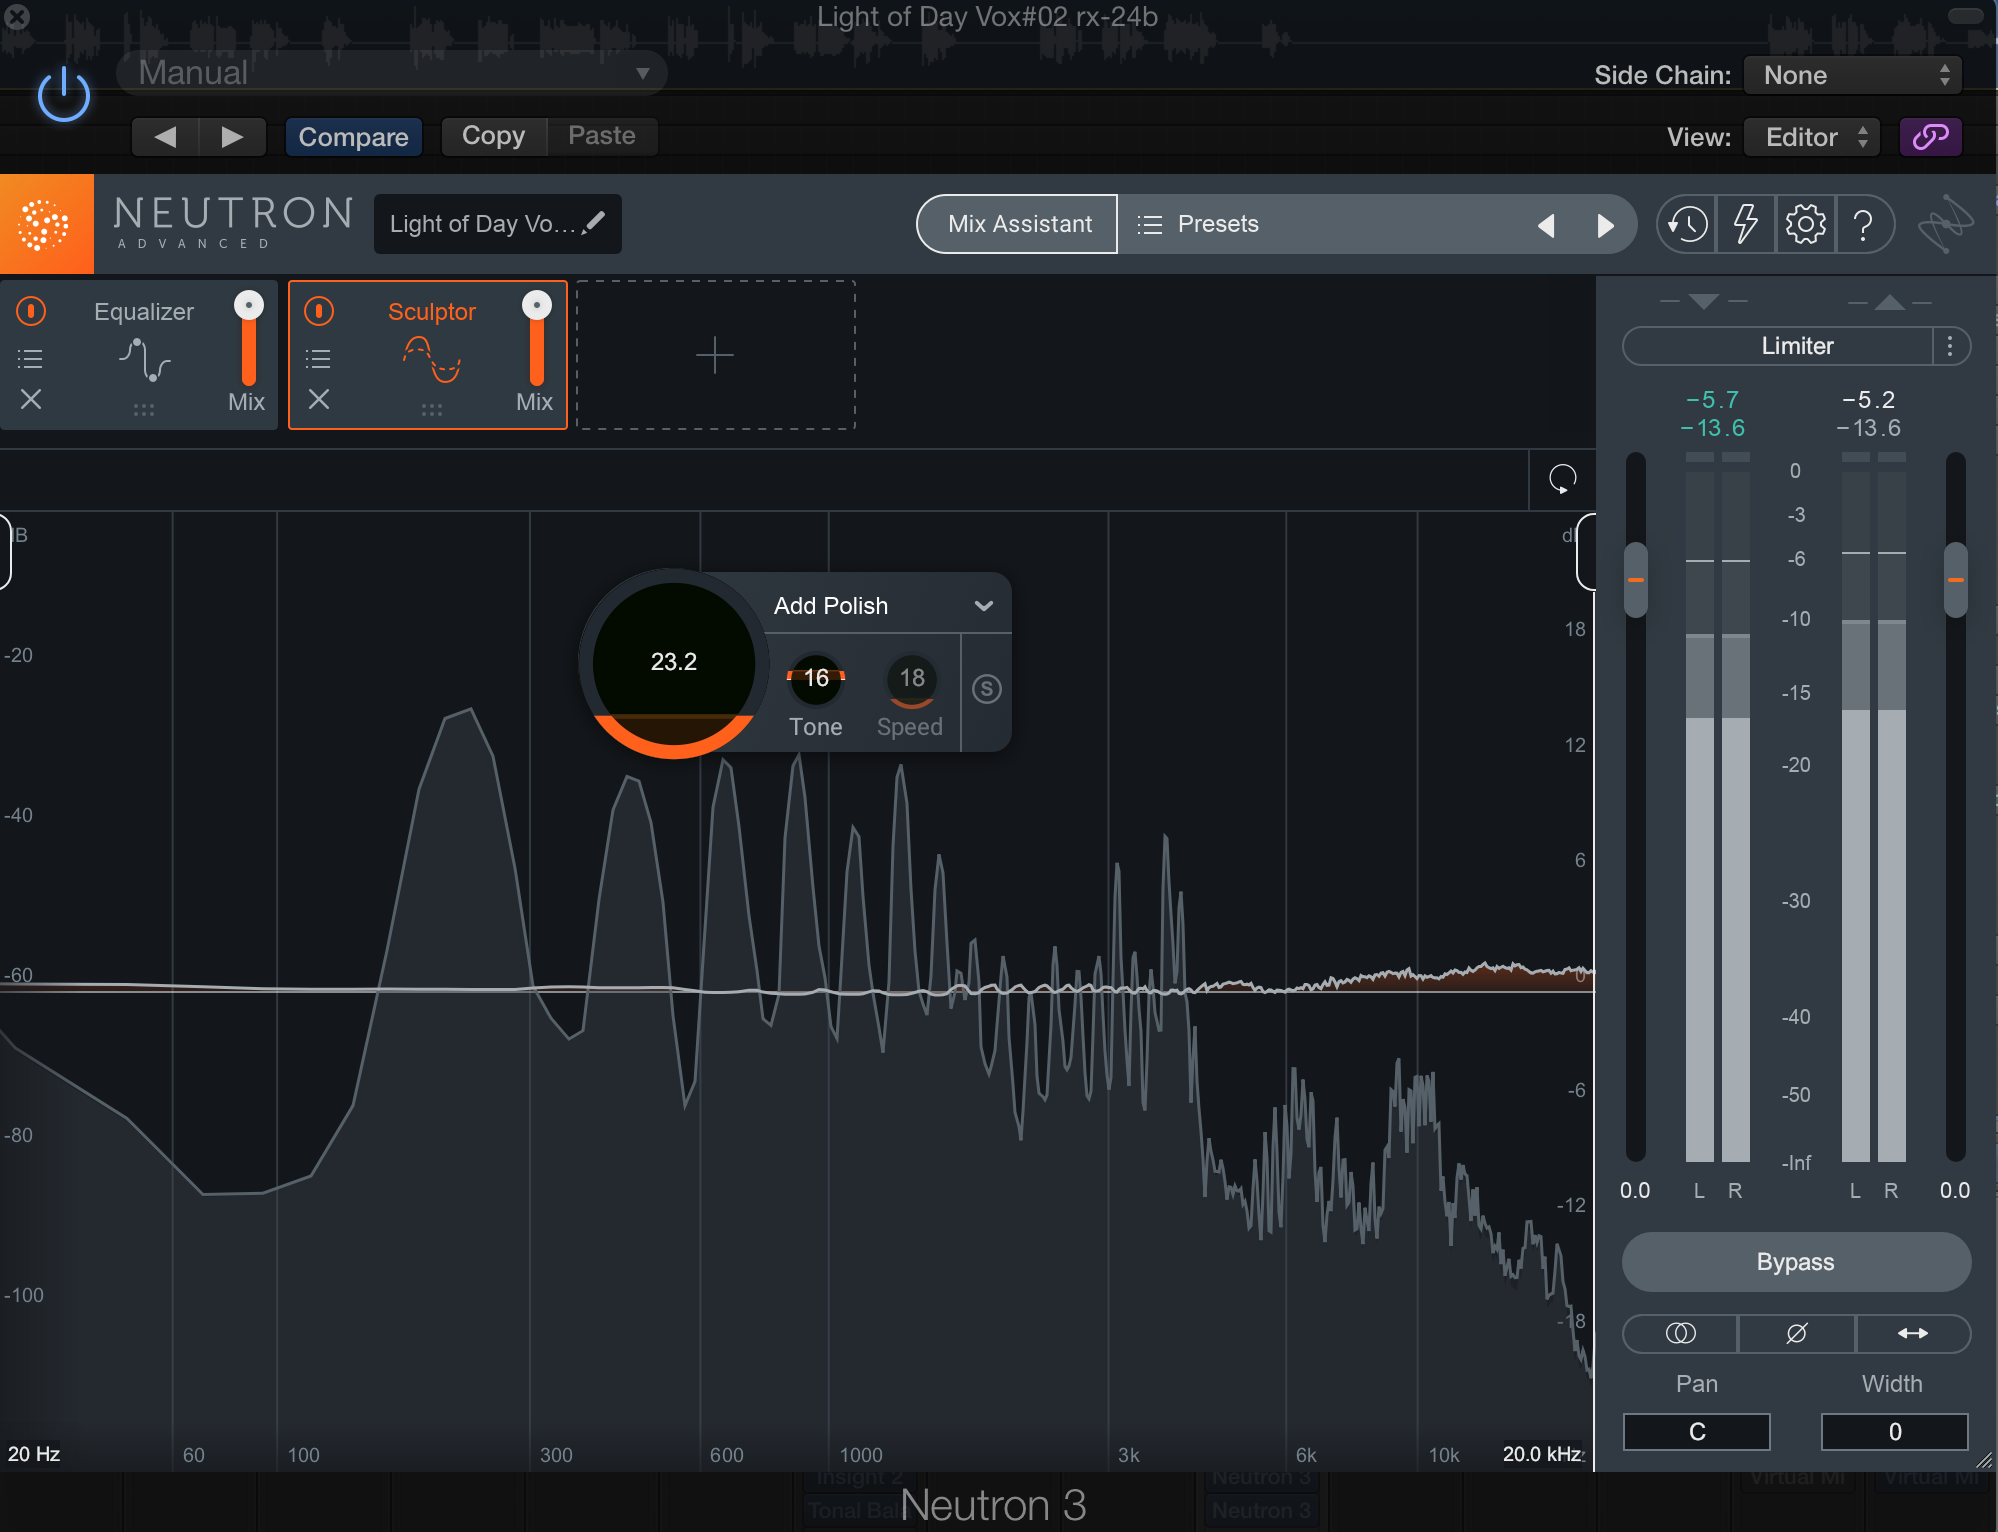
Add vocal polish with Sculptor in Nectar 3
And that’s just the bass. You can dive into Sculptor on your drum bus, your kick drum, your master bus—literally any instrument in your track.
Conclusion
When I first found out about this technology, I found myself dismayed. Another part of my work automated? Surely this bodes badly for my career. However, in diving deep, I’ve come to another perspective: these tools actually give me new tools for fixing issues or enhancing sounds; they multiply my utility, rather than streamlining me to a cookie-cutter assembling machine.
Consider all the work we must do in tailoring the target curves—there lies all the fun! Between changing tonality, speed, and intensity, there’s much to keep me occupied—and much to distinguish my sound as "my sound."
So what if it’s based on machine learning? I, for one, welcome our robot overlords.


