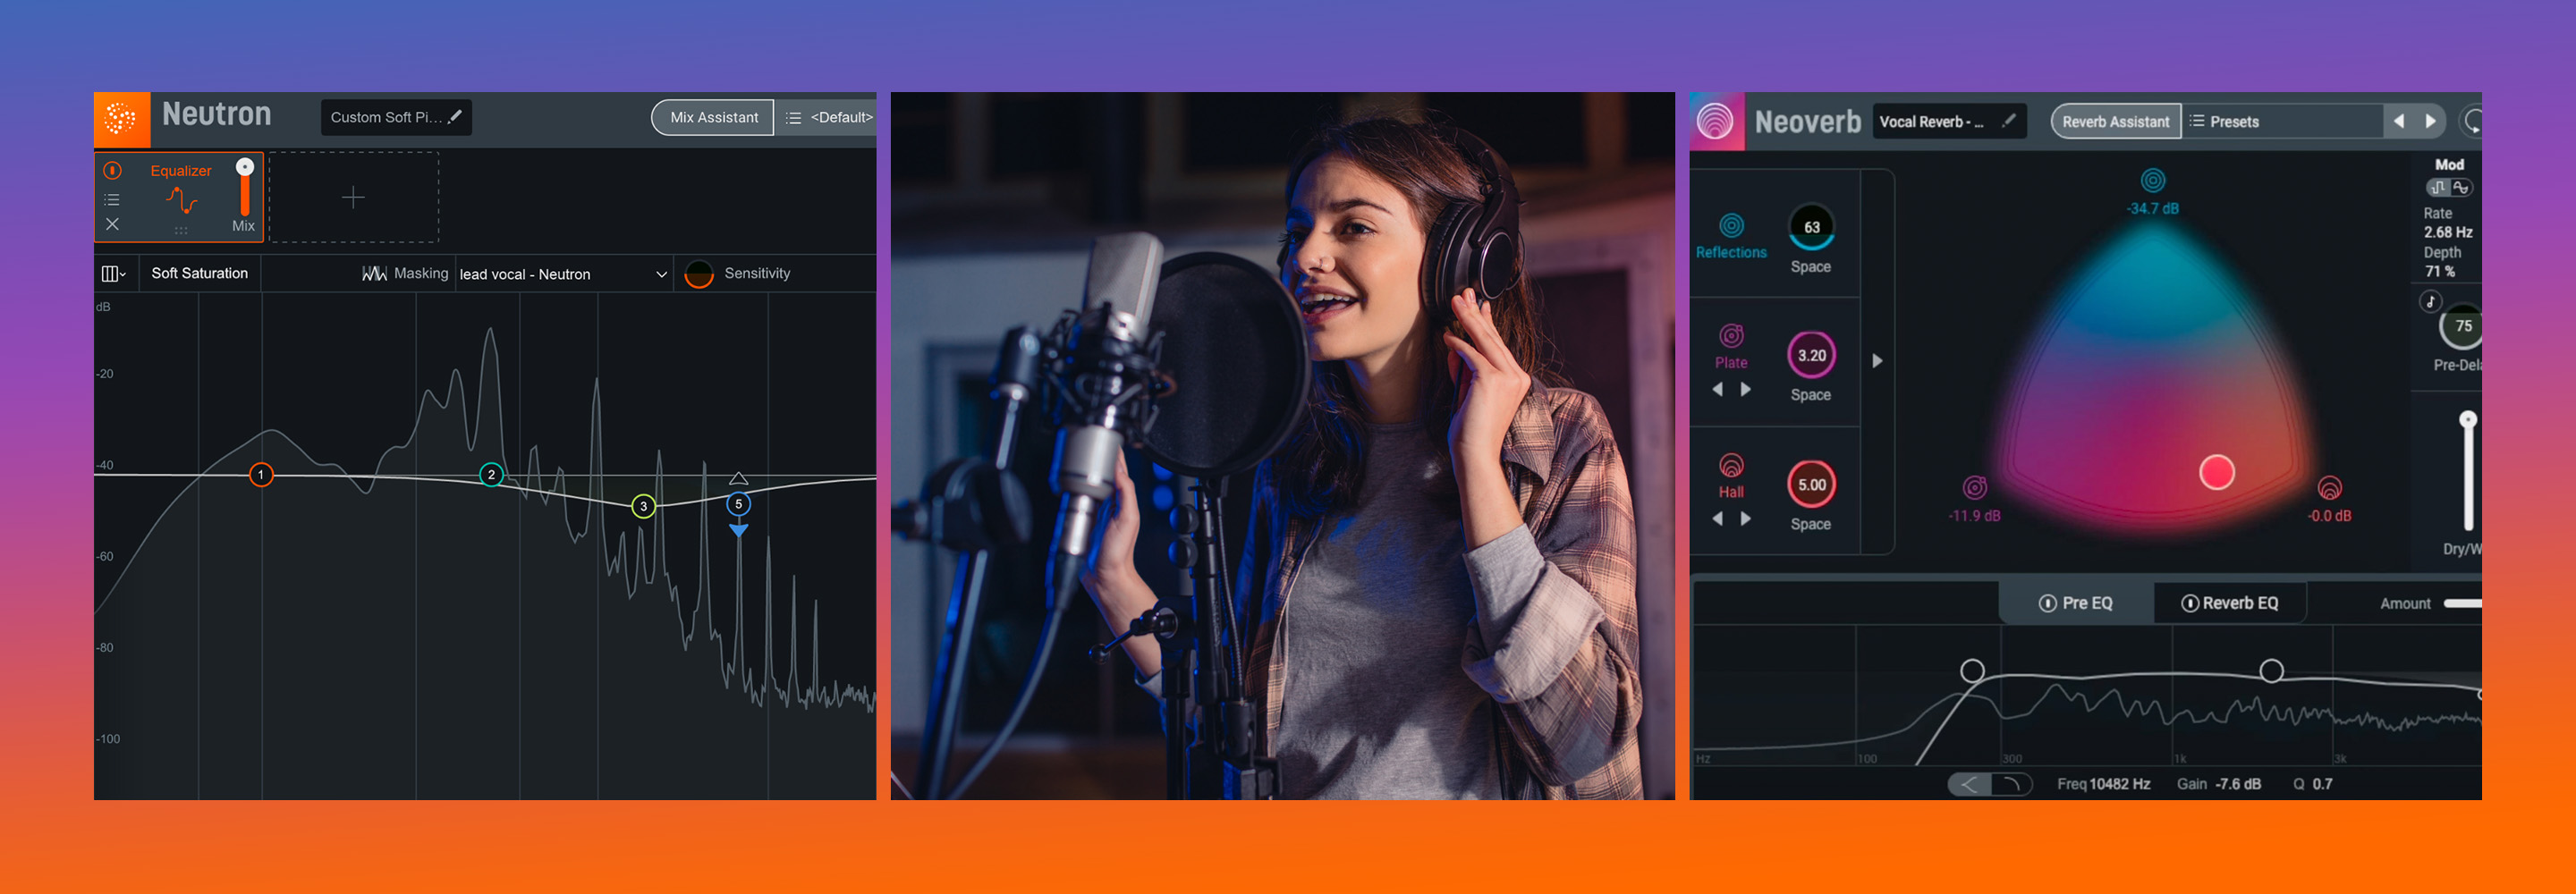
4 Steps to a Polished Vocal Mix
Learn how to take vocals from the recording stage to the final, professional sounding mix with vocal plug-ins by iZotope, including RX, Nectar, and VocalSynth.
Do you need to repair, tune, produce, and mix vocal tracks? iZotope has a host of plug-ins that can help you perfect the sound of your vocals easier and faster, including AI-powered tools like


RX 11 Advanced


Nectar 3 Plus


VocalSynth 2
In this tutorial, we’ll explore how to use RX, Nectar, and VocalSynth to mix professional sounding vocals, covering four essential vocal mixing steps including audio repair, initial vocal chain setup, pitch correction and unmasking, and vocal effects.
And for a limited time, you can purchase a copy of Elements Suite,


VocalSynth 2


Nectar 3 Plus


RX 11 Advanced


Dialogue Match
Loyalty offers also available! Log into your iZotope account for special loyalty pricing.
1. Noise reduction and repair with RX
To elevate a vocal performance to professional standards, the first step after recording and comping is to reduce and remove all the unwanted noises in the take. As both a standalone editor and set of plug-ins that can be used in your DAW, RX offers a range of tools to remove everything from common mouth clicks to complex hums spread over the spectrum. Most of these are unavoidable, especially in home recording setups, making it all the more important to have RX at your disposal when prepping for a vocal mix.
For this overview, I’m working in the RX standalone editor and to get started, have dragged in a vocal file, which gets displayed as a spectrogram.
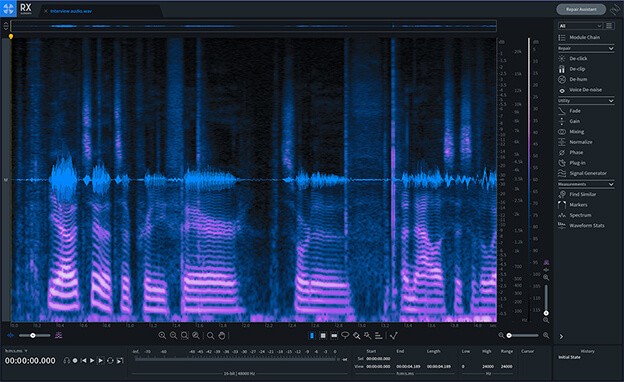
RX Spectrogram
If you’re new to vocal production or want to solve issues faster (who doesn’t!?), I suggest using the Repair Assistant, which automatically finds noise plaguing your audio and offers up three possible repair options to choose from.
Scanning a recording by ear and eye and selecting the problematic areas for RX to process is also a reliable method if you know what you’re looking for, and if there aren’t that many issues in the performance. In this case, I can immediately hear a consistent hum with low and mid-range frequencies, as well as a number of spots with distracting mouth noises.
With a pass of four modules in RX—De-clip, De-click, De-Hum, and Voice De-Noise—I’m able to bring the vocal one step closer to a polished sound. The hum is down to a more manageable level and I’ll remove what’s left with EQ later on in the process. The vocal noises are gone too. Have a listen:
Note that the changes I made with RX are relatively subtle—the vocal itself isn’t thinned out or audibly edited, it just sounds more isolated. Unlike mixing vocals, I’m aiming for a neutral voice sound that is clean, but not necessarily nice or exciting. Most listeners never consider that the vocals in their current song-of-the-week were once coated in hum and marred with clicks and other strange sounds. And they don't need too either!
This is ultimately an invisible process. Take away only what you need to and stop short of making any moves that attract attention. If anything, listeners will be more accepting of subtle noise than the ugly artifacts of over processing.
2. Use Vocal Assistant to set up your initial vocal chain
iZotope vocal mixing suite


Nectar 3 Plus
Simply, click Enhance, hit play, and the plug-in will listen to your vocal, offering you a way forward when it’s done.
Don’t think of its results as a cheat code. It is not. Instead, think of it like an assistant, presenting you a way forward, or a head start.
Like an intern with a head full of book knowledge, the Vocal Assistant might give you corrective EQ and de-essing that’s uncannily on point. In other ways, it might miss the mark, because only you know what you want. This just makes it easier for you to get from point A to point B.
Observe how I use the Vocal Assistant on this mix from Micah E. Wood, a Baltimore artist, on a static mix I’m cooking up for him:
Notice how I keep tweaking the assistant after it gives me its results. Why? I’m the one still mixing here. I just have a headstart in the corrective department, and I’m free to make creative choices.
Eventually I land on this:
And I think it sounds good for now. Mixing is always a game of tweaking and abandoning, but this works for the time being.
3. Address pitch and masking issues with Nectar
Pitch correction
Pitch correction is a fascinating arrow in the modern mixer’s quiver. You can use pitch correction to adjust sour notes, as a palpable effect, or even to glue background vocals together (more on that later).
A lot of vocals pass through pitch correction software these days. Sometimes you have the perfect take with one bum note. Other times you work with singers who can’t be bothered to do a better take.
Nectar’s Pitch module nudges notes back into shape according to the scale you enter. This is better for vocals that don’t need much pitch correction—or when you want to use pitch correction as an audible effect.
This setting would get us something more natural:
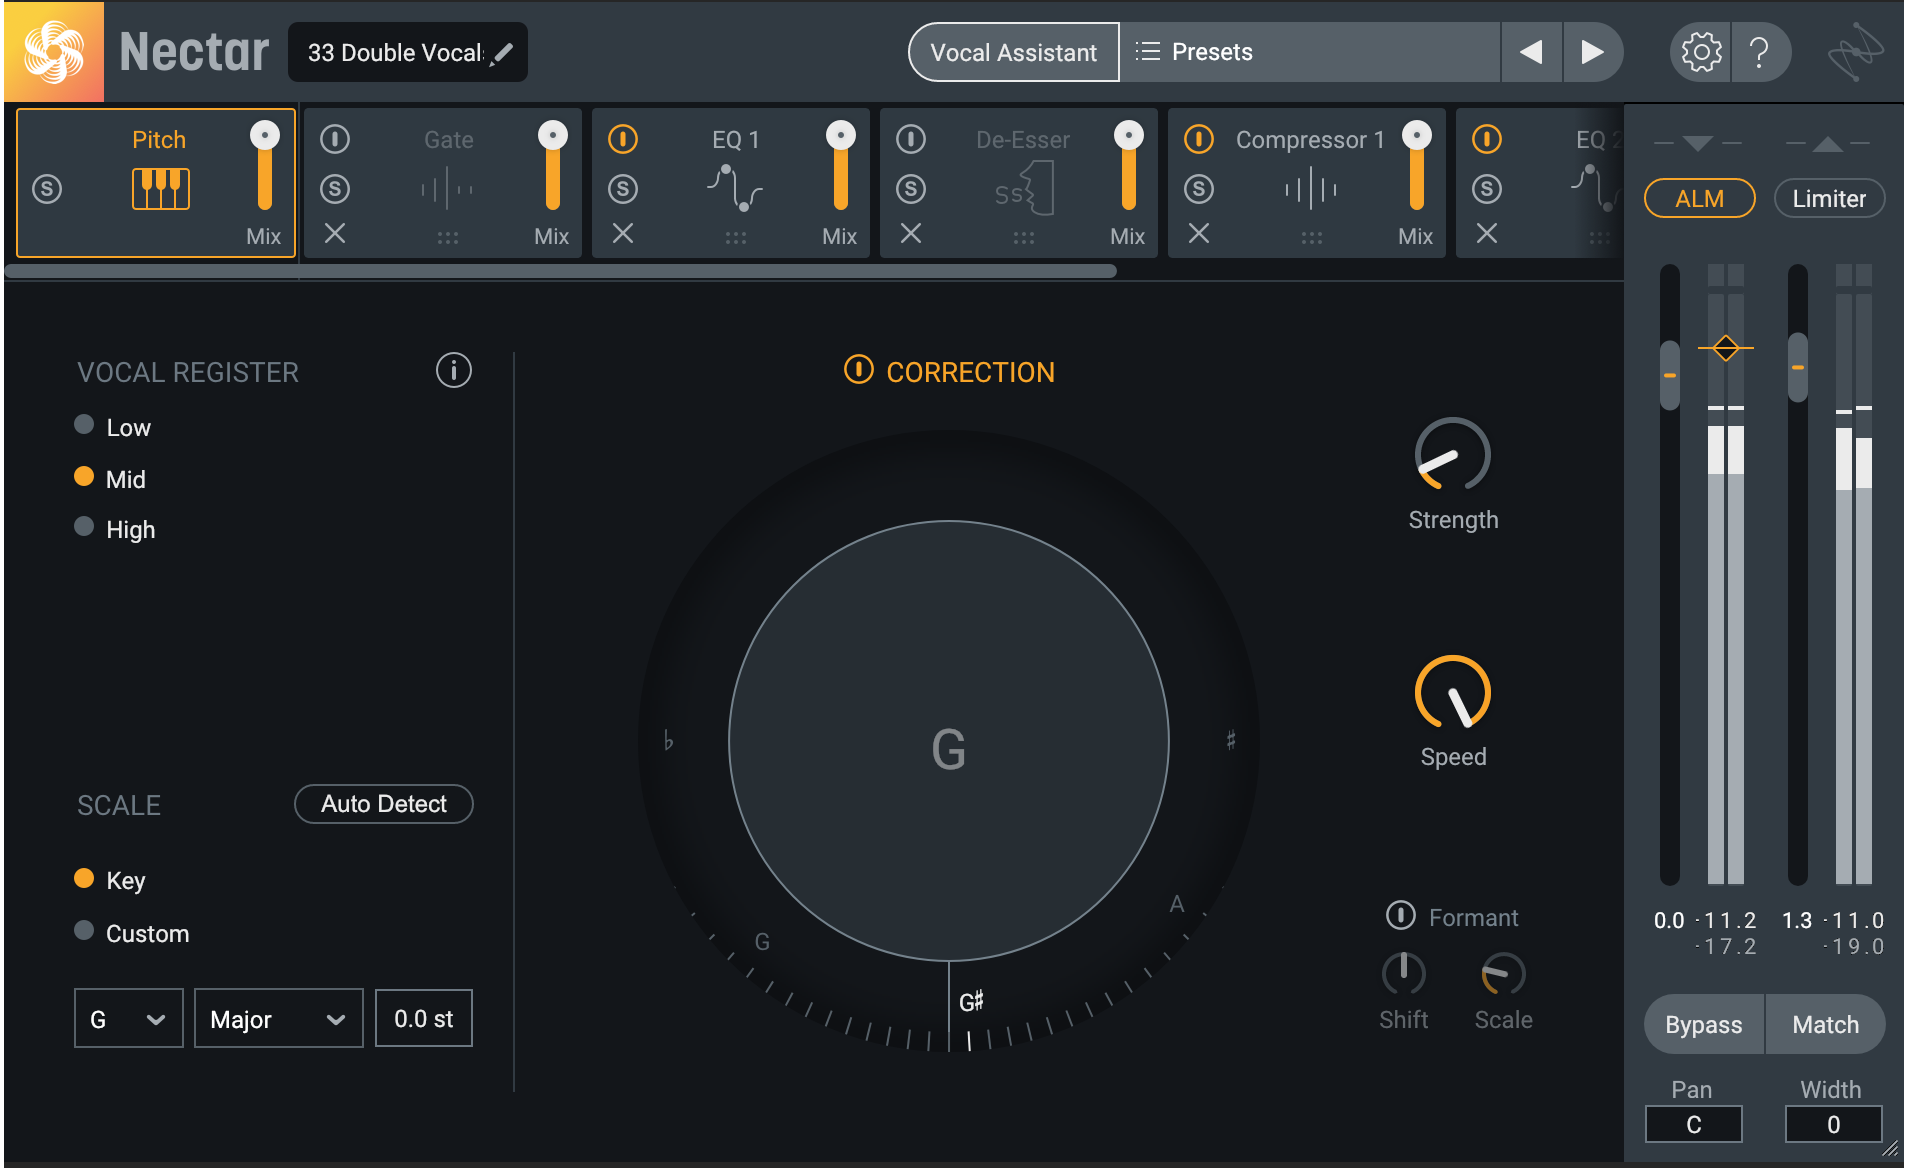
Natural-sounding pitch correction in Nectar Pitch module
This one, however, will give you that famous pitch correction sound:
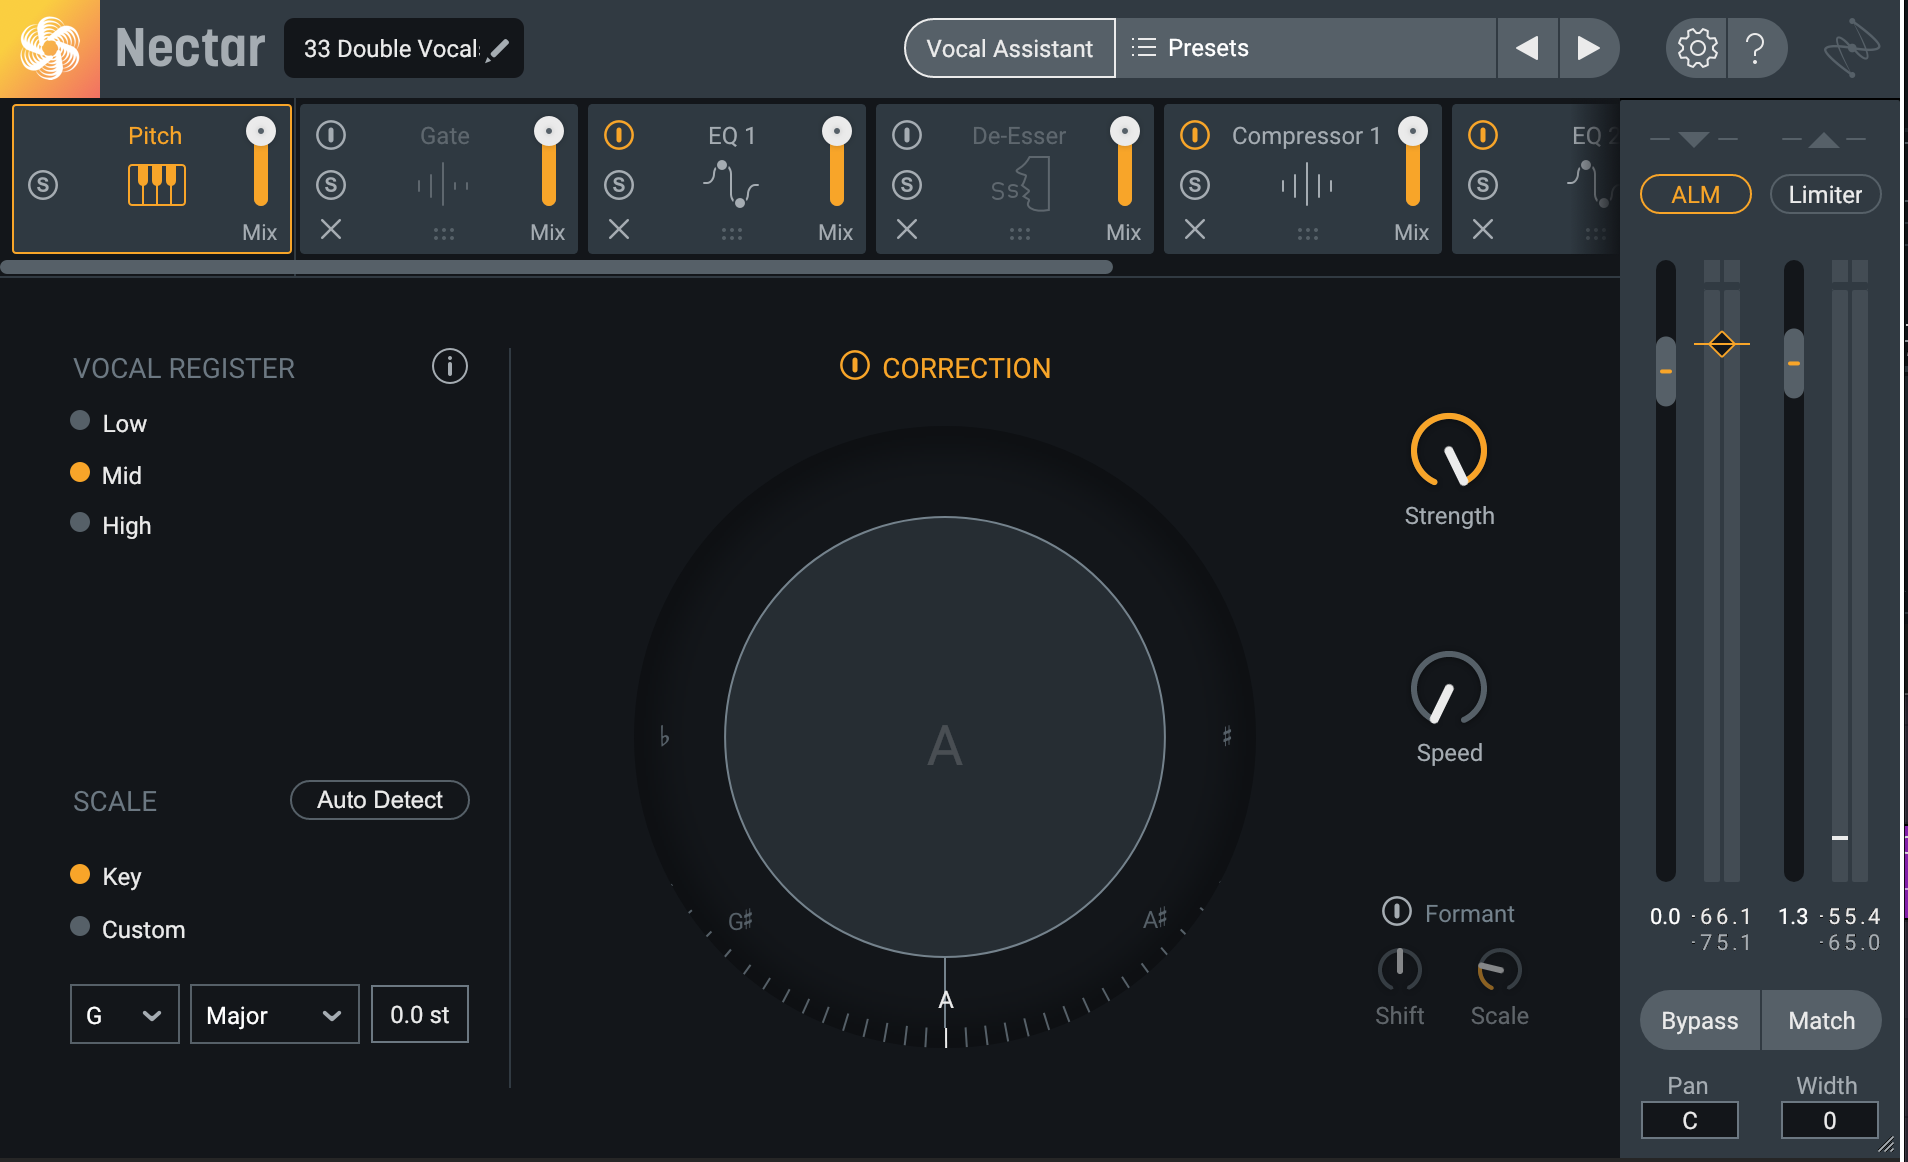
Intentional Pitch Correction with Nectar
Obviously I’m not going to go with the latter, but I wanted to show you it was possible.
Now, remember what I said about pitch correction on background vocals? Let’s give that a demonstration too.
Here’s the background vocals without pitch correction:
And here’s with Nectar’s global pitch correction:
As you can hear, the pitch on these vocals doesn’t really change all that much, but their character does.
Unmask your vocal
You can’t just polish the vocal and expect it to shine. You also have to make it work in the mix. This means adjusting instruments to fit with the vocal—or vice-versa.
Nectar gives you a powerful tool in the Vocal Assistant: Unmask. Unmask directly communicates with the rest of your mix to place your vocal at the forefront by moving other mix elements out of the way. Through inter-plugin communication, Unmask will talk to any instance of Nectar, Neutron, or Relay, and help push any conflicting tracks into the background, doing so in a way that doesn’t disrupt the track’s integrity.
To get started, simply load Nectar on your vocal, and any iZotope plug-in with inter-plugin communication (Nectar, Neutron, or Relay) on a conflicting instrumental track in your mix. Open the instance on the vocal channel and enter the Vocal Assistant.
Right off the bat, it’ll give you the prominent option for Unmask.
I really wanted a strong bass in this tune, but I felt it was conflicting a bit with the vocals. Using Unmask, I was able to seamlessly separate them.
4. Add creative effects with VocalSynth
iZotope doesn’t just give us tools for mixing work—they also give us a creative powerhouse for play in the form of


VocalSynth 2
Here’s something you might not have noticed: I’ve had an instance of VocalSynth buried in the background vocals this whole time! Check it out:
Now, that was a pretty subtle, atypical usage, but when I took it out, I missed it.
Let me show you some more interesting and creative ways of using VocalSynth—specifically, using it to trigger MIDI pads that I’ve laid down using a keyboard.
Start producing vocals with the iZotope plug-ins
Tuning, balancing, applying effects, and disparate sounds fit together—these are just some of the steep tasks that vocals require. Thankfully iZotope plug-ins help you get going in minutes, so you can get a killer vocal sound relatively quickly. Obviously there’s more to cover, but we hope this gives you the push you need to get going with these simple, powerful tools.
And remember, for a limited time you can purchase Elements Suite, VocalSynth, or Nectar and get two additional vocal plug-ins free.
