7 Home Recording Studio Hacks for the Bedroom Producer
Discover these tips for getting professional recordings in your bedroom, including room treatment, proper mic placement, and the right music production software to give you a clean sound.
You’re an aspiring producer—making beats, recording sounds, trying to make it all fit together. And, you’re mostly working out of your bedroom home recording studio. You’ve definitely got some mixing chops, but the problem is that all your mixes keep turning out sounding...well…not quite “there” yet. If this sounds like you, read on.
I was once where you were and so I know how frustrating it can be to have your productions lack that final bit of “professional polish” you’ve been craving. It’s easy to blame it on the less-than-ideal acoustics of your space, or on the fact that recording at home comes with unique challenges (like planning around your roommate’s showering schedule). But really, at the end of the day, there are so many things you can do to up your at-home producing game.
Below, I’m going to give you seven hacks I’ve found useful in my 16 years as a bedroom producer. And, to be clear, please know that I am STILL a bedroom producer! I never graduated to a fancy studio because—once I learned how to use my space and tools effectively—I didn’t have to! And, chances are, you don’t have to either. With the right knowledge and tools, you can bring some of that professional polish to your mixes right from the comfort of your own home. Curious? Let’s dive in.
Jump to these tips:
1. Treat your room for recording
Room treatment is not in any way sexy. Nobody wants to drop half a paycheck on something that can’t make a sound. Still, room treatment—especially when recording at home—is essential to capturing the perfect take.
Now, when I say “treating your room,” I’m talking about soundproofing your space with acoustic panels and other materials that can absorb some of the reflections that bounce off the walls. These reflections cause your recordings to sound tinny, echoey, and…let’s face it…like you recorded them in your home.
You can purchase a small set of square acoustic studio foam without breaking the bank, but if your budget is super tight, you can also use blankets, pillows, mattresses, and anything else you may have lying around your home that could help absorb sound.
Unfortunately, there’s no one-size-fits-all-solution to room treatment since every room will have different needs. But, the best tip I can give you is to try things out until you find what works for you, your space, the instruments you’ll be recording, and the genre of music you make. Test out the placement of the foam panels (or other materials) in your space. Add more. Take some away. Do some test recordings of each scenario and listen back through headphones to see which you prefer.
Even though there isn’t a template I can give you to perfectly treat your bedroom home recording studio, I can give you a couple pointers:
- Windows are evil—cover them up to minimize harsh reflections off the glass.
- Try curving your soundproofing materials and putting them in the corners of your space. Harsh angles cause more of those pesky reflections.
- Don’t forget about the ceiling!
- Snap your fingers as you’re testing out new treatment options in order to hear the amount of reflections bouncing around.
- And, remember: you’re trying to create an acoustically balanced space. You don’t want to completely deaden the sound or your recordings will sound too muffled and lifeless. A little ambience is a good thing.
Through my own trial and error, I found that adding just a bit of soundproofing foam to my walk-in closet was just what I needed to capture killer vocals.

Arthur Kody’s bedroom home recording studio
I’m not gonna lie—it doesn’t look great. But, that’s not the point. It sounds fantastic! I’ve amassed millions of streams from vocals recorded in that very closet. The bottom line: get your space to sound right for your needs. The better treated your recording environment is for how you plan on using it, the better your chances of capturing the perfect performance.
2. Invest in a solid mic chain
I’ve often heard it said that 50% of a good vocal take is the singer, 40% is the room, and 10% is the gear. If that’s the case, you could be adding up to 10% of polish to your bedroom recordings just by investing in a good mic chain! Sure, you can work all your magic at the mixing stage, but if you’re a producer looking to create great sounds efficiently, it helps to have a solid mic chain to bring life to your audio on the way into your mixing software.
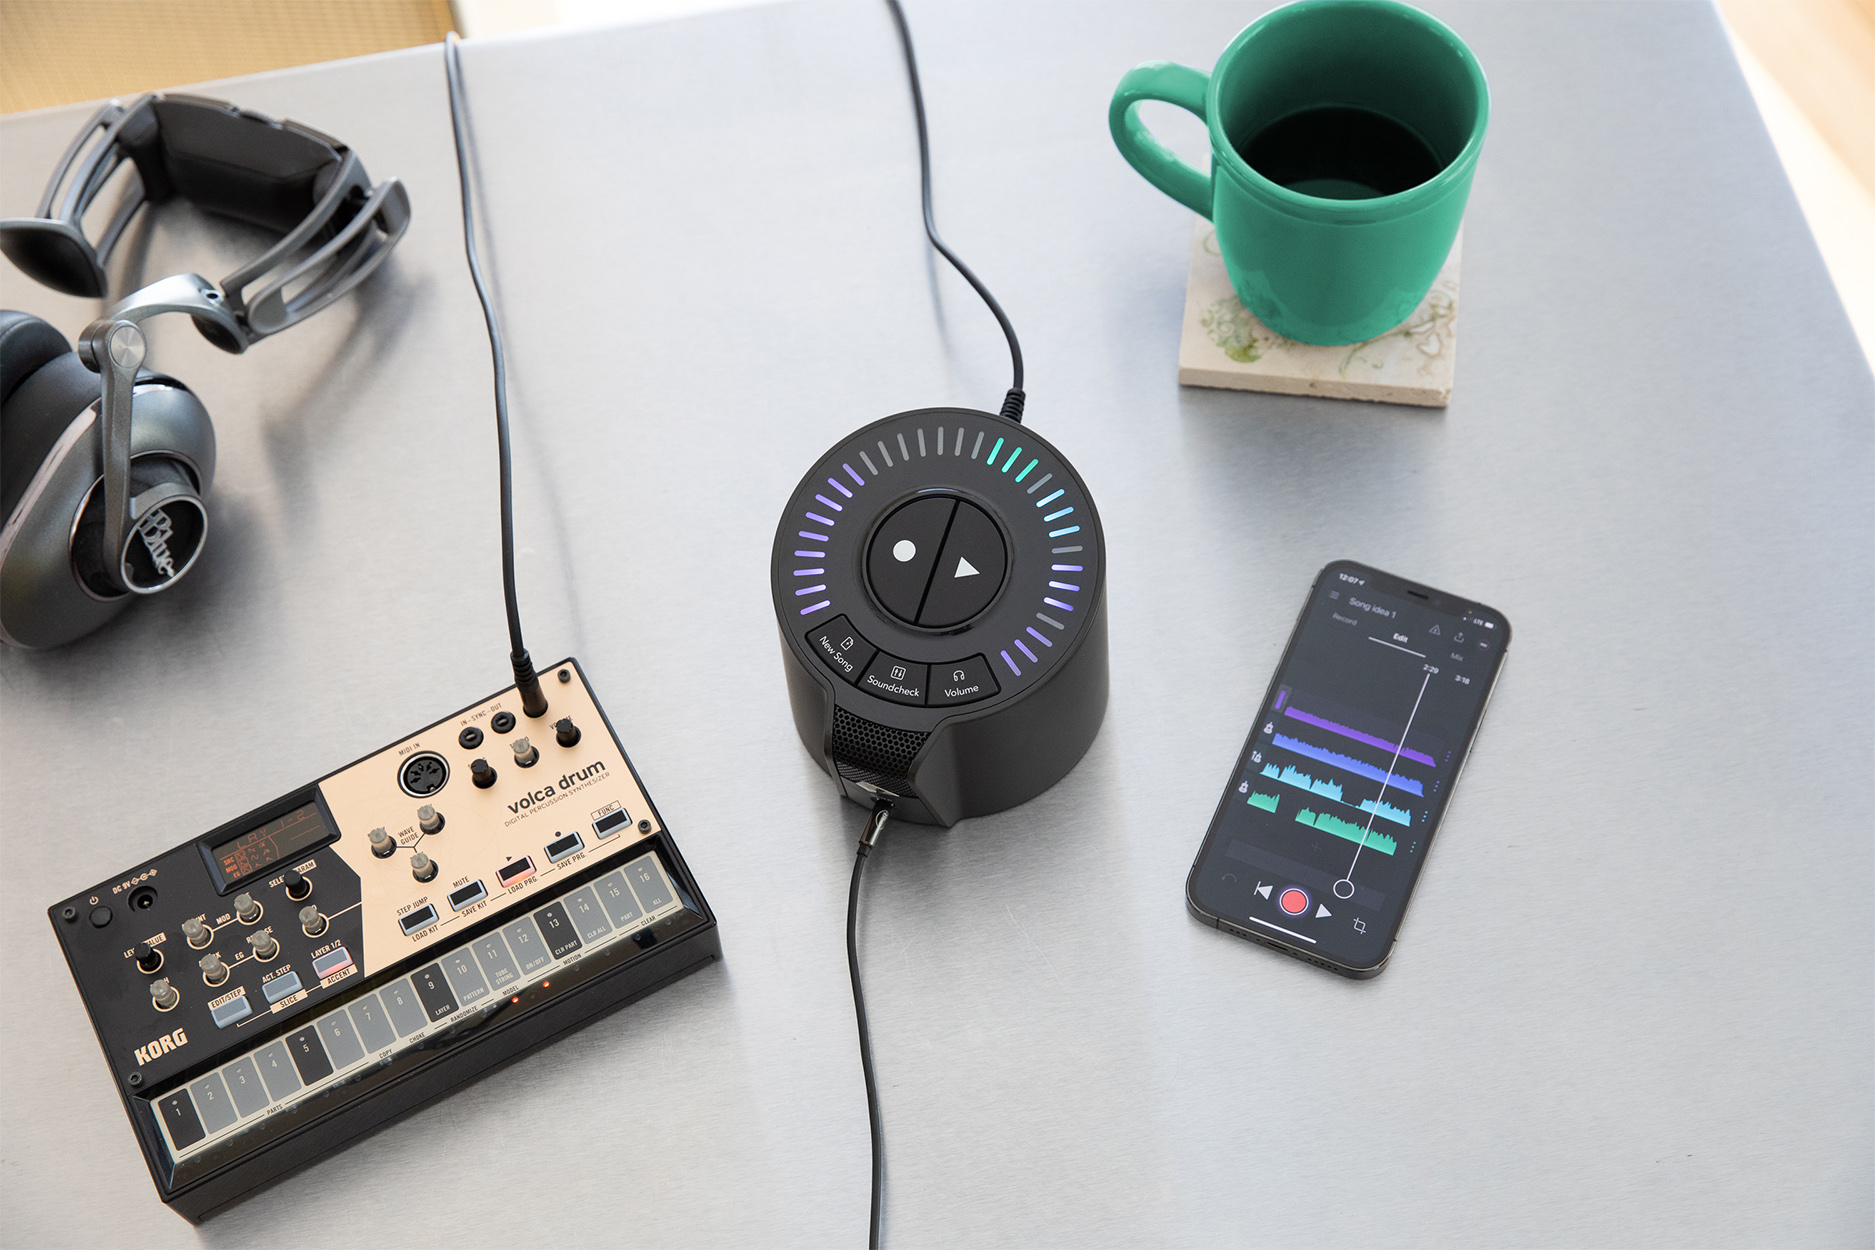
A “mic chain” includes the microphone as well as all the gear you need to go from the mic to the computer. Often, this includes the mic cables, some sort of preamp, and an audio interface to convert the signal from analog to digital. However, some mic chain solutions offer an all-in-one approach. Spire Studio can act as one such interface with ultra-low noise and custom-built preamps, giving you a high-quality, clean signal. One thing I especially love about the Spire Studio is that it comes with a really great built-in microphone, but you also have the option to plug in up to two of your own mics (or 2 quarter inch instrument cables for recording direct in) and still take advantage of the Spire Studio’s amazing recording features.

Spire Studio for recording at home
Since the Spire Studio is rechargeable, you can take it anywhere. Plus, recording becomes a breeze with the compatible Spire App for iOS. My favorite feature of the Spire Studio is Soundcheck—simply press the Soundcheck button and Spire will intelligently detect the instrument you’re playing and automatically set your input levels and sculpt your tone (using technology from the mixing plug-in Neutron). This is honestly a huge timesaver. It’s like having a personal recording engineer right there with you to make sure you’re capturing crisp, clean audio every time. And, when you’re done recording, it’s super simple to export the individual stems as high quality WAV files to pull up right in your DAW.
I’ve been using my Spire Studio to record vocals and guitar for over two years now and I can honestly say it’s still my favorite piece of recording equipment. Other mic chains can get pretty pricey as you start building them. But, the Spire Studio is just so simple to use and delivers amazing quality without breaking the bank. You can learn more in the video below.
Mic pres are very important—it’s why I wrote about them first. Conversion too is something worth researching. But you should also invest in a couple of great workhorse microphones. I’d say two would do the trick. If vocals and the occasional acoustic instrument come through your space, a dynamic mic and a great large diaphragm condenser will serve you well.
Note I said “great,” not “expensive.” Modeling microphones are getting better and better, as well as cheaper and cheaper. Large diaphragm condensers like the Aston Origin or the WA47 sound great in the sub-1000 category. For dynamic mics, a Shure SM7B, an EV RE20, or even a trusty Shure SM57 can get the job done.
If you pair one workhorse condenser and one dynamic mic, you’ll probably have enough to handle most singer/guitar situations that come into your home recording studio. Occasionally you’ll come across a singer who’d probably benefit from a ribbon, but until you’re able to spend discretionary income on one, you can feasibly handle whatever comes your way in this department.
3. Reduce background noise
One of the main differences between a professional recording and an amateur one is the presence/lack of background noise. When recording at home, it can be a bit tricky to minimize background noise—especially if you live in an apartment, next to a busy street, or with roommates.
When recording in your bedroom studio, there can be so many unpredictable noises that can creep into your recordings. Many of these sounds are outside your control (street traffic, bickering neighbors, and jets flying overhead are just a few I’ve encountered while trying to record in my home studio). But, the key to capturing a professional recording is to limit background noise as much as possible.
Pro tip: Before you begin your recording session, take a good listen to your environment. Is the air conditioner running? How about the fridge? Do you have a particularly loud external hard drive whirring away in the background? Power down whatever noise-makers you can before you begin recording to save yourself from potential frustration later, and make a noise reduction checklist for yourself to make sure you don’t miss a thing. The last thing you want is for the AC to kick on halfway through (what could have been) the perfect take.
Like I mentioned above, there are likely some noise factors in your home recording studio that are simply out of your control. For problems like this,


RX 11 Advanced
This article references a previous version of RX. Learn about 

RX 10 Advanced

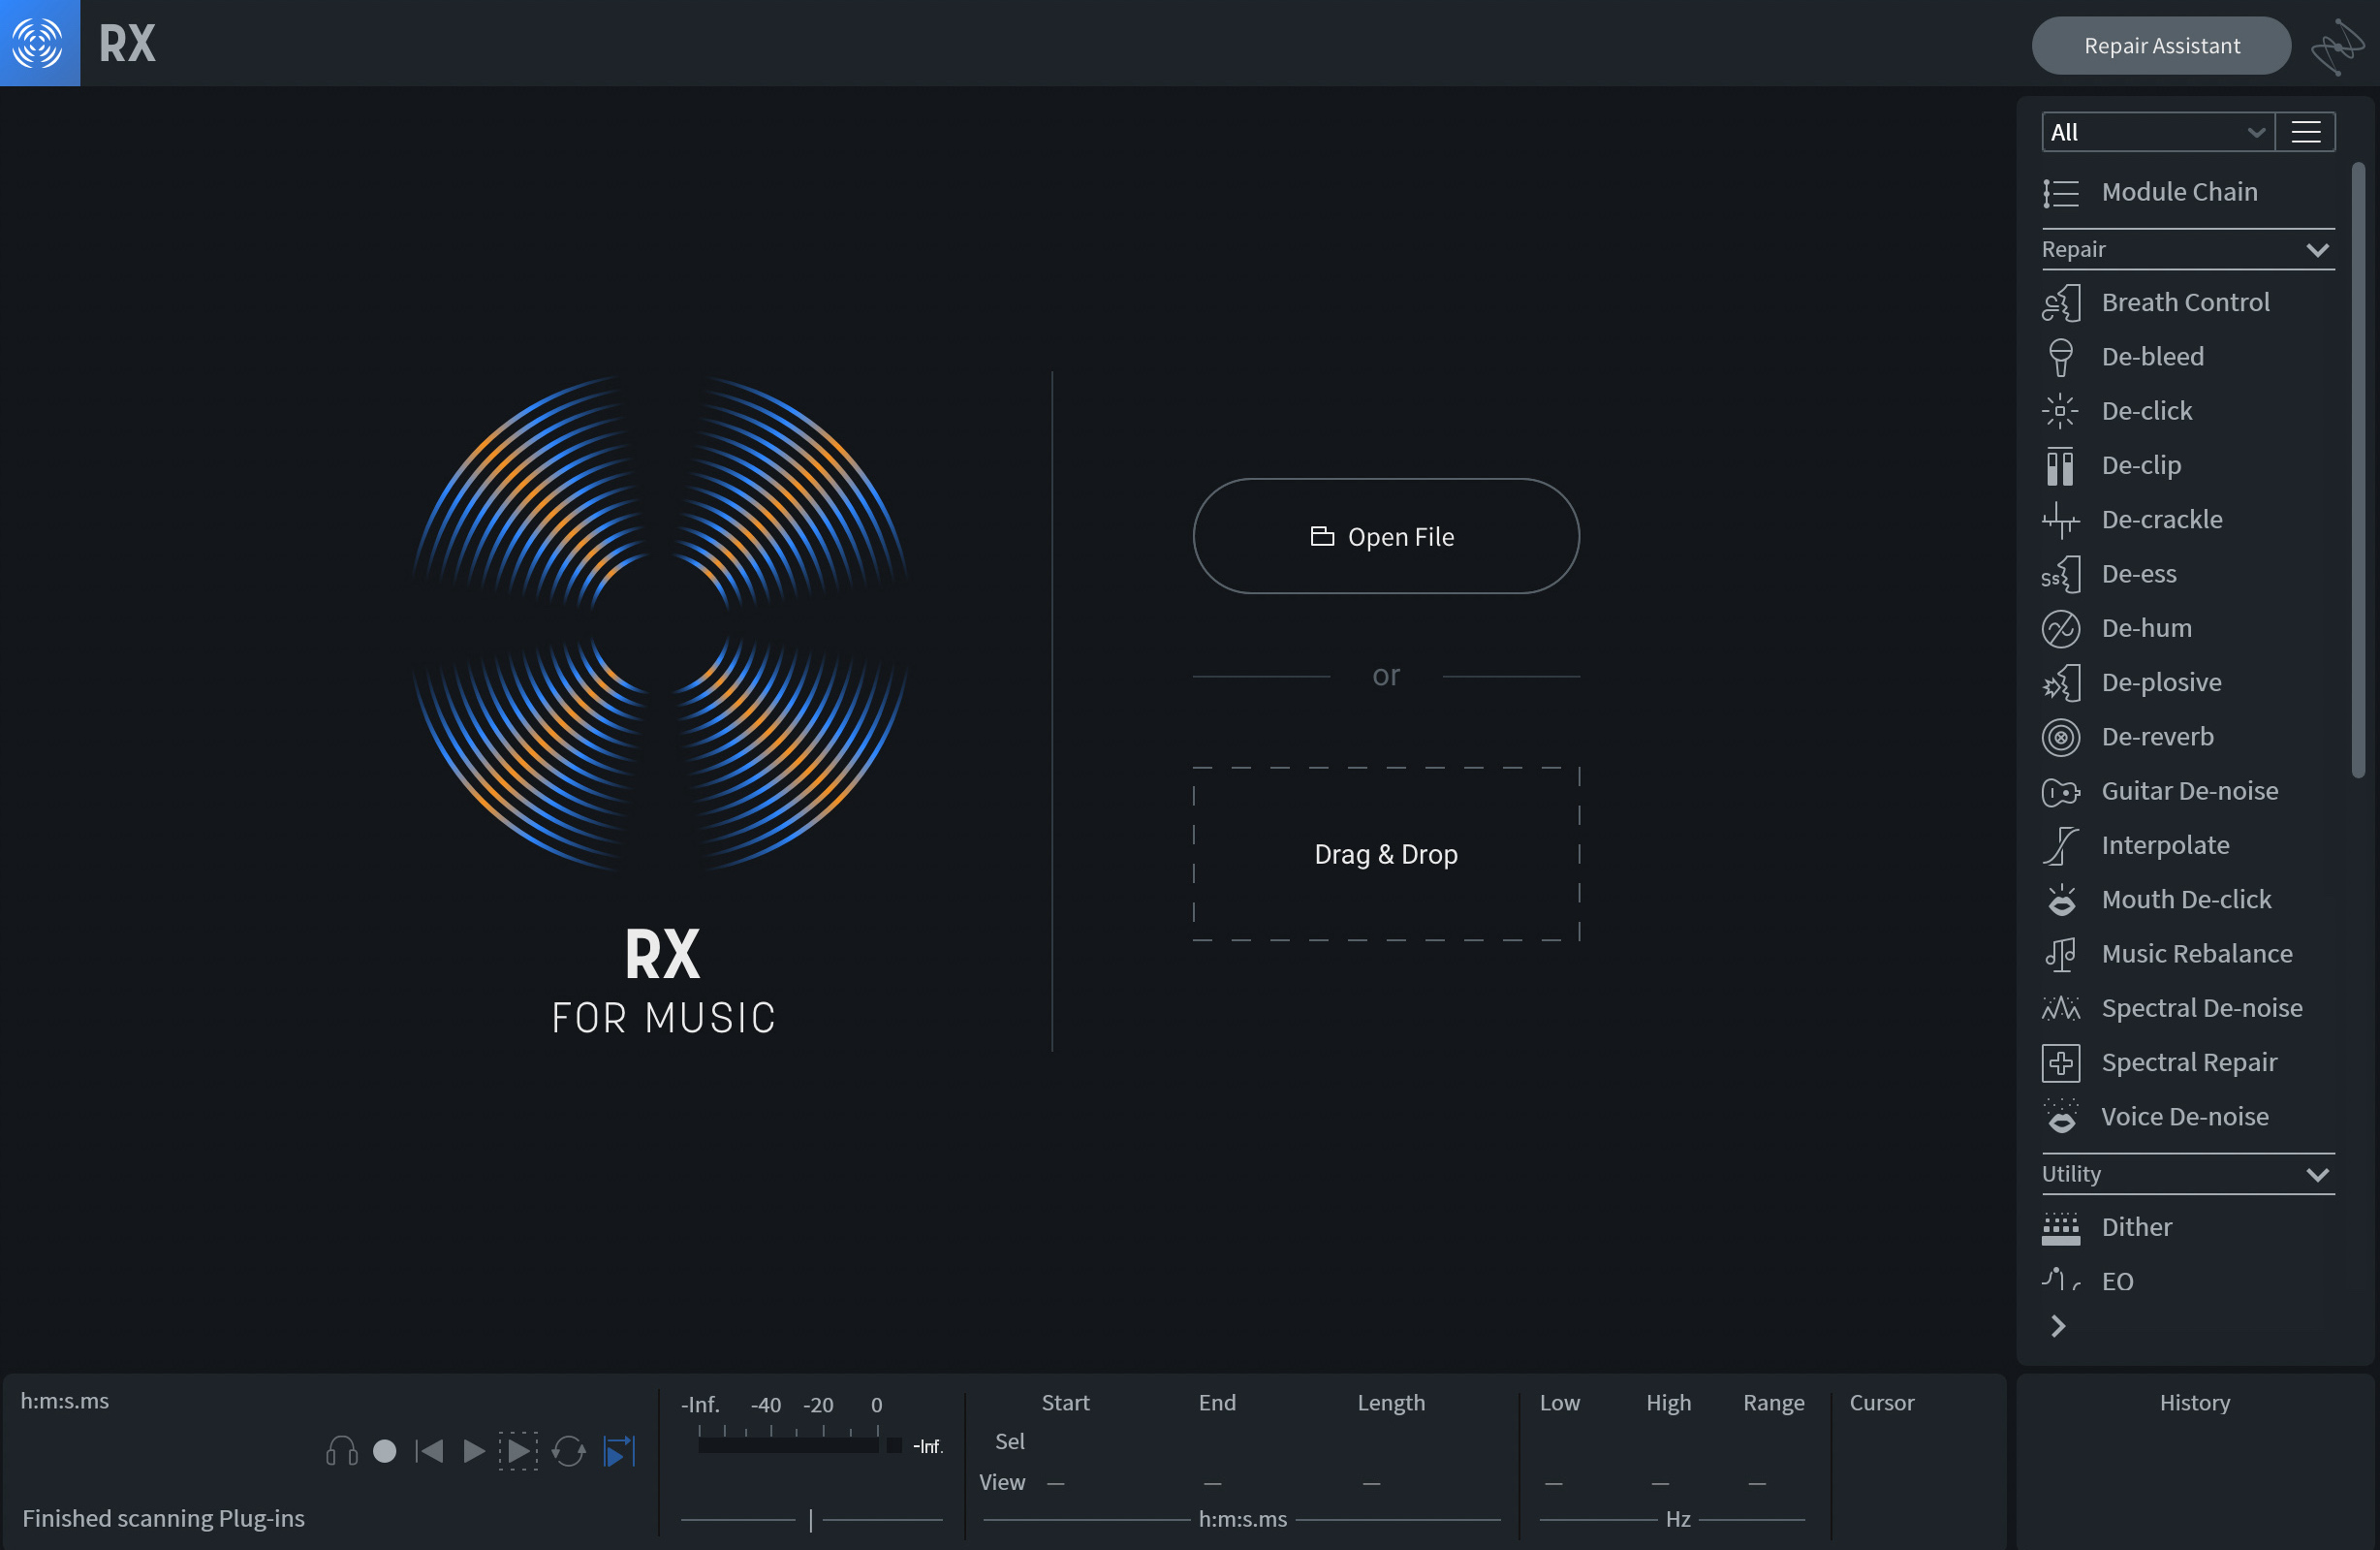
Use RX to remove unwanted background noise
RX also comes with plug-ins to remove breaths, mouth clicks, and clipping from your recordings, so it’s definitely a very useful tool to have in your toolbox. Watch the video below to learn more about what RX can do for your recordings.
4. Learn about mic placement
One of the most useful things I ever took the time to learn is how to properly set up my microphones for recording. Sure, you can rely on software EQs to help you fix boomy or thin recordings. But, it will save you so much time and energy if you take the time to get the mic just right before pressing the record button.
Each type of microphone has its own purpose, benefits, and drawbacks. So first, make sure you’re using the right microphone for what you’re recording (you can learn more about the types of microphones and what each one is best suited for in this article). But, when it comes to recording at home, I could argue that it’s more important how you set up your microphone than what brand of mic you have. A $10K mic is still going to sound bad if you don’t have it set up right. So, it really pays off to get a feel for good mic placement.
When it comes to properly setting up your microphones for recording in your bedroom studio, there are some best practices to be aware of. For example, I’ve noticed that a lot of vocalists (I’m looking at you, rappers) like to be so close to the mic that they’re nearly swallowing it. When recording vocals, it’s best to have the mic at least 6 to 12 inches away from your mouth with a decent pop filter in between. If you’re too close to the mic, it can cause what’s known as the “proximity effect,” causing your vocals to have way too much bass. If you set up your mic too far away, everything will sound thin—plus, you’ll pick up more room sound that can really muddy up your recording.
Be aware of the microphone’s angle. On a cardioid mic, if you angle the capsule so that the artist is singing somewhat diagonally into it, you can minimize sibilance, which will serve you well in the mix. Also, I’ve found that playing with the height of the mic can greatly impact the performance. Too low, and the singer tucks in the neck, squashing the sound and the chords. A little higher than dead on the capsule causes the singer to tilt up a bit, which elongates the neck and may engender a clearer tone.
5. Correlate the meters to your ears
When recording, it’s good to have meters on hand to give you visual indications, showing you signal-strength, or whether the signal has clipped. Your preamp, interface, or converter usually provides some sort of metering, and of course, you can always use a plug-in within your DAW, something like


Insight 2
But more importantly, you should learn how to correlate any meter with what your ear hears as you record. Mics and preamps tend to have sweet-spots, areas where the sound is harmonically rich and satisfying. Correlate these aural sweetspots with the visual indicators of your metering.
When you’re setting up the mic on the vocalist or the instrumentalist, take note of the meter reading when you really hear the juice, and as you record, watch the meters to make sure you’re still in that zone. If you find the artist is peaking near the sweet-spot, you may have to compromise and turn down, or use a compressor in your chain. Some tracking compressors, such as several pieces in the FMR series, are both incredibly transparent and quite cheap.
6. Invest in high quality mixing and mastering software
When I first really started to get into the producing game, I was the type to hunt down every free audio plug-in I could get my hands on. After all, as a 20 year old barista, I didn’t have a ton of extra cash to invest in expensive software. But, as time went on, I realized that it’s much better to have a few killer plug-ins than dozens of mediocre ones. So, I began slowly investing in top-notch mixing and mastering software. And, honestly, it was one of the best things I could have ever done to speed up my progress as a producer.
Having a decent set of good mixing and mastering plug-ins helps you get better results faster. Plus, limiting your arsenal to a handful of high-quality plug-ins allows you to really get to know your tools and how to use them. This allows you to further speed up your workflow and improve your productions.
At first, I had to actually purchase a full software license in order to use any of the high-end mixing and mastering tools on the market. This can get pretty pricey for a bedroom producer. Luckily, now you can get access to dozens of industry leading plug-ins with a


iZotope Music Production Suite Pro: Monthly
If you want to purchase the plug-ins, Music Production Suite also has everything you need.
In the video below, watch David Yungen Kim use Music Production Suite to mix a song from start to finish.
Whether you’re using


Neutron


RX 11 Advanced
It’s been said many times before: an artist is only as good as their tools. Getting access to high-quality mixing and mastering software is an investment into your art, your career, and yourself.
7. Test your mixes everywhere
One of the drawbacks of producing in a home studio is the typical lack of acoustic treatment in your listening environment. Studio monitors are great for letting you hear an accurate representation of the frequencies present in your mix, but the room around them can actually color the sound quite a lot if not properly acoustically treated. Even high-end mixing monitors can’t be totally trusted in less-than-ideal listening spaces.
To avoid this frustration (and to minimize noise complaints from downstairs neighbors who don’t appreciate a 12 inch subwoofer rattling their ceiling at 1 AM), many bedroom producers opt for mixing with headphones. This comes with its own set of challenges. When using headphones to mix, ear fatigue can set in much faster since most people are tempted to crank the volume louder in an effort to “feel” the music. After an hour or two of mixing at a loud volume, your ears get tired and biased, leading you to do things like boost the treble on that snare every 30 minutes so it stays sounding crisp.
The truth is, when you turn your bedroom into a home recording studio, you just have to embrace the fact that it’s never going to be an ideal mixing environment. For this reason, it’s important that you test your mixes out on a wide array of speakers. Listen to your mixes in your car, then in your friends’ cars, then on a good Bluetooth speaker, then on a terrible Bluetooth speaker, then through an iPhone, then with earbuds, then on a laptop, etc. and write down notes for all the speakers you test your mix on. Wherever you start to notice trends (i.e. the hi-hats sound too hissy on most speakers), that’s where you can begin to make adjustments.
Keep in mind, when testing out your tracks, you're not just trying to get your latest track to sound good. You’re also trying to get a feel for how your mixing environment ends up swaying your decisions and coloring your tracks. This will help you make better mixing decisions down the line.
For example, when I moved into my most recent mixing space, I didn’t know the room caused me to hear more low mids than I should. And, because of this, I ended up cutting a lot from the low mids in order to get my tracks to sound good. But, whenever I would test my mixes on other speakers, my tracks all seemed to lack warmth and body.
After noticing this trend, I was able to pick up on what was happening and actually learn how my mixing space was coloring the sound, allowing me to start making more intelligent mixing decisions (and stop unnecessarily cutting the low mids). The speaker testing process allows you to calibrate your ears to how things sound in your home studio versus how they sound everywhere else.
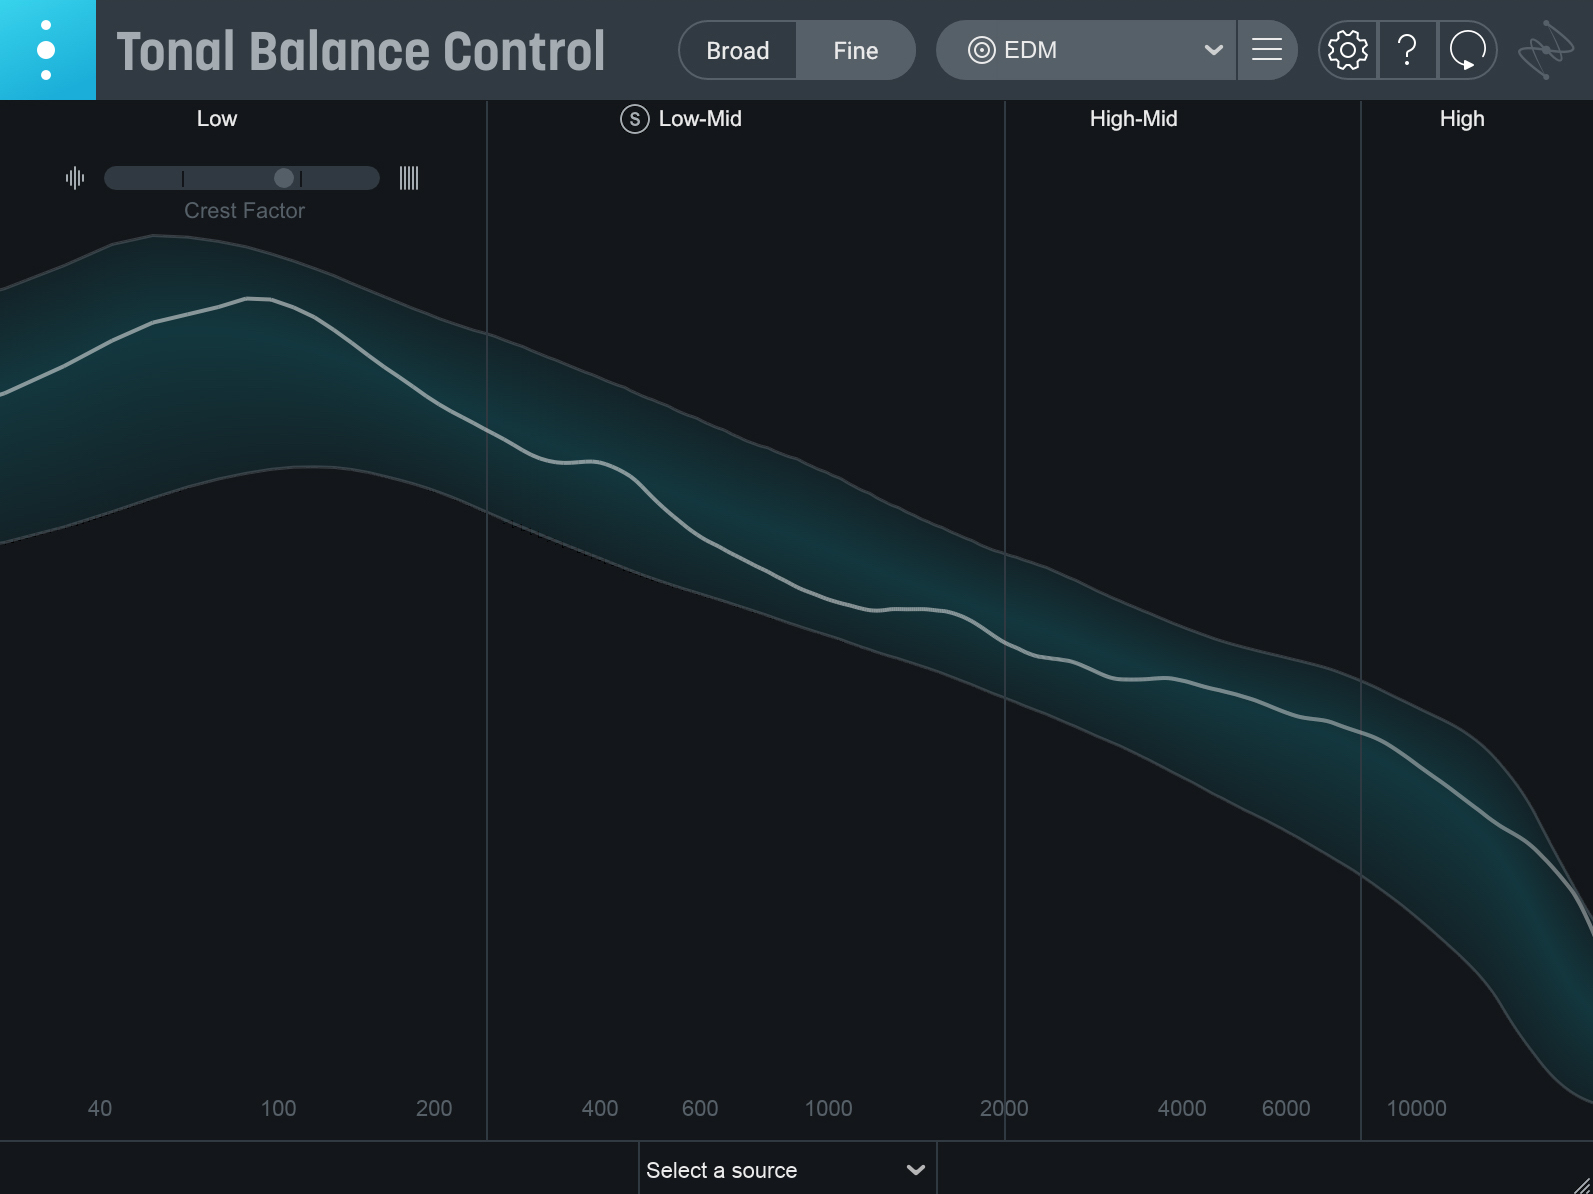
Another way to test your mixes is to run them through


Tonal Balance Control 2

Check your target levels with Tonal Balance Control
Embrace your space
The last tip I’ll leave you with is this: embrace your space. Find out how to make it work for you. Fill it with things that inspire you and keep it in a condition that makes it easy to get straight to work when you’re feeling the creative juices start to flow. The environment in which an artist creates has a special way of influencing the art they make, so make sure to honor your space and use it to its fullest.
Grimes recorded her entire album, Visions, in her apartment. Billie Eilish tracked her full debut album from the comfort of home too. If they can do it, so can you. It just comes down to learning how to best use what you have available. So, get creative with your space and try things out. Rather than getting frustrated that you don’t have a big fancy studio at your disposal, make it a fun science experiment to find the best ways of using your home studio to bring your creations to life in a way that’s unique to you.


