Mono vs. Stereo in Audio Mixing
Confused about mono vs. stereo in the mixing process? Learn the difference between mono vs. stereo playback as well as mono vs. stereo mixing and how to get professional sounding mixes that consider mono compatibility.
You may have heard mixing advice that says to avoid mixing in mono or explains how to make your mix wide with stereo imaging. But what is mono and stereo, and how do they impact your music production and mixing process?
In this article we will examine the differences between mono and stereo, discuss why mono compatibility of stereo mixes is important, and share some techniques to maintain the integrity of a stereo mix when reproduced in mono.
We recommend you listen to the audio examples in this piece on a pair of good headphones.
Follow along with the mixing techniques in this tutorial using the plug-ins included in iZotope


Music Production Suite 7
Mono vs. stereo mixing and monitoring
Before we can dive deeper, we must first understand the difference between mono and stereo mixing vs. mono and stereo playback. It is important to realize that although our mix may be in stereo, it will always be limited by the playback system on which it is reproduced.
What is mixing in mono?
Historically, mono mixing implied combining, or summing, all tracks to a single channel—commonly referred to as a mono mix bus—and monitoring on a single speaker.
Before the 1950s, this was the scenario in which all mixes were created. As there was no stereo field, the only way to blend individual tracks together was by level balancing. In fact, the earliest mix engineers were not referred to as such, but rather as balance engineers.
What is mixing in stereo?
Today, stereo mixing implies combining, or summing, all tracks to two channels—commonly referred to as a stereo mix bus—and monitoring on two speakers. In this scenario, we typically have a pan pot, or slider, by which audio can be routed to a left channel, a right channel, or some combination of both.
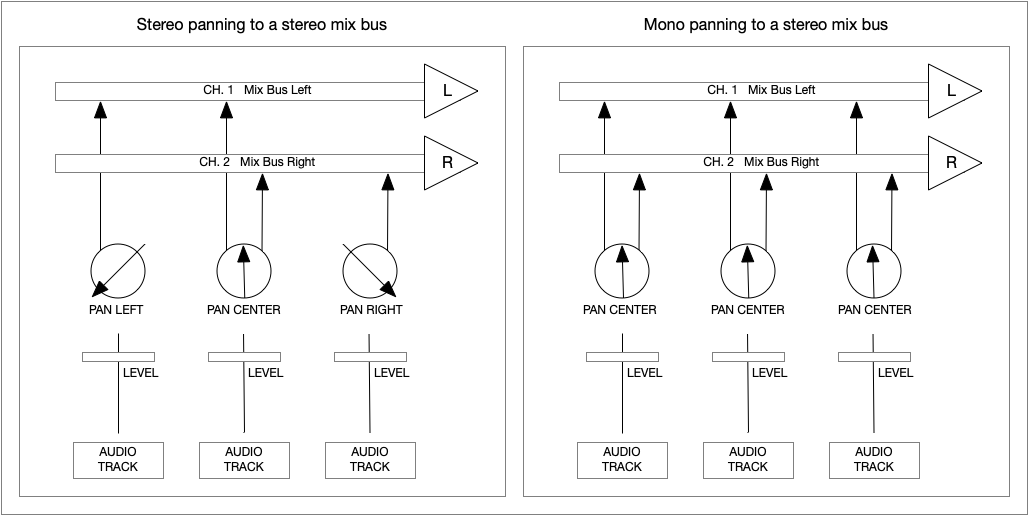
Diagram of mono and stereo panning
Due to a psychoacoustic phenomenon known as the phantom center, when an audio signal is sent to a left speaker and a right speaker at equal level, the sound will be perceived as emanating from a point directly between the two speakers. This is how we are able to create mono-compatible stereo mixes, or reproduce mono mixes on stereo playback systems.
Mono vs. stereo monitoring
A stereo playback system typically refers to a 2-channel system in which a stereo source sends audio from channel 1 to a left speaker and audio from channel 2 to a right speaker. In this scenario, in order to fully appreciate the full stereo image and phantom center, it is optimum to sit in an equilateral triangle between two speakers, or monitor in headphones.
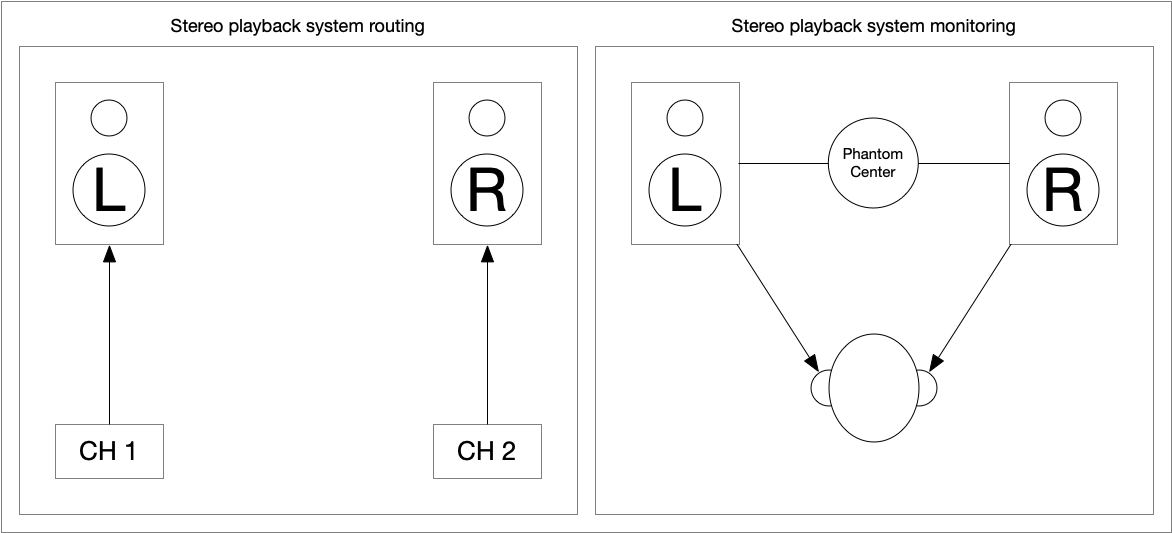
Diagram of stereo playback system routing and monitoring
In a mono playback system, only a single channel of audio can be reproduced. This does not necessarily mean that there is only one speaker, but rather that any and all speakers receive the same signal. If the source is stereo, then the left and right channels will be combined, or “summed,” to mono and sent to all speakers equally. This is where the importance of mono compatibility comes into play.

Diagram of mono playback systems
Listen for yourself: mono vs. stereo
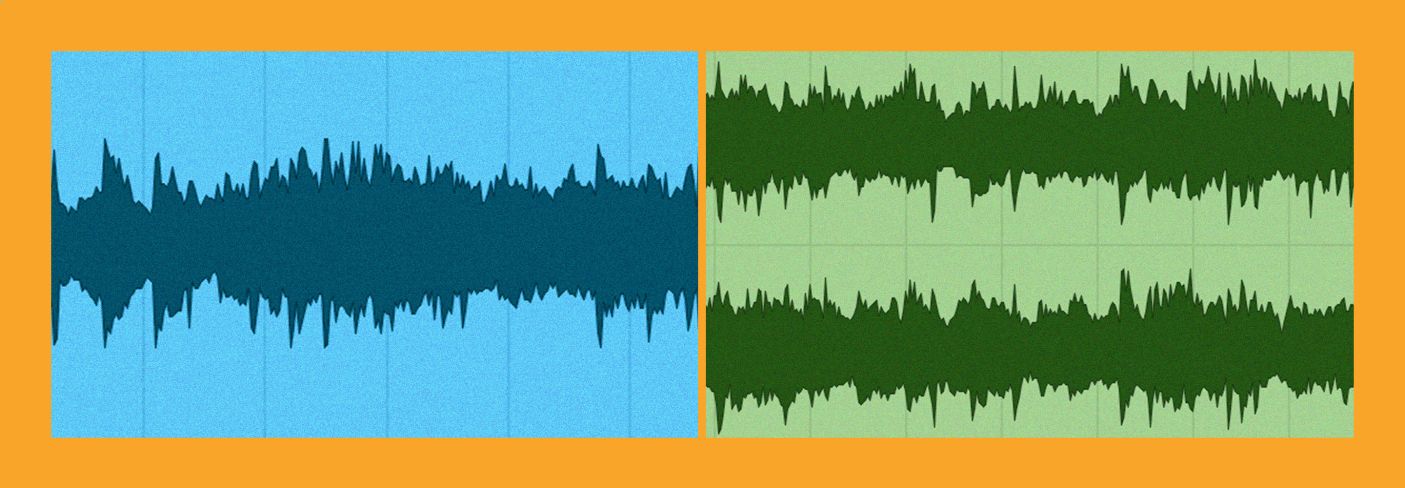
Here are two of the same recordings, one mixed in mono and one mixed in stereo. Can you hear the difference between mono vs. stereo in your headphones?
What is mono compatibility and why is it important?
Mono compatibility refers to how well all of the audible information and level balances of a stereo mix will be maintained when the left and right channels are combined and reproduced in mono.
Today music is delivered in stereo via streaming services, downloads, and physical mediums such as vinyl records and CD’s, however, it is not always reproduced on stereo systems.
There are many situations in which mono playback has always been the norm and other areas where it has even expanded. Historically these have been restaurants, dance clubs, supermarkets, shopping centers, sporting events, etc. However, today mono bluetooth speakers and home assistant devices like Amazon Echo and Google Home, which employ a single speaker, have become commonplace.
I myself have a mono bluetooth speaker that I take camping, to the park, or to the beach! They are lightweight, portable, often rechargeable via USB, and therefore incredibly convenient, extremely affordable, and very popular! For this reason, it is important to be aware of how mixes will sound when reproduced on these devices.
How to maintain compatibility on mono playback systems
1. Begin your mix in mono
Mixing in stereo provides us 3 dimensions; X = width (panning), Y = height (EQ), and Z = depth (level, EQ, and reverb). By beginning a mix in mono you effectively remove the X-axis. There is no more element of width. This limitation forces you to carve space in a mix using only level balances and equalization. When stereo panning is involved, it is easy to overlook poor level balancing, frequency masking, and phase discrepancies.
In the example below I have created a rough mix completely in mono using only level and a bit of EQ.
In this example we will hear the same mix again, only this time I have panned some of the tracks far left and right in an LCR panning scheme.
Once the balance of the instruments sit well in mono, they are likely to sit well in stereo. The strategy here is that it is easier to create a good mono mix that is compatible in stereo, than to make a good stereo mix that is compatible in mono.
At some point during your mix you will start panning elements to the sides, however, starting in mono with the foundation of your mix can get you off on the right foot. In addition, it is important to sum your mix to mono from time to time in order to continue checking on balances and phase discrepancies between left and right channels. The phase meter available with iZotope Insight is perfect for exactly this.
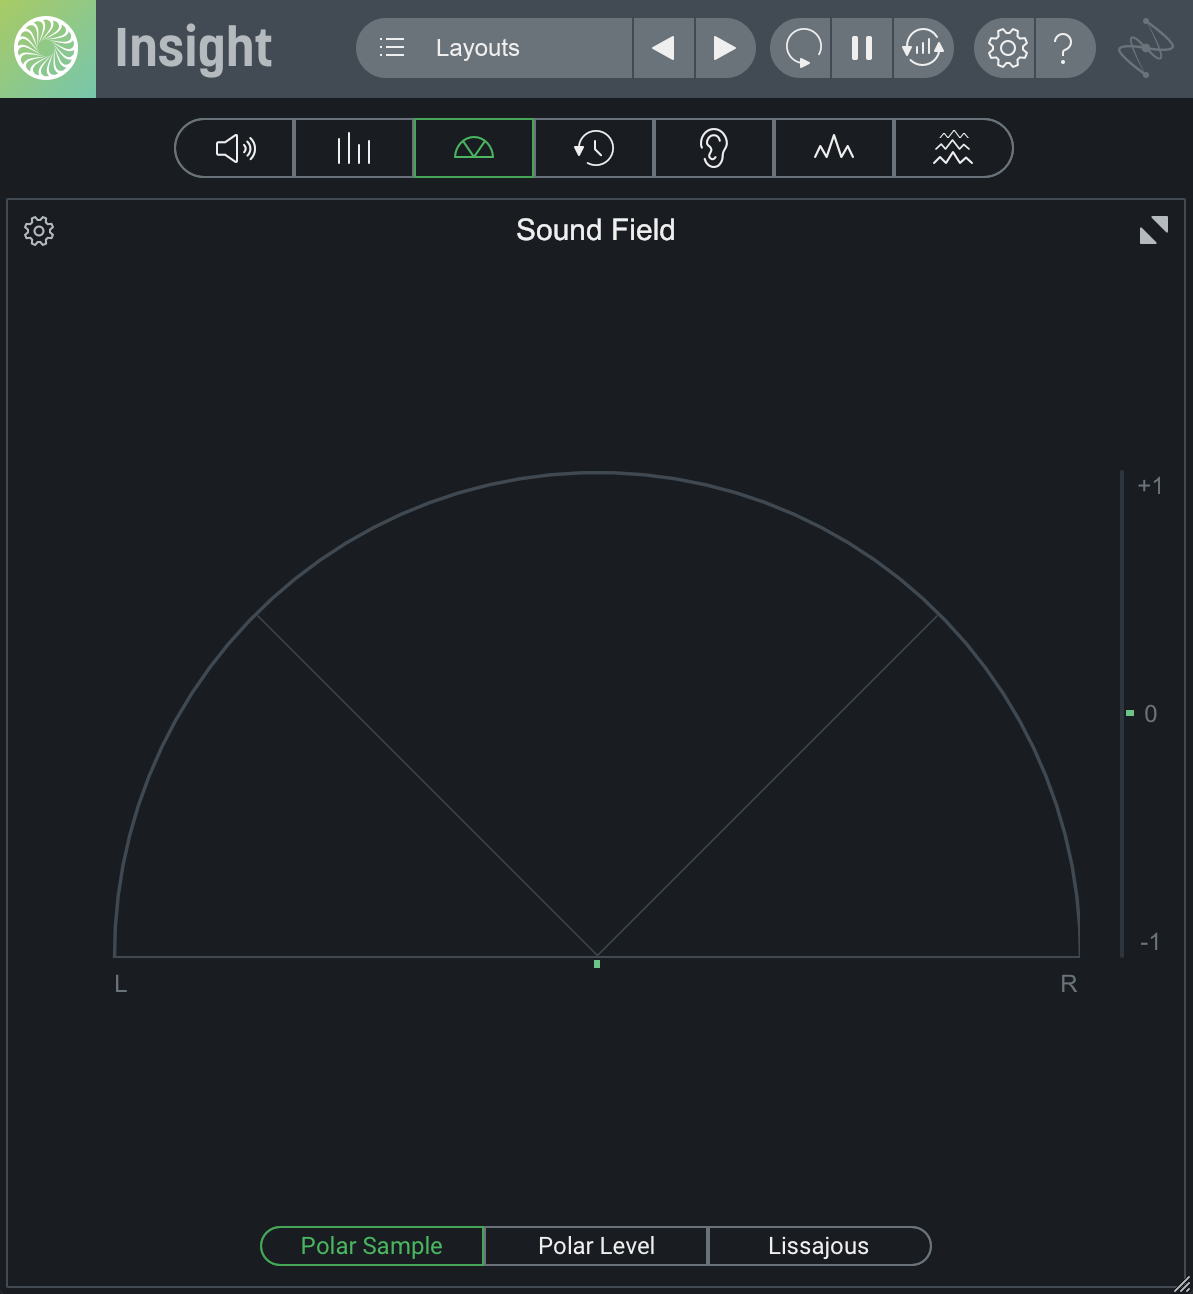
iZotope Insight Sound Field
2. Keep low frequency information in mono
Low frequencies are less directional than high frequencies, particularly in the sub frequency range of 40 Hz and below. These frequencies do not benefit from stereo panning and are more susceptible to phase cancellation.
In this example we have a simple stereo synth part in its original state.
By adding Ozone Imager it is possible to narrow any user selected band of frequencies. In this case I have narrowed 125 Hz and below to 100% mono within my stereo mix.
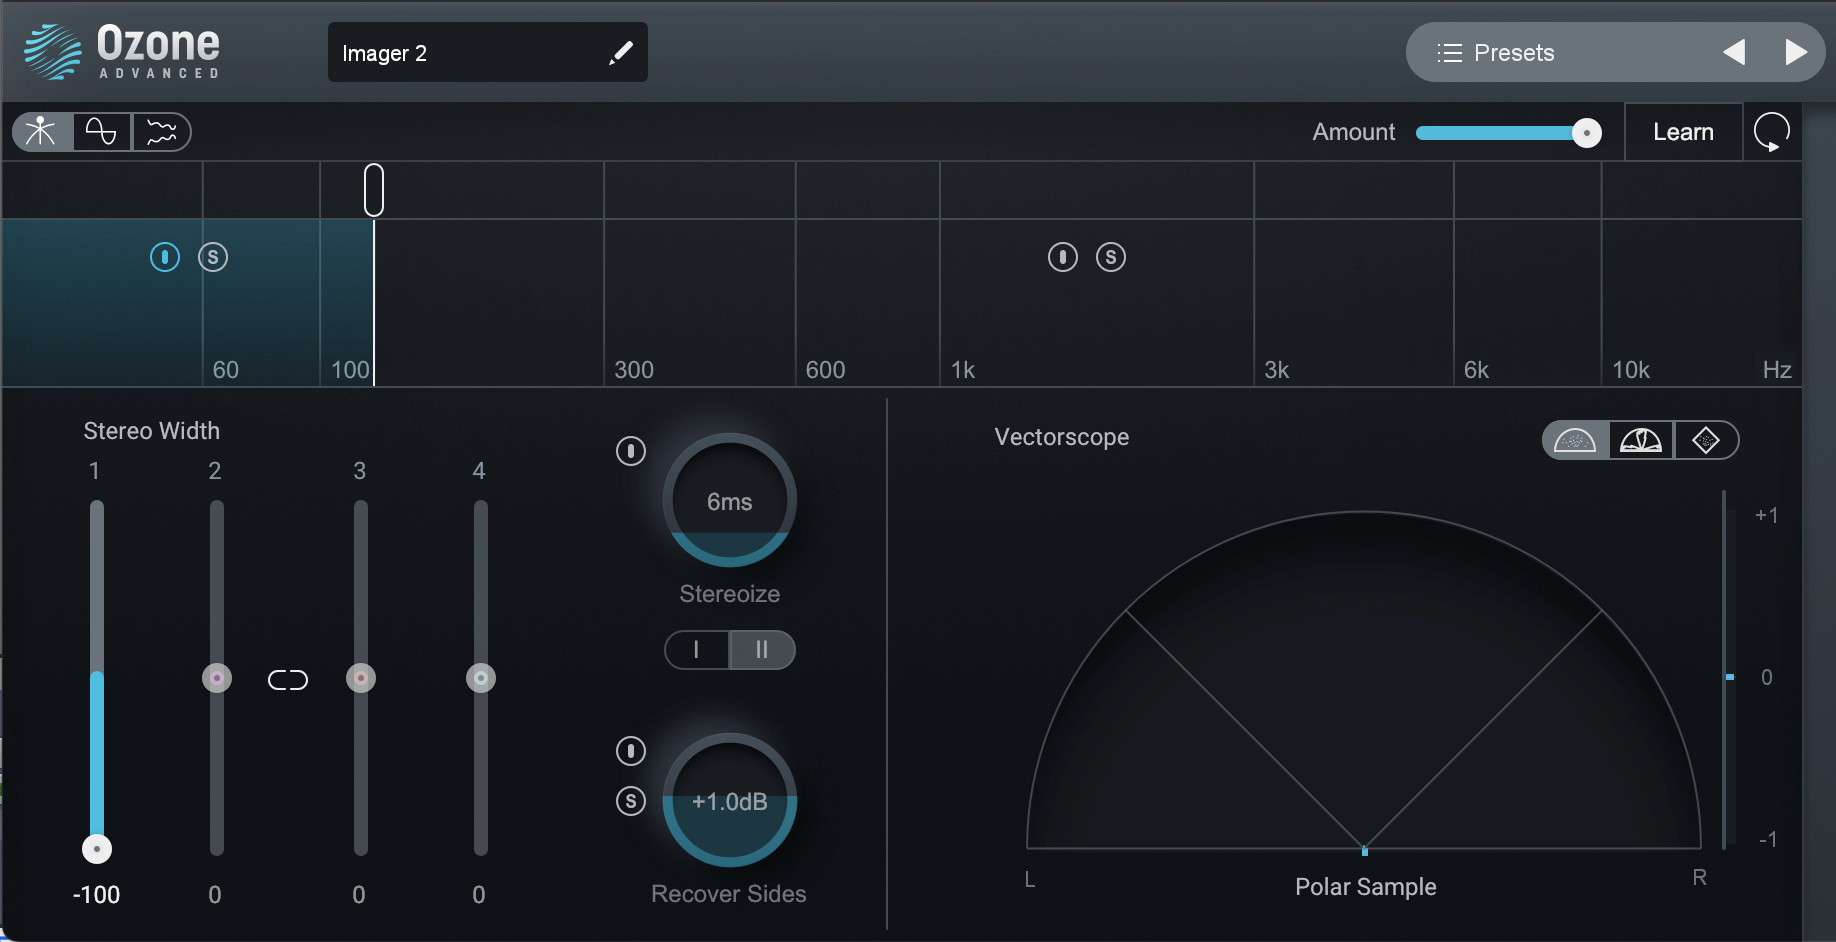
Narrowing the frequencies 125 Hz and below to 100% mono with Ozone Imager
In the previous example you should have noticed that the low end is centered and more focused, however, it has lost a bit of energy due to some low frequency phase discrepancies below 125 Hz. Any information that may have been lost due to phase cancellation may be recovered using the Recover Sides function of Ozone Imager.
Here is the same audio example again, only this time with Ozone Recover Sides feature initiated, bringing back 2.5 dB of lost low end information below 125 Hz.

Narrowing the frequencies 125 Hz and below to 100% mono with Ozone Imager
In this final example we will listen to the same audio again with 125 Hz and below narrowed 100% and Recover Sides initiated, only this time summed to mono.
As we can hear, when summed to mono, our low end remains intact, focused, and there is no loss of low frequency energy.
Ways to widen your mix while considering mono compatibility
There are a few common techniques to create wider mono and stereo tracks within a mix that have been used for decades, long before digital audio workstations. However, thanks to digital audio and advanced digital signal processing (DSP), today we have more options. Although all of these tools and techniques will result in a wider stereo image, some collapse to mono better than others. Let’s take a look at the pros and cons of some of the more common techniques for adding stereo width and their implications in mono.
Double tracking
When possible or appropriate, double tracking is a great way to create a very wide stereo image of any instrumental or vocal part that will always collapse to mono in one of the most natural ways possible.
Here we have an example of a double vocal panned hard left and right in stereo, then the same double vocal panned hard left and right, however this time summed to mono.
Double Tracking Vocals
We can hear right away that we maintain both recorded parts and we maintain their relative levels with minimal phase interference. We can't completely eliminate interference, but the flange-y effect it produces adds to the character of the recording.
You can also double track artificially using a plug-in like the iZotope Vocal Doubler (which is free to download). Artificially double tracking creates a very realistic vocal double that can add width to a mix. The only downside is that it is not as wide as a manually tracked vocal.
Artificial widening: using a delay
Artificial widening by use of a delay is a common technique that has been around for decades.
Take any mono track that you want to widen, create a duplicate of the track and delay the duplicate anywhere from 1–30 ms and panned the original and the duplicate hard left and right. This amount of delay will create just enough difference in timing between the two signals that we will perceive them as stereo.
It's important to note, however, that when the delay is collapsed to mono it introduces varying amounts of comb filtering based on the amount of delay between the two tracks.
Here we have an example of vocal that has been widened using this technique, and then the same example again summed to mono.
Delayed Vocals
We can hear right away that although we maintain our vocal, it sounds a bit hollow due to phase cancellation at varying frequencies. This effect can be lessened somewhat using the techniques outlined here.
Duplicate, invert panning, flip polarity
Duplicating a stereo track, inverting the pan of the duplicate, and then inverting its polarity, is a technique used to push a signal extremely wide, almost to the outside of the speakers. It can be effective, however it offers zero mono compatibility.
Here we have an example of a stereo synth part in its original state, then we have the same stereo synth part, only duplicated. The duplicated part has been inverted, both in panning as well as polarity.
Phase Inversion
It is easy to hear the extreme width that has been created here.
It is impossible for me to share an audio example of what this sound like when collapsed to mono as it would be complete silence. As we can see using iZotope Insight, our signal is 180° out of phase. For this reason, this technique only works in stereo. It can also cause an uneasy feeling for some listeners, so use it with caution. A good way to moderate it is to pull the level of the duplicated and flipped channel down a bit.
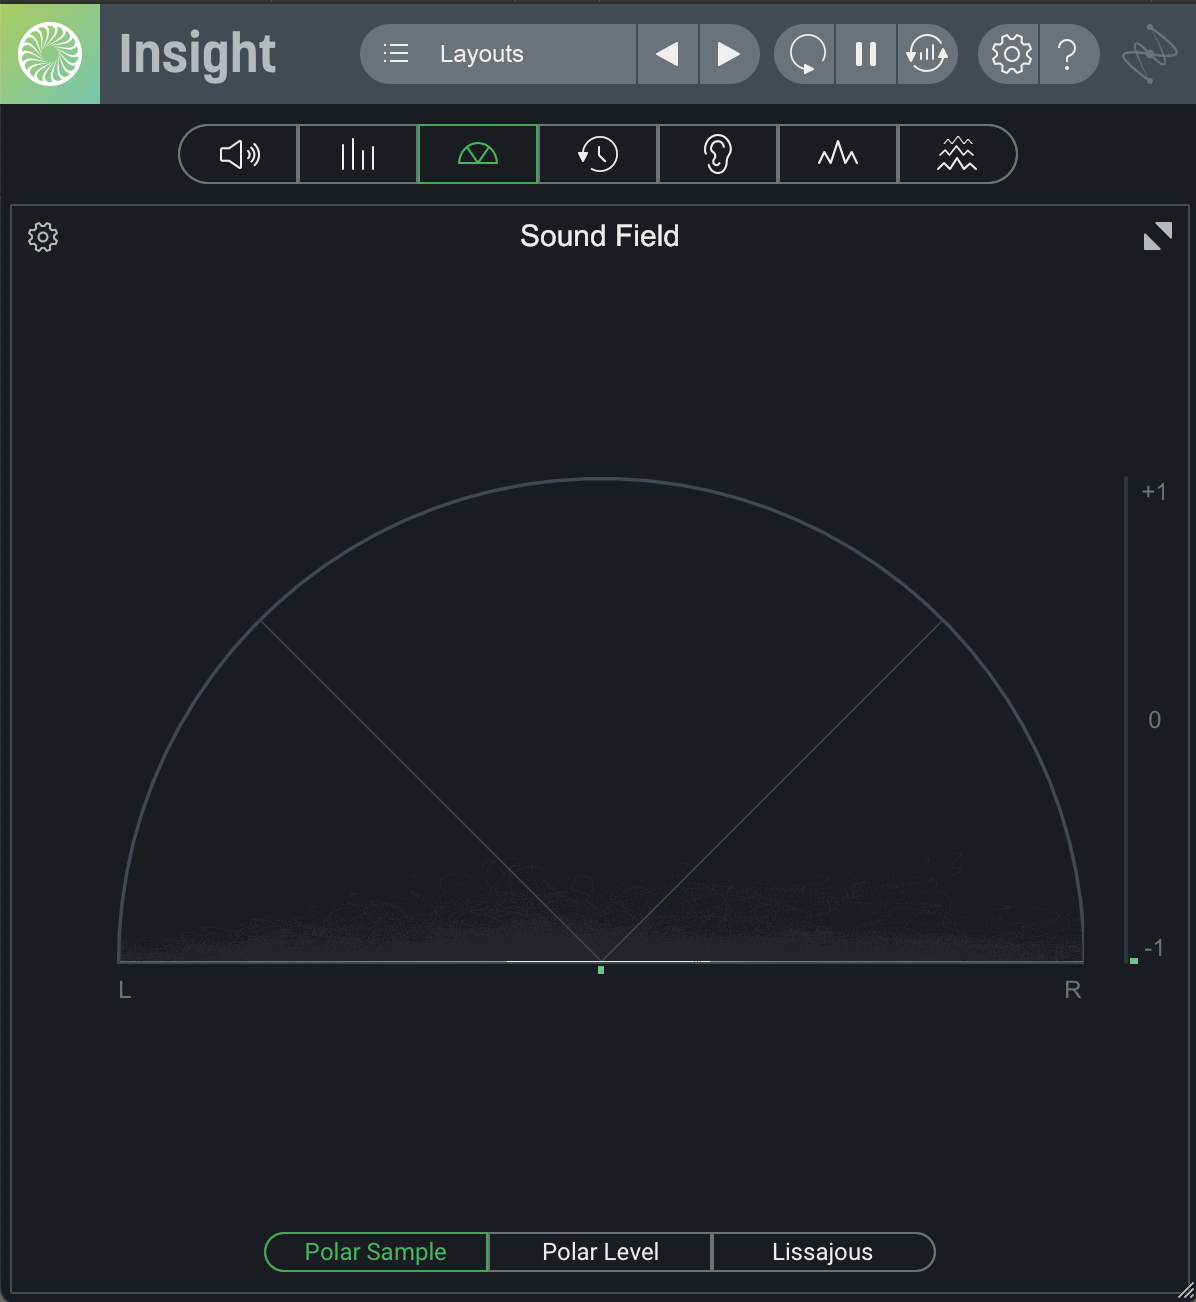
180 degrees of phase cancellation
Use Ozone Imager
Whether a mono track or a stereo track, Ozone Imager has solved the issue of creating width to a mix while still maintaining mono compatibility. It can be used to add width to an entire track, or just a set band of user selected frequencies.
Let’s listen again to our original stereo synth part, unprocessed.
Now let’s use Ozone Imager to add width to the entire frequency range of the audio. Then we'll sum it to mono.
Widening with Ozone Imager
With Ozone Imager, when our signal is summed to mono, the integrity of our original audio signal is maintained. Any bit of phase cancellation that may occur was inherent in the original audio file and not a byproduct of processing.
Let’s listen to one more example. This time we will use multiple functions of Ozone Imager. We will narrow everything from 125 Hz and below to 100% mono. We will then recover 2 dB of or side information from 125 Hz and below. Finally we will widen all frequencies from 125 Hz and above. What we will end up with is a very focused low and with a wide spread across the stereo field of the upper frequencies.
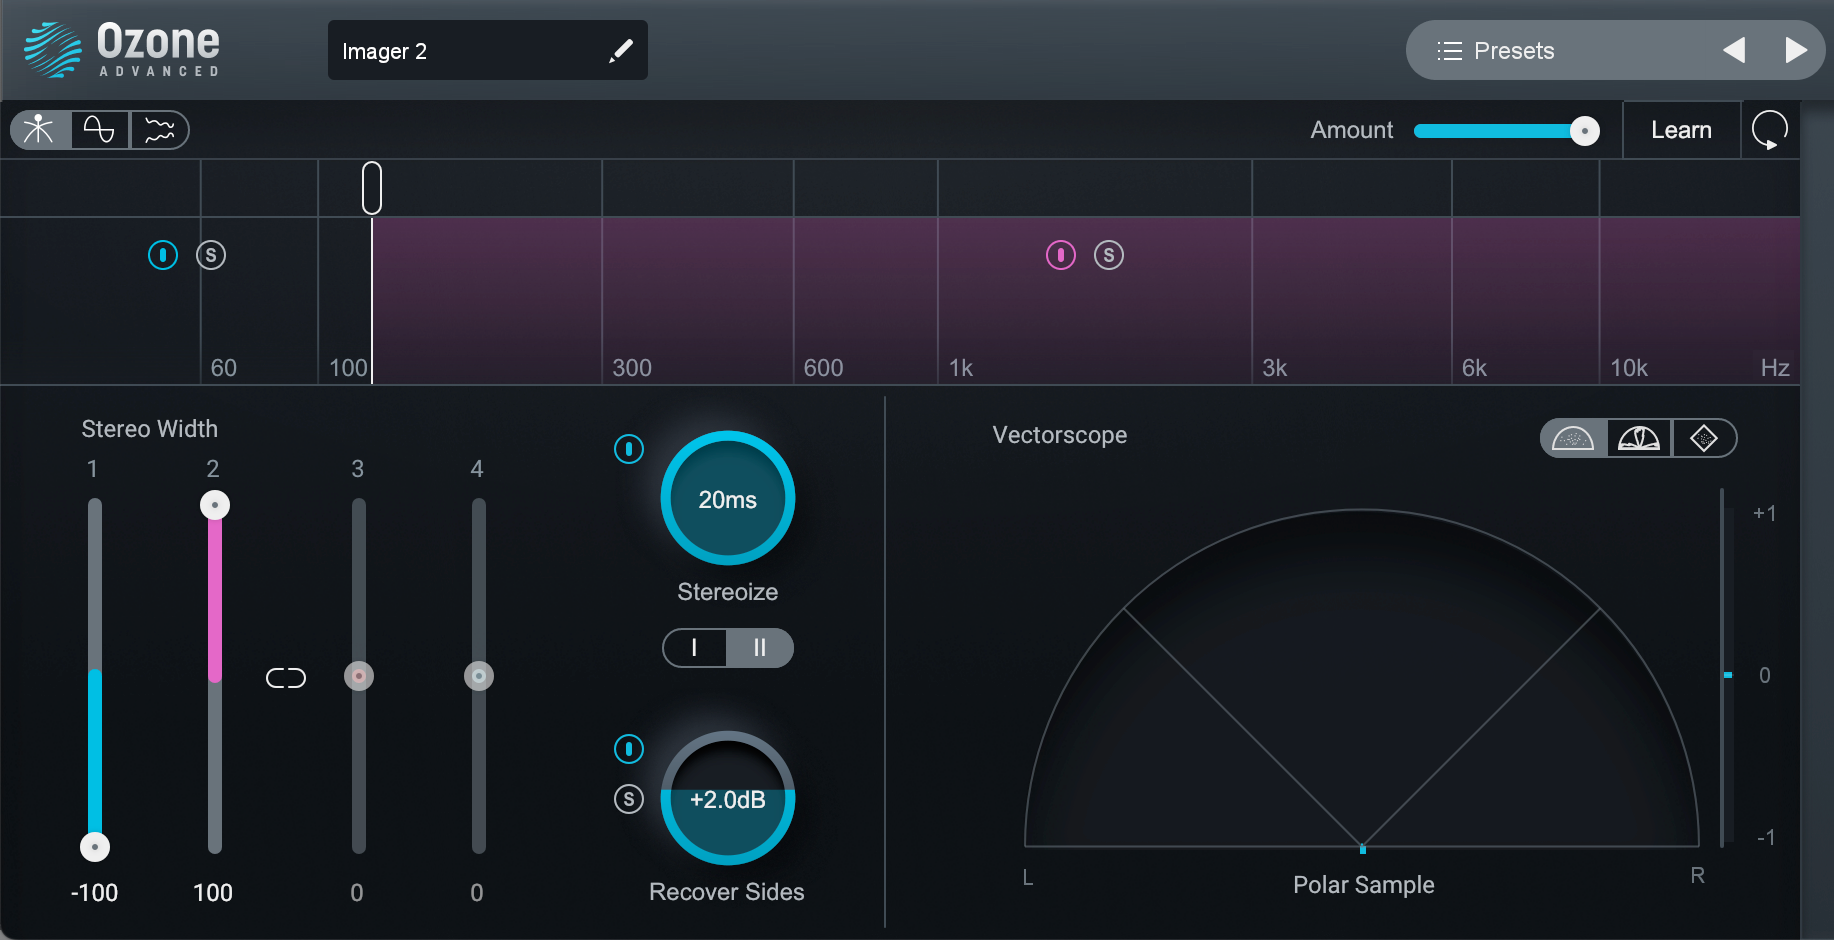
Ozone Imager settings for narrowing everything from 125 Hz and below to 100% mono, recovering 2 dB of side information from 125 Hz and below, and widening all frequencies from 125 Hz and above.
Advanced Widening with Ozone Imager
This technique gives us a bit of the best of both worlds. We are able to maintain focus in the low end, create something wide and immersive in the mid range and upper range frequencies, and in all, will collapse to mono very well.
Embrace mono in your stereo mixes
As much as we all love to be immersed in our audio, to enjoy the breadth and depth of a well crafted stereo mix, mono is here to stay and should always be considered. As we have discussed many ideas and techniques in this brief tutorial, I hope that you will place some of these into practice as you move forward. None of these are set in stone as the only way to achieve any given task, but are instead meant to act as a guide to arm you with sound information so that you know your options and can make solid decisions with confidence in all or your audio productions.
Izotope


Music Production Suite 7
