What Is Comb Filtering?
If you’re wondering what comb filtering in audio or music is, you’ve come to the right place. We’ll walk through what comb filtering is, it sounds like, how to avoid it, and more.
While the concept of comb filtering might not be as foundational as, say, headroom or phase, it’s certainly one of those terms you’ll hear experienced engineers throw around as if they’re talking about what they had for breakfast. For the uninitiated though, questions abound. What is comb filtering? What causes it? How do I get some? Is it good or bad? Can I fix it? What about some gel, or a blowout?
While I can’t recommend using hair gel or a blowdryer on your mixes, I can help you get to the bottom of a lot of those other questions. So, hop on into my barber chair, sit back, relax, and let’s get to the bottom of comb filtering. Hot towel, anyone?
Visualize comb filtering in your audio with iZotope's


Insight 2


Neutron


RX 11 Advanced


Music Production Suite 5.2
What is comb filtering?
Comb filtering is what happens when two copies of a sound are combined with a very short delay between them. By “very short delay,” we mean roughly between 75 microseconds—or 0.075 milliseconds—to maybe about 15 milliseconds. When this occurs, the result is that very steep notches—or cuts—appear in the resulting audio at repeating frequency intervals. In fact, if you view it on a spectrograph, like the one in


Insight 2

The characteristic frequency response of comb filtering
As we’ll see, the frequency of the lowest notch, and how closely subsequent notches are spaced—1 kHz, and every 2 kHz, respectively, in the above image—are both related to the delay time. We’ll get into the details of this in a moment, but first…
What does comb filtering sound like?
Comb filtering can sound different depending on the audio source and delay time, but in general, comb filtering has a “hollow” sound. I could try to describe it for you in depth, but as Martin Mull once said, “writing about music is like dancing about architecture.” So here are some audio examples.
Comb Filtering on Guitar
Comb Filtering on Vocals
Comb Filtering on Drums
Did you hear the difference in the guitar, vocal, and drum examples? If you’re thinking, “you know, it almost sounds like a flanger” you may be more right than you know. More on that later.
The cause of comb filtering (and how to fix it)
If all this has got you wondering how to fix comb filtering, I have good and bad news for you. Comb filtering is notoriously hard to fix—although things like reverb and heavy saturation can help mitigate it to an extent—but once you understand the cause, it becomes a little easier to avoid.
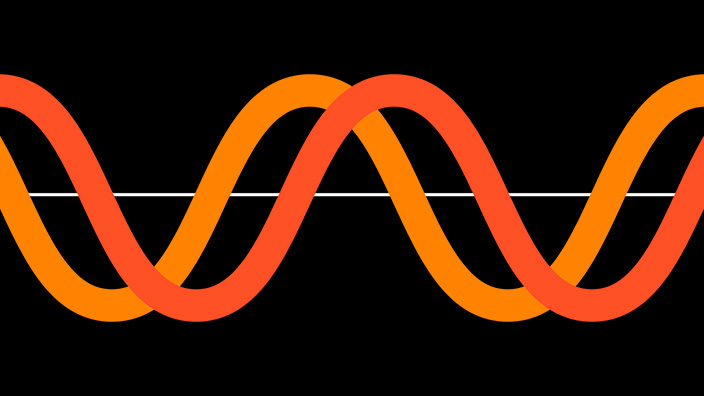
As we’ve said, comb filtering occurs when there is a short delay between two copies of a sound that get mixed together. The mechanics of it go something like this. Imagine there is a 1-millisecond delay between the two copies of a sound in question. At some frequency, that 1ms will equate to 180° of phase shift, and when two copies of a sound are 180° out of phase with each other and they’re added together, they cancel—or null—completely.
If you’re curious, we can even figure out what this frequency will be. If you’re not bothered about the math, feel free to jump ahead—my feelings won't be hurt. If 1ms is 180°, then twice that would be the full 360°, also known as the period. That’s easy, 2ms. From there, we know that frequency is calculated as 1/t, where t is the period. So, 1/0.002 = 500 Hz. Then, you can multiply that frequency by 2 to find out the spacing between subsequent notches. In this example this would be 1,000 Hz, so you end up with notches at 500, 1,000, 1.5k, 2.5k, 3.5k, etc.
Back to the real world
Ok, enough math. At this point, a reasonable question would be, “What constitutes a copy, and how do they have to be mixed together?” Glad you asked! Here are a few ways a sound can be copied, delayed, and mixed with the original:
- A sound wave bounces off a nearby reflective surface—like a wall or desk—and arrives at an ear or microphone a few milliseconds after the direct sound.
- Two mics are placed at slightly different distances from the same source and are then mixed together.
- The Hass effect is used to widen sounds in your DAW, and then the mix is summed to mono.
- Parallel processing is used in your DAW, but plugin latency compensation is not working properly.
As you can see, the definition of “copied, delayed, mixed” is pretty liberal, but the bottom line is this: the closer the two copies are in tonality and amplitude, the stronger the comb filtering will be. This brings us to…
How to avoid comb filtering
Obviously, the simple answer is: don’t create a situation where you end up with slightly delayed copies of a sound being mixed together, such as any of the ones above. But sometimes you want to use two mics on a single source or use some version of the Haas delay to widen a sound.
In these situations, you can minimize any potential comb filtering in a few different ways:
- Phase shift: the phase shift associated with high pass filters and low pass filters is a great way to prevent some of the effects of comb filtering, plus it can yield interesting tonal results. Try high and low-passing one of the copies of the sound.
- Level adjustments: by reducing the level of one of the copies relative to the other, you can turn the sharp notches typical of comb filtering into shallower dips that aren’t as obvious.
- Delay adjustments: if you’ve got recordings of two mics on the same source, you can likely move them so they’re time-aligned, thereby completely preventing comb filtering. Alternatively, if the delay stems from some Haas widening trickery, tweaking it so that the resulting comb filtering is least noticeable on that source and in the mix is a great technique. Try using
 or
or
Ozone Advanced
Go beyond the limits of mastering with Ozone. Unlock the impossible with this complete suite of 20 pro modules, including 3 brand-new, best-in-class additions. Plus, make Master Assistant your own with a new customizable flow. With intelligent tech that guides, not decides, you're always in control. to put your mix or bus in mono and adjust your delay until it works best.
Neutron
Meet Neutron 5 – featuring three brand-new plugins, a faster and smarter Mix Assistant, Mid/Side and Transient/Sustain modes, and much more.

Mono control in Neutron 4
Parting thoughts on comb filtering
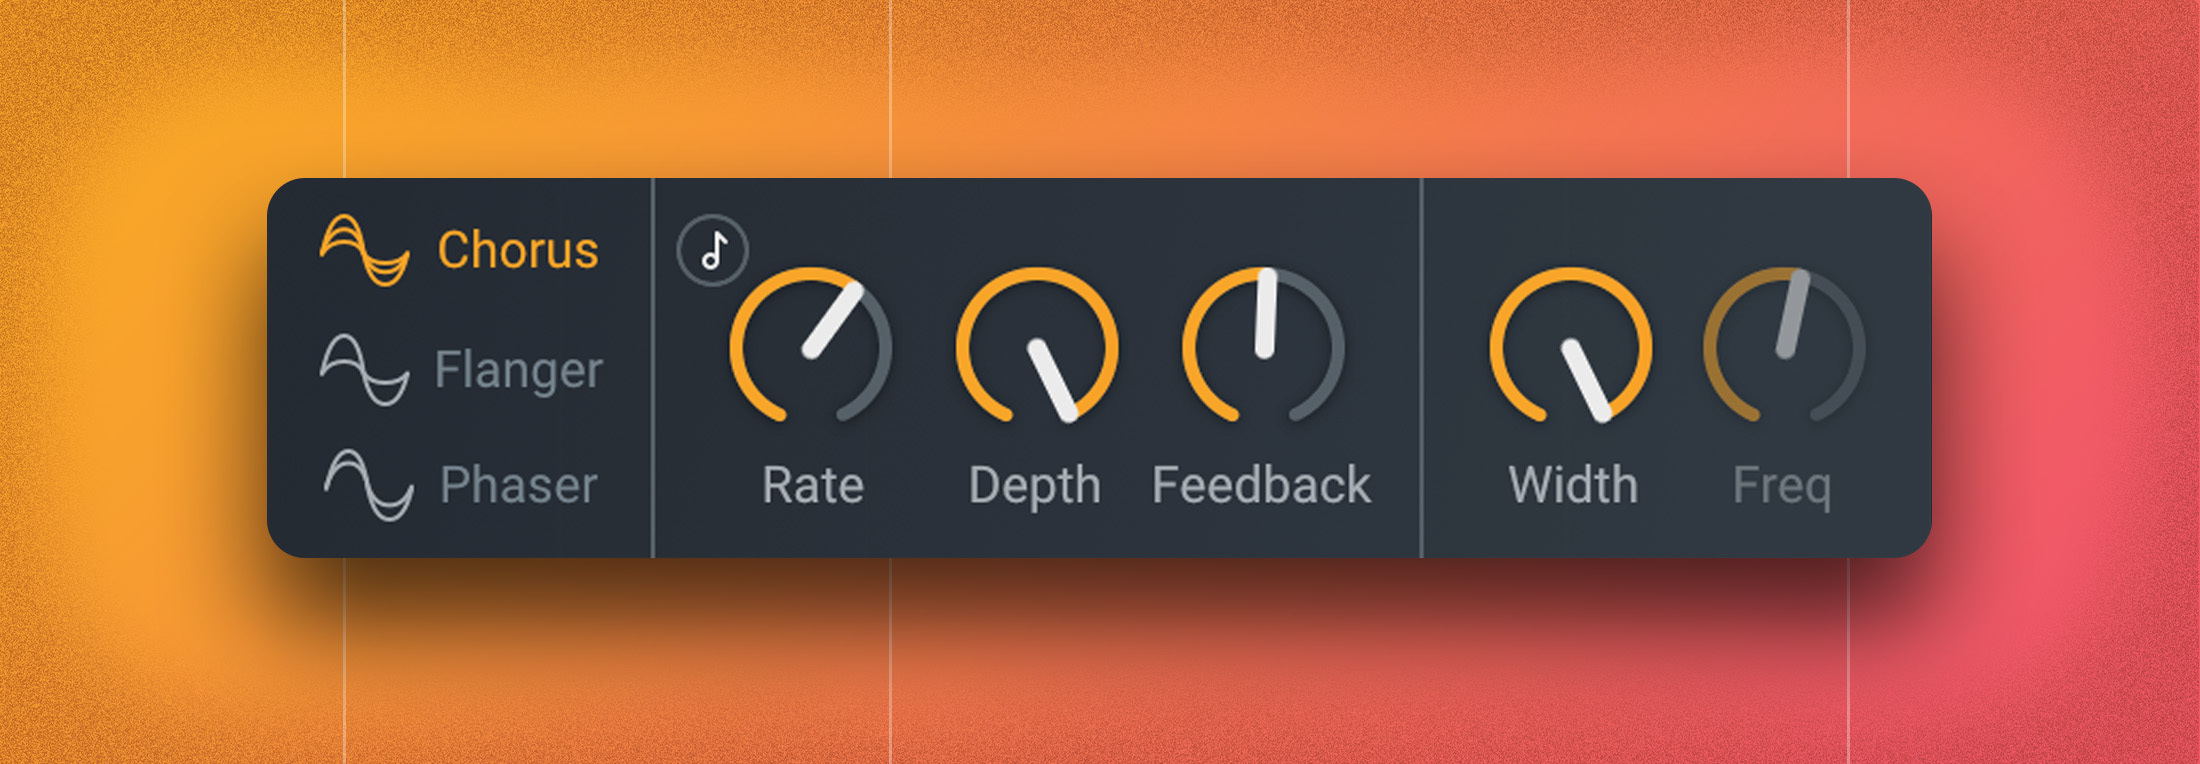
Although we’ve focused a lot on why and how you might avoid comb filtering, there are also effects that explicitly make use of it. You can read about how the flanger, and other modules in


Nectar 3 Plus
So, whether you’re trying to avoid comb filtering on your next recording, or abuse it to create psychedelic effects, you should now at the very least have a better understanding of what it is, why it happens, and how to make it bend to your will.


