3 Tips for Fixing VoIP Audio in the Mix
Mixing VoIP audio is the bane of many engineers’ existence. Learn three tips to remove distortion, fix choppy audio, and correct that horrible, tinny sound.
VoIP—for years, the bane of engineers who work on podcasts and in broadcasting. Voice over Internet Protocol, or “VoIP” for short, is the mechanism that enables telephone and videophone communication over the internet.
Think of the way a Skype call sounds: that tinny, grating quality is the result of audio data transfer using this protocol—and it’s terrible. Dropouts, blasts of distortion, and a persistent, sibilant resonance are common maladies of audio transferred using VoIP.
Unfortunately, VoIP is more ubiquitous and essential now than ever before. With the growing prevalence and necessity of remote meetings and video calls, engineers are working with VoIP audio on an increasingly regular basis. With that in mind, here are three tips to help optimize your VoIP audio.
Jump to a section below to explore specific tips on how to fix common VoIP audio issues.
1. Tame metallic sibilance
The most pervasive issue with VoIP recordings is a metallic, resonant sound in the high frequencies. Here’s an example:
What you’re hearing is largely a result of data compression. The data has been compressed into a stream of data small enough to be transmitted in real-time.
Data compression is vastly different from audio compression, which has been discussed at length in several iZotope articles. While compression, in audio terms, refers to the restriction of dynamic range on a track or group of tracks, data compression is the shrinking of a digital recording’s file size by throwing away bits of information that an algorithm deems unnecessary to the integrity of the recording.
The tinny, synthetic quality of VoIP audio is a side-effect of this data compression, and it’s virtually impossible to fully reconstruct the recording. You can only ameliorate the problem, which is largely a matter of taming the high frequencies. Let’s examine two methods of doing this.
This article references a previous version of Neutron. Learn about 

Neutron 5
To demonstrate the first method, we’ll use Neutron to process the following audio example:
We’ll begin by using the Equalizer in Neutron 3 to isolate the narrow bands of resonating frequencies. Traditionally, you would need to seek out the undesirable frequencies by creating a peak in the EQ curve and sweeping it across the spectrum until you can identify the sibilant frequencies. Once you’ve found them, you’d lower the EQ node’s gain until the problem is fixed.
Thankfully, Neutron 3 has a handy Learn feature in its EQ module. Learn is located in the top right of the EQ’s GUI.
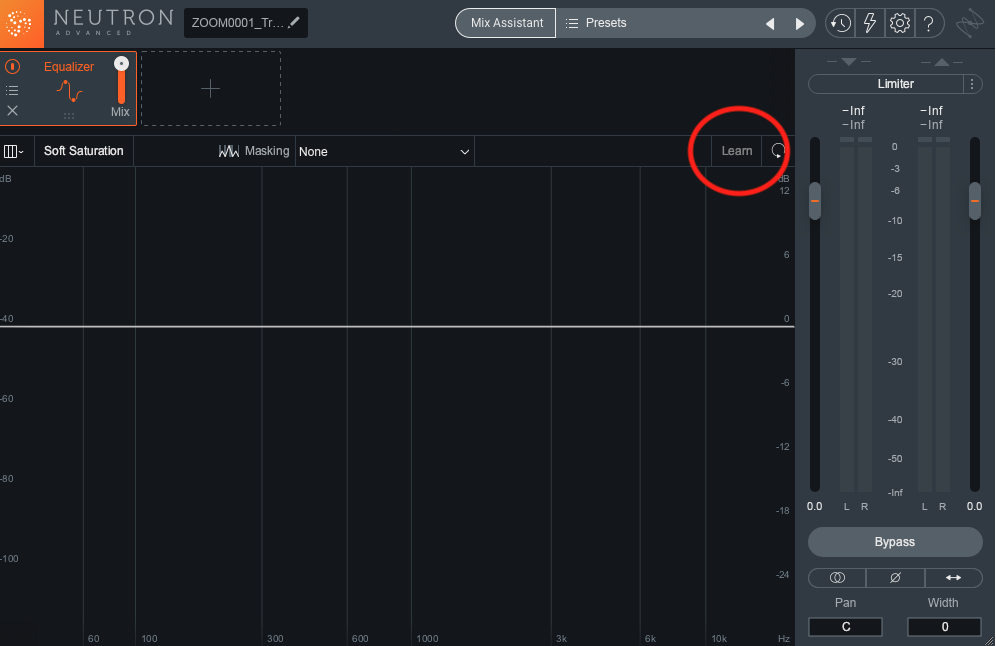
EQ Learn in Neutron 3
Click in eight nodes, loop the sibilant audio, click the Learn button, and Neutron 3 will snap the bands to places it thinks are particularly noticeable:
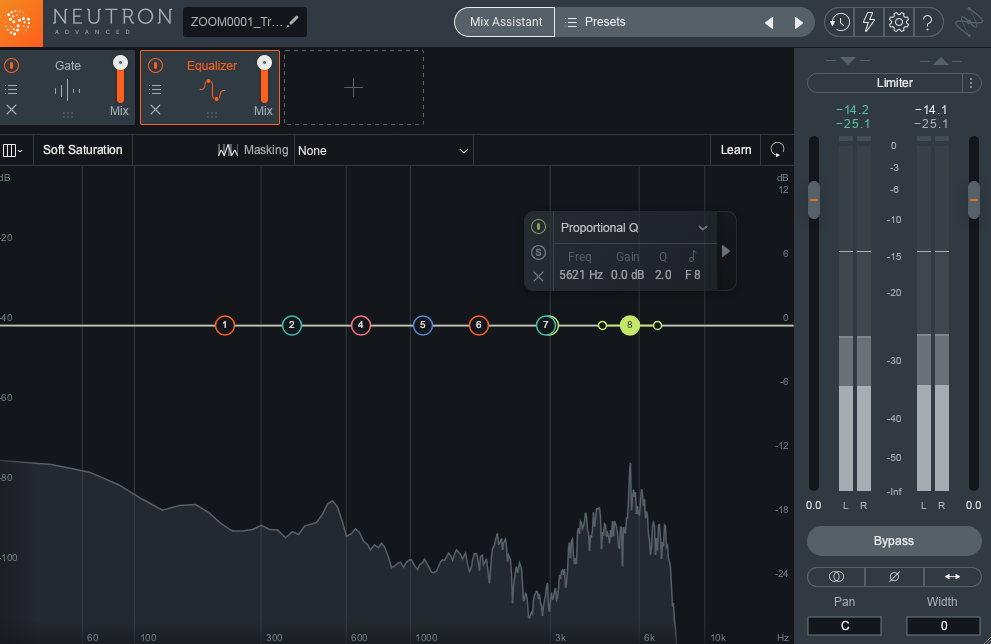
Learned EQ nodes in Neutron 3's Equalizer module
From here, use your ears as described above to attenuate the offending frequencies. Here’s what I wound up with:
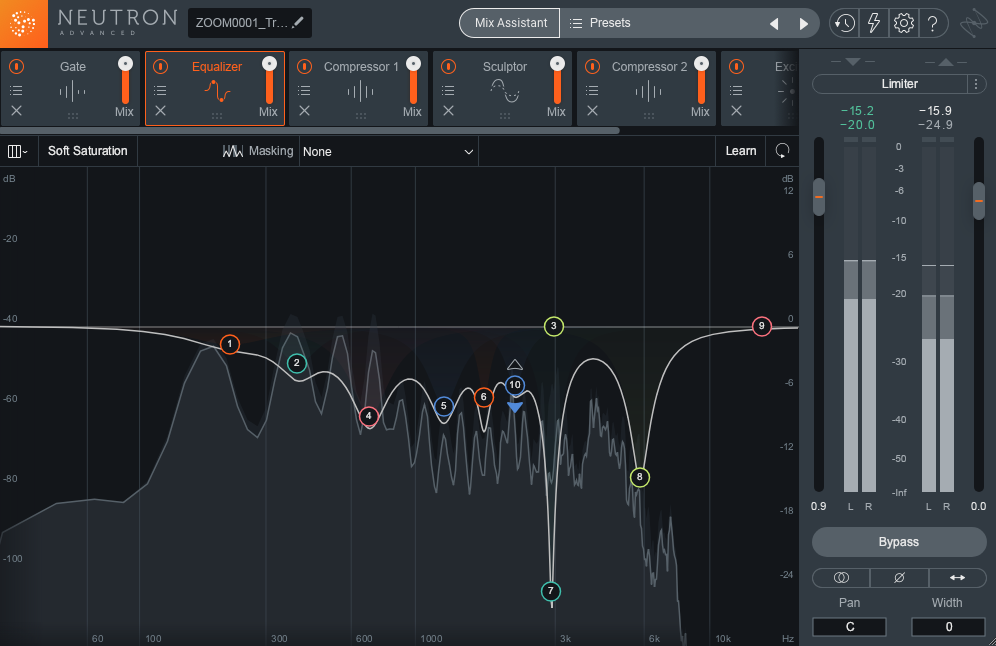
Frequency dips on the Neutron 3 EQ spectrum
And this is what it sounds like:
Some of that horrible noise is gone, but the recording needs a bit more love. For instance, there’s still some troublesome background noise. The “Dialogue Multiband Noise Floor Expander” preset for Neutron’s Gate module is particularly useful for mitigating this noise, so let’s place it before the EQ.
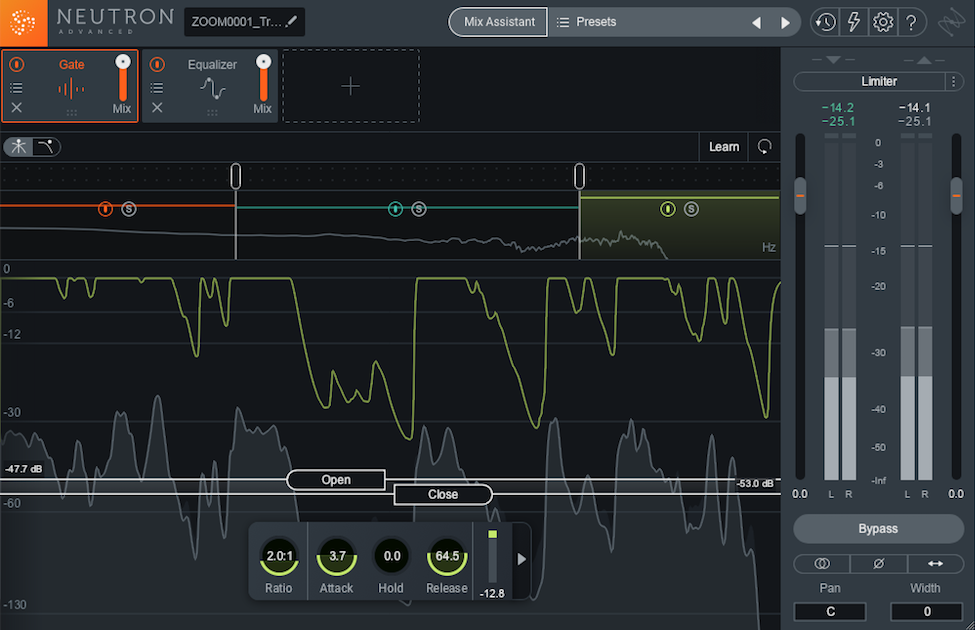
Neutron 3 Gate module
I’m also going to use a little parallel compression to make the vocals appear more consistent in the mix, as well as Sculptor to shape the low-midrange frequencies.
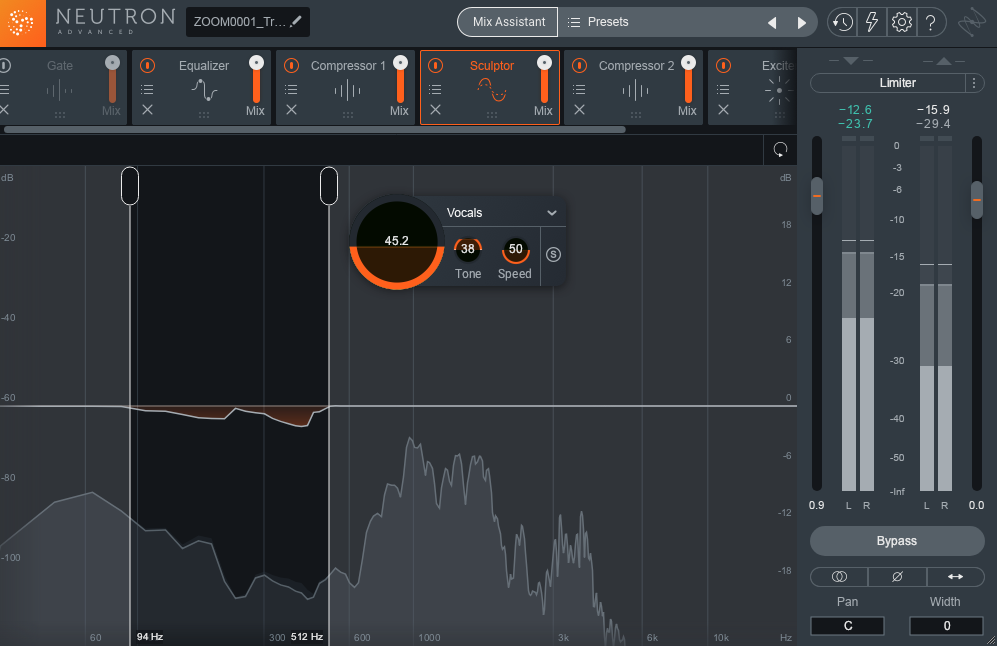
Neutron 3 Sculptor module
Next, we’ll use a multiband compressor to attenuate the 1 kHz range a bit.
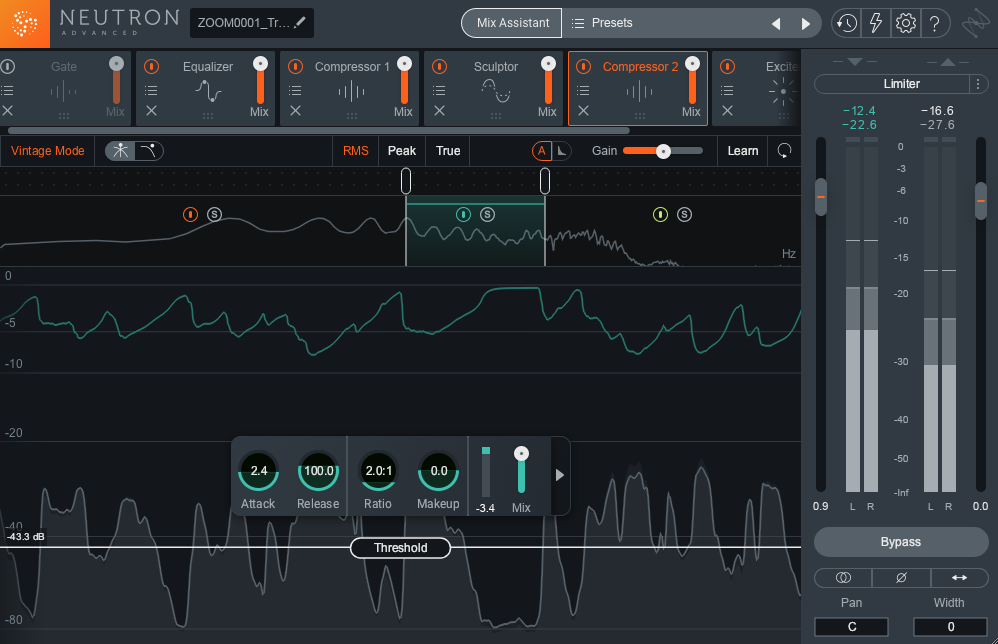
Neutron 3 Compressor module
Finally, I’ll bring a little of the high end back—but without reintroducing the harsh sibilance we just removed—with some parallel excitement in the treble range, set to Tape mode.
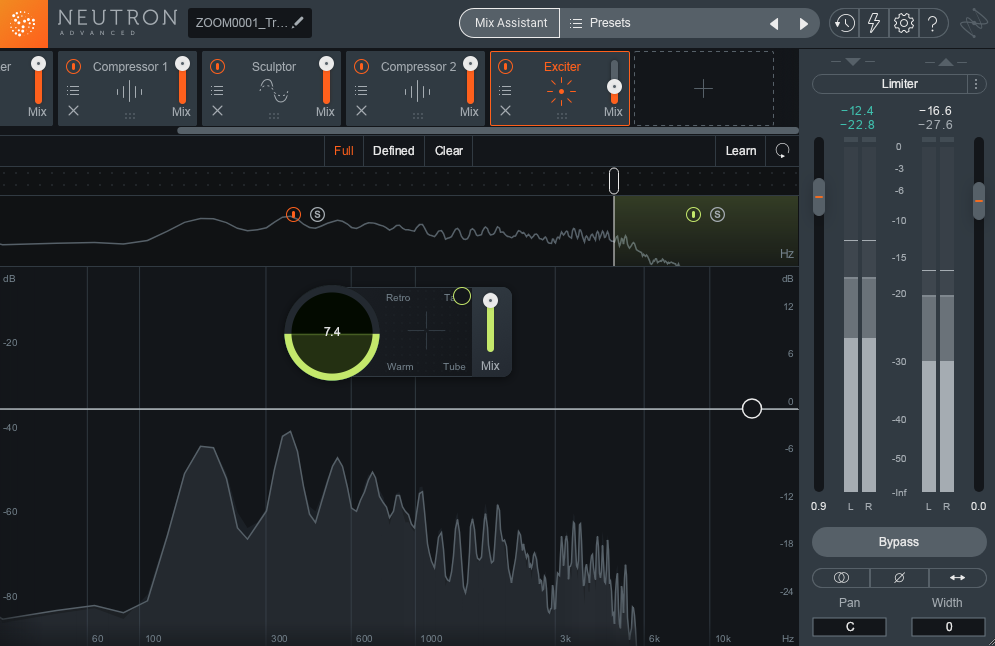
Neutron 3 Exciter module
Here’s the final product:
While not quite perfect, it’s a lot better than where we started—and with VoIP audio, that’s often the most you can hope for.
This article references a previous version of RX. Learn about 

RX 10 Advanced
One remaining issue is a speck of noise around 17 seconds in, which you can easily remove with the De-click module in


RX 11 Advanced
To some degree, yes, but the process becomes a little different. Observe this audio example:
You’ll notice a fair amount of background noise, which we can address with Spectral De-noise.
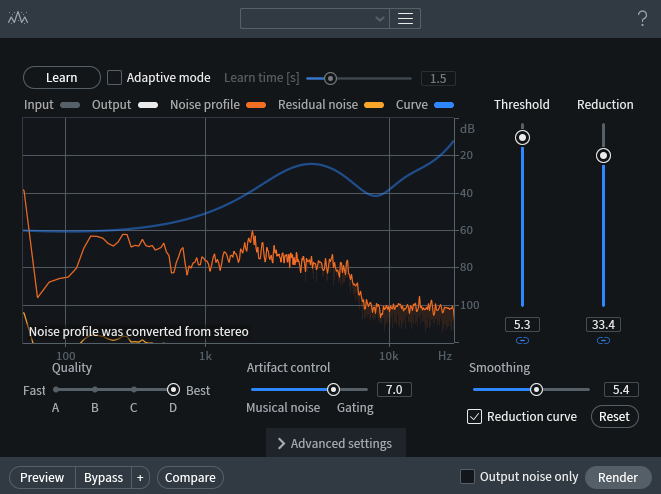
RX 7 Spectral De-noise
These settings have been fine-tuned to focus on the problematic signal, while preserving intelligibility. The curves have been drawn so we can push the algorithms further, a method suggested in this article. We can now deal with the remaining high-frequency issues using the De-ess module’s Spectral algorithm. Here are the settings I chose:
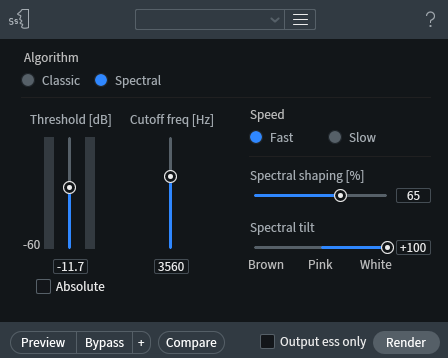
RX 7 De-ess
These are much more aggressive settings than I’d ever use in a musical application, but the results suit our purposes here.
There’s still a bit of distortion here and there, which we can remove with De-crackle.
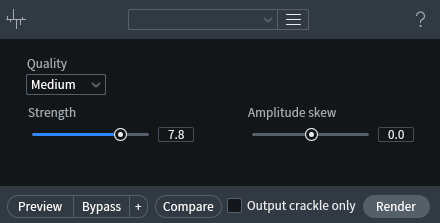
RX 7 De-crackle
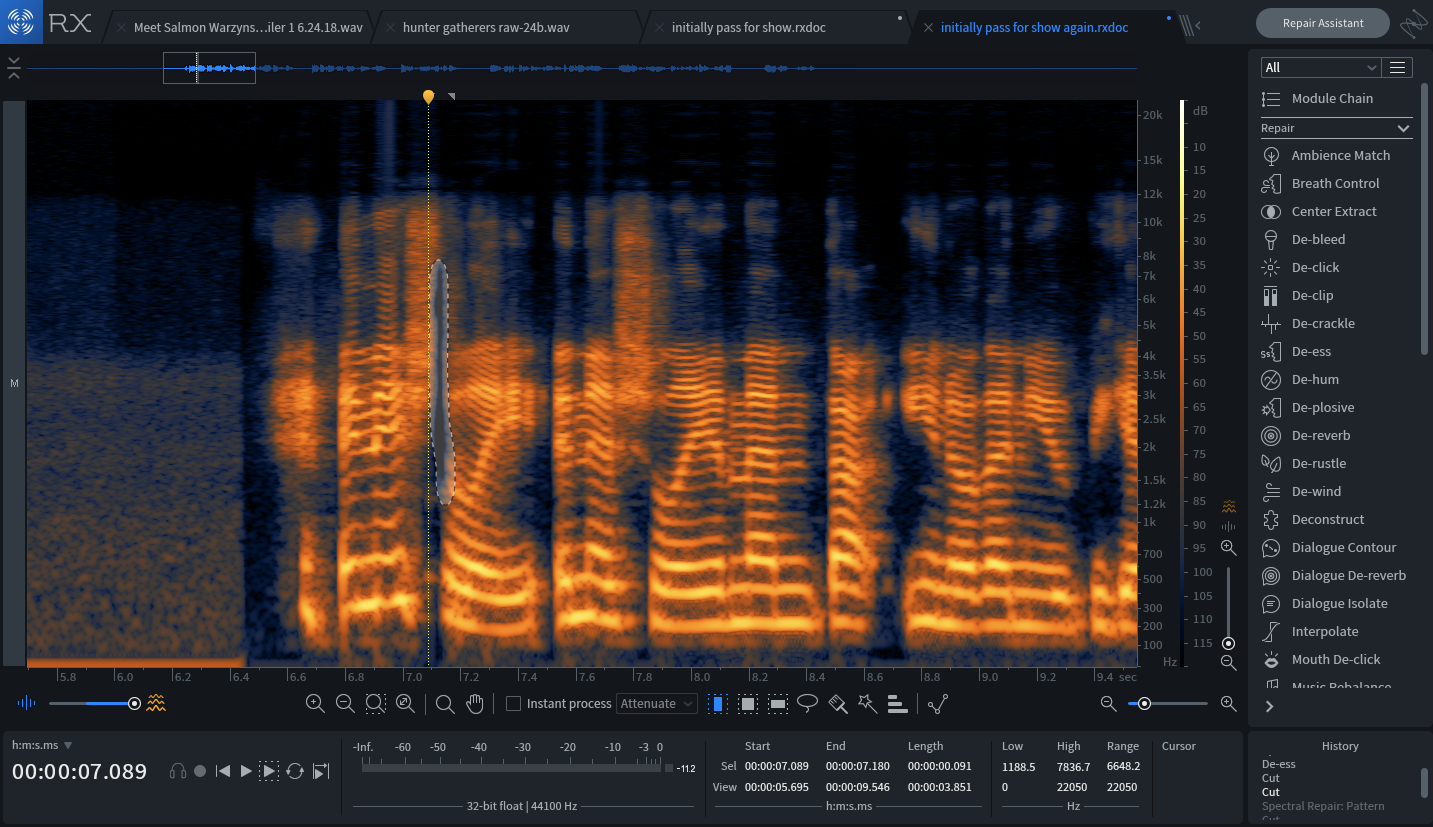
Finally, you can hear the echo of a male speaker in the beginning of the recording—that voice is mine, coming through her Skype connection. Observe what I did to take it out:
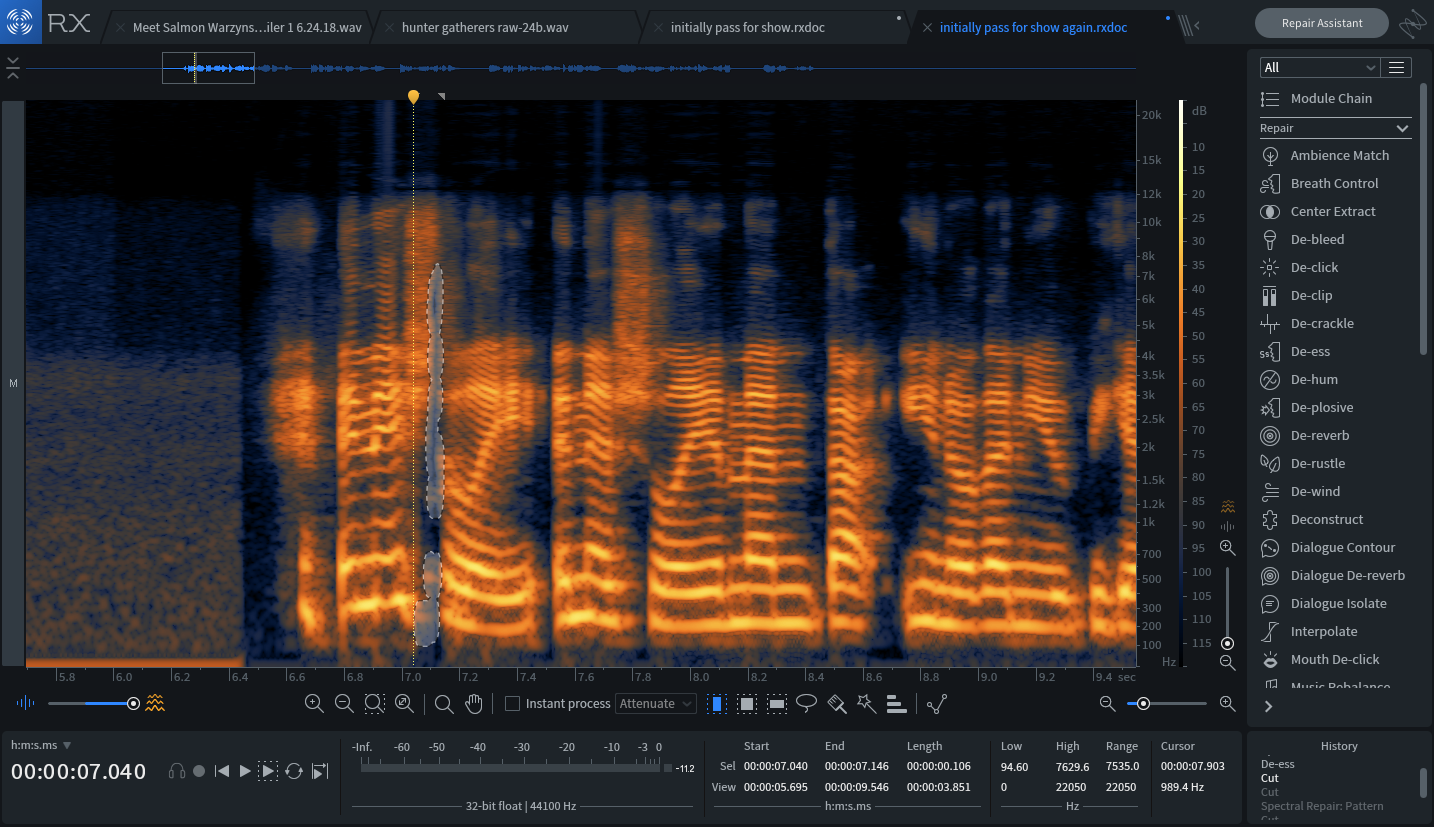
Selection 1
Selection 2
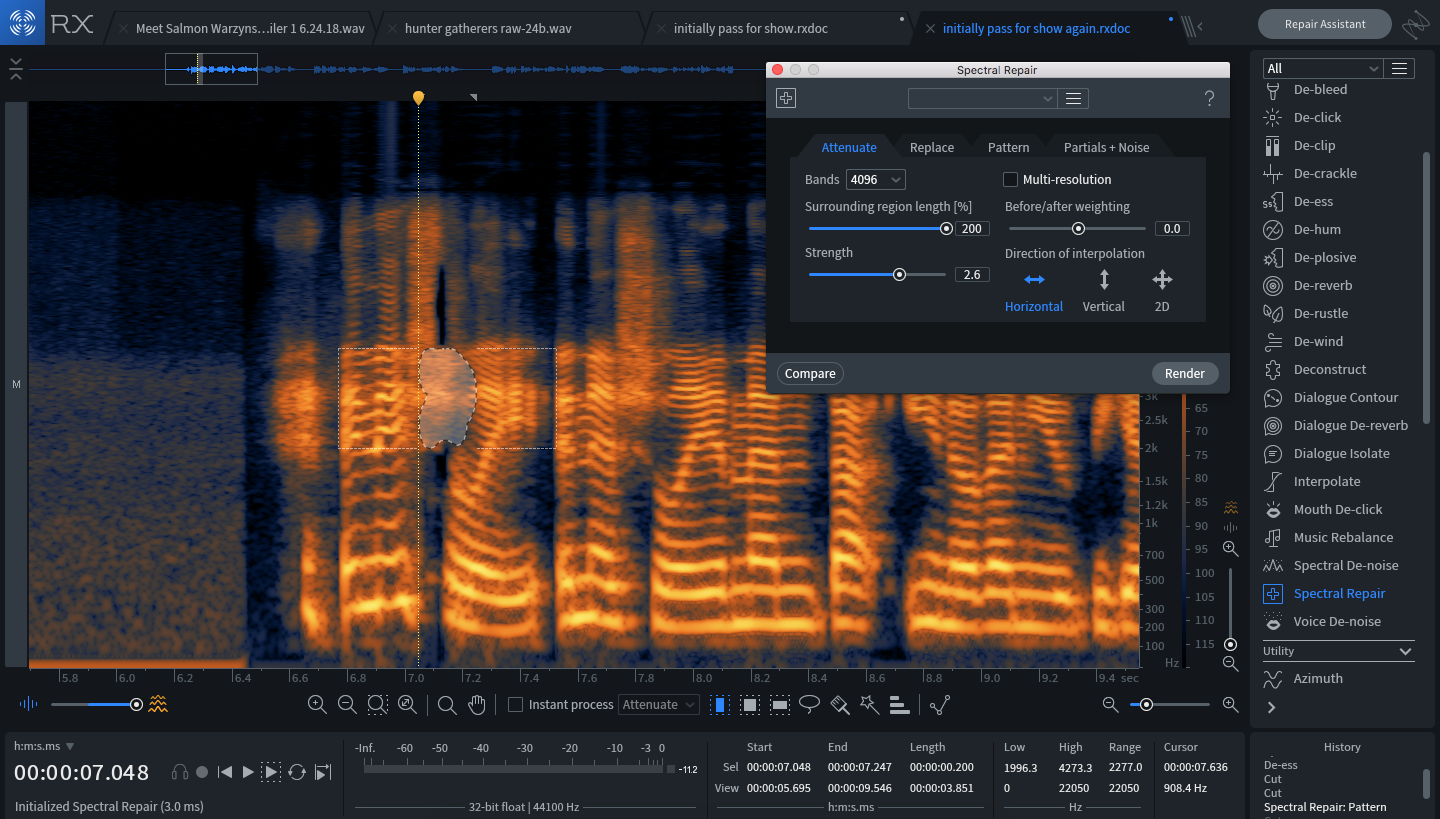
Spectral Repair
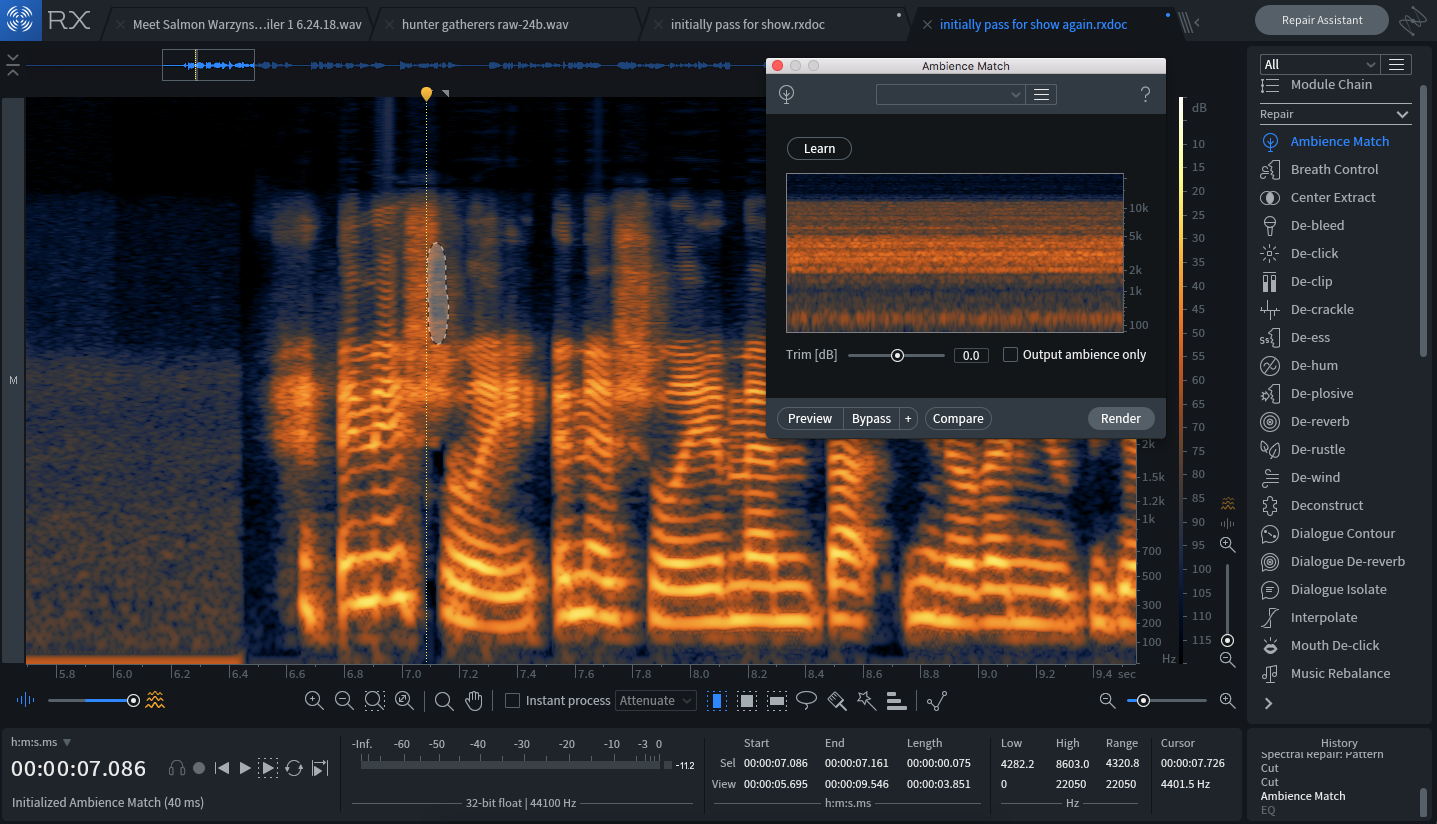
Ambience Match
I used Command+X to cut out the audio from my voice and used Spectral Repair to attenuate myself talking, replacing my audible voice using Ambience Match. The result:
From here, we can EQ the selection in RX with the following settings:
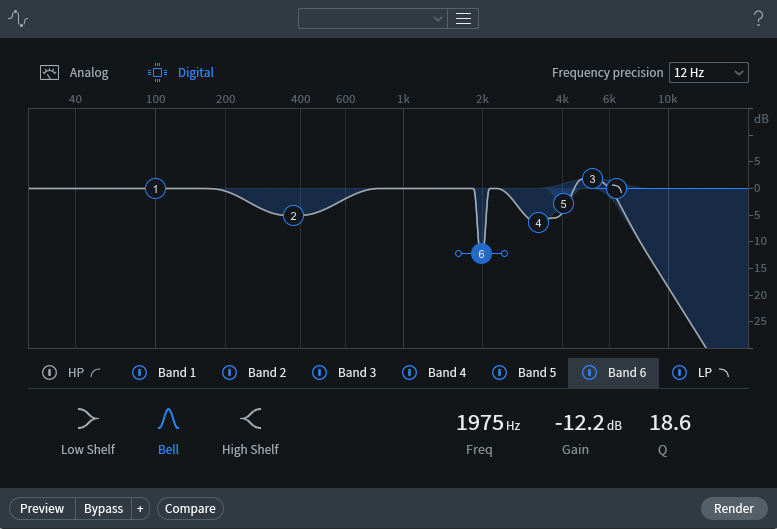
RX 7 EQ
This gets us here:
Again, it’s never going to be perfect, but it’s a heck of a lot better than before.
The techniques used to remove my voice from the audio also apply to our next tip:
2. Remove bursts of noise and distortion
Sometimes we get blasts of distortion in VoIP-recorded audio, which we need to minimize as much as possible. Let’s use this clip to demonstrate:
We hear the crackling blast of distortion on the words “yeah, well,” and “know.” We could turn to De-crackle, De-click, or De-clip—common go-tos for various kinds of distortion.
Instead, we’ll use Spectral Repair in Attenuate mode on frequency-specific selections. Here are the problems I selected in


RX 11 Advanced
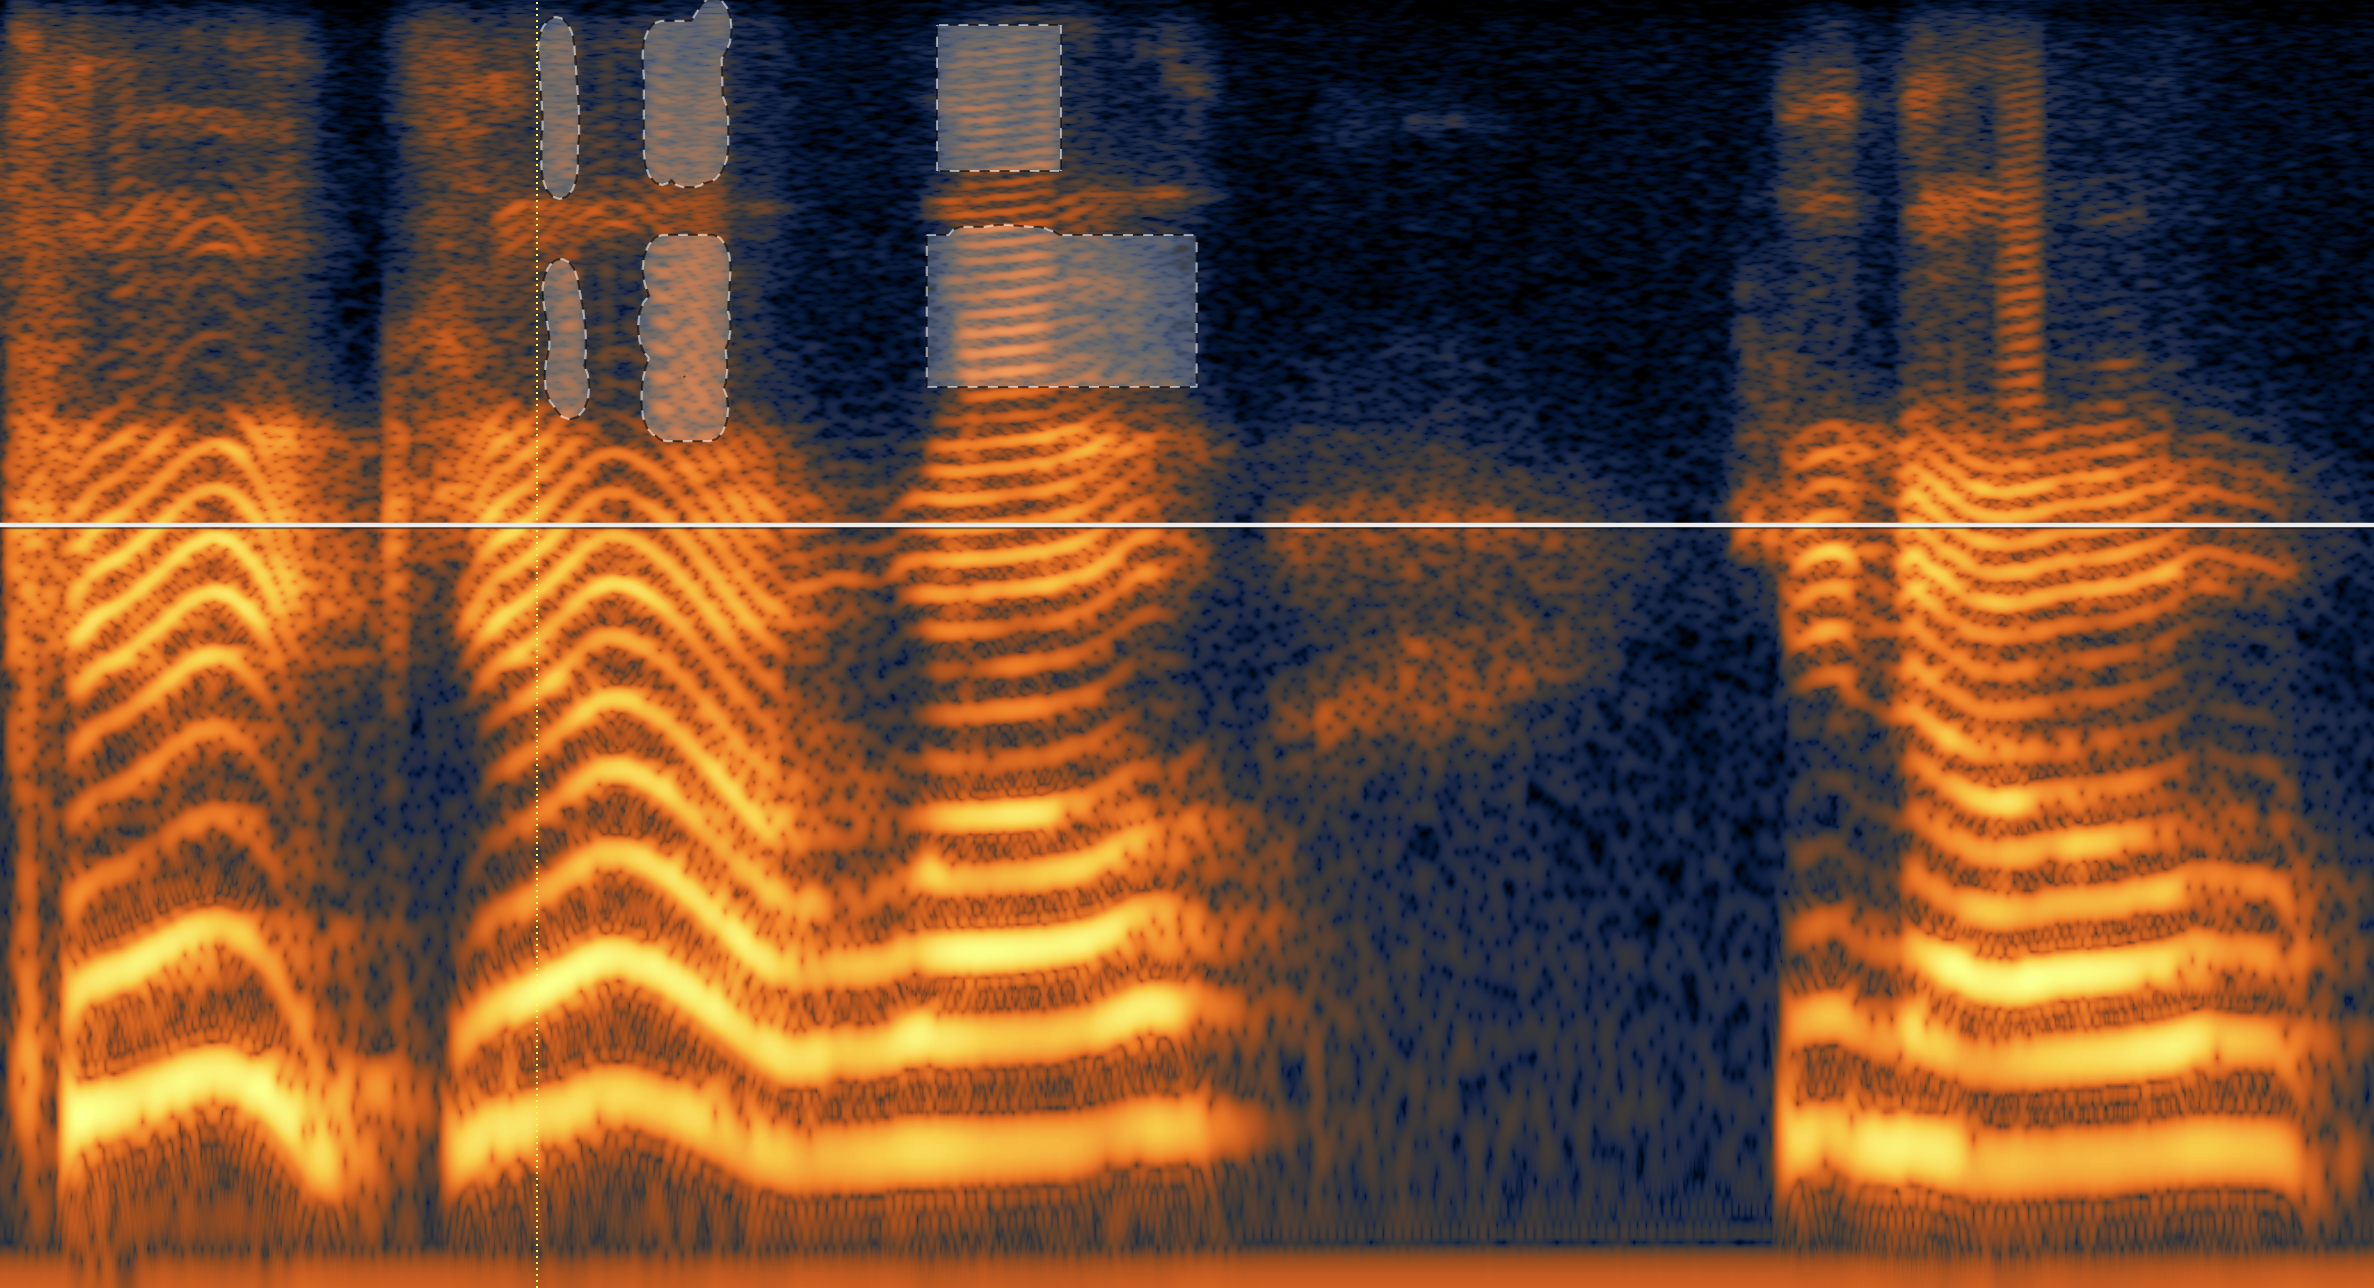
Crackle selection in RX 7
We open up Spectral Repair and use these settings:
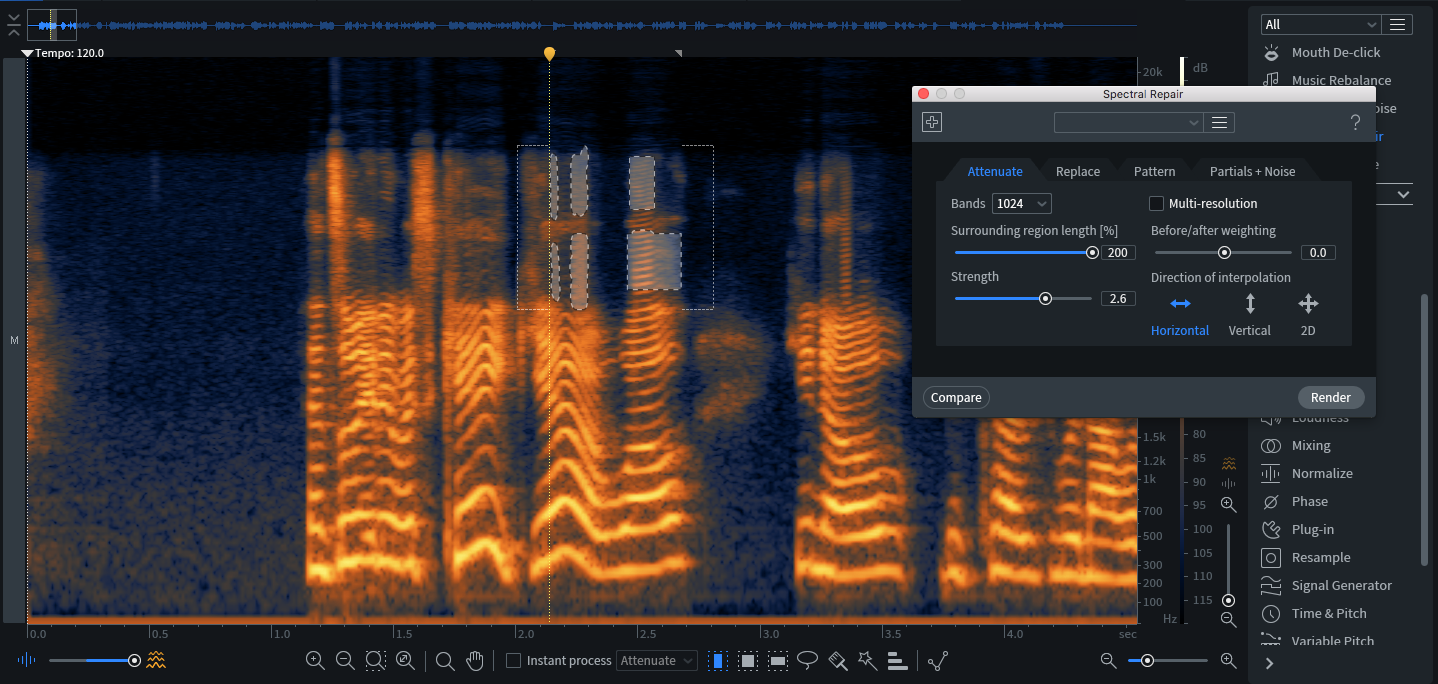
Spectral Repair
The processed waveform looks like this:
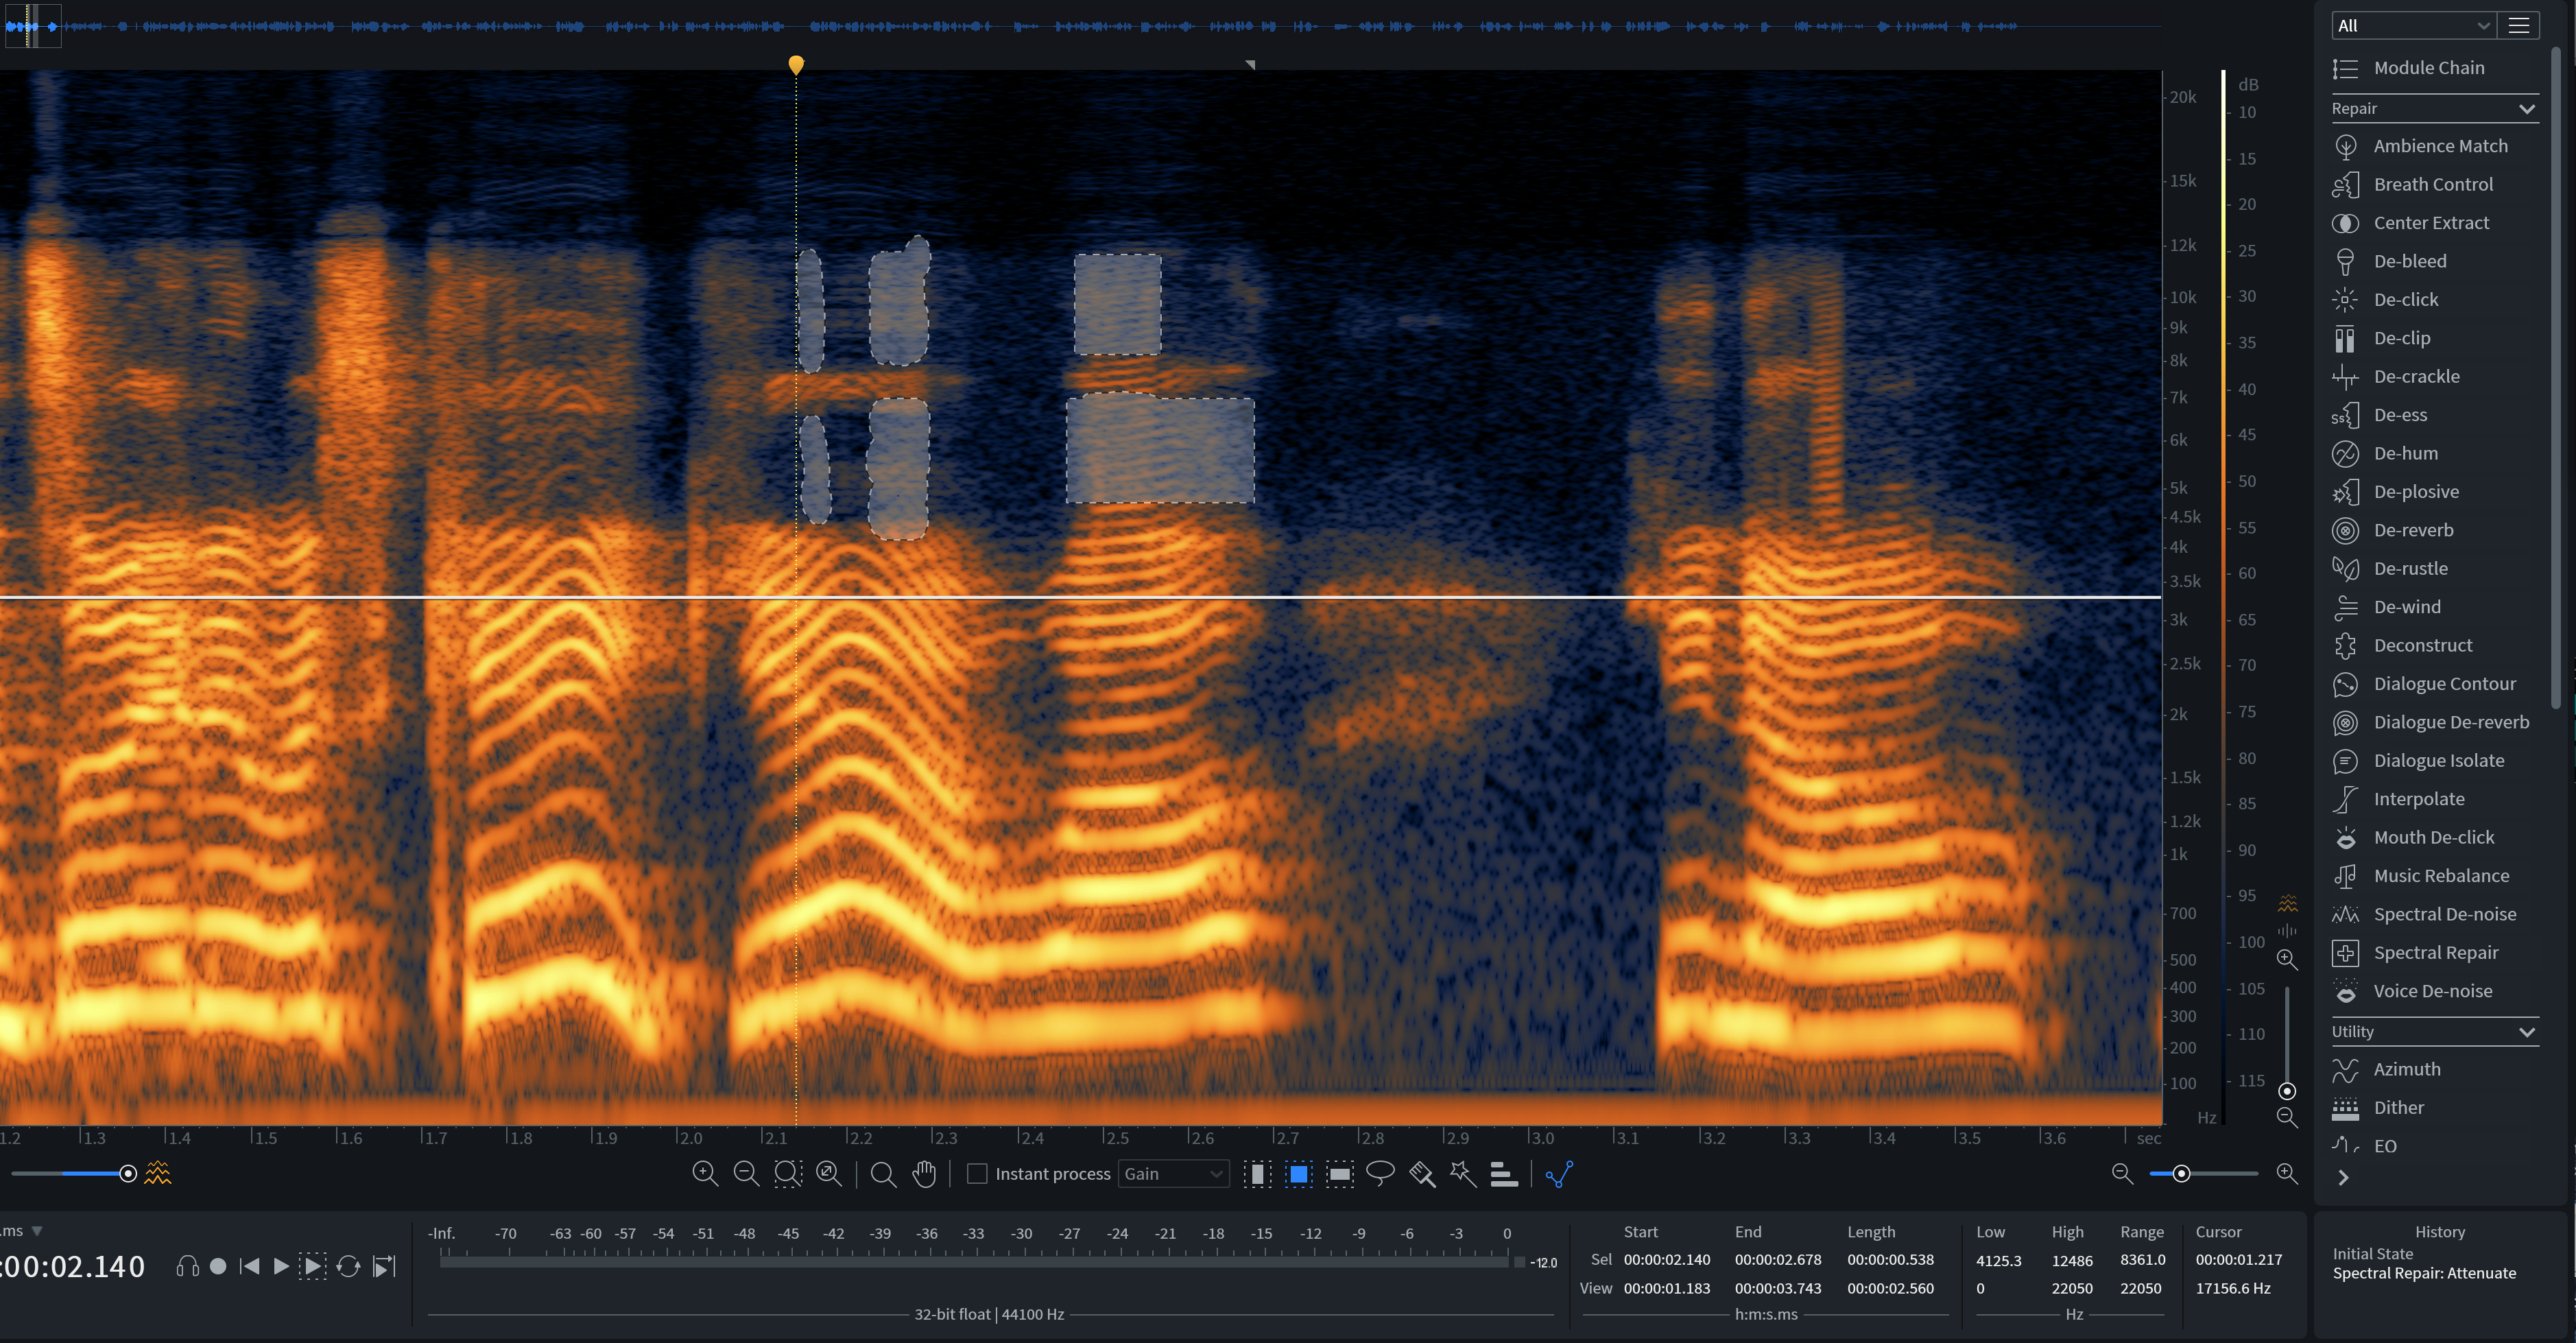
Resulting waveform
As you can see and hear, the problems are gone!
3. Fix choppy audio
Sometimes audio gets fragmented during internet travel, and arrives as a choppy mess. This is a quote I got from a particularly bad internet phone recording that had to go into a podcast:
Viewing the waveform in my DAW—Logic Pro X—reveals the audio dropouts:
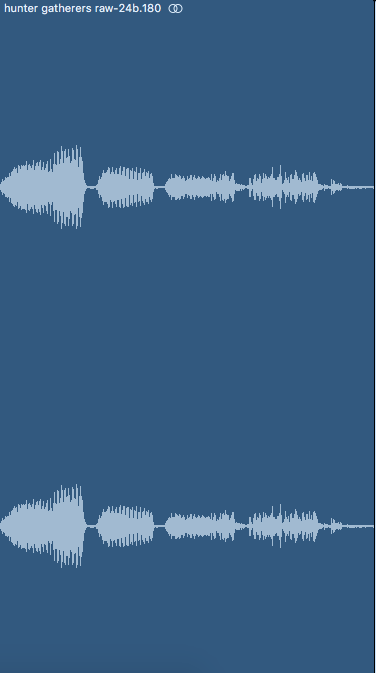
Choppy audio waveform
Here’s a closer look at these audio gaps:
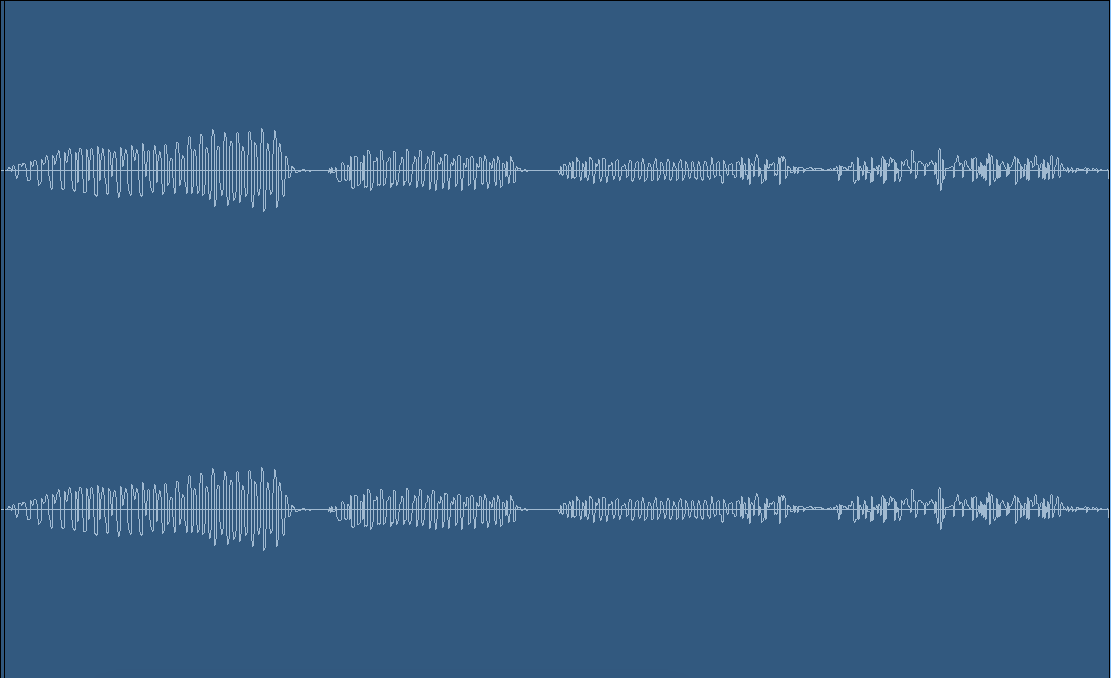
Choppy audio waveform
We can see the fragmentation, which sounds like this:
Unfortunately, the only way I know of fixing this is labor-intensive: you have to identify the silences in the audio waveform by waveform, separate them into regions, delete them, and move the resulting clips closer together until a natural sound is achieved.
Needless to say, this is a pain. “Strip silence” doesn’t usually recognize these gaps, leaving you to do it manually, and moving the regions around to restore a natural flow is also a headache. Let’s see what the editing process looks like, starting with the original audio:
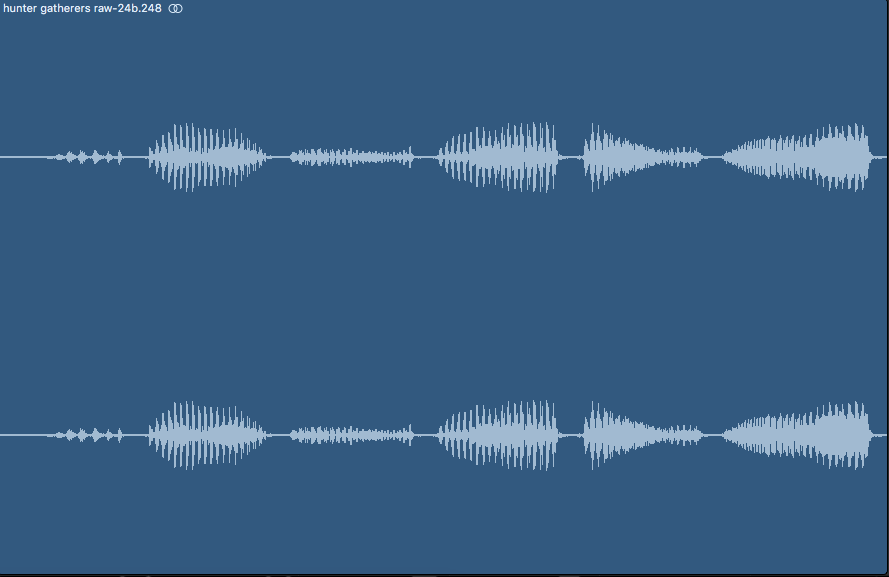
Isolated choppy word
After separating the audio regions by hand, we’re left with this:
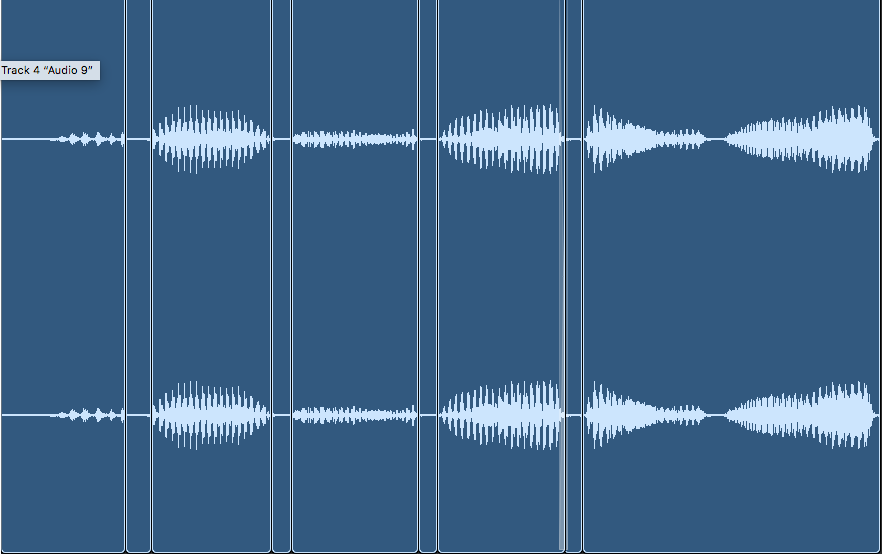
Separated audio regions
Next, we delete the short, silent regions between the waveforms.
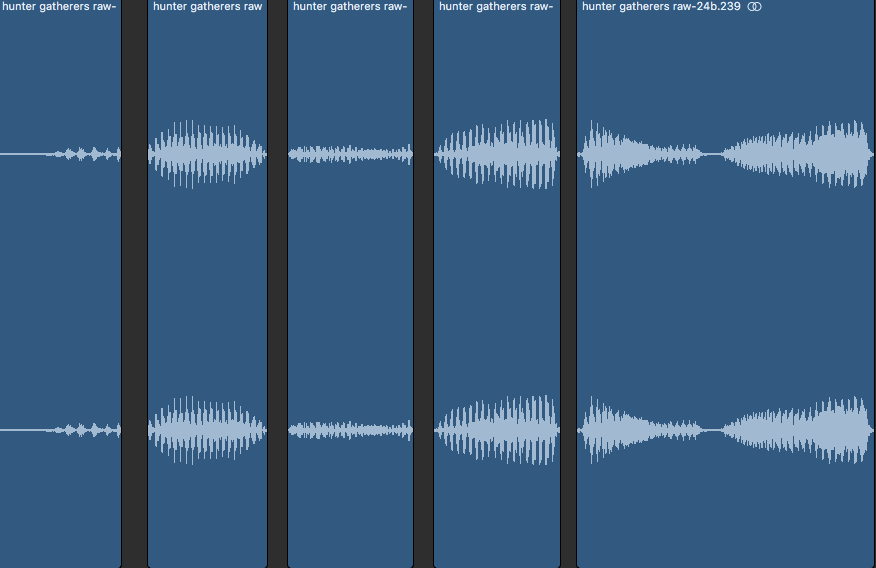
Deleted silence
We can then drag the regions together in a natural way, using crossfades to smooth over the starts and stops of regions.
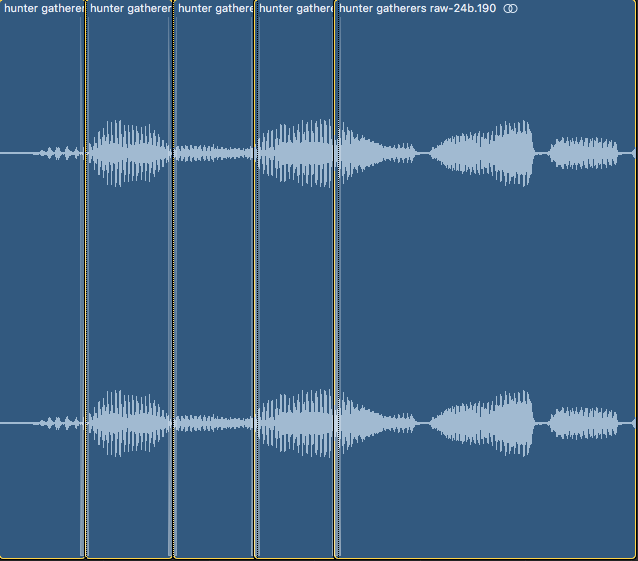
Crossfades between regions
The end result sounds like this:
To help it along further, we’ll use RX 7’s De-click module to massage any remaining clicks and pops. I used these settings in this example:
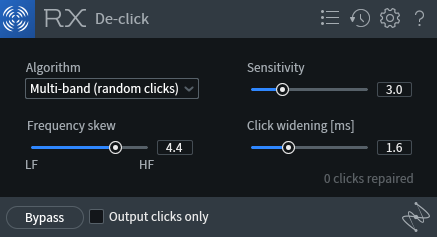
RX 7 De-click
The results are about as natural as I can get:
This audio is much clearer than we had at the start. I hope that you only have to deal with one clip like this in a session, instead of an extended long-form interview. This particular clip came from a long-form interview that sounded like this the whole way through.
That was the worst week of my life.
The takeaways
The best way to avoid the pitfalls of VoIP audio is to avoid VoIP audio entirely. If you’re in a production position, try to steer interviews away from VoIP. However, since VoIP can no longer be avoided entirely, I hope the suggestions in this article help you mitigate the agony of editing internet-transmitted audio. Best of luck!
