How to Master a Song in Logic Pro
Learn how to master a song from start to finish in Logic Pro using improved workflows in the DAW along with iZotope RX, Neoverb, and Ozone.
Learn more about How to Master a Song in part 2 of this article.
Ah, mastering. That last step between your mix and the world hearing your music. Many creatives think of mastering as some sort of black art. But if you think about it, the point of mastering is to provide a final check to make sure your mixes are the best they can be before they’re released.
You've written, recorded, produced, edited, and mixed your album in Logic Pro. So why not master in Logic Pro as well? When paired with Ozone, you can quickly and easily master your tracks in Logic Pro with satisfying results.
In this piece you'll learn:
- Tips for getting the most out of mastering in Logic Pro by customizing the interface, Selection-Based Processing, and more
- How to clean up and correct any issues that might have been missed at the mix stage using ARA and RX
- How to use Ozone and Tonal Balance Control to guide you through your own mastering process
Follow along with this tutorial using iZotope


RX 11 Advanced


Neoverb


Ozone Advanced


Tonal Balance Control 2
What is mastering?
Mastering has meant different things at different times in audio history. At one point mastering was a purely technical role of transferring audio from one medium to another. For example, transferring audio from tape to vinyl.
These days mastering can be both creative and technical. But in most cases the goal of mastering is to make sure your music will sound its best no matter where it’s heard. Whether on laptop speakers, a cell phone, headphones, or in the car.
You might be surprised to know that mastering engineers tend to use the same plug-ins you use to mix your own music. Equalizers, compressors, limiters, and even the occasional reverb are all regularly used. But instead of focusing on the individual elements of a mix, mastering engineers focus on the tonal and dynamic balance of the mix as a whole.
Tips for mastering in Logic Pro
Apple's Logic Pro is a fantastic digital audio workstation (DAW) for capturing and arranging your creative ideas. Logic Pro gives you every tool you need to begin writing, recording, arranging, editing, and mixing your music.
While more specialized workstations exist for mastering, there's no reason why you can't master your own music in Logic Pro. So let's begin by importing a stereo bounce of a mix into a new Logic Pro Project.
Importing a stereo bounce of your mix into Logic
Importing a stereo bounce of your mix is simple. Navigate to the stereo file you plan on importing using your Mac's Finder. And then drag the file from the Finder directly into the Tracks Area in Logic Pro.
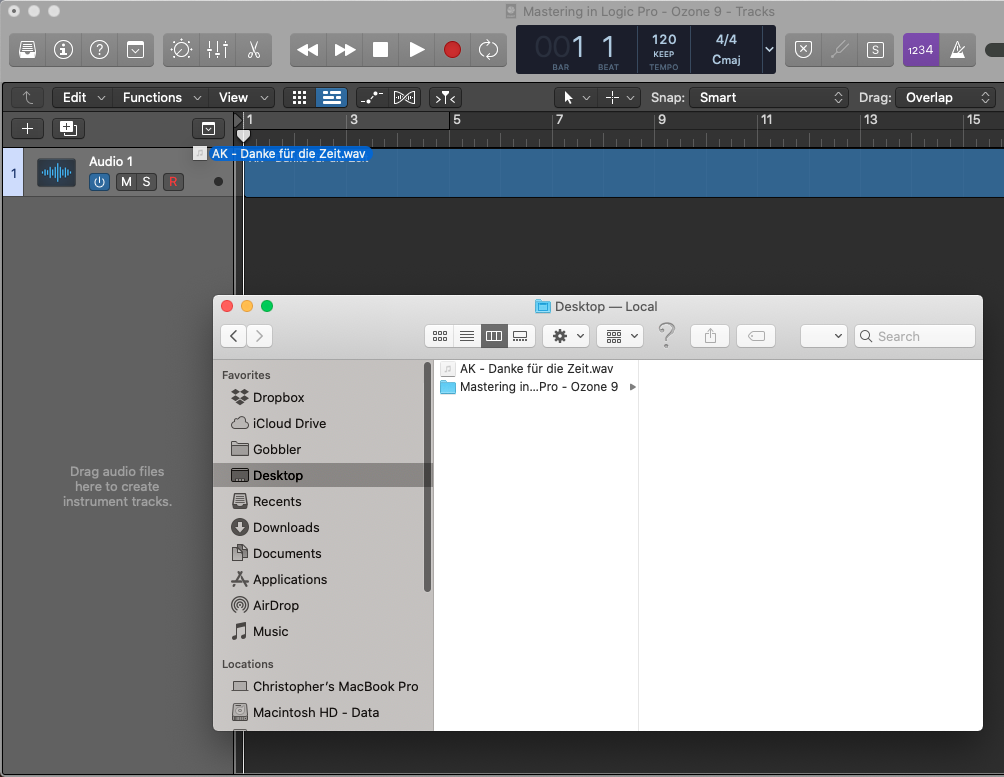
Dragging a stereo file from the Mac Finder to the Tracks Area in Logic Pro
When you import your mix, you may run into some pop-up windows during the process. That's because Logic Pro embeds certain metadata into audio files and bounces. If you mixed your song in Logic Pro, you can also import certain details from your original mix Project. For example, you can import the tempo track from your original track.
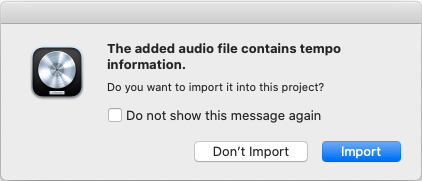
Import tempo metadata from your stereo files into your mastering projects
As well as any markers you may have used.
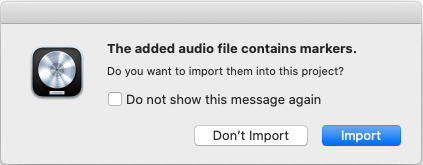
Import markers as well into your mastering project
These details can be beneficial for navigating your session as you master your track. So let's import both the tempo and markers from this file.
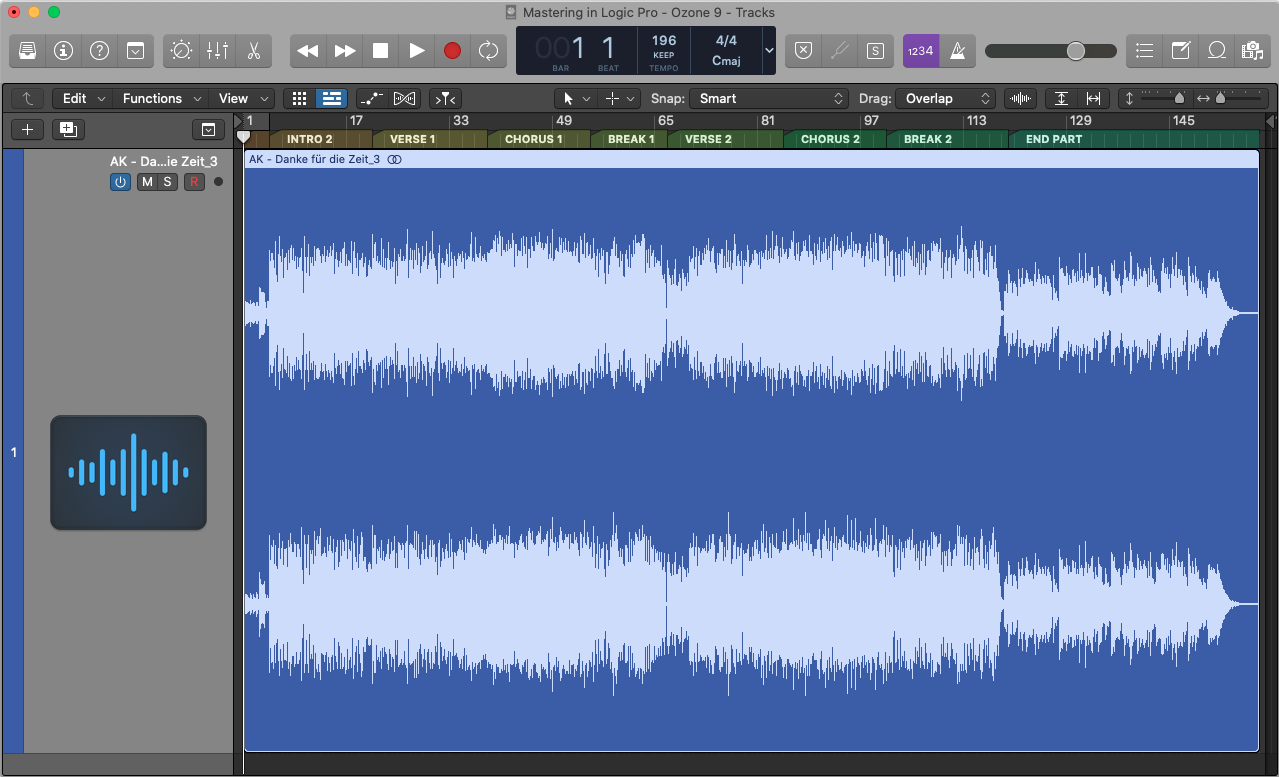
The imported stereo file, markers, and tempo
Customizing the Logic Pro interface for mastering
From here let's customize the Logic Pro interface a bit. By default Logic Pro's timeline is measured in bars and beats. But sometimes it might be more helpful to see how long the track is using a time-based timeline.
So in the Tracks Area navigate to the View menu and select Secondary Ruler.
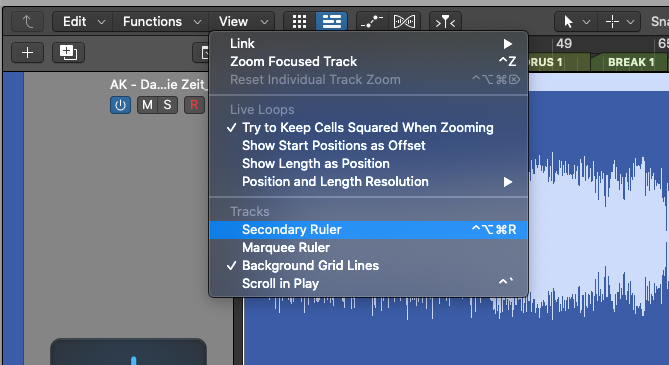
Adding the secondary ruler to the tracks area
Once enabled, the secondary ruler will now show a time-based ruler along the top of the Tracks Area.

A time-based ruler now lines the top of the tracks area
Lastly, let's also customize the LCD in the Control Bar at the top of the Logic Pro window. By default, the LCD can provide some basic information about our Project. But again, more specific information about position and time can be helpful when mastering.
To customize the LCD, click on the dropdown arrow on the right-hand side of the LCD. From the dropdown let's select the Custom option.
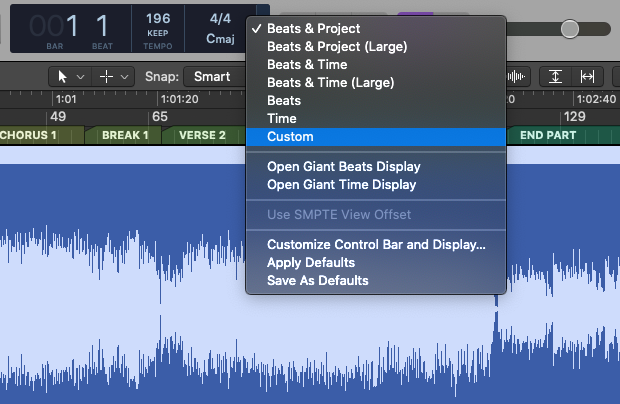
Clicking on the dropdown menu in the LCD to customize
Ah, much better! Now we can clearly see the details of our project, as well as where we are in our project.
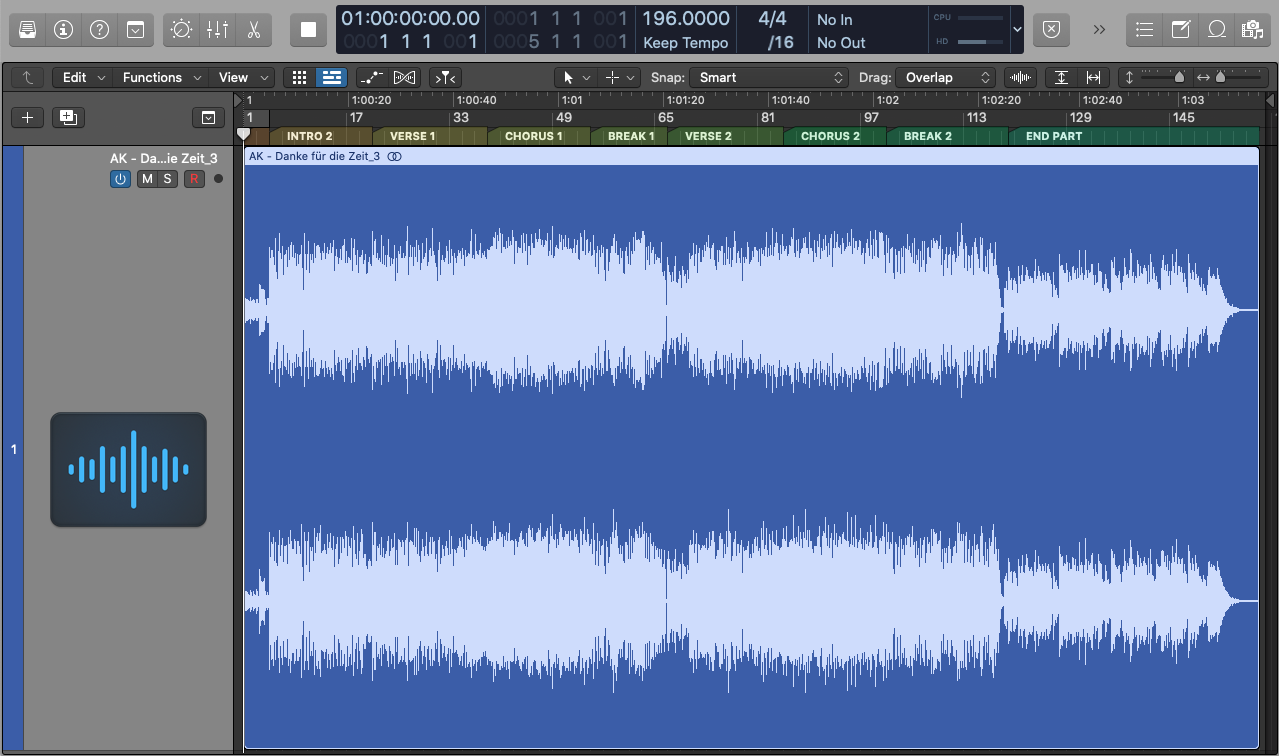
The now customized and expanded LCD in the Control Bar
Adding tops and tails to a stereo file in Logic Pro
Next let's attend to some housekeeping details. We'll want to bring our attention to the "top and tail," or beginning and end of our stereo file.
You may find that your stereo bounce may have silent or "empty" bits at the beginning or end of your file. Your audience is not likely willing to sit through several seconds of silence to hear your song. So we need to trim this excess from our masters.
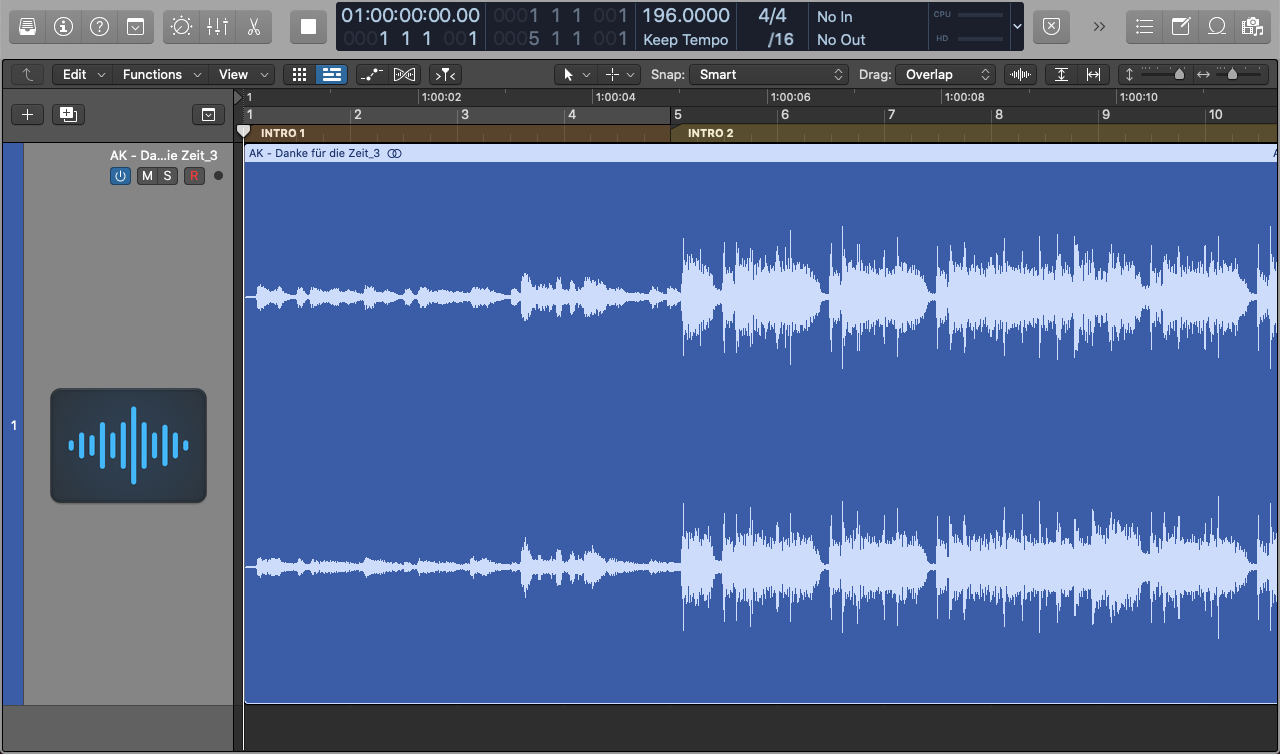
The beginning of the stereo file
In our example, my stereo mix has no empty space to trim at the beginning. So all is well, right? Well, even though we have no extra lead time to trim, we should add a fade-in as a precaution.
You'd be surprised how often we fail to notice ambient noise or effects in the background of our mixes. This is usually due to noise from plug-ins that emulate analog gear. Or time-based effects that last far longer than we tend to notice. And if we don't add fades to our stereo files, we could end up with pops or clicks in our masters.
So to be safe, let's add a short fade-in to this mix. To do so, let's set the Mouse click tool to the Fade tool. You can access the Fade tool by heading up to the Mouse Tools at the top of the Tracks area and click on the right-hand menu.
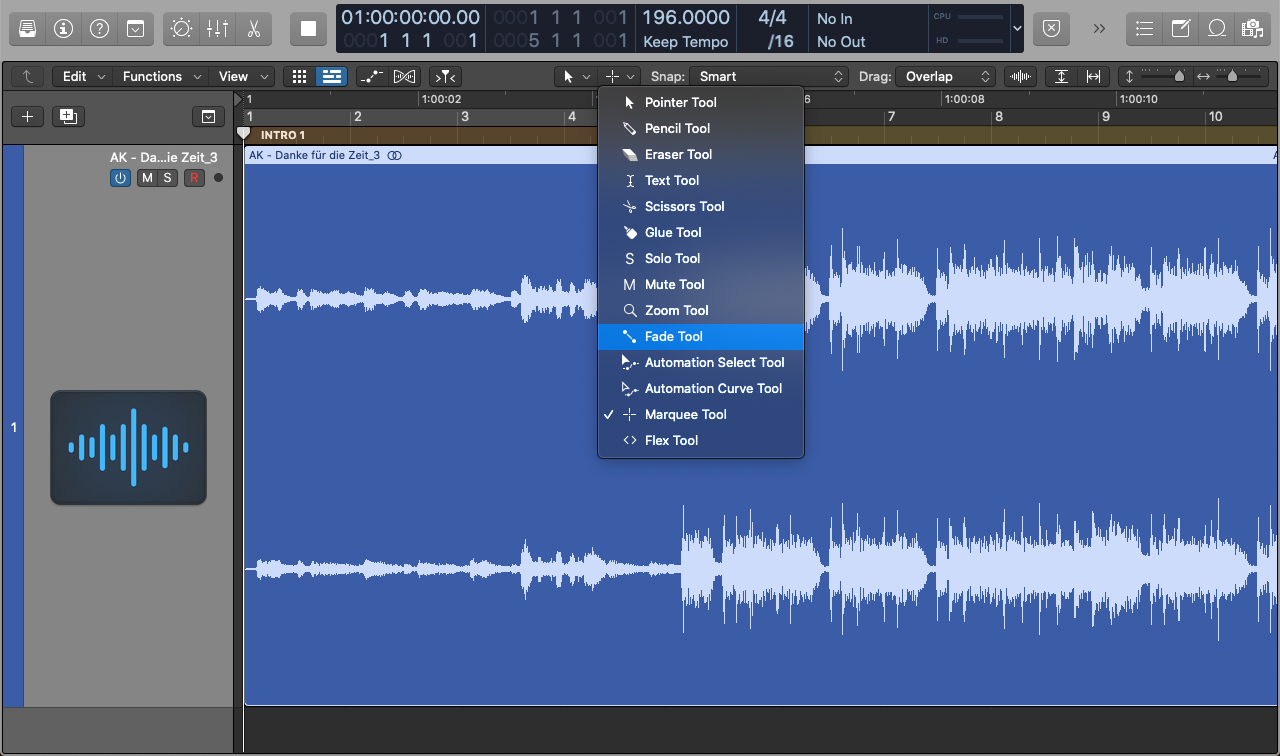
The mouse tools menu at the top of the tracks area
The right-hand menu is what we call the Command-click tool. Let's select the Fade Tool as your Command-click tool. Now hover your mouse over the left edge of your mix's region. Hold Command, click and drag from the left edge to the right.
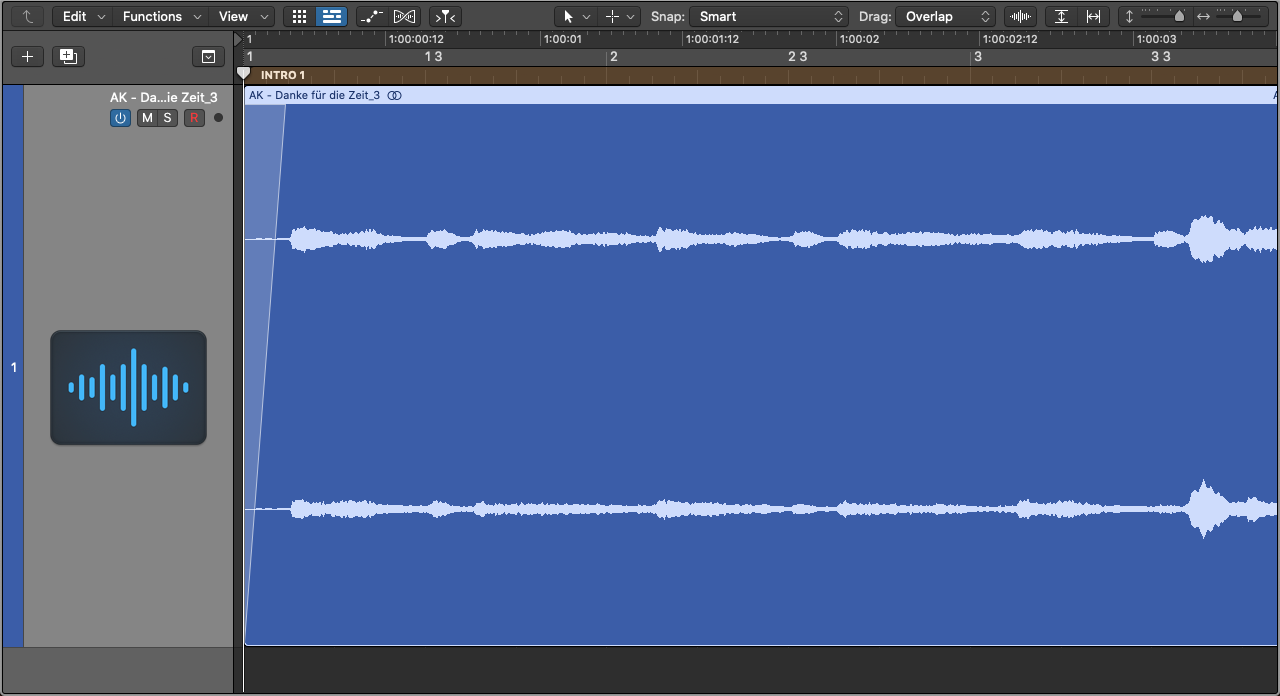
A fade-in added to the beginning of the stereo file
Great! Now we know for sure this mix has a clean transition from silence into our song.
At the end of the song, there's a fade-out. But as it turns out, when I bounced my track I included too much silence at the end after the fade-out.
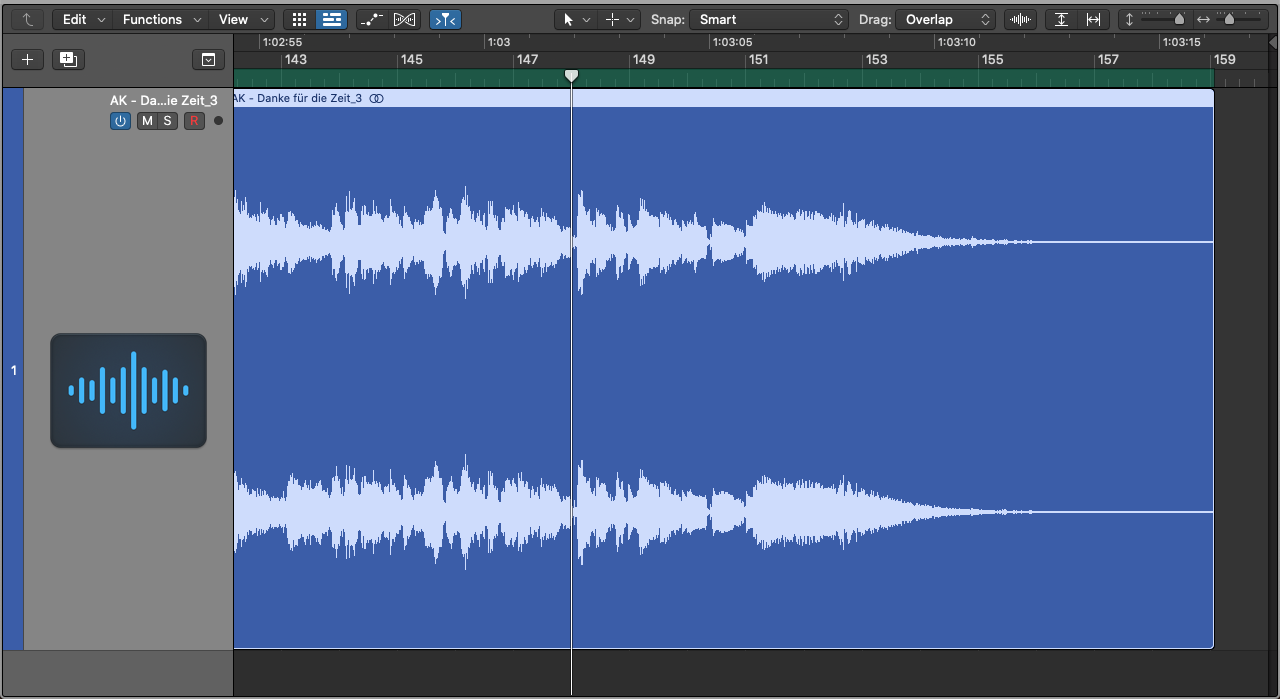
The fade-out at the end of the stereo file
Listen to the fade-out on this track as it is below. You’ll notice an excess of silence at the end.
There's really no purpose for all that extra silence. So let's remove it. To do so, hover your mouse over the right-hand side of the region until you see a bracket icon.
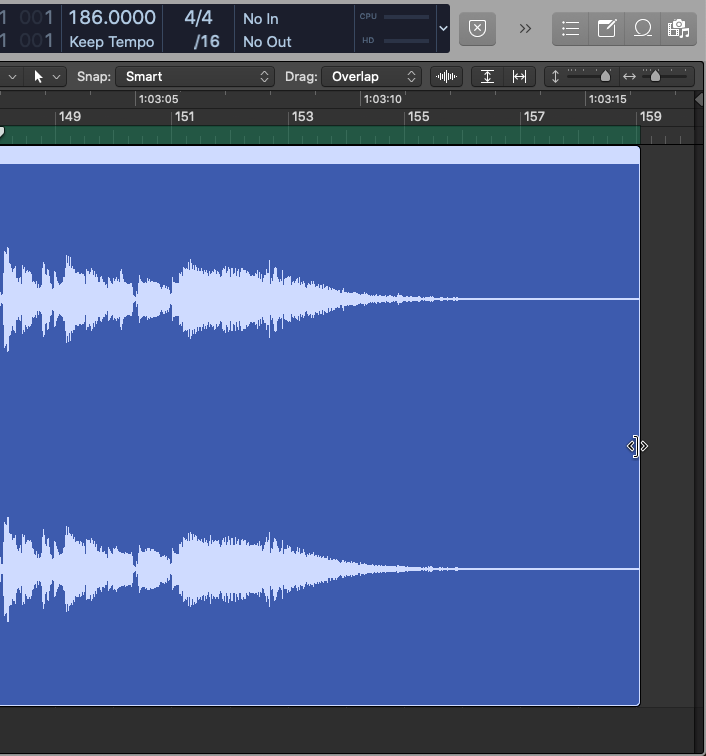
Trim Region tool for adjusting the boundary of the stereo file
Then click, hold and drag the right edge to the left to trim the tail of your stereo mix to your preferred length.
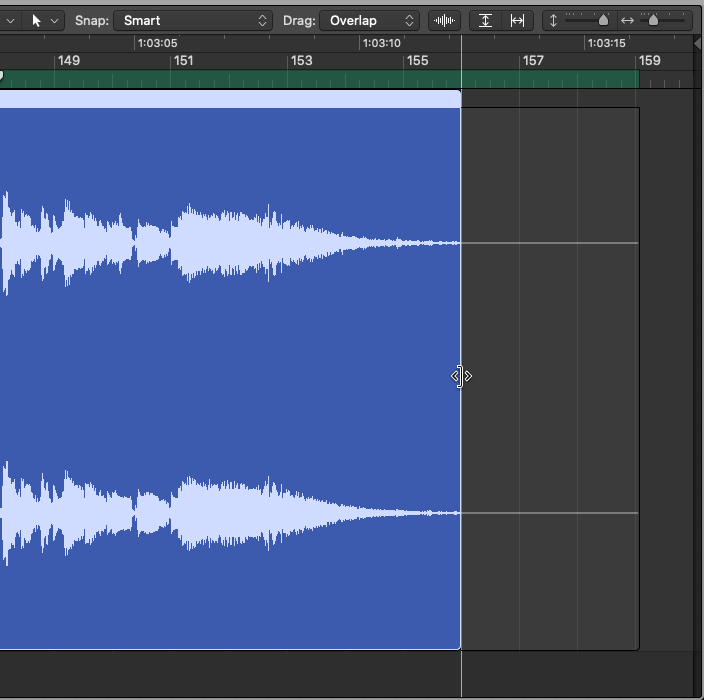
The adjusted region length
Now that we've adjusted the region length, let's add a fade-out. Once again hold Command, click and drag from the right edge of the region to the left to introduce a fade-out.
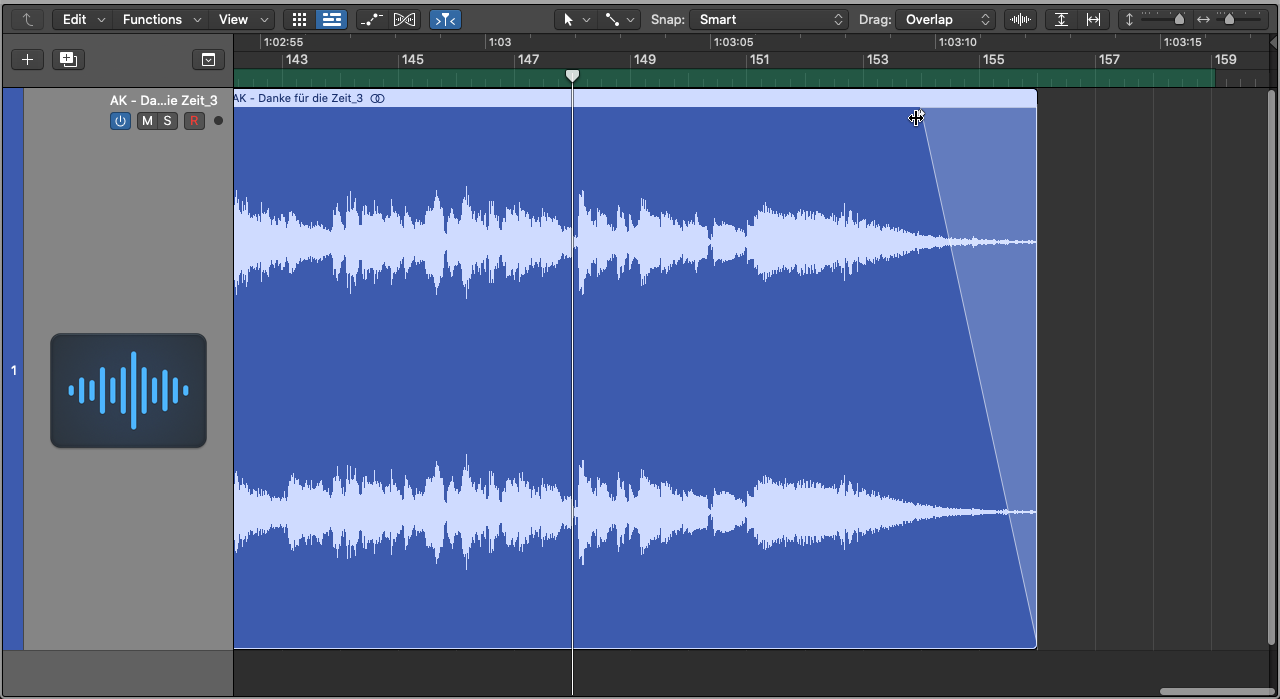
15-adding-a-fade-out
Let's take a listen now to the adjusted length of our stereo file:
Perfect! With this mix's length fine-tuned, we can now attend to an issue related to the vocals using RX.
Learn more about How to Master a Song in part 2 of this article.
