
Using EQ in audio mixing enhances clarity and balances the overall sound. It can be difficult to know which EQ is best for different mixing tasks, whether you’re trying to boost presence in a vocal, make space for the bass and drums, or shape the sound of a synth.
In this tutorial, we’ll be exploring different EQs that can be used optimally for different instruments and mixing situations so you won’t overcomplicate your mixing process.
Follow along using EQs in Music Production Suite or check out the MEGA bundle from Plugin Alliance.
Aren’t all digital EQs the same?
Some people on the internet will tell you that all digital EQs sound and function the same – that with careful practice, you can make any digital EQ sound like any other EQ. They’ll say, just get yourself one drag-and-drop EQ and get to work!
You’re of course free to do that – and Kirchoff EQ is one of the best on the market for exactly this kind of work.
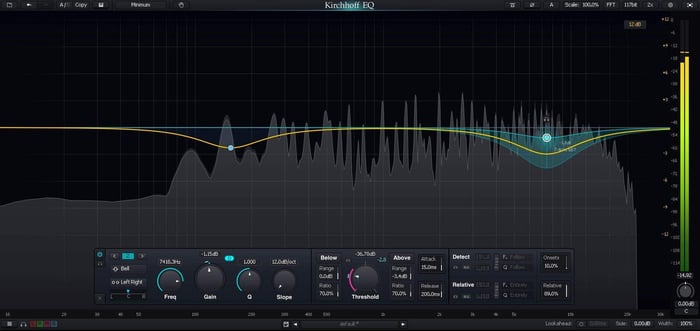
Three-Body Technology Kirchhoff-EQ
Still, as great as this EQ is, you might get a better kick drum sound in a shorter amount of time with a Lindell channel strip EQ, or you might get a sweeter vocal with an SPL emulation. Why? Because there are inherent differences in various digital EQs.
Differences among digital EQs
Different EQs have different phase responses – meaning, they shift the timing of a tweaked frequency ever so slightly. This is a difference that matters: these subtle phase shifts can result in tonally different results, particularly on multi-miked sound sources where phase relationships really matter.
Leaving the somewhat-advanced concept of phase aside, we’ve got other considerations: are the bands of our hypothetical EQ operating in series, or are they programmed in parallel? The answer affects the tone.
Next comes the ergonomics of the EQ: developers tune an EQ’s controls to suit particular tasks. Boosting 1 kHz with a Q of 0.7 on one plugin might be equivalent to boosting 900 Hz with a Q of 1 on another.
Finally, a ton of analog emulations exist, which capitalize on ergonomic differences and add saturation characteristics to the bargain. Some of these EQs are based on active circuits, while others are passive – and those, too, sound different.
So what do I do when choosing an EQ?
Yes, that’s a staggering amount of information to keep straight. You’d be forgiven for getting a bit overwhelmed.
But fear not. We’re going to cover EQs instrument by instrument, which will serve two purposes:
- Help you choose the right EQ for an instrument more quickly
- Show you how each EQ brings something unique to the table – a sonic characteristic you’ll be able to hear, label, and utilize on various sounds.
By the end of this article, you should have a greater understanding of how to match Native Instruments plugins to the various sound sources of your mix.
Let’s start with the drums.
Exploring the best EQs for different instruments
1. Drums
Right off the bat, we’ll use an emulation of a classic channel strip: the bx_console SSL 4000 to EQ drums.
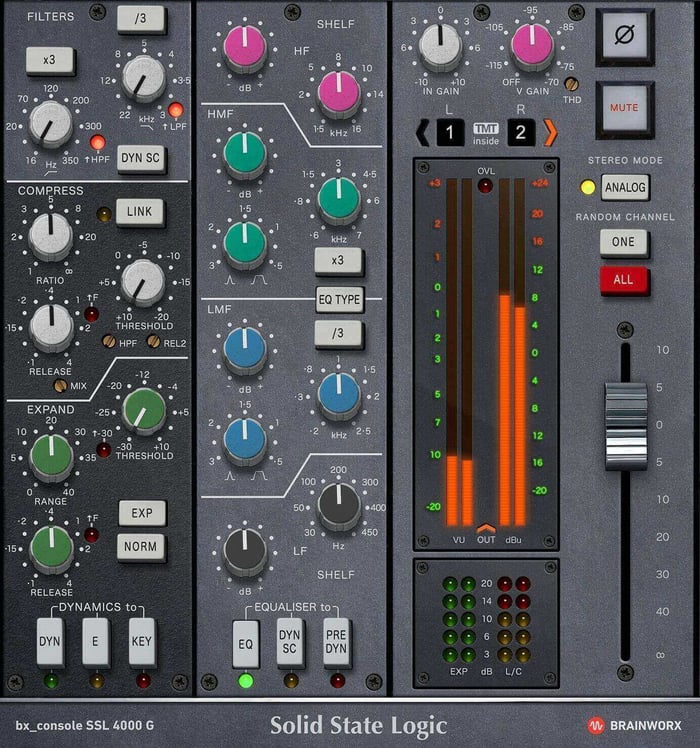
Brainworx bx_console SSL 4000 E
The SSL 4000 large format consoles are proven workhorses in the analog world, and their plugin compatriots are just as handy inside your computer.
You’ll note two different models of SSL 4000 consoles on offer, however: the 4000 G and the 4000 E. Yes, they are different boards, representing the English company’s refinement to their analog designs and computerized control systems. Still, both can be boiled down to the same adjectives: sharp, snappy, and edgy. If you’re looking for things to pop out of a mix in a pleasantly aggressive manner, this channel strip represents a short-cut for getting that sound.
I personally prefer the 4000E to the G, because it feels a little more warm while still delivering punch – at least to my ears. But judge for yourself in the following video.
Moving on to another kind of EQ for drums, let’s examine parallel EQs, which often utilize passive circuits in the analog world.
These EQs are renowned for their sweet sound, often feeling like a warm hug around an instrument. Hence the use of Pultecs on kicks, snares, and even the drum bus: if you want your drums to feel inviting rather than aggressive, these are good options.
Luckily there are some great models of parallel/passive EQs in the Native Instruments world.
Let’s take our drum bus, which each kit piece going through the bx_console 4000E:
They slice, they dice – but let’s warm the whole drum bus up a bit. First, we’ll use this Bettermaker’s PEQ section, which offers a modern take on Pultec-style behavior:
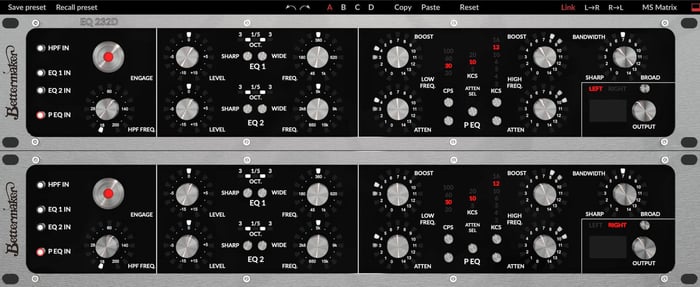
Bettermaker EQ232D
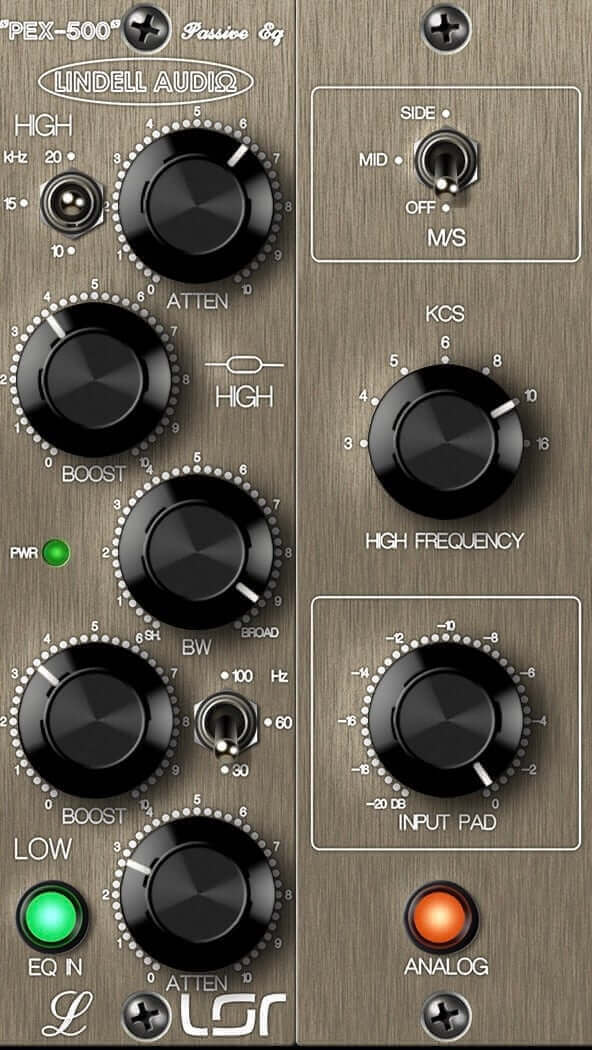
Lindell Audio PEX-500
Ozone 12 has its own take on the parallel EQ, one that shows off the transfer curve of the equalizer so that you can see what you’re doing:
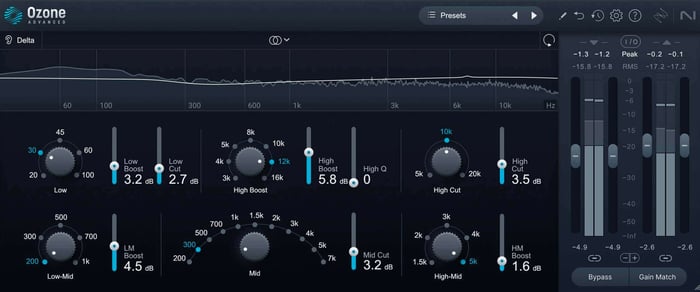
Ozone Vintage EQ
Each of these can help soften the blows just enough to feel warm, even while boosting the highs quite a bit. All of them have their own flavor too.
2. Bass
Moving on to EQing bass instruments, we have to consider the wide range of low-end tones available. We talking electric bass? Acoustic bass? Upright bass? Synth bass? And what about genre? A metal part will require a different EQ from a Motown song, after all.
Still, we can identify some things we always want from our most fundamental of instruments: we need to shape the lows without carving them to pieces. We also want the ability to curtail any low-mid mud without choking the life out of the bass. Finally, we crave a good, clean presence band to help it cut through the mix.
Let’s observe what we can secure with a few different EQs at our disposal:
3. Electric guitars
For electric guitar EQ, we’re faced with a similar paradox: tones and genres aplenty, but commonalities among them: we need something that can help mitigate the harshness that rears its ugly head, particular in digital emulations – and we need broast musical curves that don’t spoil the sweetness of the instrument.
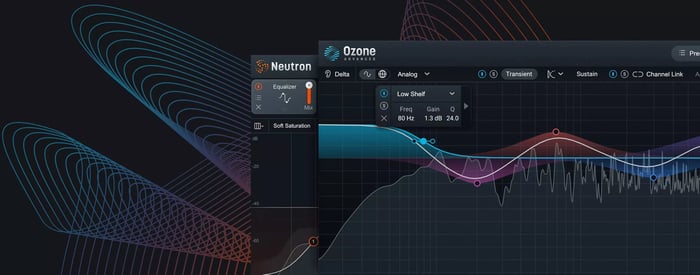
First, let’s look at iZotope Ozone EQ, available for free. It’s surgical, musical, and gentle, but for guitars, I want to highlight in transient/sustain mode, as this can help curtail that harshness problem.
Observe a submix of electric guitars. This is a mix of mic'd guitars and amp emulations – and amp sims often sound harsh So, we’ll cut the transient section in the high mids and see where that gets us.
Guitar with Ozone EQ
It’s subtle, but over time, it’ll be less fatiguing to the listener’s ear. Learn more about Ozone EQ and its Transient/Sustain feature below.
With this issue handled, we can think about what we want to accomplish tonally.
Do you want something punchy and grabby – a hand quickly grabbing the guitar and pushing it into shape? Or something more laidback and lush? Maybe you want a sound that’s powerful and hefty without being overtly aggressive.
Again, you’re free to use a simple drag-and-drop EQ, but the emulations can help us get to specific colors more quickly.
For something fast and grabby, try the Lindell 50 channel strip, which models a classic API EQ.
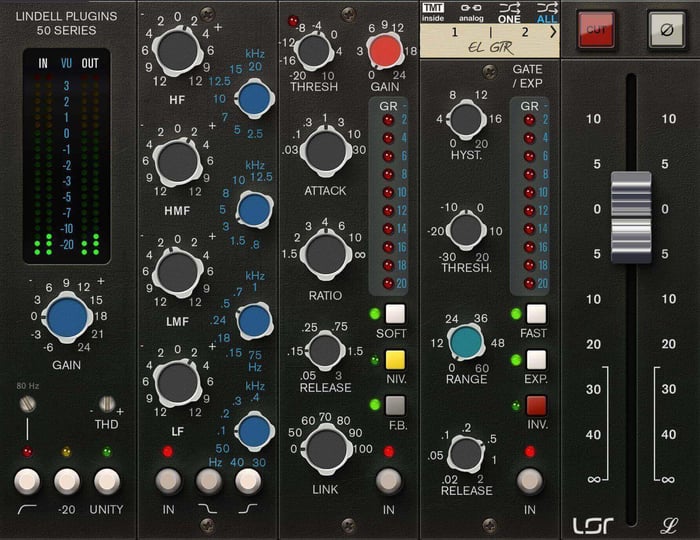
Lindell Audio 50 Series
Guitar with Lindell 50 Series EQ
If you want the creamy high-mid emphasis, use the Lindell 80, their Neve emulation:
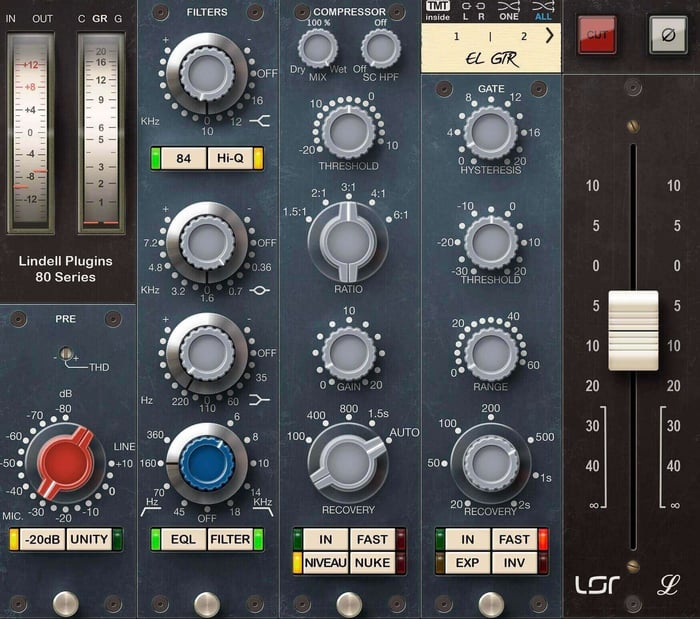
Lindell Audio 80 Series
Guitar with Lindell 80 Series EQ
Note that I’m padding the input by -20 dB, and then juicing the gain on the way into the EQ; this is part of how to achieve a smoother, less brittle sound with this style of British channel strip.
As for that powerful, hefty tone, the Lindell 69 is a fantastic choice for guitars, modeling a console prevalent on Rolling Stones and Led Zeppelin songs.
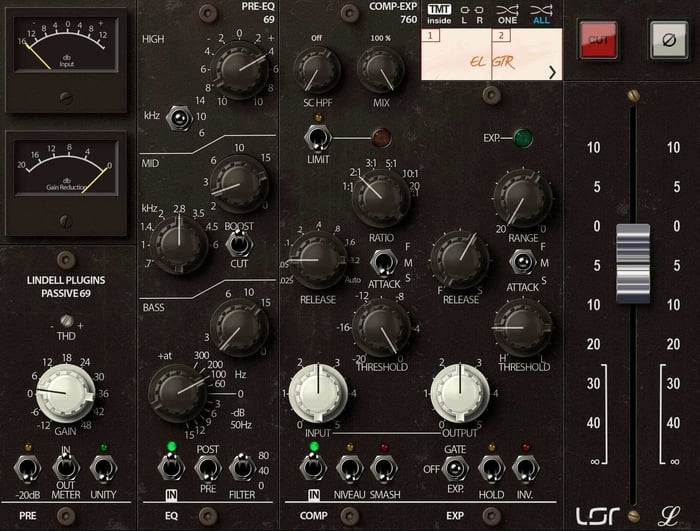
Lindell 69 Series
Guitar with Lindell 69 Series EQ
4. Acoustic instruments
For things like acoustic guitars, pianos, and strings, subtlety is key. Yes, there can be horrid resonances we need to address. But these instruments tend to be unforgivingly transparent: we can often hear them being equalized, and that’s bad.
Observe this acoustic guitar below. This is a mono acoustic capture with a little bit of Native Instrument’s Reflektor on it to give you more of an in-room feel. There’s an annoyingly harsh pinging frequency resonance around 3.5 kHz. Academically, a narrow linear phase cut at that frequency should take care of it, right? Not so:
Acoustic guitar with linear phase cut
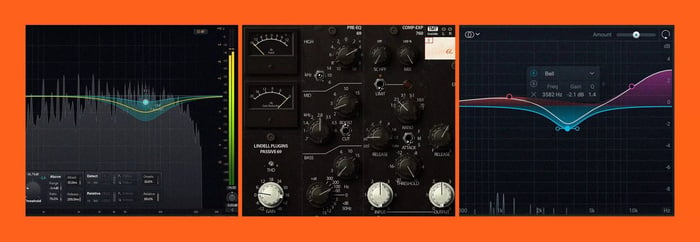
We can actually hear this resonance more now – there’s pre-ringing at the filter point, making it more emphatic. Instead let’s try a curve like this in Ozone’s EQ, which is available for free:
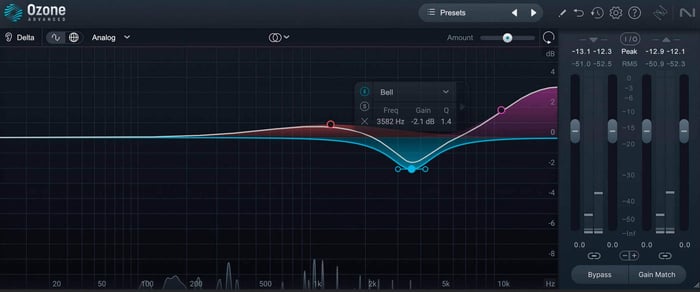
Ozone EQ on acoustic guitar
Acoustic guitar with Ozone EQ
We’re feathering our frequencies here: we’ve got a shallower, gentler cut at 3.5 kHz, but we’re boosting on either side of it to draw attention away. Even though we’ve got quite a bit of highs on it, it’s not harsh, because the harshest part of this sound is being addressed by the cut.
Now, with the harshness addressed digitally, we can add tone and color with our emulation EQs.
Think back on what we’ve accomplished with various models thus far. ask yourself questions:
Would you prefer the sonic signature you’re beginning to associate with SSLs, passive EQs, APIs, and Neves? For yes, it will translate to this instrument. The API will feel fast and grabby. The passive EQ will feel more like a warm hug. Just be sure not to overdo it with any boost or cut here: these instruments belie their processing very quickly.
A bonus for you: here’s one I quite like for acoustics that I haven’t shown off before – the elysia museq, which has a very clear and forgiving midrange lilt to it:

elysia museq EQ
Acoustic guitar with elysia museq EQ
5. Synths
Synths are a broad category. They can be monophonic lead parts or stereo pads meant to add atmosphere. They can be drums and bass as well.
So all the previous generalizations hold when it comes to colors and corrections. But I’ll add one more generalization:
Mid/side EQ comes in quite handy for synths, as these parts can be quite stereophonic in nature, and might need to be tucked into the mix more.
By way of example, here’s a video where we’re mixing an electronic artist called P4NTL3R. They make their music on the Dirtywave M8 tracker – a nifty little device with a nifty scene around it. Watch what we can do to the synths.
6. Vocals
When EQing vocals, we have to be exceedingly careful to generalize, because everyone sounds different. Yet, all the previous colorations hold: an API will do its API thing.
Yet I urge you to work with digital EQs before going hamfisted on the coloration, because they’re better suited to tackling tight resonances or handling dynamic problems. I’ll do just that with Nectar in the following video, before moving on to various other EQs.
7. The best EQ for your stereo bus
In the mixing process, stereo-bus EQ should be used sparingly and only to cohere aspects of your mix together – although sometimes, a little bit of M/S work can provide extra fine-tuning for space and depth of field.
A general rule of thumb is to keep your moves to within a dB – though with passive emulations, such as the SPL PASSEQ, you might get more mileage going a little heavier on the dial.
Observe our P4NTL3R song:
Here’s how minimal we should keep things using Ozone EQ:
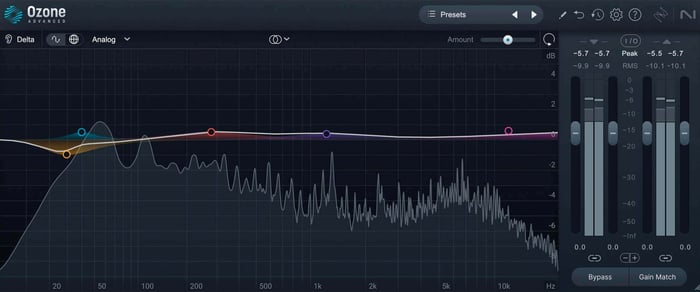
Ozone EQ on stereo bus
Stereo bus with Ozone EQ
If you do want to add colors here, I urge you to avoid the channel strips we covered earlier and familiarize yourself with some of Plugin Alliance’s mastering EQ emulations.
Here, for example, is the AMEK 250, which models one of the more iconic parametric mastering EQs:
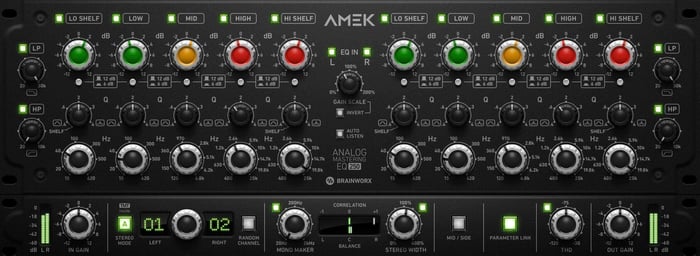
AMEK EQ 250
Stereo bus with AMEK 250
Another good option is the SPL Passeq, which I’m using a bit more forcefully – and in M/S – to take a few creative liberties.
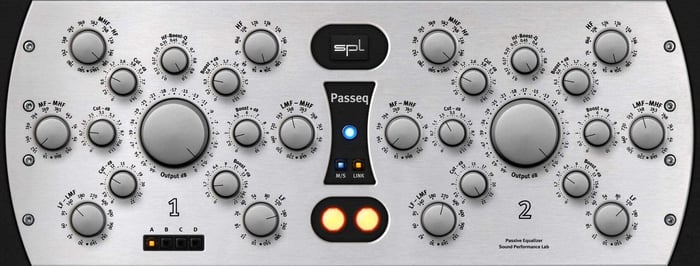
SPL Passeq on stereo bus
Stereo bus with SPL Passeq
Choose the right EQ for your project
Now that you have a better idea of what EQ to choose for different instruments, one last word to leave you with: terms such as “punchy,” “aggressive,” “grabby,” “creamy,” “smooth,” and the like are highly subjective. They are all in the ear of the beholder.
So, when judging the sound of an SSL against a Neve, don’t worry if you hear them differently from how others describe them. Instead, go with that: make your own connections to these EQs, and remember what they are. That way you’ll always know what to reach for.