How to Set Up a Podcast Studio
Setting up your at home podcast studio can be confusing. Follow these steps to set up a comfortable, great sounding studio for you and your podcast guests.
Like Hansel in the movie Zoolander, podcasts are so hot right now (bonus points if this opening statement gives you deja-vu). Everyone and their mother has a podcast—they are the “Brooklynites playing ukuleles” of the 2020s. We thought you could use a roadmap for setting up a podcast studio in your home office, or in a purpose-built space. Read on for tips and tricks.
Creating your own podcasts? Check out iZotope VEA, an AI-powered voice enhancer that can give your podcasts clarity, consistent levels, and remove background noise in seconds.
1. Make a list of what you’ll need for your studio
Getting a podcast studio in order can be complicated. Before we dive into the steps of creating your podcast studio, it's helpful to have a podcast cheat sheet of all the items you'll need to have to create it.
To make a single-person podcast studio with decent audio quality, you’ll need the following items:
- A microphone (analog or USB)
- Cables for the mic (XLR or USB)
- An audio interface (built into the microphone, if USB)
- A computer or hard disk recorder
- A good monitoring system (closed-back studio-quality headphones are acceptable)
- Mic accessories (pop filter, boom arm, etc)
- A private room (with adequate furniture)
- Room treatment
- A DAW (Pro Tools, Audition, Logic, REAPER, etc)
- Software to fix any audio issues (iZotope RX, Neutron, and Ozone—naturally)
To make a comparable multi-person podcast studio with decent audio quality, you’ll need the following:
- Microphones (most likely analog)
- Mic accessories for each person
- Mic cables for each microphone
- An audio interface that can accommodate multiple mics and multiple pairs of headphones
- Headphones
- A computer or hard disk recorder
- A private room with furniture to accommodate multiple guests
- Room treatment
- A DAW (Pro Tools, Audition, Logic, REAPER, etc)
- Software to fix any audio issues (iZotope RX, Neutron, and Ozone—naturally)
- A system for handling remote guests (this can be software to capture VOiP from your computer, or a feature of the audio interface, such as the RodeCaster Pro or comparable machines).
Some of these things are negotiable. If you’re using a USB microphone, you can skip on the audio interface. If you’re using a handheld live mic like the Shure SM58, you don’t really need a mic stand, if you’re okay with holding the mic (just be gentle and you’ll most likely incur minimal handling noise, if any whatsoever).
This is the general gear list—and you can see it gets exponentially more complicated (and more expensive) when you add multiple people to the mix.

Proper microphones, monitoring systems, room treatment, and audio interfaces are all important considerations when building a podcast studio.
2. Get the right microphone for your needs
The microphone is your first consideration, and in my mind, there is one clear winner when it comes to podcasting in a studio, be it home-based or professional: the Shure SM7B. If you have the money, you should get it. Even though it’s an old stalwart of a mic, it seems purpose built for the specificities of podcasting.
Does the SM7B have the most open sound, or the most pristine top end? Hardly. But you don’t need that in podcasting. A good sound in podcasting is actually the least bad sound. Those airy trebles you want in an RnB singer are downright terrible in podcasting, as they can sound overly harsh, and bring up problems with your room.
Big fancy condenser mics, as sumptuous as they can be, are highly sensitive to your surroundings. So if the room’s not treated, you’ll be picking up room reflections, room tone, and other nasties you don’t want.
Of all the microphones I’ve used in podcasting, none of them are as gloriously room-agnostic as the Shure SM7B. You can put it nearly anywhere, and because it’s so directional and so insensitive, you’re much more likely to get a passable sound right out of the gate. It is pretty much idiot proof.
I should mention now that I am not a Shure shill—I’ve never been paid by them, and when I have reviewed their gear, it always came with a return label. They simply make the best mic for podcasting—that’s just the way it is.
The SM7B does have two notable issues: one, it’s not cheap, and two, it’s quite gain-hungry. You’ll need a preamp that can handle it without introducing hiss.
So if you can’t afford the SM7B, I’ll say this:
As a rule of thumb, a dynamic microphone will be more kind to your voice in an untreated room than a condenser. Many popular comedy podcasts use the SM58 and they sound absolutely fine.
Finally, a word on USB microphones:
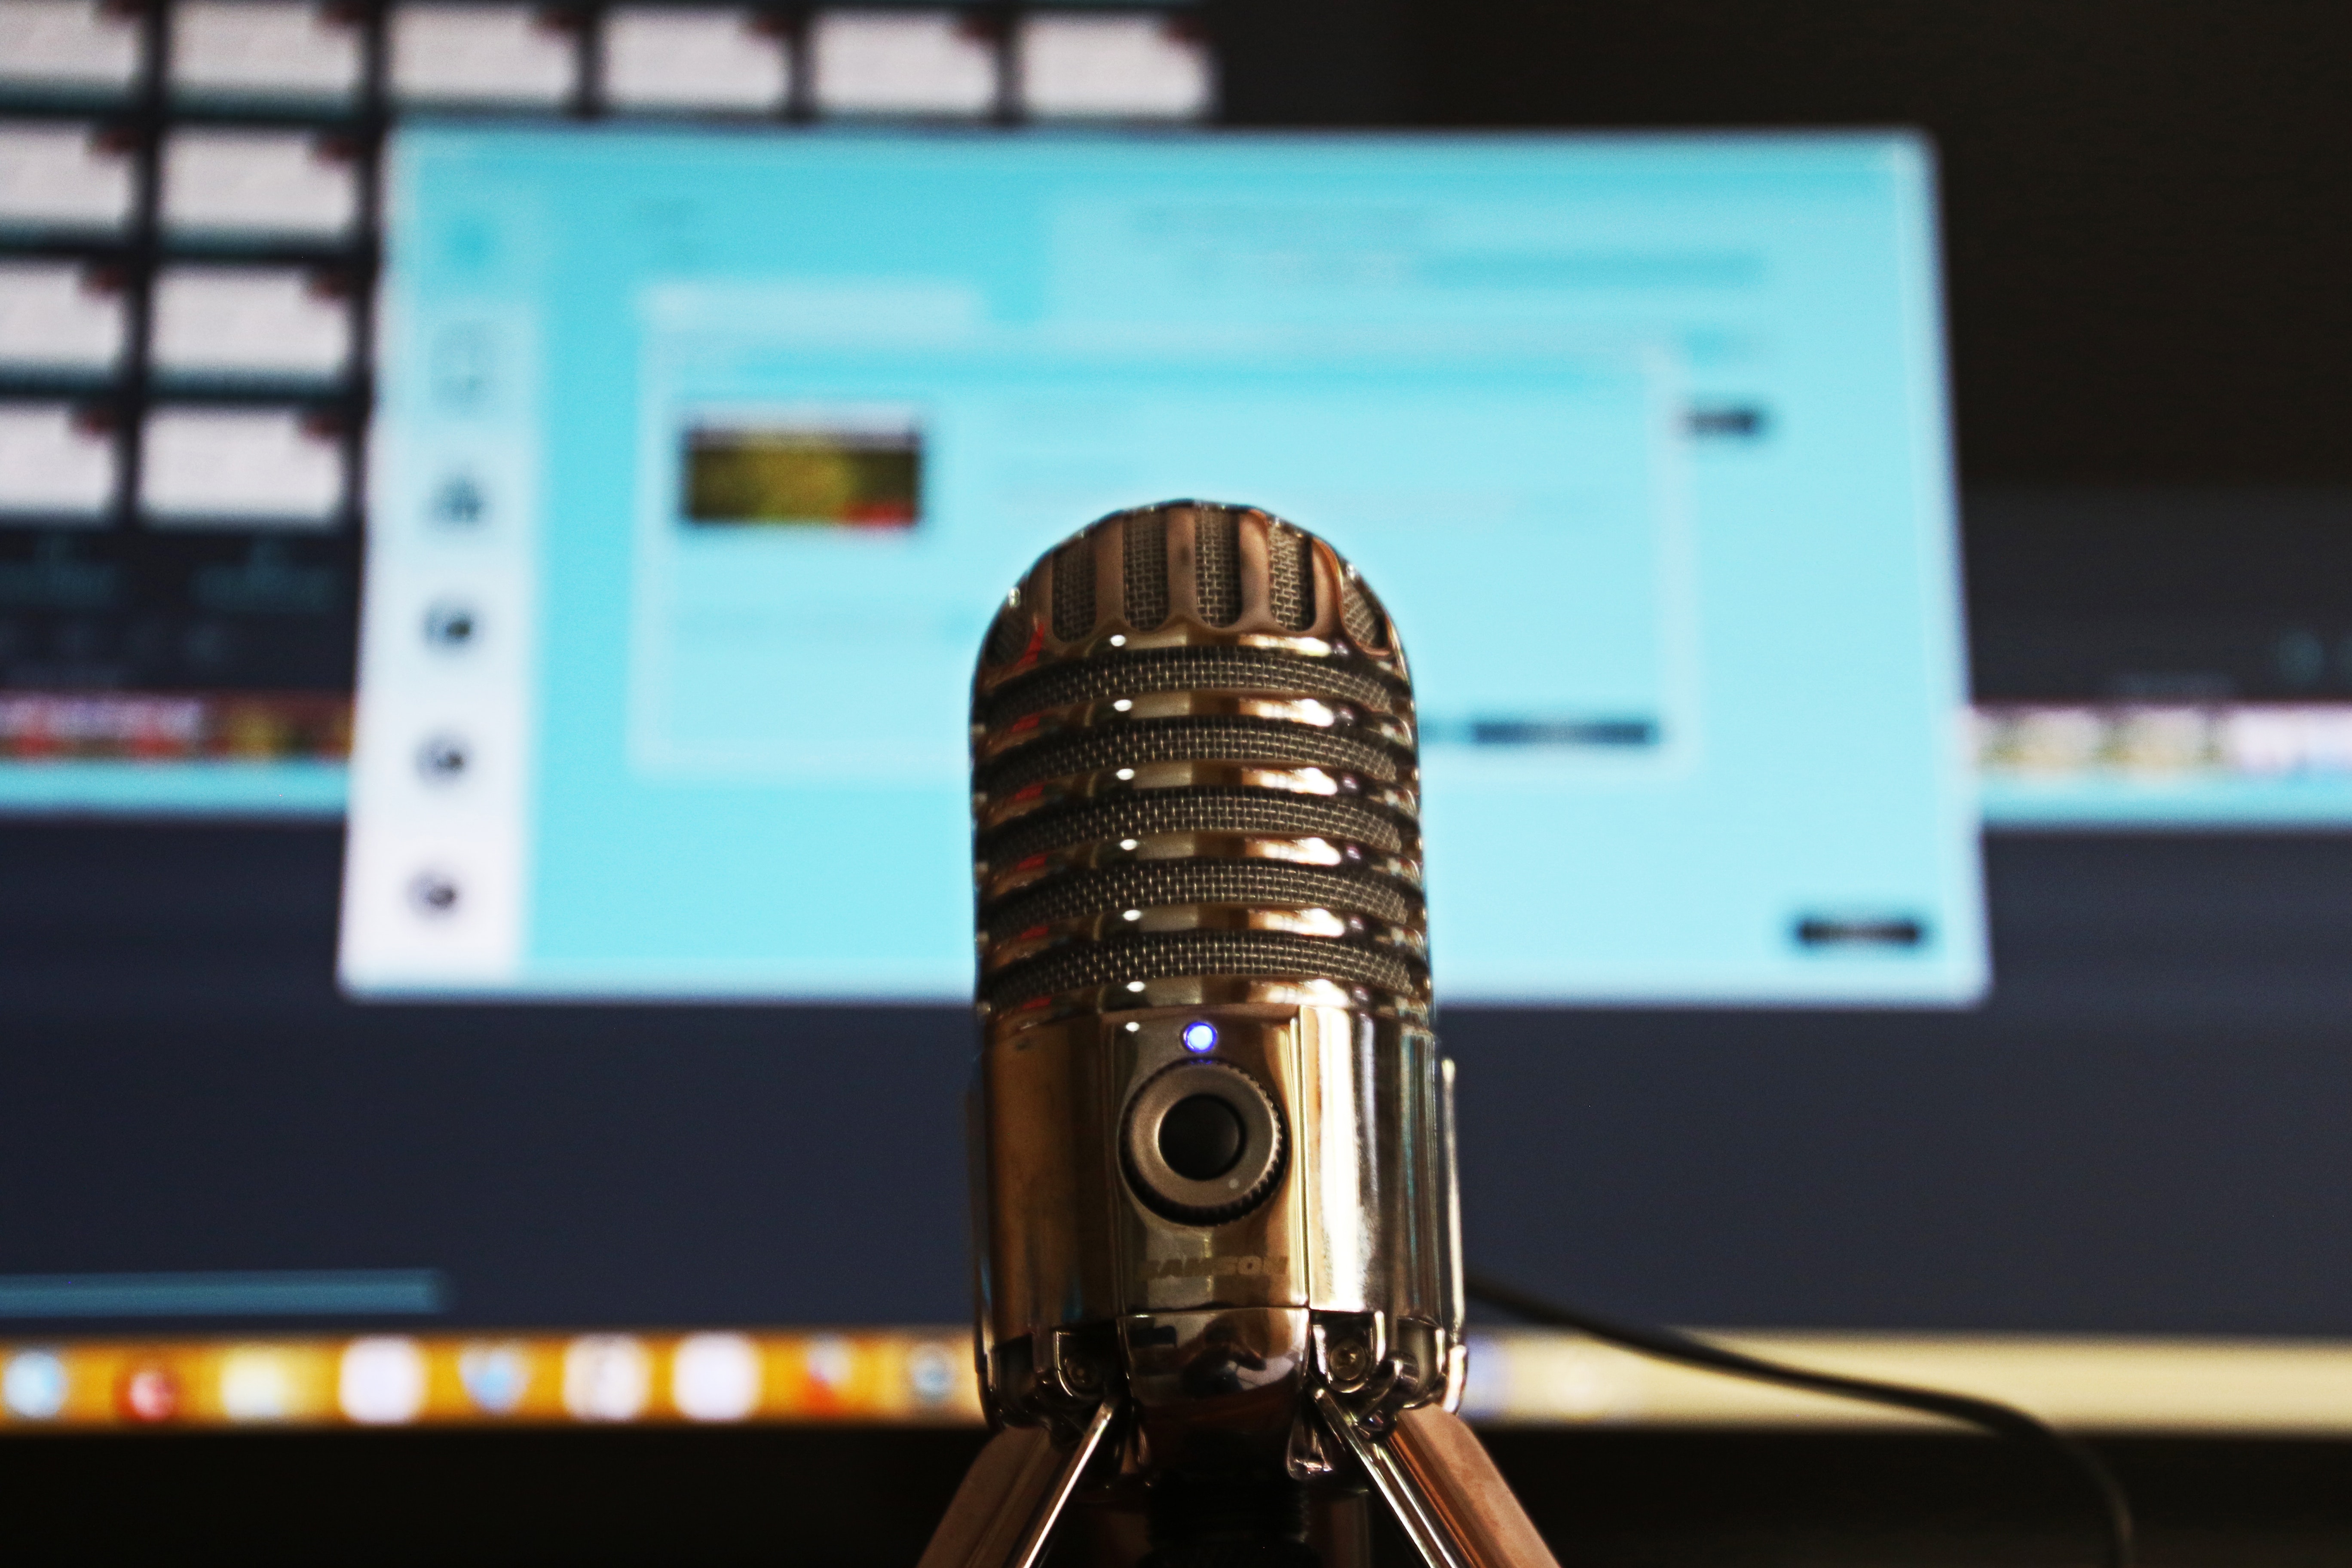
They are really popular for single-person recordings. They sound better now than they ever have before, and are quite convenient for a solo podcasting studio. However, they are back-electret condensers by and large, so they are quite sensitive to your room.
If you plan on getting USB mics, you’ll need to marshal your room into some kind of shape to elicit a decent sound.
3. Get the right audio interface
An audio interface is what connects your microphone to your computer. In addition to the digital port for your computer, an interface often has a preamp for your microphone, as well as a headphone jack for your studio cans.
If it’s just you using a USB mic, you don’t need an audio interface—the interface is built right into the mic.
If you got yourself the SM7B, you’ll need an audio interface that can handle its gain-hungry nature—or something like the Cloudlifter to put between the mic and the interface.
The classic budget-conscious combo I see in most home studios is a Focusrite Scarlett 2i2, a Cloudlifter CL-1 Mic Activator, and a Shure SM7B. It’s hard to beat that combo for the money.
You’ll definitely need an audio interface to record a multi-person podcast, as it’s quite hard to make multiple USB mics work on one computer. Zoom, Røde, and Sound Devices make purpose-driven interfaces for recording podcasts, and I’ve listed them here in order of increasing build quality.
Though Zoom and Røde are listed first, they are quite good for what they do. Sound Devices, however, are in an entirely other league. Sound Devices makes gear for high-end broadcast and film shoots. You’d do quite well in a home setup with a Zoom H6, a Zoom PodTrak 8 or a RodeCaster Pro II. They have inputs for multiple in-person guests, headphones outputs to spare, easy-to-use controls, and decent warranties.
4. Optimize the room for podcast recording
Optimizing your room for a good recording is very important, especially if you don’t have that SM7B I keep plugging!
It’s tough to make your home suitable for recording—there are so many variables to consider when it comes to room treatment and room optimization, so I’ll give you a list of ironclad things to avoid. That’ll be most expedient.
Don’t record in a closet. So many people do this, and it never sounds good. For some reason, it became a de-facto standard in home-audio podcasting to dive into your closet and record in there. This is a bad idea, because closets tend to be small, which means sound tends to bounce around, generating room-reflections in your audio. Just don’t do it.
Don’t record under a blanket. This is another urban-legend in home-podcast recording. People think recording under a blanket or a duvet will soften hard reflective surfaces. It might, but in this case the cure is worse than the disease: you’re creating a haphazard space for frequencies to move around, and it often sounds weirdly muffled in some ranges, but not tamped down enough in others.
Don’t record next to reflective surfaces. Hard reflective surfaces like walls, windows, ceilings, computer monitors, and other large/flat objects can bounce the sound back into the mic, resulting in frequency cancellations that make your voice weird and thin. Don’t record near a window if you can avoid it, or near the reflective surface of your computer screen. If this is unavoidable, choose a highly directional microphone and situate yourself so that the reflective surface is outside of the mic’s polar pattern (its area of pickup). For most home-studios, a cardioid or unidirectional polar pattern is best.
Don’t record with the air conditioning on if you can help it. Air conditioners, fans, computer fans, hard drives, refrigerators, air purifiers—these things make noise, especially if they’re not purpose built for studio recording. The noise gets into the recording, and it can be problematic. It’s best to turn these things off, and to situate yourself away from your computer, so as not to pick up extraneous noise. If you absolutely must record with these things running, RX can help de-noise the audio—easiest if you have a few seconds of just noise recorded without anyone talking. But you should never record with fixing audio in mind if you can help it.
Don’t record side by side with your co-host or guest. If your mic is sensitive to room sounds (like most condensers), sitting side by side in a multi-person podcast will result in spill from one speaker into another’s microphone, which makes editing more annoying. Instead, try facing each other and using a mic with a cardioid polar pattern. This will be marginally better. If you have the space, consider the 3-to-1 rule: the two mics should be three times farther apart than the distance from your—or your guest’s—mouth to your respective mics.
Do invest in room treatment, if you can. In terms of room treatment, absorption is going to be your best friend when it comes to reflection points. Acoustic foam is by-and-large not recommended, certainly not as much as dedicated wall-mounted panels, often made from materials like Rockwool.
Honestly, you’d get the best bang out of your buck contacting the good people at GIK and letting them design adequate room treatment for your space, purpose, and budget—those folks do great work, and they do estimates for free.
5. Get your accessories in order
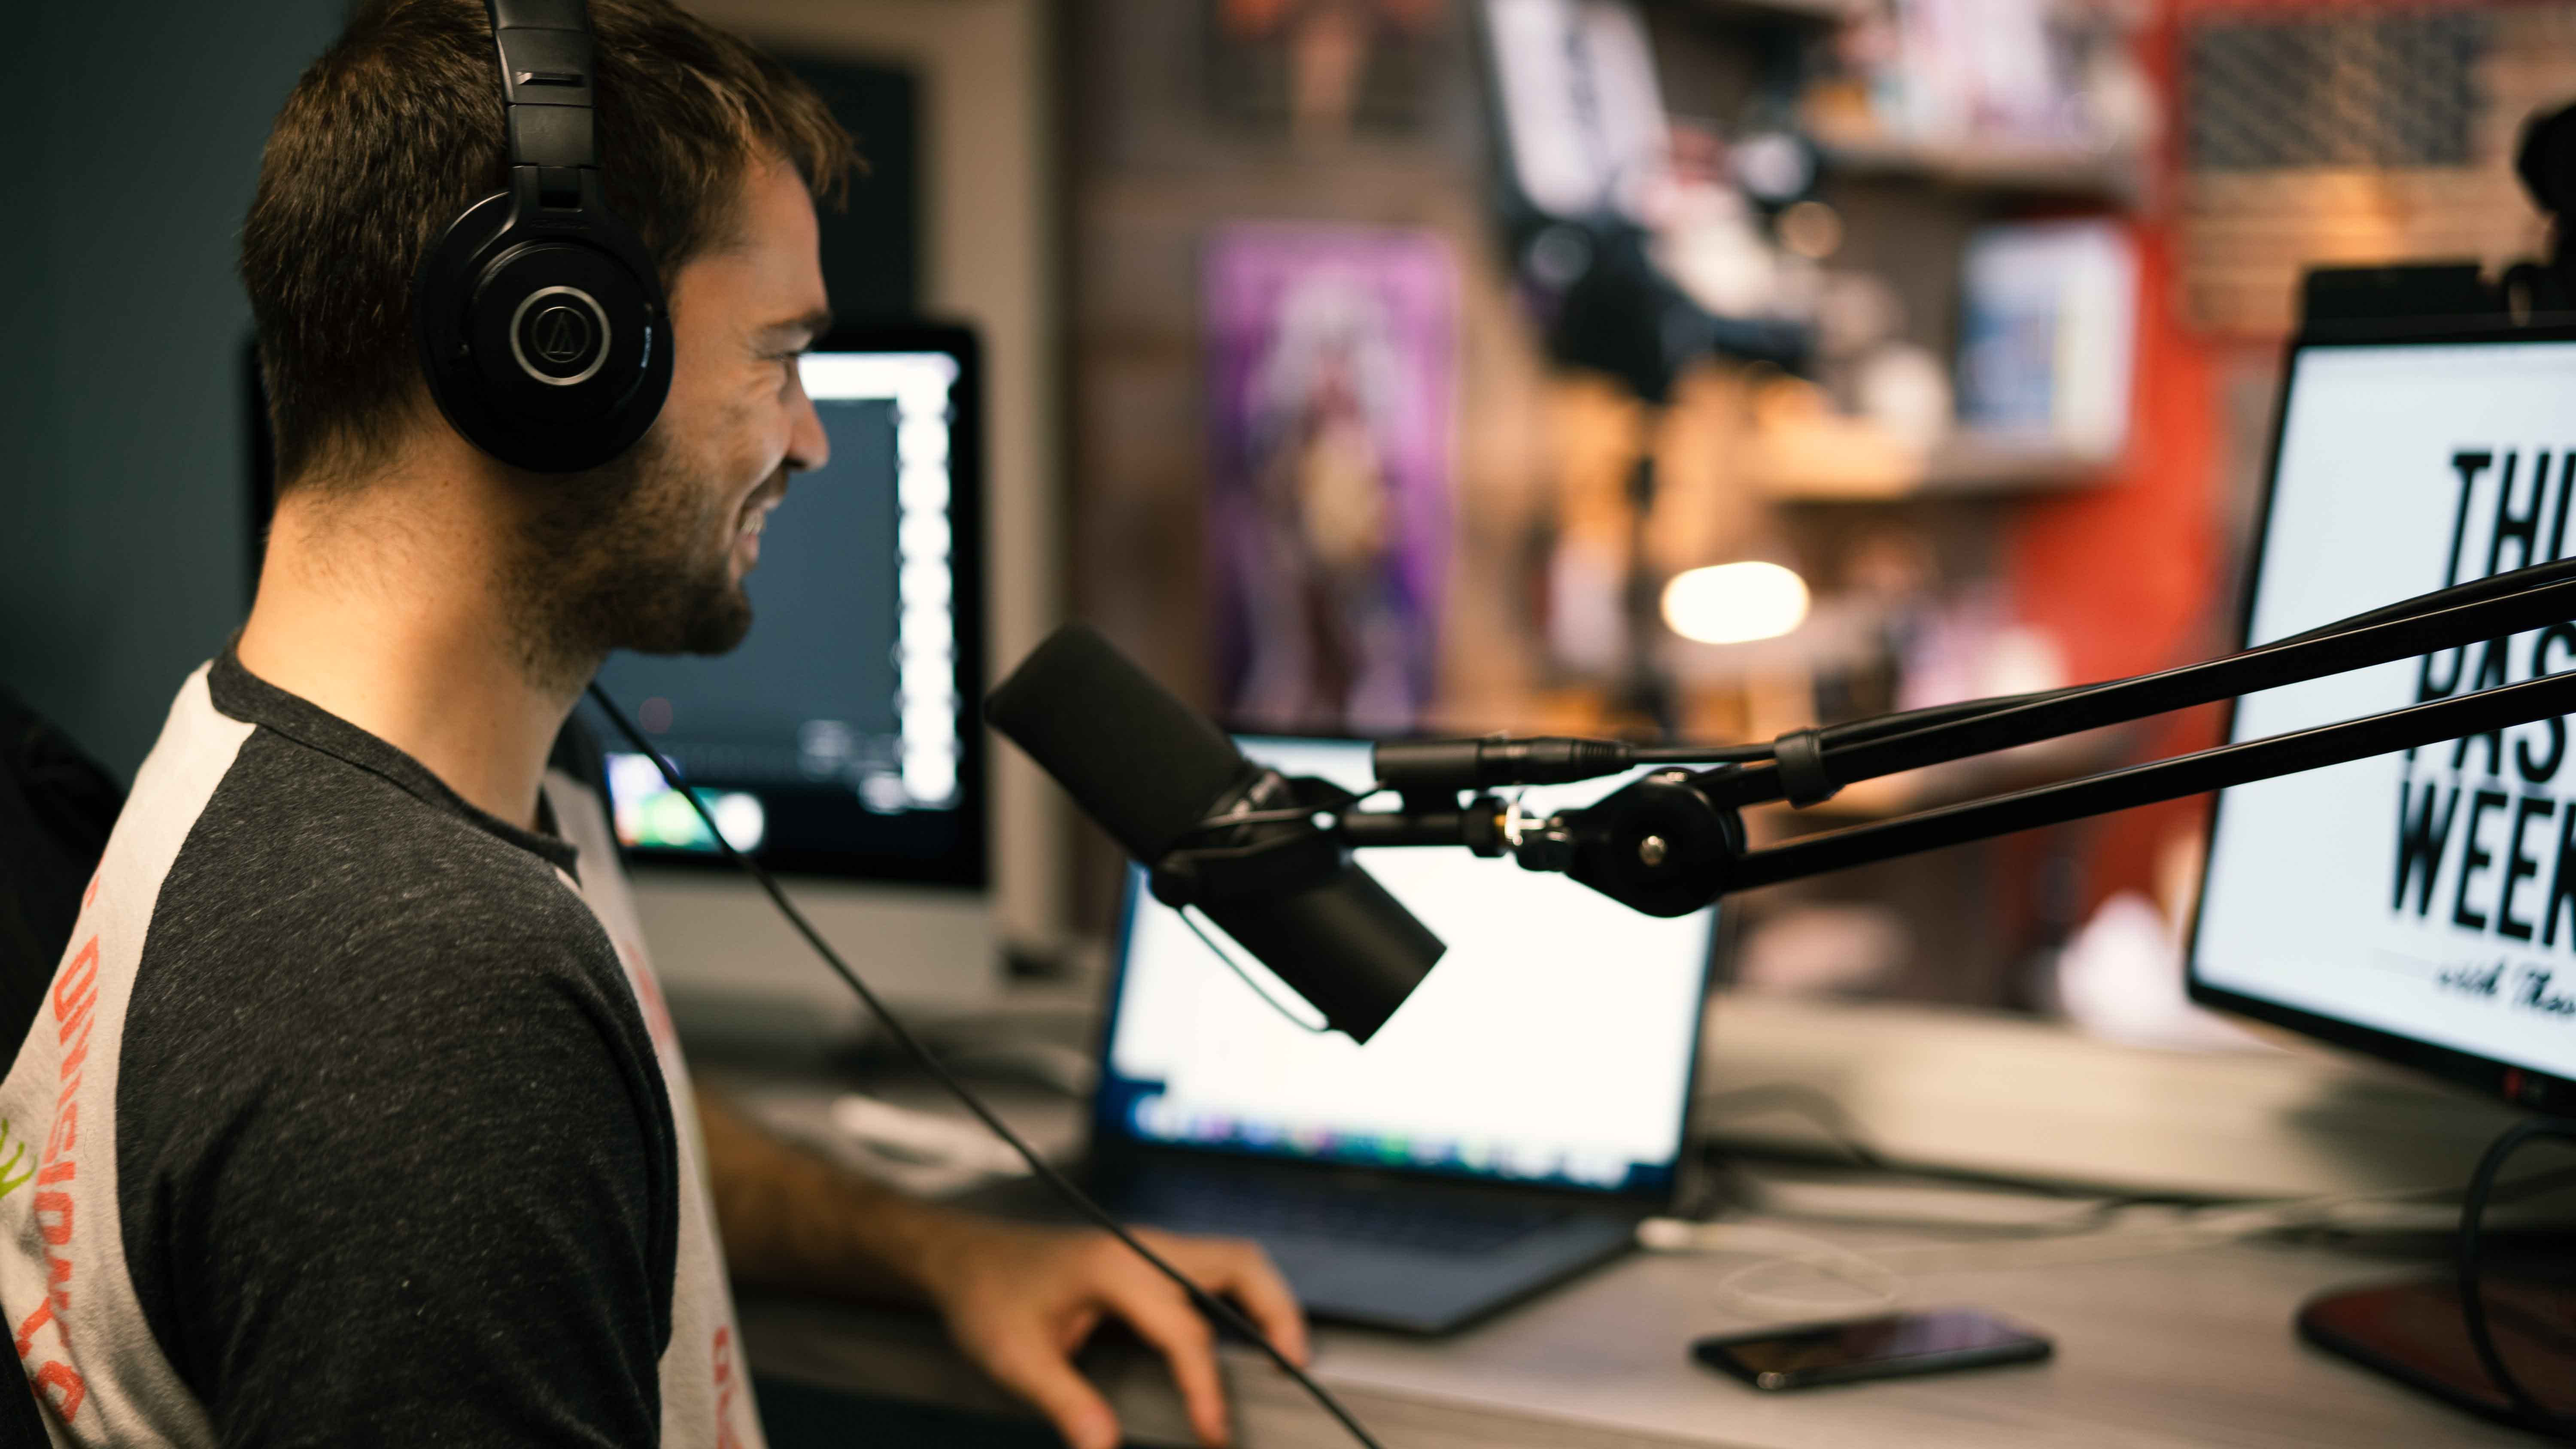
Purchase closed-back over-ear headphones that sound good—the Audio Technica ATH-m50x and Sony MDR 7506 are common choices. Get mic cables that allow for enough slack, so you’re not at risk of tipping mics over. Comfortable—and quiet—chairs are a must, and a proper mic stand will also go a long way. Many people prefer a boom-arm that clamps to your desk, because it’s much easier to position than other options, and it looks like the real deal radio environment.
Don’t forget bottles of water for you and your co-host and guest, as well as a space to keep these things far away from computers!
6. Get the right software for your computer
If you're planning to do any post-production work, you’ll need a special kind of software called a DAW (Digital Audio Workstation). Audacity is a free one lots of people use, but you can also pick up REAPER if budget is a concern. In the pro world, Pro Tools continues to reign supreme, with producers also working in Adobe Audition.
If you are going to be podcasting from home, you ought to purchase a copy of iZotope


RX 11 Advanced
7. Get yourself a host for your RSS feed
Once you’ve recorded, edited, and mixed your podcast, you’ll need to distribute it—and there is where an RSS feed comes in handy. RSS stands for “really simple syndication”, and it is actually quite simple: you set up an RSS feed, and podcast apps like Apple Podcasts or Spotify allow people to stream it. When you publish a new episode, it automatically releases to all of your subscribers.
To set up an RSS feed, you need to choose a podcast host, which you can think of as something in between Distrokid and Dropbox. You pay a monthly fee, and in return, they don’t lose your audio, and they don’t welsh on their model of automatically updating your subscribers with your newest episode when you publish. Notable podcast hosts include Libsyn and Megaphone.
Start setting up your podcast studio
That pretty much covers how to set up a podcast space in the quickest, least painful way I can think of. If you have any questions, don’t hesitate to reach out—we’ll get them answered for you! And if you haven't already, start a free trial of iZotope RX to help you create clean, professional-sounding podcasts at home.


