8 Reverb Tips: How to Manage Reverb-Heavy Mixes
It’s easy to overcook a mix with reverb. Fortunately, for the reverb addicts out there, we compiled eight tips that will help you avoid the same traps many other engineers do.
Some styles of music call for more reverb than others. But piling on plug-ins without a gameplan can quickly turn your mix into a cloudy wash of sound. To keep those all-important details intact and still get a spacey feel, here are eight tips for managing a reverb-heavy mix.
1. Use your reverb’s high-pass filter
Though there is no specific order to this list, because it is both easy to do and very effective. This tip is arguably the most important for those who prefer their mixes drenched in ‘verb.
Many reverb plug-ins (like


R4 by Exponential Audio
Beyond corrective cuts, a high-pass filter also allows you to shape reverb tone for aesthetic purposes. Without any low-end sculpting, a reverb-heavy mix will lose its contours and feel dragged down in an overly dark or dreamy state, depending on the source material. This may be your goal, but you can often achieve this style with more finesse—and through more than just effects—by picking out the lows.

High-passing reverb in R4
2. Use your reverb’s low-pass filter
On sharp sounds, like vocal consonants and clicking percussion, reverb can amplify the sibilant frequencies and introduce an unwanted ringing or slapping sound that floats over the mix. Rolling off some highs on your favorite reverb plug-in prevents this from happening while preserving the overall reverb feel.
Low-pass filters are also handy for introducing a sense of mix depth, a topic I’ve covered in detail before. A bright reverb will sound up-front, whereas a darker verb seems to come from further back in the mix. This comes down to the way we perceive sound in real-life scenarios outside of a DAW. Things that are further away from us sound quieter, but they also sound more muted as the reflections are diffused and absorbed by things and people in the surrounding environment.
3. Automate reverb parameters
All too often, a new engineer will dial in a single reverb setting and leave it as is, only to find themselves frustrated with the overall static feel of their mix when listening back to it. To elevate a mix beyond the demo stage, you must match reverb settings to the context and intensity of the music using mix automation.
Need to start your song with a bigger bang? Automate a reverb swell that flings it into action. Are reverb tails from chorus guitars carrying over to the verse and sounding sloppy? Ride the decay time to ensure a tighter transition. Want the repeat of a lyric to sound like it's being shouted from behind the lead vocalist? Automate the pre-delay higher to see if it brings the desired effect. Considered together, these decisions have a major impact on the quality of a mix.
4. Pan verbs for width
Just as we pan individual sounds to enhance the stereo image of a mix, we can add some interest to the left-right space by panning reverb returns. There are many combinations, but here are a few that works quite well:
- To more clearly reinforce the spatial location of a sound, pan its reverb to the same (or a similar) position. For some hard-panned sounds, it can be confusing if its reverb goes off in a different direction.
- Leave the sound in the center, but automate its reverb bus to pan back and forth to create the impression of movement. This can make for a unique special effect in sparse mixes where small details are noticeable.
- Send a lead vocal into two separate, but complementary reverbs, and pan them hard left and right. The center will stay clear for the vocal and the sides will provide the space. Listen to the before and after of a vocal with a stereo verb and the three channel setup described here (all from Nimbus):
5. Determine the location
Reverb allows us to transport a sound into a space, no matter whether real or abstract. Do you want to make those handclaps sound like were captured in a church? How about outside, at a distance of about 20 feet? Maybe a small wooden cabin?
By blasting everything in your mix with a large, uncontrolled reverb, you miss out on the wonderful little details it can bring to your mix. Not everything needs reverb, and when you reach for it out of habit, it's worth asking yourself why you’re using it in the first place.
It may even be that the effect you are trying to achieve with reverb is better suited to a different processor entirely. We often lean on reverb to enhance sonic qualities, but maybe just bringing up the level or enhancing the high frequencies is the ticket. By posing the right question, it becomes a lot easier to decide if you need to use reverb and if so, just how much is required.
6. Use less than you think
Though maybe something of a shallow point at this stage in the article, simply using too much reverb is the reason behind many muddy mixes.
During my early days of producing and mixing—when I couldn’t hear “problems” the way I can now, I’d be happy to let a reverb tail wash over my entire song and blur the contours simply because I made the decision and it was exciting to have creative control. But the reverb often influenced the mix far more than the music itself, making for a foggy soundstage. I’m far more conservative with my reverbs today, though this is in part guided by personal preference and the genres I chose to work in.
If you’re a reverb pro, but from time-to-time are left wondering why your mix still sounds like its oozing ambience (not in a good way) despite fairly dry settings, it might not be your fault.
Many instrument presets, particularly airy synths and pads, come with reverb as part of the patch. So do your part to check if your VSTs are already stocked with a ‘verb. You may want to turn it down or shut it off completely, favoring the bus reverbs in your session for a more uniform sound instead.
7. Compress your vocal ‘verbs
A large vocal reverb will certainly give you a lush feel, but it will also overlap with the vocal itself and bury important phrases. So if you want a dense Ariana Grande-style vocal ‘verb, but none of the fuss, try compressing the tail.


Exponential Audio

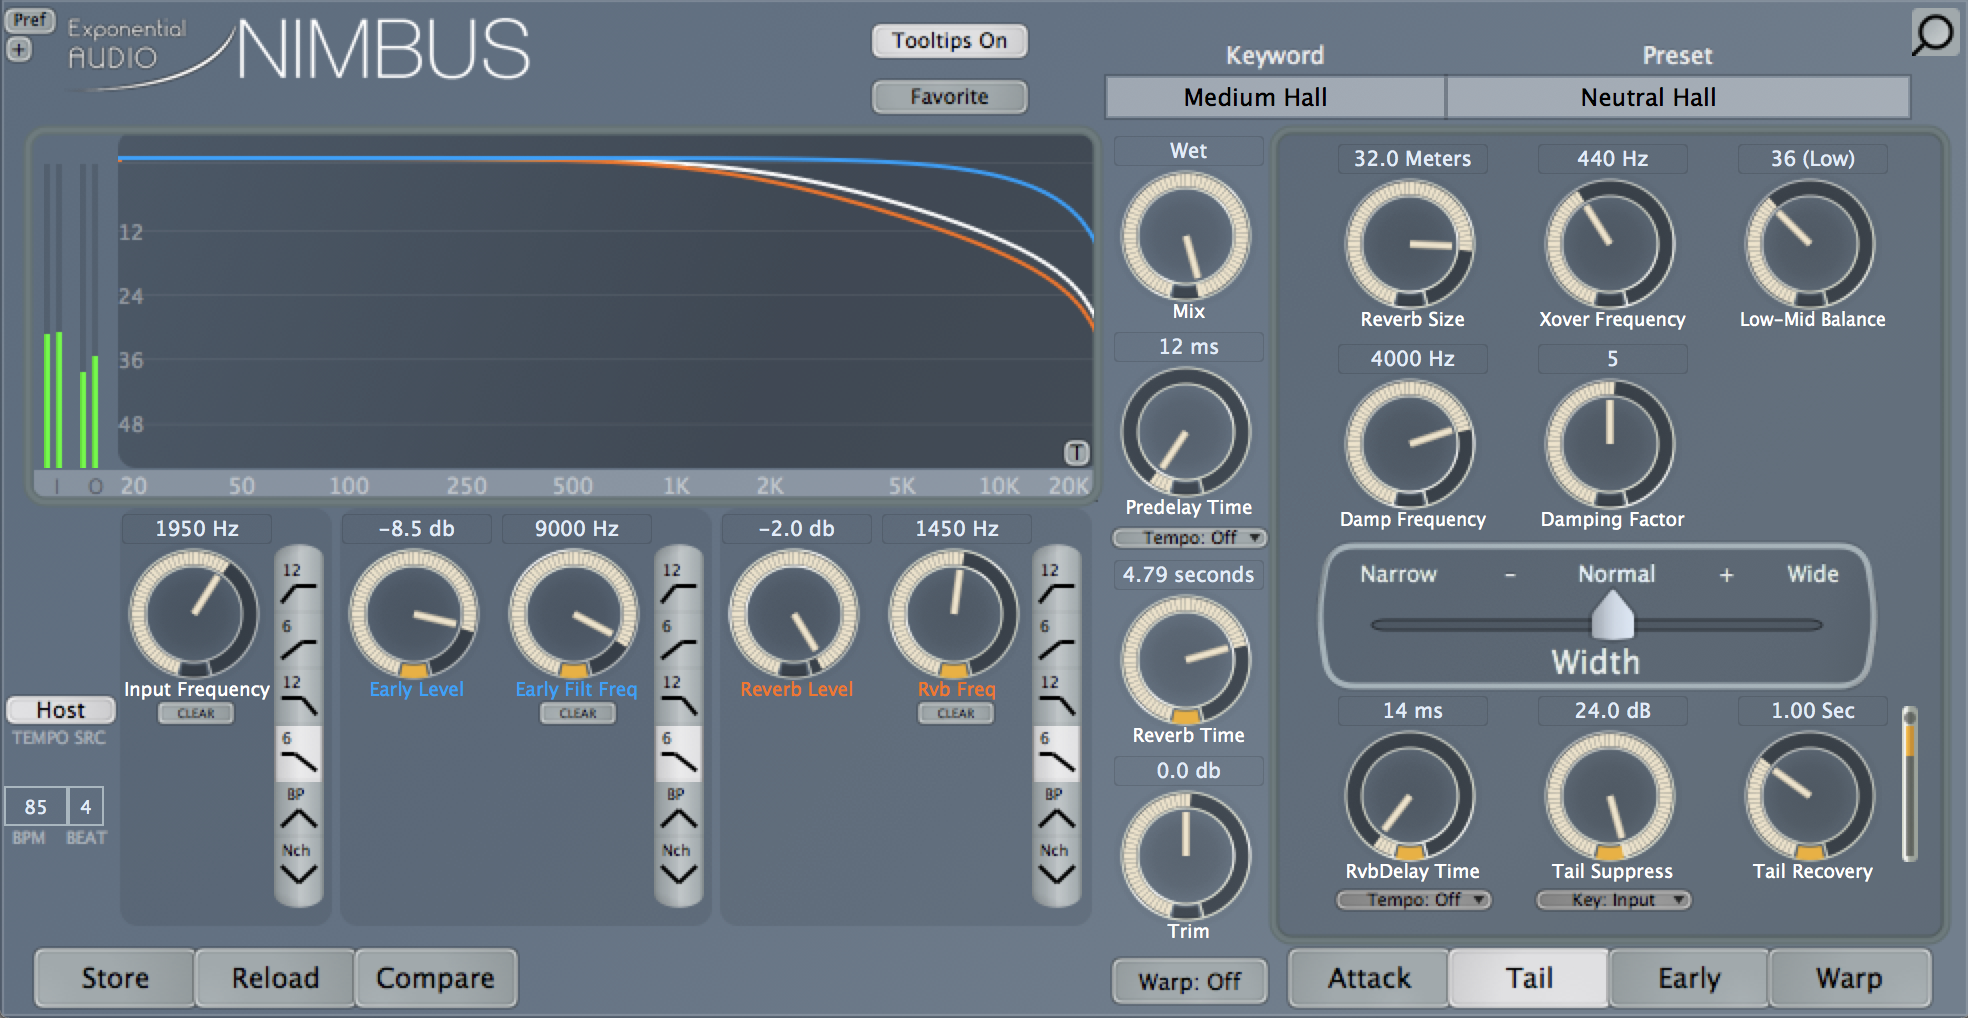
Compressing reverb tails in Nimbus
With the setup above (the input as the key), the reverb’s tail is reduced anytime the plug-in detects incoming sound. This means when the vocalist sings the tail is ducked and when they stop the reverb swells up. This allows me to dial in long reverb times without the same concern for masking. Have a listen for yourself:
8. Avoid too many different reverbs types
If you’re using lots of reverb and a different plate style each time around, you’ll end up with a strange mix that’s unsure of exactly what it's trying to be.
To restore the focus, you may want to limit the amount and types of spaces your mix exists in. If the guitars have an intimate bedroom pop feel, but the drums belong in a stadium, and the vocals are springy, the trickery of mixing is exposed and the listener will find something with more confidence. They shouldn’t have to ask themselves “Where am I?” but should instead immediately think “I’m comfortable here.”
Granted, the example above is extreme, but the point is that you should find something that ties together the various reverbs in a mix. Maybe they all relate to spaces common in a home or have a darker timbre. Anything that helps to establish context.
Conclusion
It’s easy to overcook a mix with reverb. Fortunately, for the reverb addicts out there, by following the eight tips in this article you will avoid stumbling into the same traps many engineers do.
Like all lists, we can’t possibly include every possible tip for managing reverb, but we can say that these will certainly improve the clarity of your mix, and as you use them you will discover your own tricks along the way.

