5 Ways to Use Parallel Processing in Music Production
Unlock better control over attack, sustain, harmonics, and more with these parallel processing tips & techniques.
This article references previous versions of Ozone. Learn about the latest Ozone and its powerful new features like Master Rebalance, Low End Focus, and improved Tonal Balance Control by clicking here.
In the vastness of music production mixing techniques, there are fads and there are timeless treasures. A fad may be all the rage for a short time in a specific genre, but a “fad mix” will surely sound dated when the fad passes. Unfortunately, it is common for the subsequently dated mix to be ridiculed, cast out of the cool crowd, and made the subject of many cruel jokes and clever memes. However, timeless treasures are applicable and valued in many genres, and will remain pleasing and good regardless of age.
Bolstering your repertoire of techniques with ageless wonders will make you increasingly versatile and efficient. One such technique is called parallel processing. From kick drums to vocals, from alt-rock to yodeling, parallel processing has a place, and that place is to unlock more flexible control over attack, sustain, harmonics, and more.
Copy? Over and Out
The concept of parallel processing is routinely overcomplicated. If you understand the idea of parallel lines, which you do, you won’t have any trouble. Imagine two identical, vertical lines side by side; they’re parallel. Now imagine two identical tracks side by side in your mixer; they’re parallel, too! So, the parallel part is easy, but what about the processing? Typically you process the initially-identical tracks differently—with compression, distortion, reverb, etc.—then mix them together. Okay, that sounds fun, but how do you get two identical tracks from a single source? Basically, you copy it. This can be done in a handful of ways, depending on your DAW and workflow preferences, but the two most popular methods are right near universally available.
- Method #1: Duplicate the track. So simple, so fast! If you’re working with just one vocal, that may be the way to go.
- Method #2: Use an aux send. It sends a copy of the signal through a bus, which should be accepted into an empty channel/track.
Although the aux send method is more complex, it does offer benefits. If you’re working with ten tracks of drums, it would be far from ideal to create ten more tracks of drums, which would quickly consume precious real estate and CPU resources. Running out of processing power is a slippery slope to downtrodden thoughts and misplaced rage. Instead of doing that, you could use an aux send on each of the drum tracks, which would allow you to send copies of all ten drum tracks to a single channel/track. One new track versus ten new tracks. Hmm, I think the math can speak for itself here.
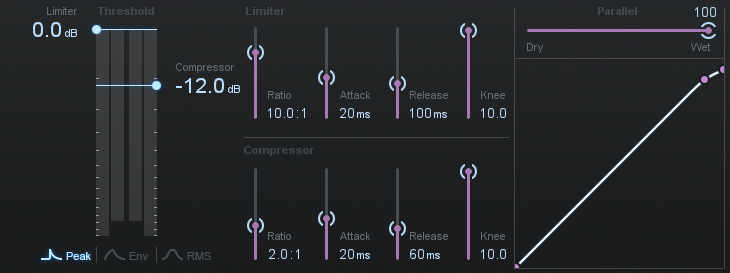
Due to the usefulness of parallel processing, an ever-increasing number of plug-ins are popping up with basic integration of it. How? The humble and greatly-lauded Dry/Wet (a.k.a Mix) control. It adjusts the balance between the original “dry” signal and the processed “wet” signal.
Look Out for Latency
Whether you proceed with method number one (duplicate track) or method number two (aux send to an empty track), there is a very real chance that detrimental phasing, subtle or horrendously obvious, could be induced due to plug-in latency. Adding plug-ins to your copied signal could create a slight time delay (latency) caused by the amount of time it takes the plug-ins to process the signal. When the delayed signal is mixed in with the original, phasing or even slapback can occur. How does that sound? I’d describe it as anywhere from odd to downright gross.
Thankfully, many DAWs such as Avid Pro Tools, PreSonus Studio One, and Apple Logic deal with plug-in latency through automatic delay compensation, which keeps the time delay consistent across all tracks. Since delay compensation may not exist in your DAW, or it may have restrictions, you might have to do the unthinkable...check the manual!
Try Something New
Now that we’ve established the mechanics of parallel processing, we can level up to the more exhilarating section: real-world scenarios! Below are five ways to use parallel processing in music production.
1. Parallel Compression (a.k.a New York Compression) on Drums
In this scenario, compression will be applied to parallel (copied) drum signals. Two common reasons to do this are to emphasize the attack and punch of the kick, snare, and toms, and to bring out a more explosive room sound.
Make the Copies: To start, I recommend using stereo aux sends from the drum tracks to split (copy) the drums to an empty stereo track, which I’ll later refer to as the Drum Comp Bus. Using stereo aux sends will allow you to pan the copied drum signals.
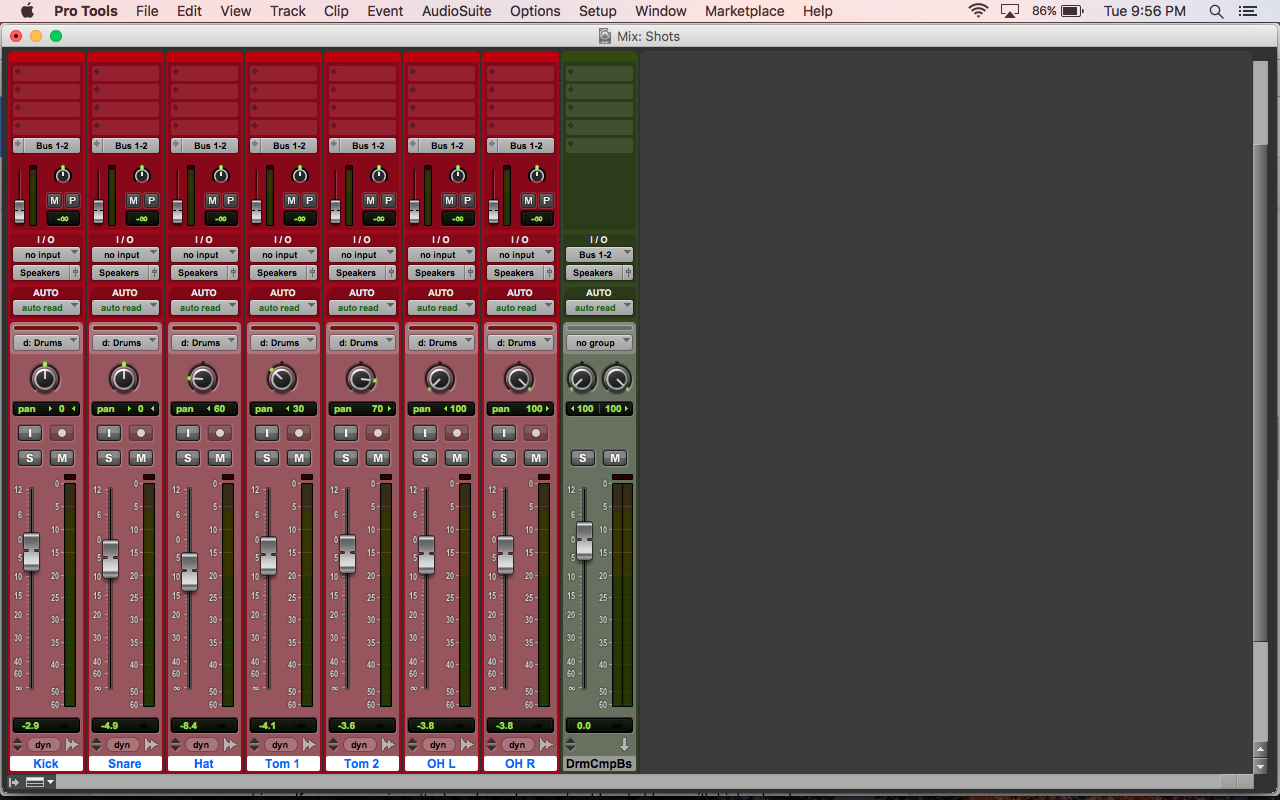
Pan the Sends: Pan the aux sends exactly like your original drums; the stereo image of your drum mix will be wrecked if you don’t do this. One does not want to wreck oneself, right?
Here’s the issue: Sends that are panned differently than the source tracks will be adding level in different parts of the stereo field. For example, if your source overhead left is panned hard left, but its send is panned hard right, the combined signal would sound like it is center panned (assuming their levels are identical). This is because when identical signals are at equal levels in opposite channels (left and right), we do not hear them uniquely in either channel; we perceive them to be coming from the center. This is called “phantom center.”
There is another place where the stereo image of your drums can become supremely wack… the Drum Comp Bus track. It should be panned hard left and hard right to avoid collapsing or narrowing the stereo image of the drums. If your Drum Comp Bus pans are centered, all the signals in the stereo parallel drum mix would be forced to the center, effectively summed to mono. That’s not going to happen on my watch!
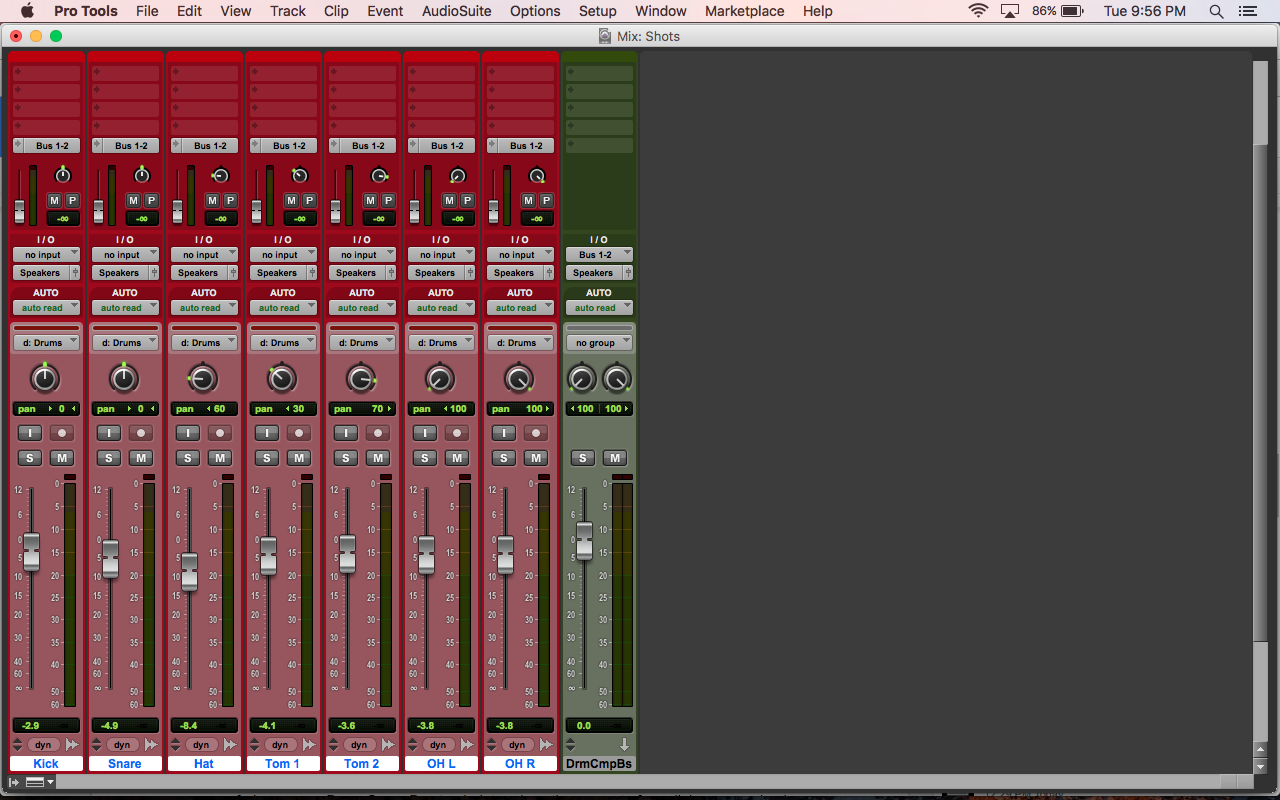
Choose Pre/Post-Fader: Many aux sends can be set to split pre- or post-fader. A pre-fader send splits (copies) the signal before the track’s fader, making the send independent of that fader’s level. A post-fader send splits (copies) the signal after the track’s fader, making the send dependent on that fader’s level.
Each position has pros and cons. The post-fader setting makes it easier to set your levels, but means your parallel drums will be affected by any level changes to your original drums. The pre-fader setting requires a bit more work to get your levels set, but means that your parallel drums will not be affected by any level changes to your original drums. Plus, with pre-fader sends, you can audition the parallel drums even if the original drums are muted. Personally, I tend to go with pre-fader sends.
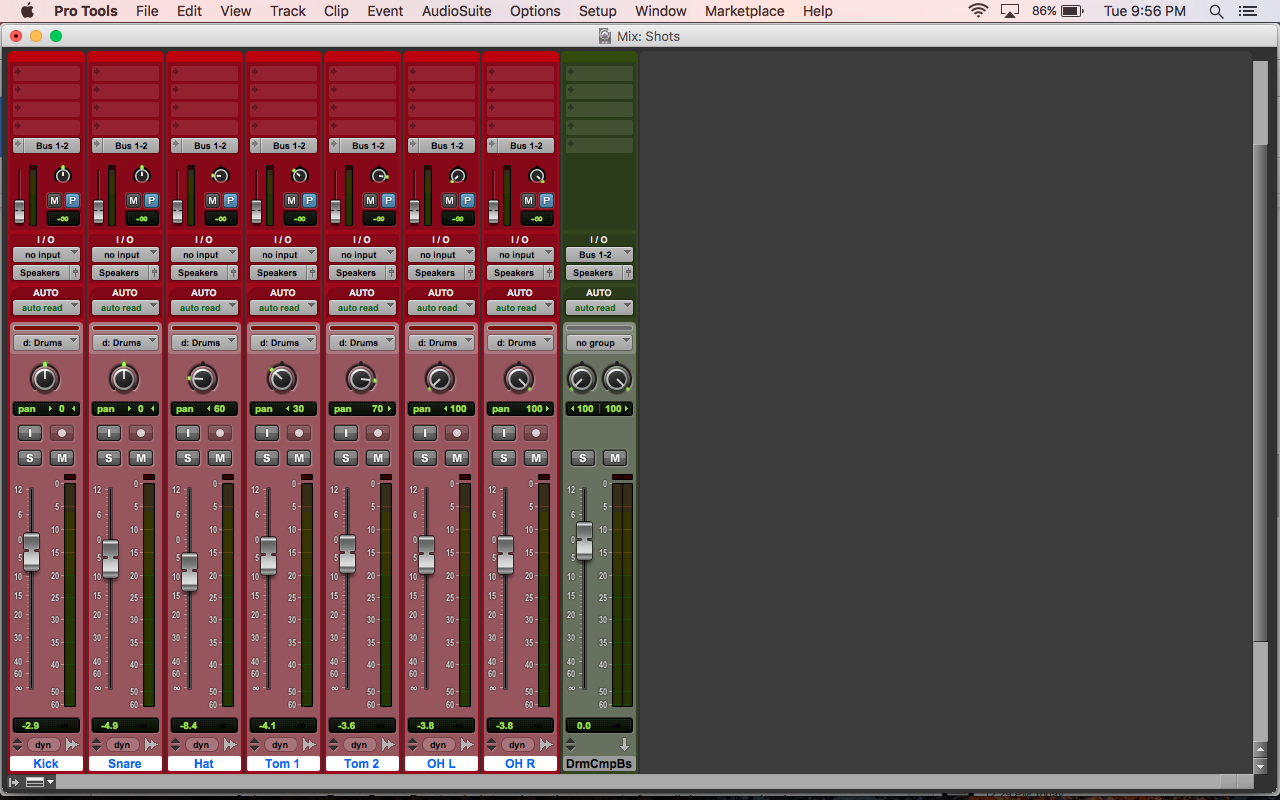
Set Aux Send Levels: What you do here depends entirely on what you intend to achieve. If you are craving attack and punch, you should probably go with higher levels for the kick, snare, and tom sends than for the rest of the drum sends. However, if you’re heart yearns for more room ambience, boost the send levels for the room mics more than the close mics. Experiment and know that you’ll likely tweak the send levels after you start playing around with the parallel compression.
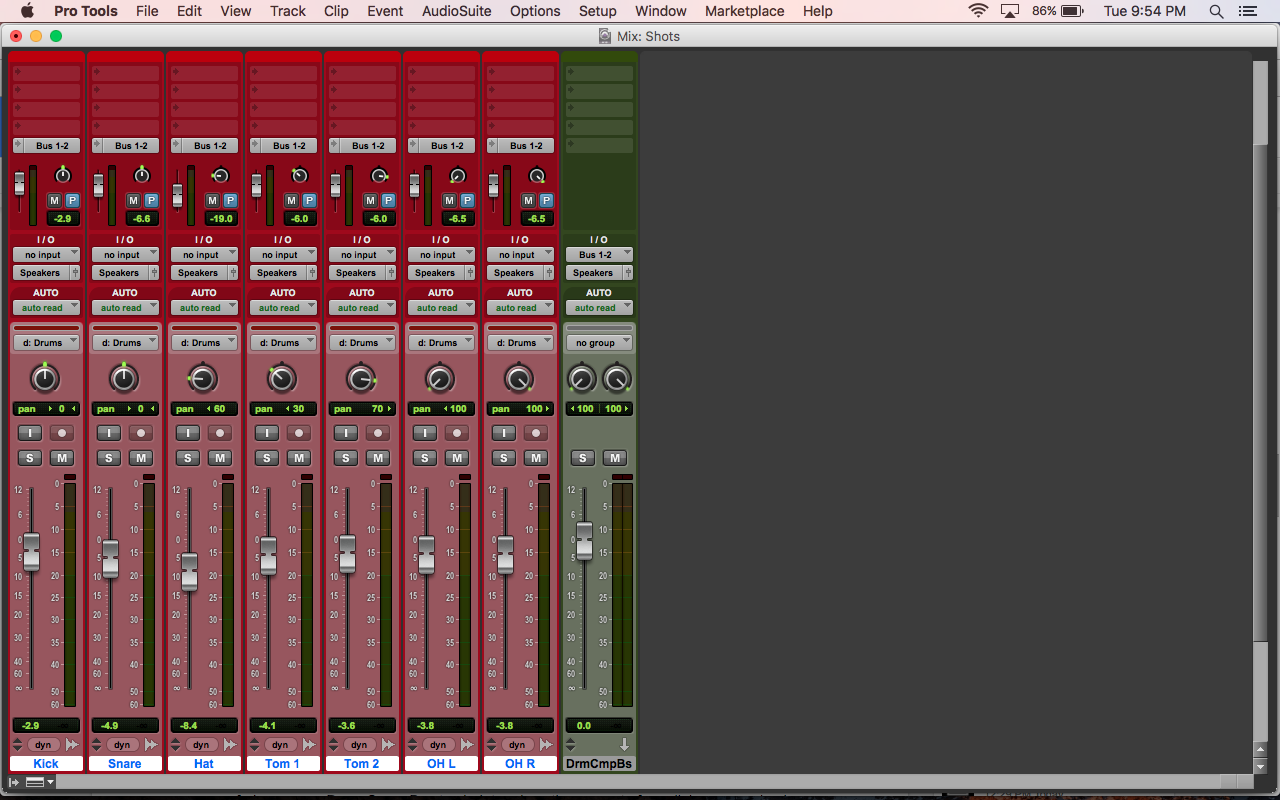
Pick a Plug-in: Insert a compressor plug-in on the Drum Comp Bus track. Many plug-ins come packed with meaty presets, which can either point you in the right direction, steer you slightly off course, or flat out befuddle your brainy bits. Understanding a fistful of compressor settings will prevent you from lobbing that fist through your poor, blameless computer screen.
The most common compressor controls you’ll encounter are threshold, ratio, attack, and release. The threshold is the level where the compressor will start to compress. Loosely speaking, signals below the threshold will not be compressed, but signals above it will be compressed.
The ratio is how much the compressor will change the level. A 4:1 ratio means that signal 4 dB over the threshold on the way in will be compressed to 1 dB over the threshold on the way out, resulting in 3 dB of gain reduction.
The attack control decides how much time it takes for the compressor to make most of the ratio-determined level change. An attack time of 100 milliseconds (ms) means that once the signal goes over the threshold, the compressor will start turning it down, but it will take 100 ms to make most of the target gain reduction happen.
The release control decides how much time it takes for the compressor to “rebound” or put the level change nearly back to normal. A release time of 200 ms means that after the compressor reduces the gain by the target amount, it starts to bring back the gain, but it takes 200 ms to bring back most of it.
As you set about configuring the compressor’s parameters, be a rebel and try things you wouldn’t normally do. I don’t care if your parents told you to only use compression in moderation. Blast moderation! For example, a high ratio (5:1 to 10:1), fast attack (1 to 10 ms), fast release (10 to 50 ms), and low threshold can produce significant gain reduction on just the attack, leaving you with more clearly audible sustain. However, a slower attack and release (20 to 150 ms) would attenuate the sustain, leaving you with more attack than anything else.
Experiment and push your compressor to extremes; you might discover some unique sounds!
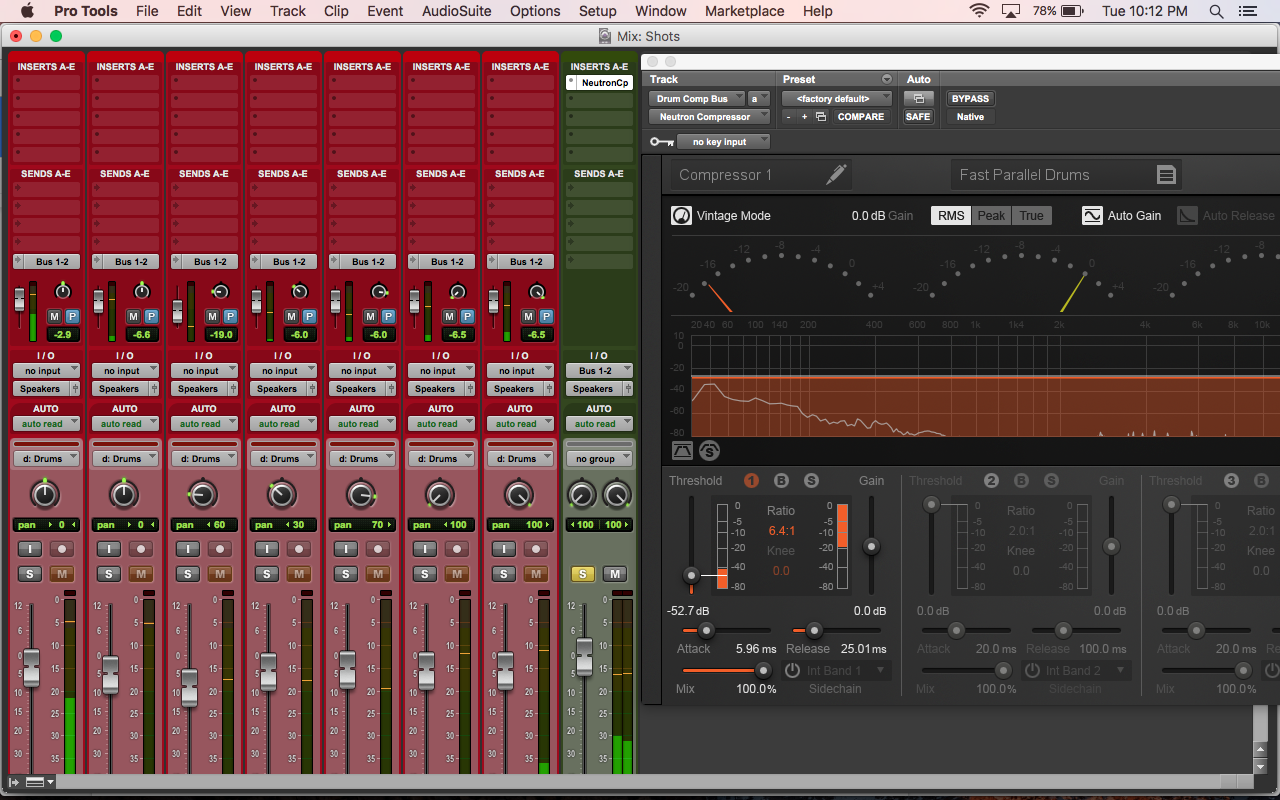
Adjust the Blend: This is the part where you mix the parallel compression in with the source drums, effectively blending the modified transients with the original ones. The return fader (the fader on your Drum Comp Bus track) determines the amount of parallel compression in the mix, and it’s totally up to you how much to use. Solo the original and parallel drums, then push the return fader up until you hear an obvious amount of your parallel drums, just to get a feel for how they impact your sound. Depending on your compression settings, you may hear more pronounced transients or louder sustain. Adjust the return fader to what you think gives you a good blend. Then, un-solo the drums and tweak the drum levels for an appropriate fit with the rest of the tracks.
What’s appropriate? Whatever sounds right for the song, that’s appropriate.
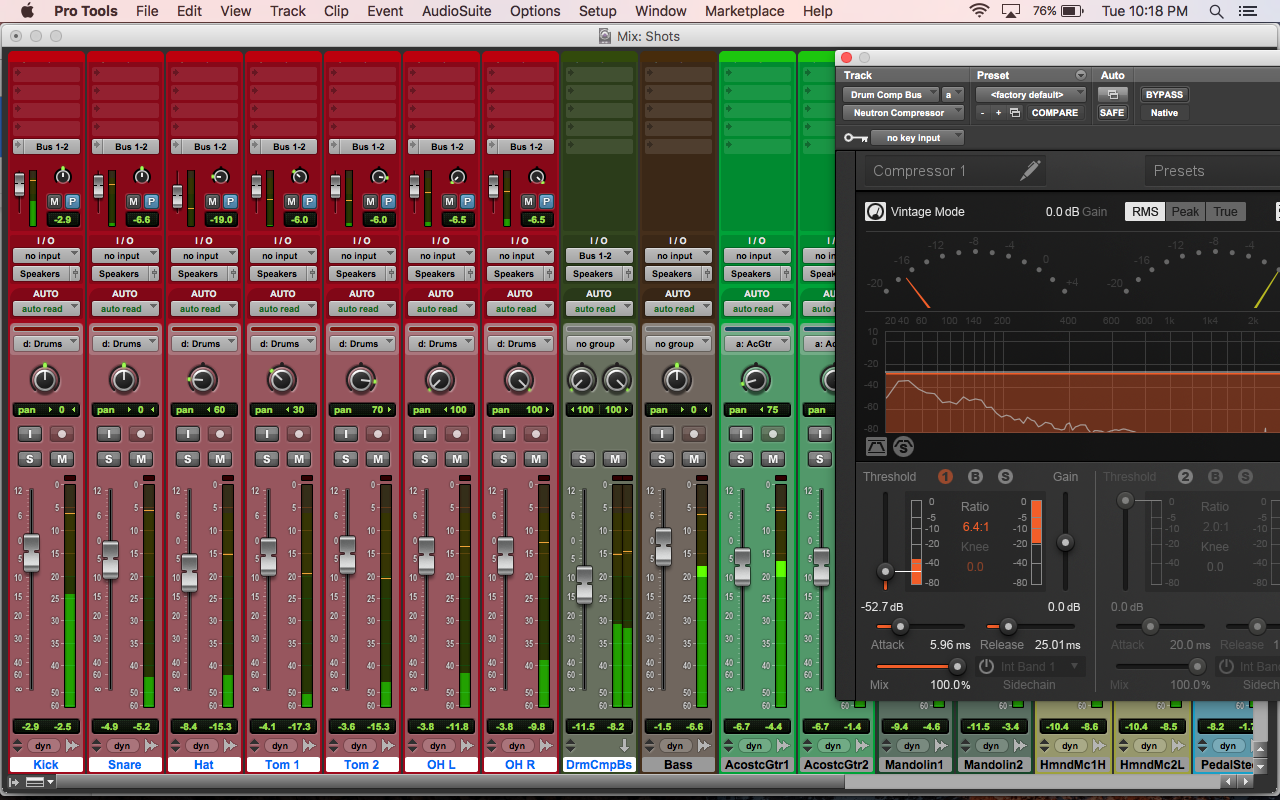
2. Parallel Overdrive and Chorus on Bass
In this scenario, overdrive and chorus will be applied to parallel bass signals. Two common reasons to do this are to bring some grit to the bass and to add some width.
- Make the Copies: Once again, I recommend using stereo aux sends. However, this time, use two aux sends to copy the bass to two empty tracks, which I’ll later refer to as Bass Grit and Wide Bass.
- Pan the Sends: If applicable, pan the sends like your original bass. For this example, I’m saying that the bass is straight up the middle. Also, make sure to pan your Bass Grit and Wide Bass tracks hard left and hard right.
- Choose Pre/Post-Fader: Again, I recommend choosing pre-fader so that the parallel processing will not be affected by level changes to the source bass.
- Set Aux Send Levels: For this example, just set the send levels to unity gain (identical levels in and out of the gain stage), which is 0 dB for DAW aux sends.
- Pick a Plug-in: Insert an overdrive/distortion plug-in on the Bass Grit and a chorus plug-in on the Wide Bass. Try mild overdrive rather than all-out gain. Shoot for subtle stereo chorus; maybe start with a rate of less than 0.50 Hz and a depth of less than 50%.
- Adjust the Blend: Assuming that the original bass was straight up the middle, the parallel processing would give you some grit in the middle and some clean shimmer on the sides. There are no laws regulating the amount of grit and shimmer that can be added; follow your ears.
3. Parallel Compression and Reverb on Piano
For a piano, you can use parallel processing to accentuate attack (amplify the initial impact of the transients) and excite a reverb (trigger a reverb with strong transients). Use the same signal flow basics previously described to set up parallel compression. In the compressor, use slow attack and release times to suppress the sustain of the piano. Send that attack-heavy sound to a reverb. You can use the parallel-compressed signal to help the piano poke through the mix and trigger a splash of reverb.
4. Parallel Lo-Fi on Vocals
Other than parallel compression on vocals, of which I am a massive fan, you can use parallel processing to add some unique texture to a vocal. If you are dealing with just one vocal track, simply duplicate the track, then insert a lo-fi plug-in such as a bit-crusher. Tweak its settings until you have a grainy sound, then tuck it in underneath the original vocal. When dealing with stacks sung by the same person, this technique can be especially helpful to help differentiate certain ones from others.
5. Parallel Saturation on the Mix Bus
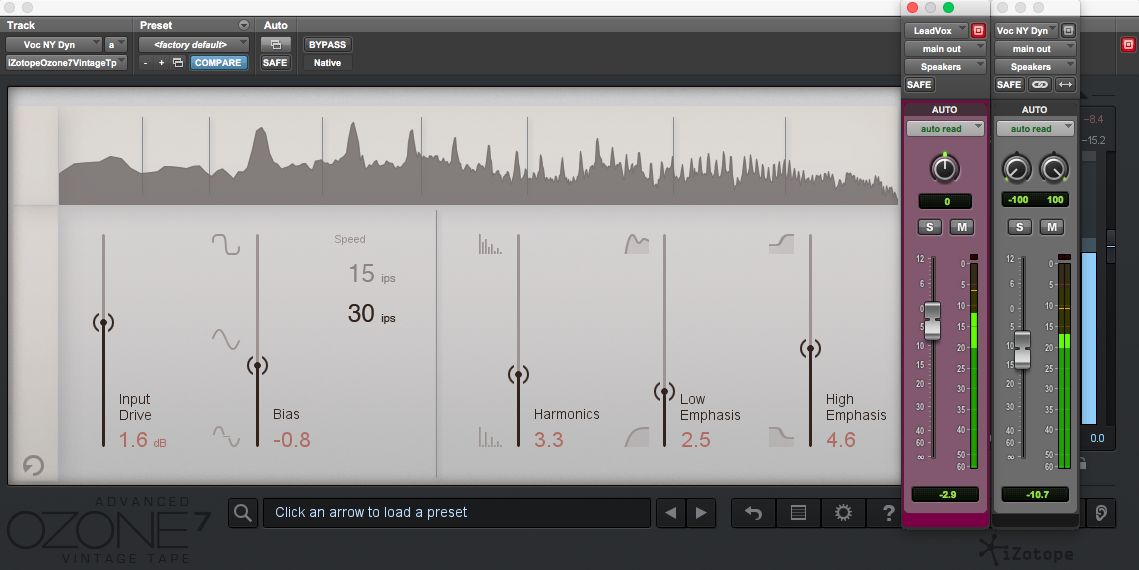
This one is fast, easy, and awesome! On your mix bus, just insert a saturation plug-in that has a Mix control. Elysia Karacter and iZotope Ozone are two examples. One major advantage of Ozone is that its Exciter module offers multiband saturation, each band with its own Mix control (see picture below). A single Mix control allows you to blend in harmonics (multiples of the original frequencies at varying levels) across the entire frequency spectrum of the mix. It’s a quick way to produce the characteristic harmonics associated with tape machines, tube amps, and transformers for the whole mix.
Multiband Mix controls allow you to blend in different amounts of harmonics in different parts of the mix’s frequency spectrum. Why is that worth mentioning and wholeheartedly wanting? Imagine that you like the clean and pristine high-end in a certain mix you’re working on, but you can’t deny the desire for the warm low-end of analog tape. With multi-band Mix controls, you can apply harmonics just in the low frequencies and set the balance of original low-end and low-end harmonics, all while leaving the high frequencies alone! Yes, it’s rewarding to add tube- and tape-style saturation to a mix, but too much can lead to unpleasant distortion, which leads to sadness. When dialing in the plug-in parameters, keep your composure and contain your zeal.

Reading Time Is Over
It's entirely possible that you may already have been using parallel processing without knowing it. If you’ve ever used an aux send to feed a sweet reverb, you’ve technically done parallel processing! Remember that it’s essentially nothing more than copying the original signal, processing the copy, then blending it with the original. So, if you feel comfortable with the concept of parallel processing and have some ideas of where you can apply it to your own projects, go now, be productive, and be creative.

