6 Tips to Speed Up Session Load Times
Learn essential tricks to get your music sessions to load much faster, giving you more time to stay creative.
This article references a previous version of Neutron. Learn about ![]()
![]()
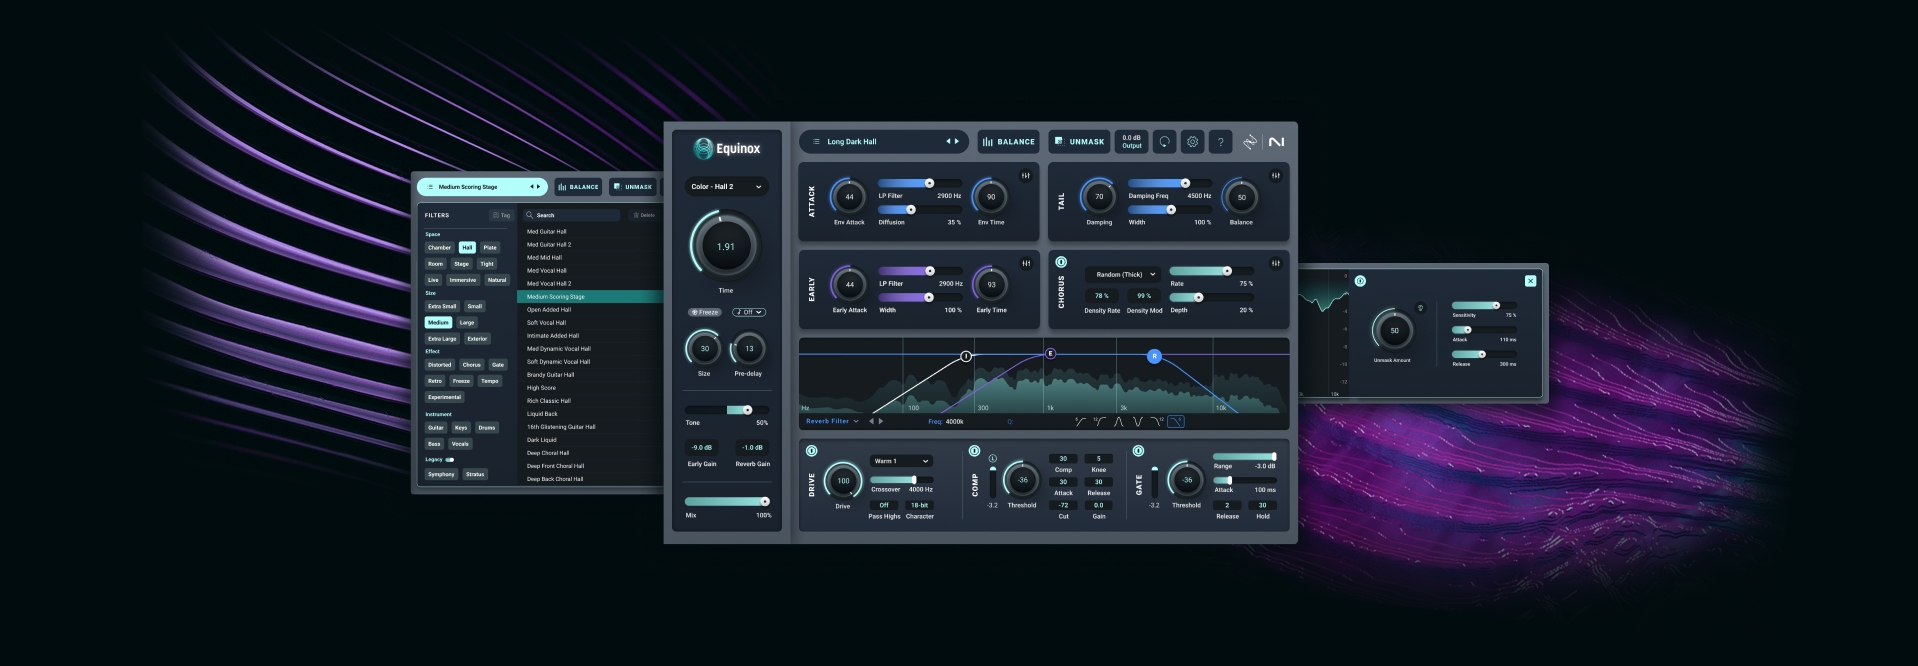
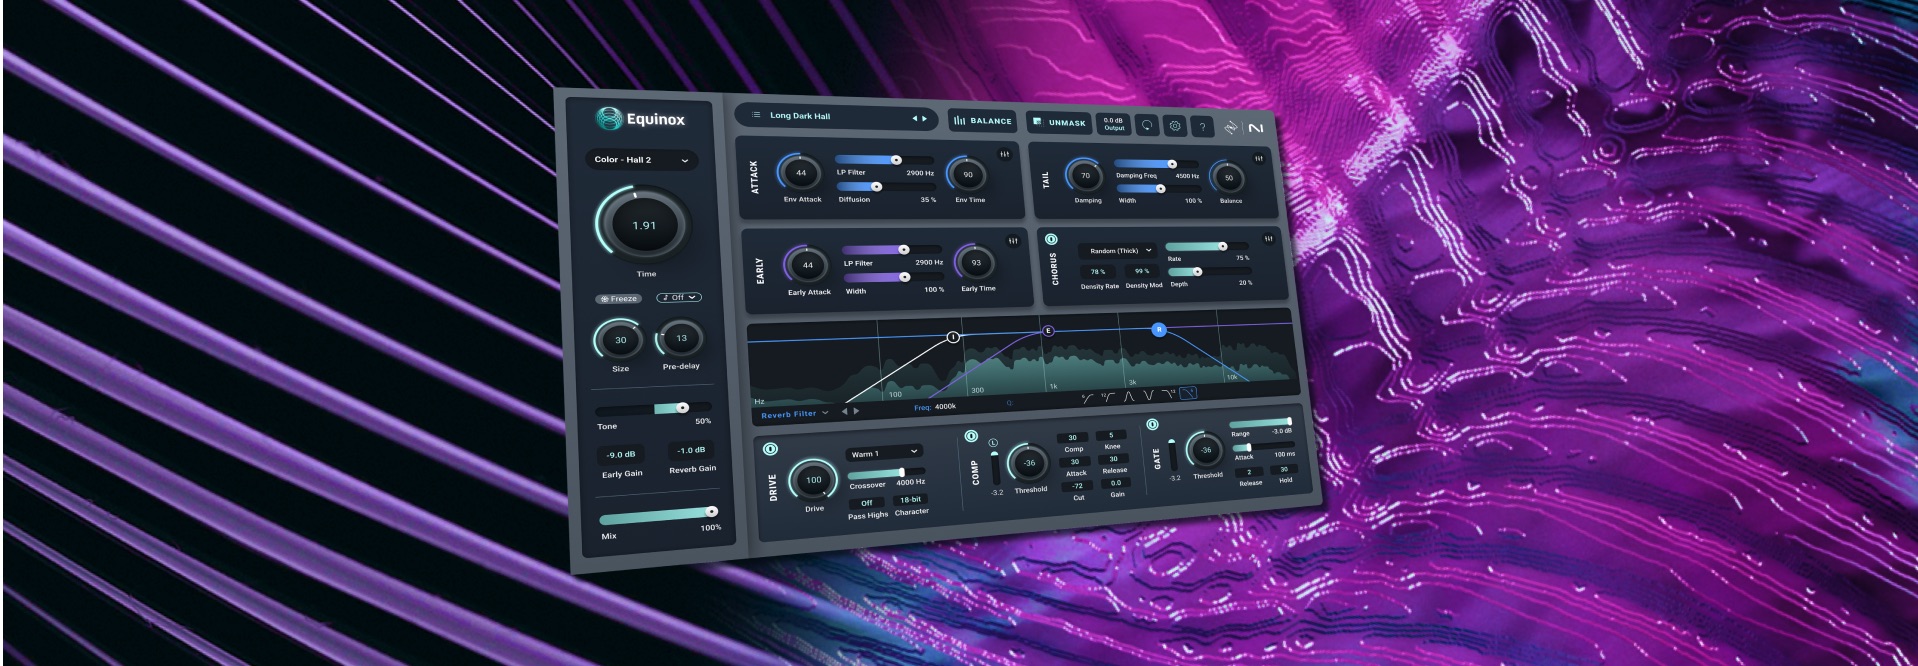
Neutron 5
There’s nothing more frustrating than having to wait a few minutes for your session to load all your plug-ins and sample libraries. And the larger the session, the longer the wait times, which means more time twiddling your thumbs and less time spent making music.
In this guide, we’ll share six tips on how you can speed up session loading times so you can spend less time waiting and more time creating.
1. Upgrade your computer
When possible, you’ll want to look at upgrading your computer hardware to give your machine the biggest possible boost. In most cases, processors are hard to upgrade, so you’ll probably have to work with what you’ve got there. If you own multiple computers, you’ll want to make sure you’re working on the computer with the fastest processor.
The next best thing you can do is upgrade your internal hard drive to an SSD. This will give your entire OS a significant speed boost when it comes to opening applications. If you’re hosting sampled instruments and loops on an external hard drive (as most of us do), make sure they’re living on a fast hard drive and connected using a fast connection. Where possible, opt for an SSD using a USB 3.0 or Thunderbolt 3 port.
If you haven’t maxed out your RAM yet, do it. The more sampled instruments you want to use, the more memory you’re going to need. But if you’re running low on available RAM, your system will significantly slow down as it’s trying to accommodate all the running processes and can ultimately even freeze up completely. I think we can all agree, that’s not something you need, especially when under a tight deadline. MacSales has a cool upgrade wizard that will tell you which memory options are available for your particular computer. Since RAM is pretty cheap nowadays, it’s a worthy investment, so you might as well upgrade your RAM to the max that your Mac can handle.
2. Load your sessions from a fast hard drive
This is something people forget about. You come to a studio, plug in your USB flash drive, and load a session. But loading it from the little thumb drive will significantly slow down your loading time. Particularly if it’s an older USB 2.0 drive.
Make sure to move your session to a fast hard drive where you won’t be throttled by old data connections. If you have an SSD, move the project there. Otherwise, you can host your projects on a fast external hard drive connected via Thunderbolt 2/3 or USB 3.0.
3. Remove unused items
Within your session, you want to strip things down to the bare necessities. If you’re not using an instrument, plug-in, or track, remove it. There’s no need to be saving that excess data to your session, let alone having it slow down your session loading times. This is particularly true for sampled instruments which can take up a lot of memory and take a significant time to load.
4. Use performance optimized plug-ins
Some plug-ins require a lot of processing power—whether CPU-intensive or RAM-heavy. They may make your session sound great, but they may also be the reason your sessions load slowly.
Neutron 3 has been re-built from the ground up to perform faster than before. It now loads at much faster speeds than Neutron 2, meaning you’ll be able to get to work sooner.
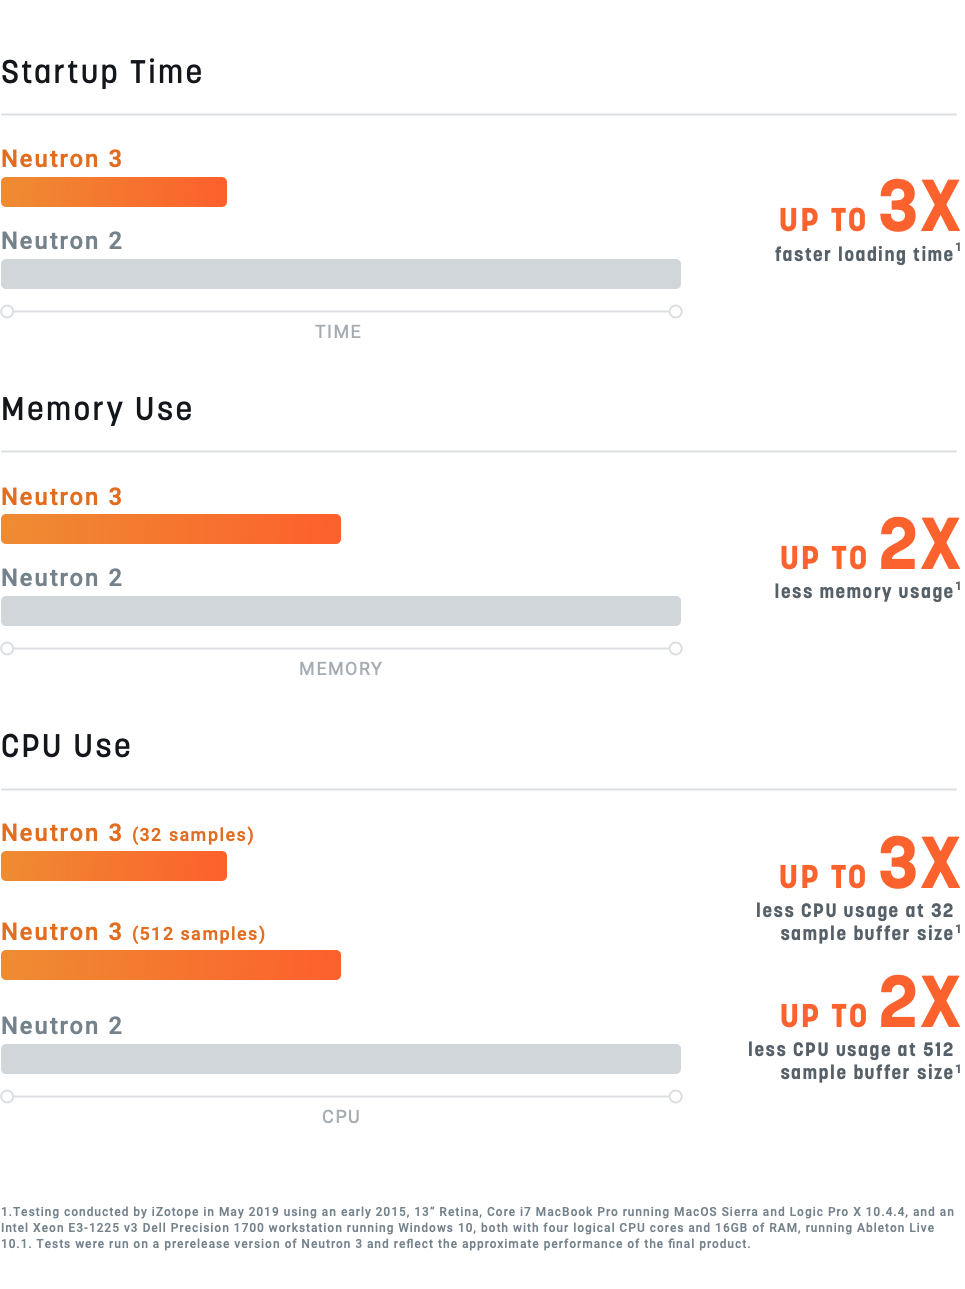
The performance improvements between Neutron 2 and Neutron 3
5. Bounce to audio
Once you’re happy with the sound of a software (sampled) instrument and/or you’re satisfied with the effects you’ve applied to a track, bounce that track and replace the original track with the new bounced version.
By bouncing, you’re making the changes permanent, but this also allows you to unload the plug-ins and effects that would have been slowing down your session load-time, replacing multiple plug-ins and a sampled instrument with a single audio track.
6. Vienna Ensemble Pro
If you’re a film composer, odds are you have a custom template session, which includes dozens (or even hundreds) of instruments already loaded in it. This could include all the orchestral instruments ready to be played, or your favorite go-to keyboards and drum kit sounds that you love to use on many sessions. The point of a template is that you have all your favorite sounds pre-loaded in the session, giving you super easy access to instantly play every single one of them right away. However, the big downside to hosting all those instruments in your session is that it will significantly extend your loading time, even up to three minutes or more per session.
This is why mixing host software systems like Vienna Ensemble Pro exist. The idea behind VEP is that rather than hosting all your sampled instruments in your DAW (significantly extending load times) you host the samples in VEP instead. Your DAW connects with VEP over the local network, meaning any time you request a particular instrument’s note, your DAW sends a MIDI request to VEP, which in turn responds back with the audio sample. You can host VEP with all your samples on a secondary computer devoted to just hosting your sounds or on the same machine.
The reason VEP is so popular is that once you load your template of instruments in VEP, there’s no more loading to be done. When you open your actual DAW’s session, all the DAW has to do is connect with VEP and you’re all set! That three-minute (or more) loading time can go down to mere seconds!
And did I mention that you can even host AU and VST effects in Vienna Ensemble Pro’s mixer? Meaning you can load all your iZotope plug-ins in VEP, thus speeding up your DAW’s session loading times even further!
These host systems are a little more complex to set up at the beginning, but the massive improvement in session load times make them a life-saver and a necessity for film composers who need instant access to the same sounds over and over again.
Bonus tip: batch re-save
If you’re a Kontakt user with plenty of sample libraries, make use of the Batch Re-Save feature. This will go through each Kontakt patch and preset, re-saving it with specific information about the location of your samples on your particular system. What this means is Kontakt won’t have to consistently keep searching for samples, it will be able to locate them instantaneously. As such, rather than loading certain patches in minutes, it will be able to do so in seconds!
Conclusion
I hope these tips bring you much-needed speed boosts in your music session loading times. When you’re working under a deadline, each second counts. Being able to shave off just a few seconds here and there can be the difference between delivering your project on time and stressing as you’re already late. Plus, the less time you’re waiting, the more you can focus on staying creative and making music. Give these tips a try and see what works best for you.