6 practical ways to use RX for music production
Discover six powerful ways music producers use iZotope RX to clean audio, repair common issues, and dramatically speed up their workflow.
If you’re a music producer, you might think RX is just for post-production engineers who scrub muddy audio from noisy lav mics. But RX has become an indispensable tool for people on the music side of things – people buried in vocal stacks, guitar squeaks, and stems that never quite cooperate.
Whether you’re cleaning up a messy vocal, or putting together a crazy mashup, RX really comes in handy. Let’s break down six practical ways to make RX earn its keep on your sessions.
Try these techniques in your mix with a free demo of RX, the industry trailblazer for audio repair and enhancement.
1. Tame breath and mouth noises in vocals
Every vocal take is a collection of words, pitches, and – depending on your point of view – the stuff of either ASMR bliss or misophonic nightmare: mouth clicks, lip smacks, and gulps of air that can break the spell of a great performance.
RX Repair Assistant does a great job of intelligently targeting these noises.

RX Repair Assistant set to music mode
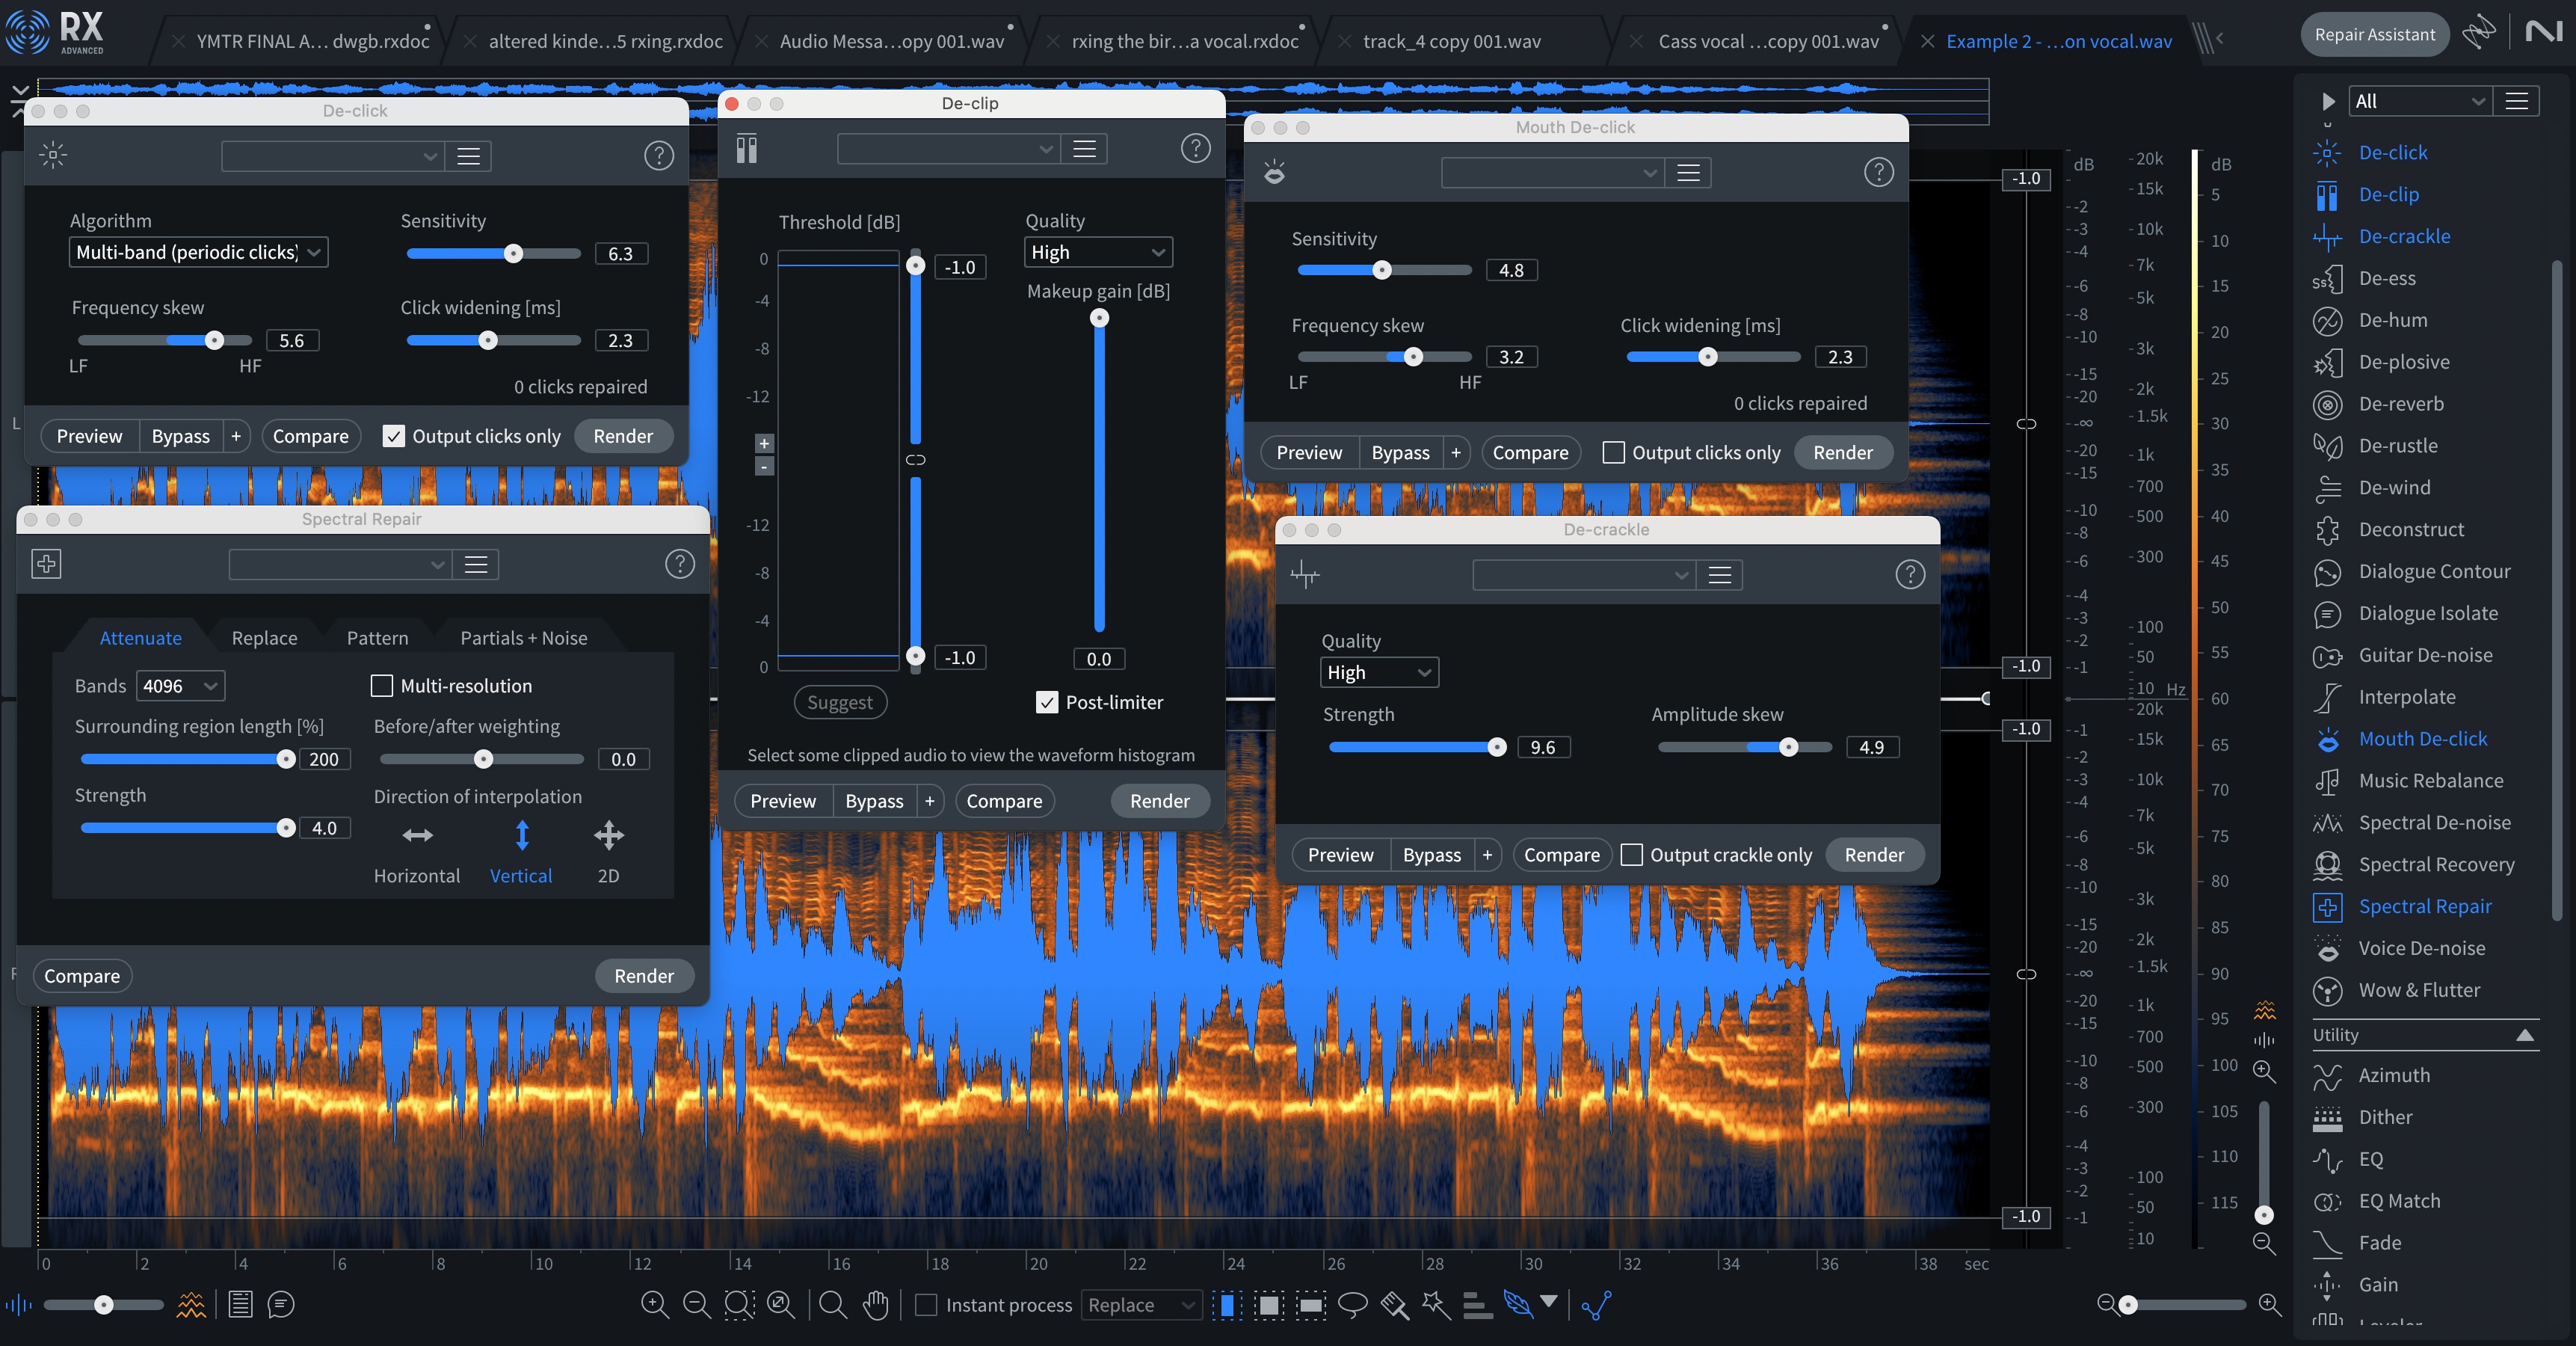
If you want manual control, the Mouth De-click module is your best friend. Dial in the sensitivity, preview in real-time, and you’ll hear the singer’s humanity preserved – minus the distractions.
Breath Control can be similarly helpful for getting wayward breaths out of performances.
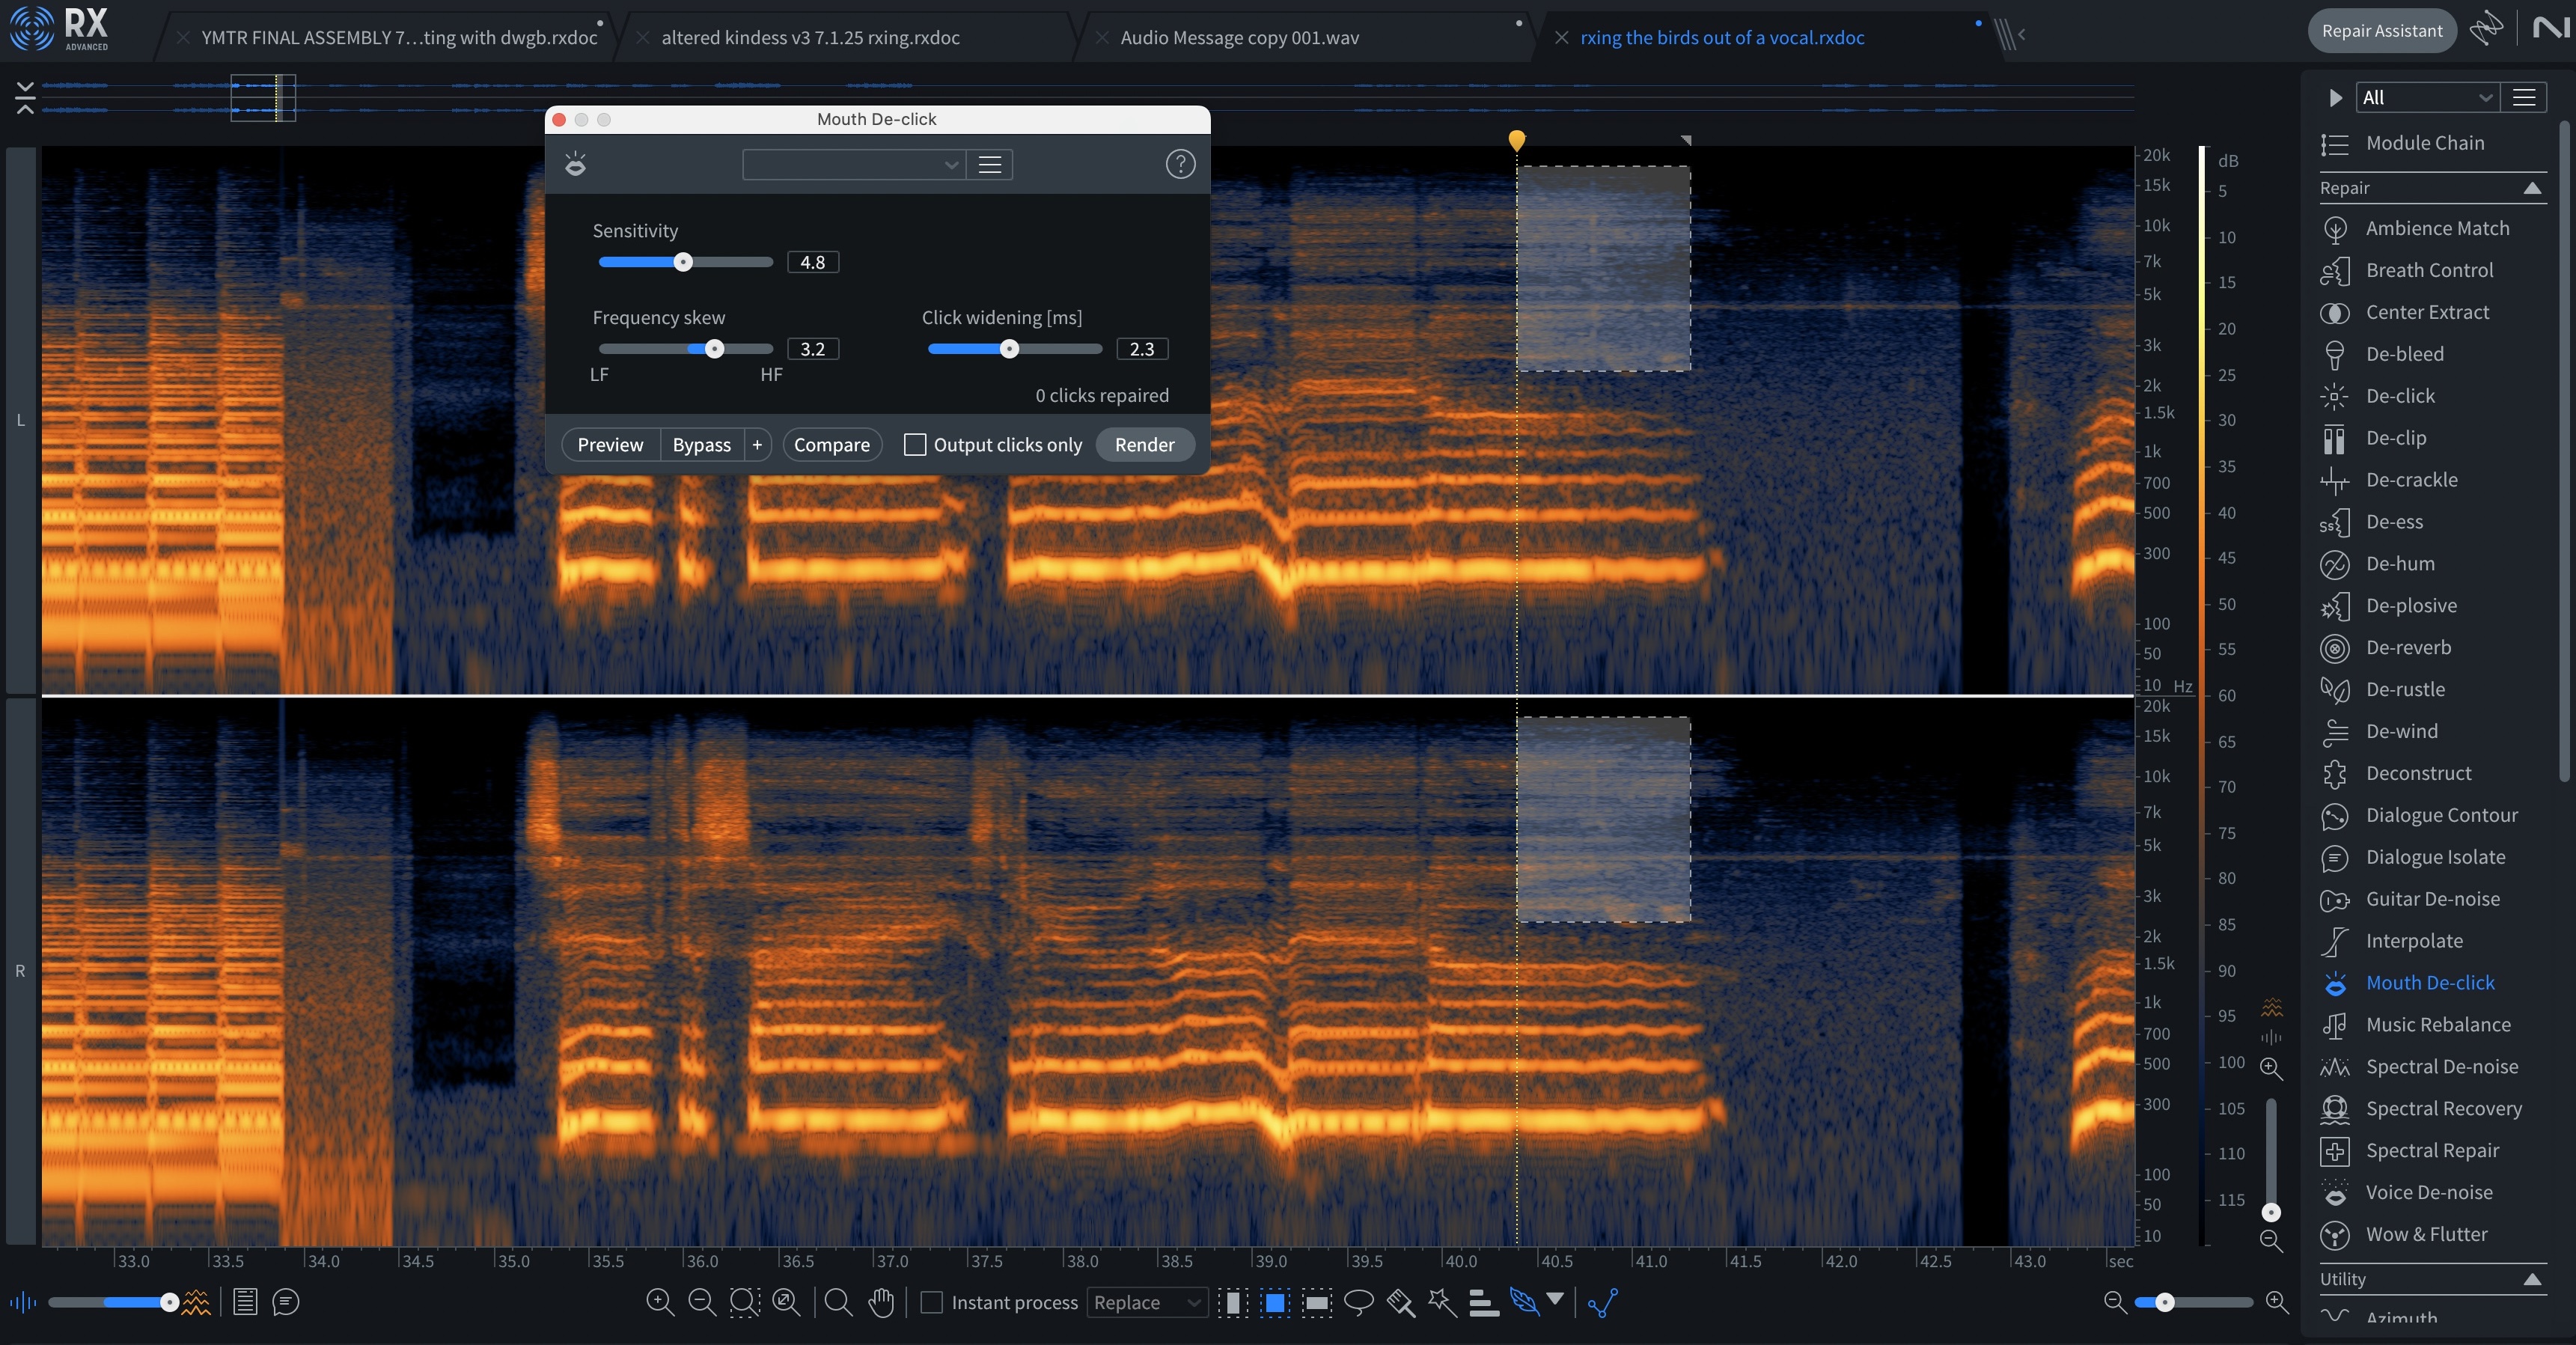
RX Mouth De-click module
Pro tip: if you’re working in a DAW like Pro Tools, Reaper, or Logic Pro X, you don’t have to use the plugins as an insert effect, or use RX as a standalone app. Instead, you can spot-process only the regions that have a problem.
In Pro Tools, you would use Mouth De-click as an Audiosuite processor. You’d select the region with the offending click, open up mouth De-click in the audiosuite menu, audition the results, and process them.
In Logic, you can do the same thing with Selection Based Processing. In Reaper, you can process a clip individually with item-based effects.
Most DAWs have ways of doing this so you don’t wind up over-processing the whole vocal.
2. Sample like a scientist
RX allows you to surgically change audio to suit your needs. Whether you’re a clean and responsible scientist, or a veritable Dr. Frankenstein, is entirely up to you.
The forensic scientist
Part of what makes sampling so fun is working within the limitations of an audio source. There might be a singer’s grunt in a drum loop, a trumpet squeal at the end of a four-bar piano sequence, or an out of tune note that we somehow have to make work in the context of our song.
Occasionally, these imperfections add to the overall character of our music, but there are many scenarios where they make production an exercise in frustration. Unusual noises in our sampled selections restrict our creative options, requiring sonic sacrifice: do you live with the noise? Replay the sample? What’s the right choice here?
Enter RX, which has a series of modules designed to remove these annoying sounds as transparently as possible. I often rely on De-click, Spectral De-noise, De-crackle and Spectral Repair for specialized issues.
The heroes of audio restoration in RX
These modules can help you get rid of anything that doesn’t need to be in a sample.
Pro tip: do not sleep on De-crackle. That module is a powerhouse, helping you take out anything from clicks to weird space-monkey artifacts to moments of unwanted distortion. It’s like De-clip, De-click, and Deconstruct's sophisticated cousins.
The mad scientist
Because RX also allows for frequency-specific processing, you can also do all sorts of weird things to a sample – or just use specific parts of the sample while isolating others.
I took the drum loop, processed it through De-click, but only output the click noise. Then, I ran it through a delay, an autofilter, and some modulated reverb. This is an example of how we can sample like a mad scientist.
3. Rescue a great take from background noise
Sometimes the perfect vocal or acoustic performance happens next to an open window – or in the case of one of my favorite collaborators, outside in the forest.
I’m producing a record with the Baltimore artist Jon Birkholz. His indie band, Adjective Animal, is a local favorite and the recipient of much praise from outlines like Spin Magazine. On this project, Jon is making all the songs on a Teenage Engineering OP-1, and my job is to turn the inherent problems of this device into “vibe.” We chronicle the project week by week in our podcast “Nick and Jon Make A Song,” available here.
Enough shameless self promo – let’s get to the point: Jon is recording his vocals with less-than-stellar ADCs outdoors in this location.

Jon's outdoor studio
He likes recording there. And the crickets like living there.
I’m probably not going to de-noise these crickets on the actual record. They are vibey AF, as the kids say (no cap, fr, on gods).
But, for the sake of this article, let’s say I wanted to tamp them down.
RX gives me many options to prepare this vocal for something like success. First, I can attenuate all the bird noise clustered between 4 and 5 kHz using the Spectral Repair module in a frequency selective mode.
Now, I have three options for de-noising. I can use the Spectral De-noise, Voice De-noise, or the Dialogue Isolate module.
To my ears, Spectral De-noise sounds best. Look at the settings I’ve prepped it with.
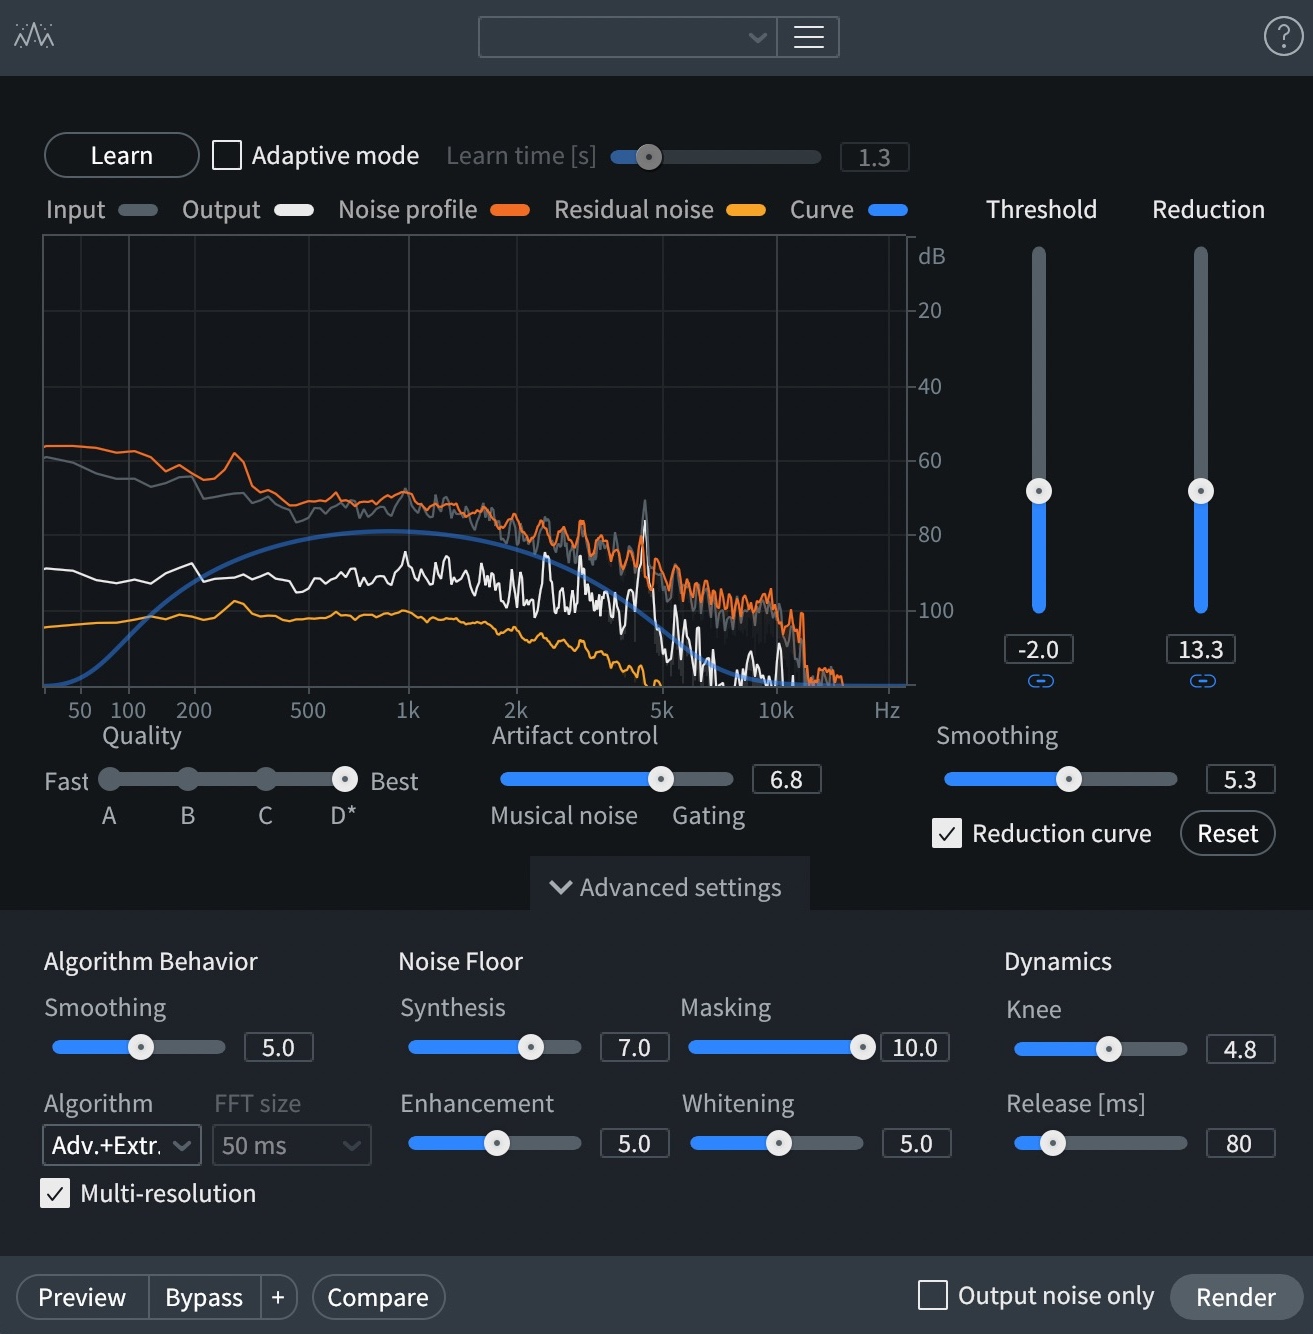
Spectral De-noise settings
First, I captured a profile with the learn button, then I tuned the algorithm to heavily process everything under 100 Hz and everything above 5 kHz, with only moderate de-noising for the stuff in between. This gives me a targeted approach.
Next I take out the breath with Breath Control, as it now sounds garbled.
Now the vocal is ready to be imported into a session, where I can process it in traditional ways.
Here’s the before and after.
Perfect? No. Still have a lot of those annoying ADC artifacts.
But for a Bon Iver style lo-fi record, it will do.
4. Fix clipping from overcooked takes
Gain staging mistakes happen. Maybe an excited singer leaned in too close to the mic. Maybe the bassist slammed the DI harder than you thought possible. Clipped transients don’t have to be session-ending disasters.
The RX De-clip module rebuilds flattened waveforms with uncanny accuracy. Highlight the clipped region, adjust the threshold until the waveform rounds back to normal, and you’re back in business – no need to ask for a re-take.
5. Separate stems with Music Rebalance
No stems? No problem. Maybe you’re remixing an old demo, or the band lost the drum tracks to a fried hard drive. RX’s Music Rebalance has always been a sleeper hit for producers, but RX levels it up with better separation quality and fewer artifacts.
You can isolate vocals, bass, percussion, and other instruments with surprising precision. Bounce a cleaned vocal stem, cut a new beat underneath – whatever you need, within reason (and within the boundaries of copyright law).
6. Match the tone for clean vocal edits
Ever had to deliver a clean version of a single for radio or streaming? Maybe the artist re-records a line to remove profanity, but the replacement phrase never sounds exactly like the original. Different mic position, different day, different energy – it all leads to a different sound.
In this instance, EQ Match in RX is your secret fix.
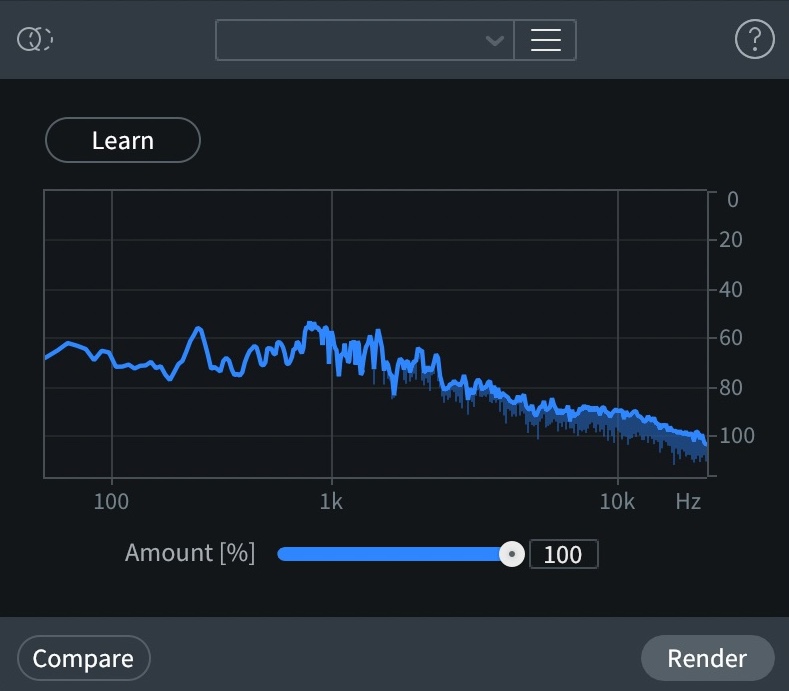
EQ Match module in RX
Load your filthy, cuss-laden vocal track into RX, open this module, and hit learn. Then, load your pristine, saintly, and clean vocal into RX and select the phrase you want. Now, hit render. This will help smooth over subtle differences in mic tone, room sound, or even the singer’s position. It’s an easy way to get seamless edits that no listener will notice.
Bonus tip: Handle mismatched sample rates smoothly
Here’s a scenario that happens more than you’d think: you’re mixing and mastering an album and the tracks show up in three different sample rates. One’s at 96 kHz, two are at 44.1 kHz, the rest are at 48 kHz.
In the end, they all need to play at 44.1 kHz for streaming, and you also need to deliver 48 kHz for video.
The RX Resample module is the tool you want to use for this.

RX Resample module
It’s precise, transparent, and designed to convert files up or down with minimal artifacts – which is critical when you’ve put all the time into getting a record sounding cohesive.
On a recent record I mixed and mastered for Micah E. Wood, I found myself in this exact situation. Several tunes came in at 48 kHz. Others came in at 44 kHz. One, for some strange reason, was recorded at 96 kHz.
Rather than sample-reduce at the beginning, I mixed each track at its native rate. Once it came time for mastering, I printed an unlimited version at the native sample rate, and resampled to 44 kHz where necessary. Now, I could safely do the final EQ and limiting for the 44.1 kHz CD/streaming master.
RX: the prescription for great sounding music
RX might be famous for post work, but these kinds of everyday music tasks – cleaning up vocals, matching takes, pulling out stems, or delivering the right formats – show where it really earns its place in your studio.
Keep it close. Use it often. And enjoy spending less time fighting problems, and more time finishing great records.