Optimal Mastering for SoundCloud (and Compressed Audio Formats)
Learn audio mastering techniques to help your songs translate better on SoundCloud, and anywhere else lossy codecs are used.
While some streaming services like Amazon Music HD, Apple Music, and Tidal are now offering lossless audio, many others like Spotify and SoundCloud still use lossy audio compression techniques to deliver music. Of those, SoundCloud has always been unique in how easy it makes instant uploads for creators.
Perhaps it’s due to that very ease that questions like, “Why does my music sound different on SoundCloud?” or “What can I do to make my music sound better on SoundCloud?” seem to come up more often than they do for other streaming services.
Despite SoundCloud introducing a new “mastering” feature to optimize streaming playback, knowing what actually happens to your audio during streaming and mastering is key to understanding how to produce a track with the highest possible sound quality for streaming. So let’s take a look at why those sonic changes occur, and what we can do to minimize them.
In this piece you’ll learn:
- How to optimize your songs for streaming on SoundCloud and other compressed audio formats
- What you can and can’t control in the process
The bottom line
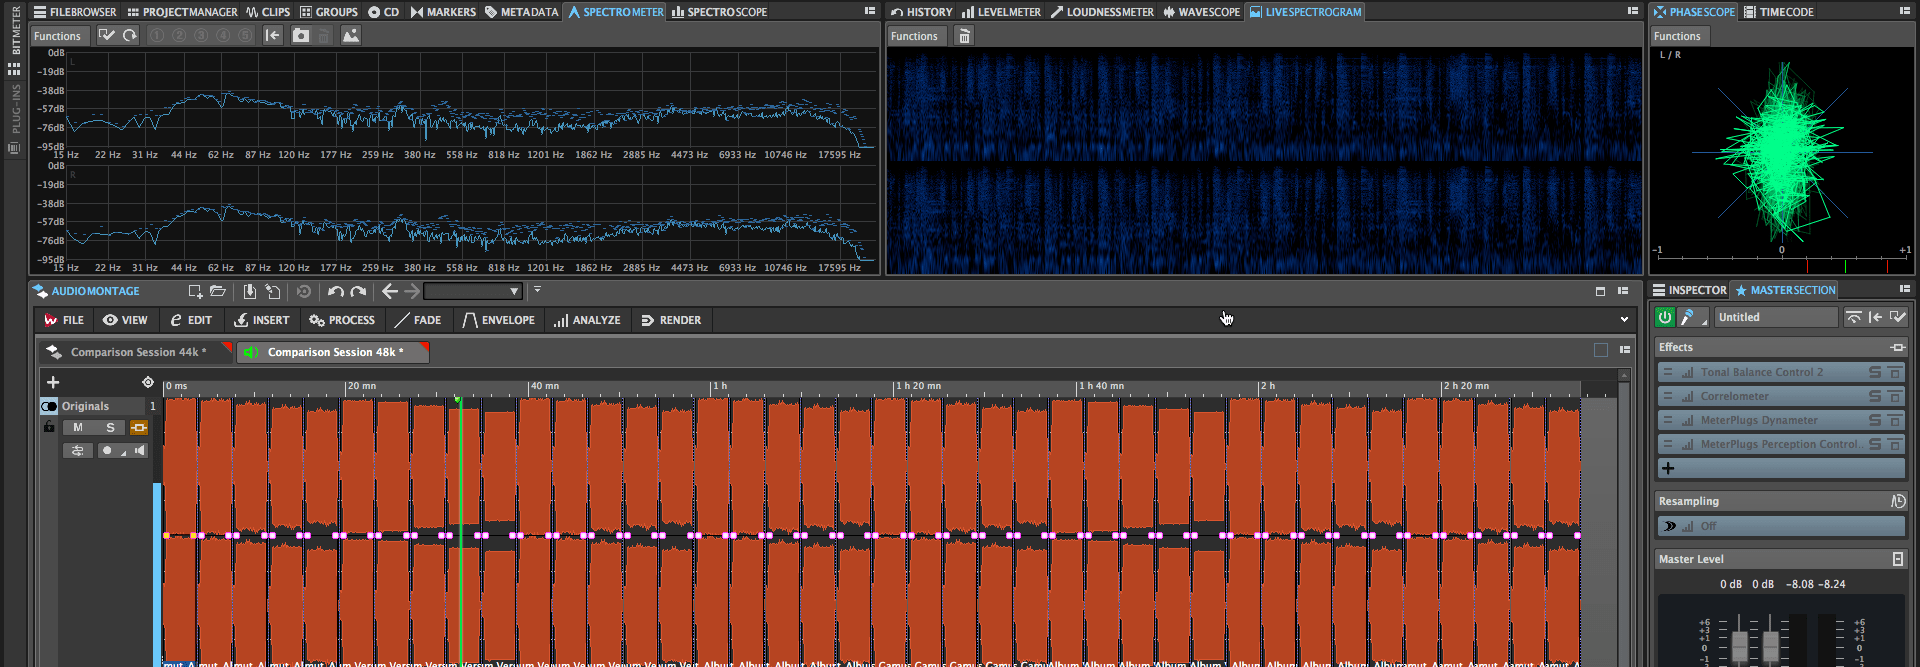
To get to the bottom of this, I prepared 40 masters of a single song—20 at 44.1 kHz and 20 at 48 kHz—and uploaded them all to SoundCloud. For each sample rate, I methodically varied the parameters of peak level, crest factor, frequency-specific width, and total width. I then played them all back off SoundCloud, recording the output bitstream pre-conversion—again at 44.1 kHz and 48 kHz—for analysis and comparison against the originals. This yielded a whopping 80 versions of the song!
- 20 uploaded and recorded at 44.1 kHz
- 20 uploaded at 48 kHz and recorded at 44.1 kHz
- 20 uploaded at 44.1 kHz and recorded at 48 kHz
- 20 uploaded and recorded at 48 kHz

Testing 40 versions of a song
After level matching them all for a fair comparison, I got to work listening and measuring to determine which factors played the biggest role in preserving—or degrading—sound quality during format conversion and streaming playback. At the end of the day the parameter which made the biggest impact was: width! Not only that, but all the other variables had little to no impact (caveats ahead).
To understand why this is, how you can potentially take advantage of it, and why you might not want to worry about it at all, read on!
Manipulating width for a “better” encode
I should qualify what I mean by “better.” Really, what we’re talking about is an encode which is perceptually closer to the source. However, the steps we’re taking to get there involve making some sacrifices to the source. So while the encode and the source may sound more alike, the cumulative difference between the encode, the source, and what you were originally trying to achieve may still be fairly noticeable.
That qualifier aside, here are a few things you can do to minimize the differences between the source and the encode:
Narrow the high-end
Using a tool like the Imager in


Ozone 12 Advanced
Narrow mid and low frequencies
If you want, and your master can handle it, try narrowing the mid and low bands as well. Try setting the mid band to about 1–8 kHz, and the low band below 1 kHz. You could even split this into two ranges: 400–1000 Hz and below 400 Hz. You’ll likely want to leave the mid—and low-mid if you’re using it—bands fairly close to their original width, however, you may be able to get away with narrowing lower frequencies a bit more. Any little bit helps.
Use a mono master
This is absolutely an extreme solution, but if you can justify it, a mono source will give you the “best” encode—again, meaning perceptually closest to the source, albeit now in mono. This is because you’re essentially asking the encoder to do half as much work by encoding a single channel. In turn, this means the encoder can allocate it’s entire bandwidth to that one channel, rather than having to divide it between two channels.
The reasons width plays such a critical role in encoder performance are hugely complex, but can be summarized as follows: most lossy encoders like AAC, MP3, and Opus utilize a technique known as joint stereo encoding. This means that rather than encoding both left and right channels independently, they employ multiple techniques such as mid/side and intensity-stereo coding to optimize bandwidth allocation to where it will be most noticeable—often the center of the stereo image.
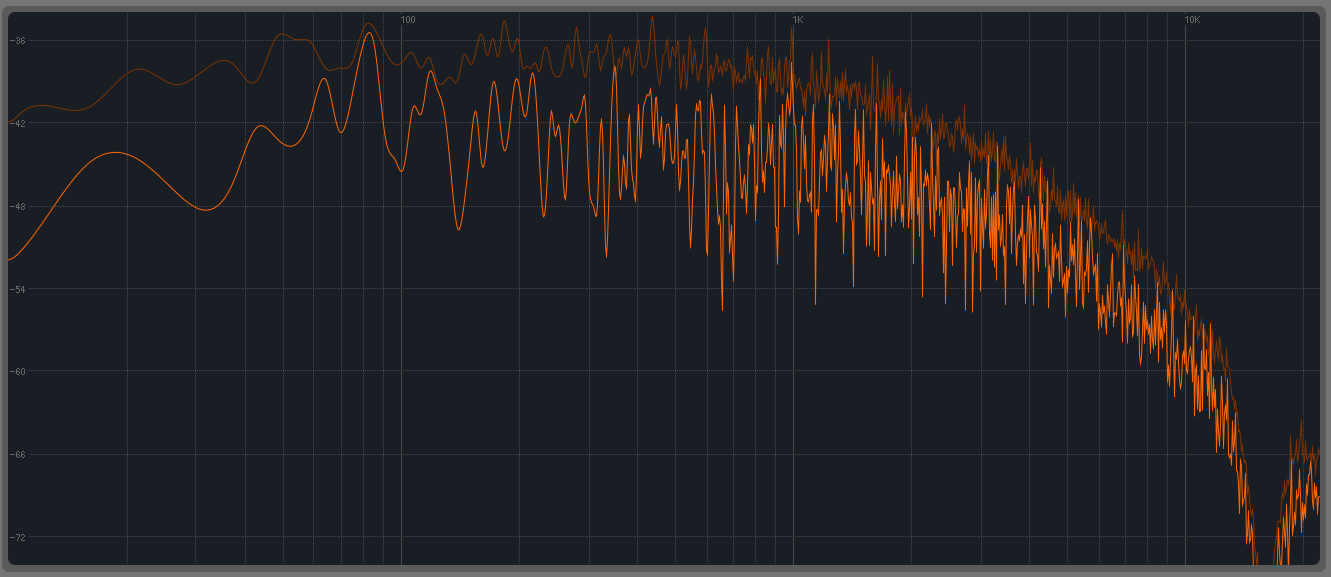
The end result is that ultra-wide stereo signals often suffer from quality degradation more noticeably than do narrower ones. Additionally, high frequencies require more bandwidth to encode. Thus, by reducing the width of high frequencies, not only do you free up some bandwidth for the encoder, allowing it to allocate its bits more efficiently, but you also prevent some of the more noticeable, warbly, washy distortion from showing up in the encode.
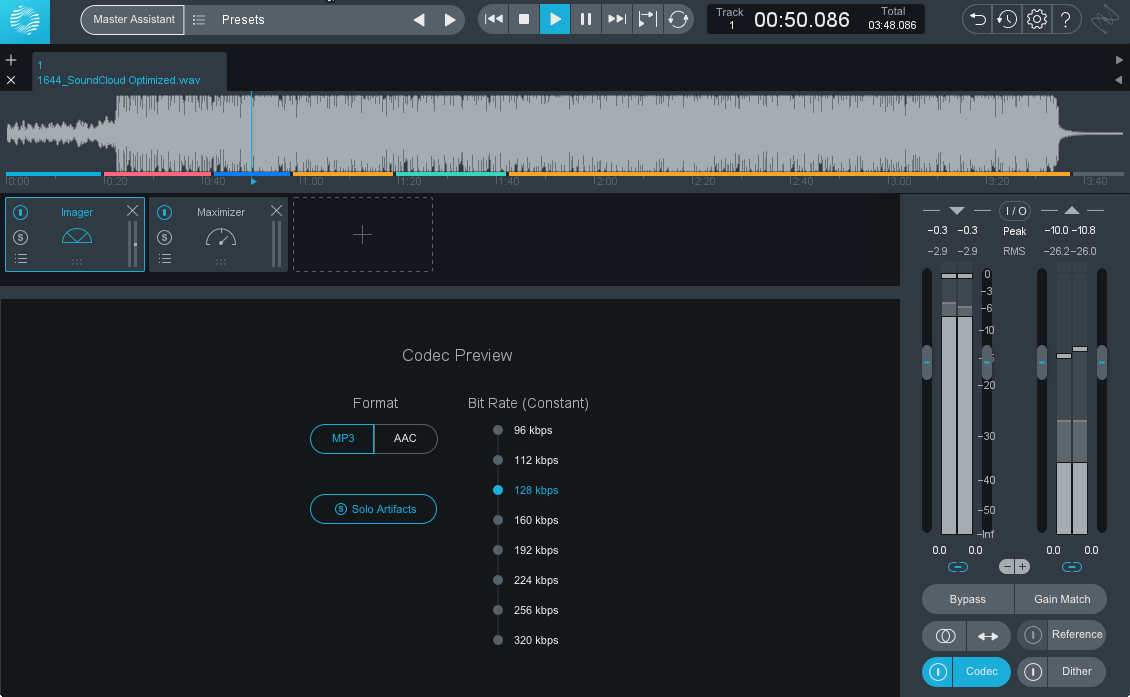
A great way to experiment with the effects of these changes in real-time is by using the Codec Preview in Ozone 9 Advanced. Try using MP3 at 128 kbps or AAC at 256 kbps—two of the common codecs used by SoundCloud depending on the playback platform and subscription level—and tweaking Imager parameters. You can even use the “Solo Artifacts” function to hear how changes in width affect the underlying distortion added by the codec.

Codec Preview in Ozone 9
All the other bits
I would be remiss if I didn’t address things like peak level, crest-factor, and file format for upload, so let’s talk about those at least a little.
In all my recent tests, peak level did not have a noticeable impact on encoder performance—at least not directly. By this, I mean that so long as there wasn’t any clipping, the encoder performance between versions with different amounts of peak headroom was identical.
However, because lower bitrates—such as those often used by SoundCloud—can cause peak level overshoot of a decibel or more, it’s good practice to set the ceiling of your limiter to -1 or -1.5 dB and use a True Peak limiter such as the Ozone Maximizer. This helps prevent clipping on playback, especially through cheaper consumer devices.
The story with crest factor is largely the same. While it doesn’t have a direct, dramatic impact on encoder performance, a lower crest factor will often result in higher peak level overshoot—something which ultimately often results in DAC clipping and distortion. This has the slightly ironic consequence of requiring additional peak headroom—or a lower limiter ceiling—the higher you push your average level, something which can quickly turn into a losing battle.
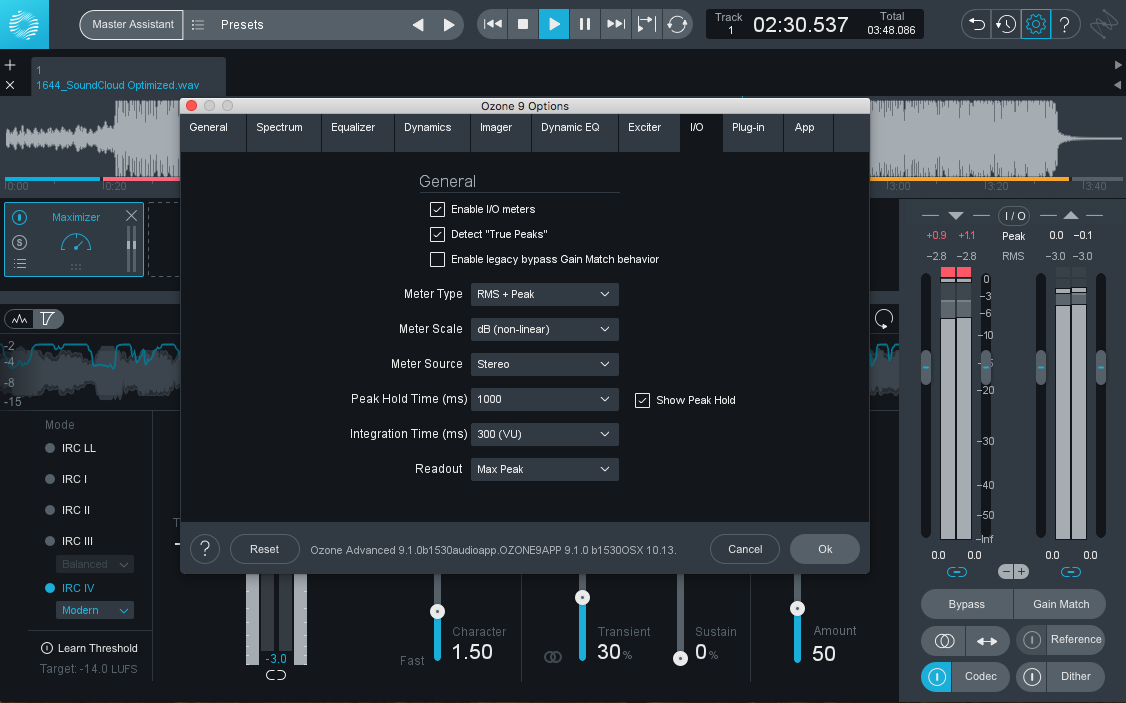
This is another area where Codec Preview in


Ozone 11 Advanced

Checking post-encode peak headroom in Ozone 9
As for upload format, the official recommendation from SoundCloud is a 16-bit, 48 kHz WAV file. This reason for this is that of the several codecs used, the majority of them are set to take in a 48 kHz file, so this minimizes the amount of sample rate conversion that will take place.
That said, sample rate conversion has become extremely transparent, and in my tests neither the upload nor playback sample rates had an appreciable effect on encoder performance or playback quality.
The one caveat here is that if you enable downloads on SoundCloud, the file you upload is the one your fans get when they download. Thus, if you want them to receive a 320kbps MP3, that’s what you’ll need to upload. However, this results in transcoding from one lossy format to another, which never sounds particularly good.
In short, if you want the best streaming quality possible, upload a 16-bit WAV at 44.1 or 48 kHz. If, on the other hand, you want to enable downloads, upload the file you want your fans to receive, but know that if it’s a lossy file, streaming quality will suffer. Since these days downloading a local copy is probably not as common as it once was, this may be a moot point.
Conclusion
To wrap up I want to consider a few reasons why perhaps you shouldn’t worry too much about all the factors we’ve just discussed.
First and foremost, SoundCloud may well update the codecs they use in the future just as they have in the past. When that happens they will re-encode all uploaded music to take advantage of the new codec(s). It’s for this very reason that they themselves urge creators not to try to optimize files too much for a specific codec.
Second, while you can control the width, sample rate, etc. of the file you upload, you can’t control how your fans will listen to it. Of course, this is true of the vast majority of playback mediums. It bears repeating here though because even on SoundCloud alone, the playback experience can vary depending on subscription level and playback device. Consider carefully whether it’s worth sacrificing some of the width and spaciousness of your track just for the lowest common denominator.
Hopefully, this has armed you not only with some of the tools to improve encoder performance when uploading to SoundCloud but also the wisdom to know when, when not, and how strongly to wield them. Good luck, and happy mastering!

