What Is Audio Normalization?
Audio normalization is the process of measuring an aspect of an audio file and adjusting it so that it matches a predefined target. Learn why audio normalization is used and how to normalize your audio for different playback scenarios.
These days you hear about audio normalization all over the place. Terms like “peak normalized” and “loudness normalized” regularly come up, especially amongst mastering engineers, but what is it? What does audio normalization actually do?
In fact, it’s really quite simple, perhaps deceptively so. However, understanding how, why, and when it happens is important. In this article, we’ll walk through what audio normalization is, how it works in practice, and why it’s important in modern music production workflows. By the end, you’ll be a normalization pro, so let’s get into it!
Follow along with this article using iZotope


RX 11 Advanced
What is audio normalization?
In the simplest sense, audio normalization is the process of measuring some aspect of an audio file and adjusting it so that it matches a predefined target. In principle, the thing you're measuring and adjusting could be any arbitrary, measurable element of an audio file. In practice, it is almost always in the context of either peak or average level.
To make this a little more concrete, normalization is what allows you to make sure that the highest peak in your file is exactly -0.1 dBFS—or any other value you like—or that the integrated loudness is exactly -23 LUFS. There are plenty of other possibilities too, but those are two of the most common applications.
Is it good to normalize audio?
Yes and no—it all depends on the context. Some formats and platforms require that you deliver your audio at exact levels. In those situations, audio normalization is definitely your friend. However, it’s important to understand whether normalization is a requirement of the platform or a feature of it. For example, Netflix requires -27 LKFS ±2 LU, dialogue gated. Spotify, on the other hand, has a feature that normalizes songs to -14 LUFS on behalf of the end user.
In other words, sometimes you may need to normalize your audio before you deliver it, while other times you may want to normalize your audio to preview how it will sound in particular playback scenarios. However, in those latter cases, you would still want to deliver the full-level, un-normalized version.
Different types of audio normalization
As mentioned above, in principle, audio normalization could be applied to any aspect of an audio file that you can measure and adjust. Practically, though, normalization is almost always applied to either peak level or some type of loudness measurement.
For peak normalization, you can use either sample peak or true peak measurements. This type of normalization used to be very common for sample libraries, and is still frequently available in many audio workstations. The problem is that peak levels have very little bearing on how loud we perceive a sound as being. Enter loudness normalization.
Loudness normalization is effective—and useful—because it uses some form of loudness measurement to make disparate audio files have a similar perceived loudness. These days, integrated LUFS measurements are the most common, but you can also use RMS, maximum short-term or momentary loudness, or even something like the top of the LRA value. They can all be effective and subtly different.
How does audio normalization work?
The process to achieve audio normalization—whether peak or loudness based—is essentially a three-step process using little more than elementary school arithmetic.
- Scan the file to determine the value of the level you’re interested in. This could mean finding the maximum true peak level, the integrated loudness, etc.
- Subtract your measured value from your target value. For example, say your file measures an integrated loudness of -10 LUFS, and your target is -14 LUFS. You would subtract -10 from -14—remember, subtracting a negative value is like adding the corresponding positive value—to get -4. In other words, -14 + 10 = -4.
- Use the value you got from step 2 to apply gain to your file. In the example above, -4 dB. Now your -10 LUFS file is at -14 LUFS. Done!
It’s really that simple. Normalization is just subtracting your measured value from your target value and applying the result as gain!
There’s an important feature in there though that could be easy to overlook, so I want to be sure to point it out: normalization just applies a static gain change. That means that in and of itself, it’s not changing the sound of your master with any dynamic range compression. It’s simply an automatic gain control for the whole song.
How to normalize audio
The easiest way I know of to normalize audio is by using RX. In particular, the Normalize module allows you to apply peak normalization, while the Loudness Control module allows you to apply loudness normalization.
For example, say we have an audio file and we want to make sure its highest peak is up at -0.1 dBFS. We could use the Normalize module set up as shown below to achieve this.

RX Normalize module
Depending on where your file starts, that might look and sound a little something like this.
Audio Un-normalized vs. Peak Normalized to -0.1 dBFS

Of course these days you’re more likely to want to use loudness normalization, whether to prepare a delivery for Netflix or the like, or to preview what Spotify or other music streaming platforms will do to your music during playback.
What does audio normalization do?
Audio normalization simply adjusts the gain of an audio file so that some measurable feature—usually peak level or integrated loudness—matches a predetermined target level. The same amount of gain is applied to the whole file so that the dynamic range remains unchanged.
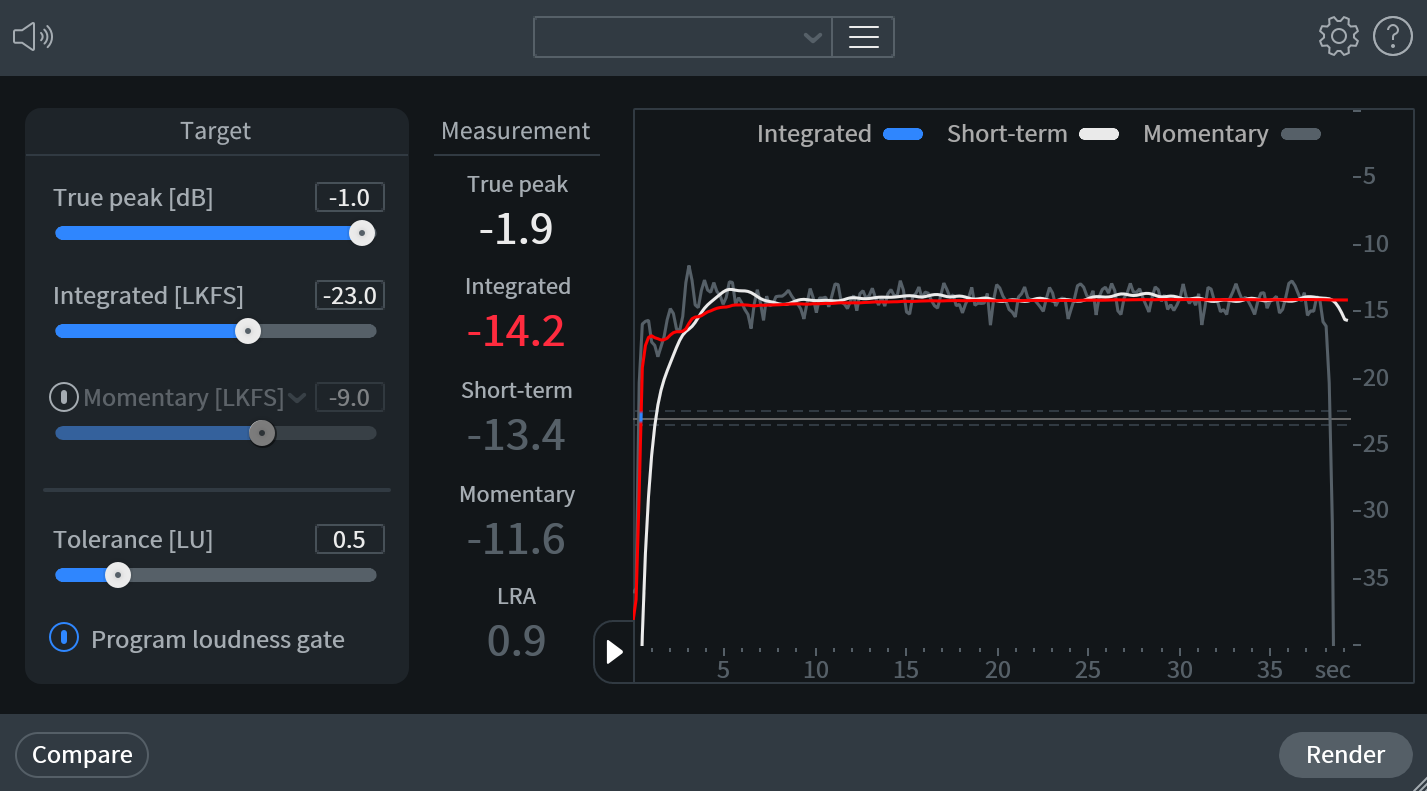
For loudness normalization you’ll want to use the Loudness Control module. As its name suggests, Loudness Control allows you to do more than just normalization, and it gives you some neat visualizations, too. For our purposes, though, we can just set the Integrated [LKFS] slider to our desired level and click Render.

RX Loudness Control module
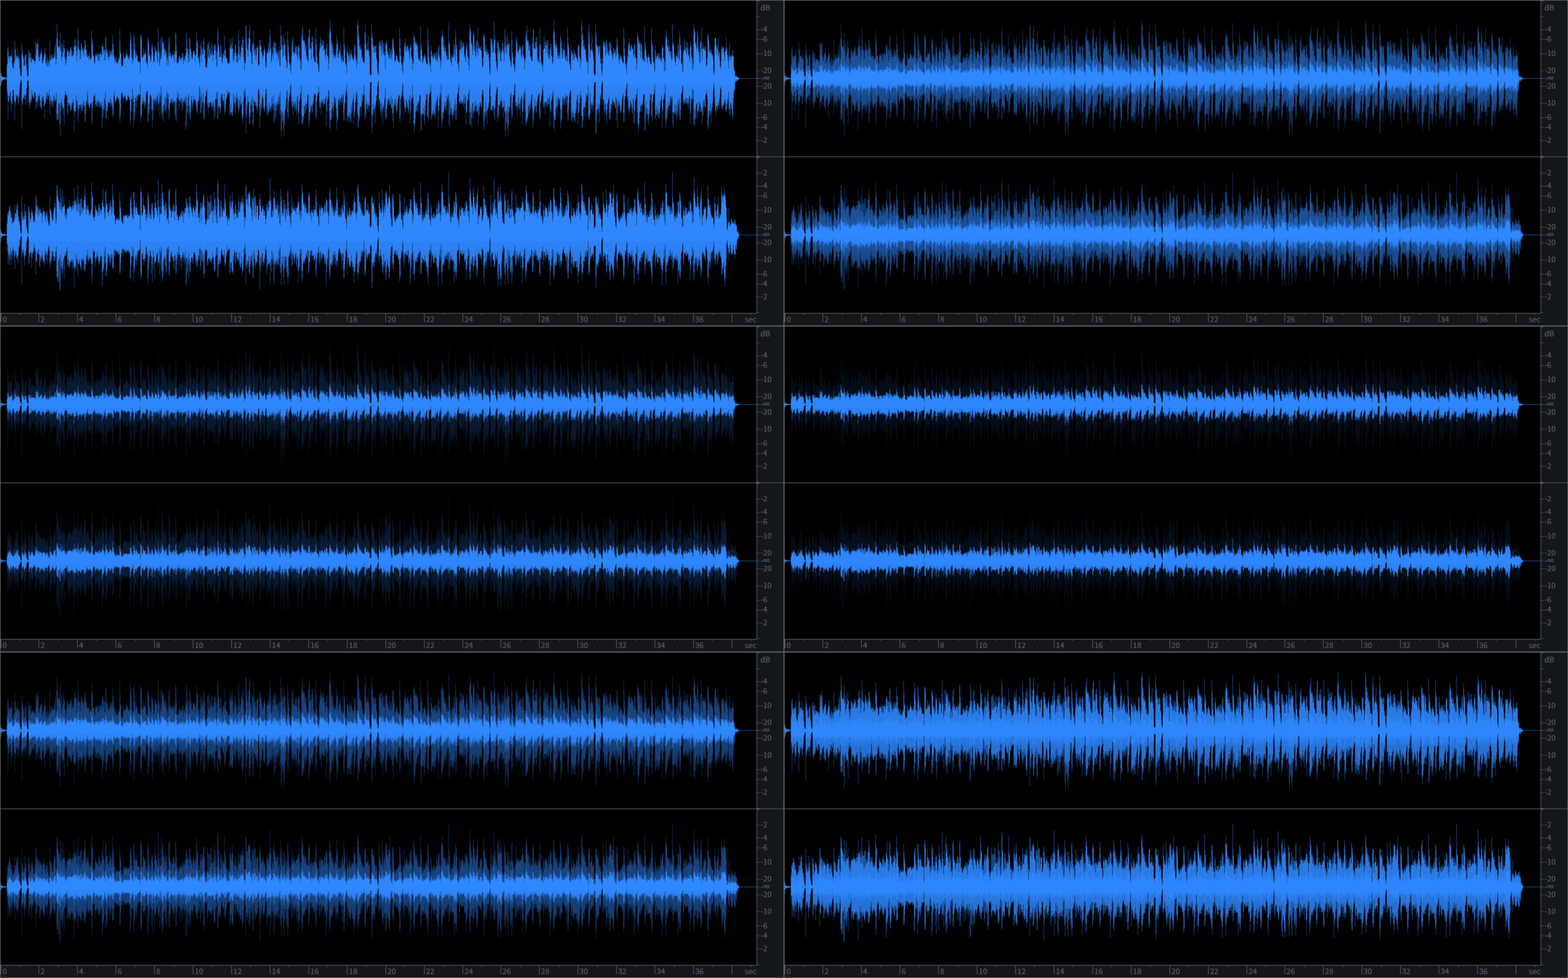
Again, that might sound and look a bit like this.
Audio Un-normalized vs. Normalized to -23 LKFS

Start using audio normalization
So that’s about all there is to it. Audio normalization is just an automated way of precisely adjusting a file’s overall gain, and is most frequently done to either match perceived loudness between different files, or to maximize the use of available headroom without altering the dynamics of the audio.
Outside of the world of audio postproduction for video, we really don’t need to worry about normalization too much, but it can be useful to preview what can happen on music streaming services. For those cases, just pop your audio into RX and bust out the Loudness Control module. Good luck, and happy normalizing!


