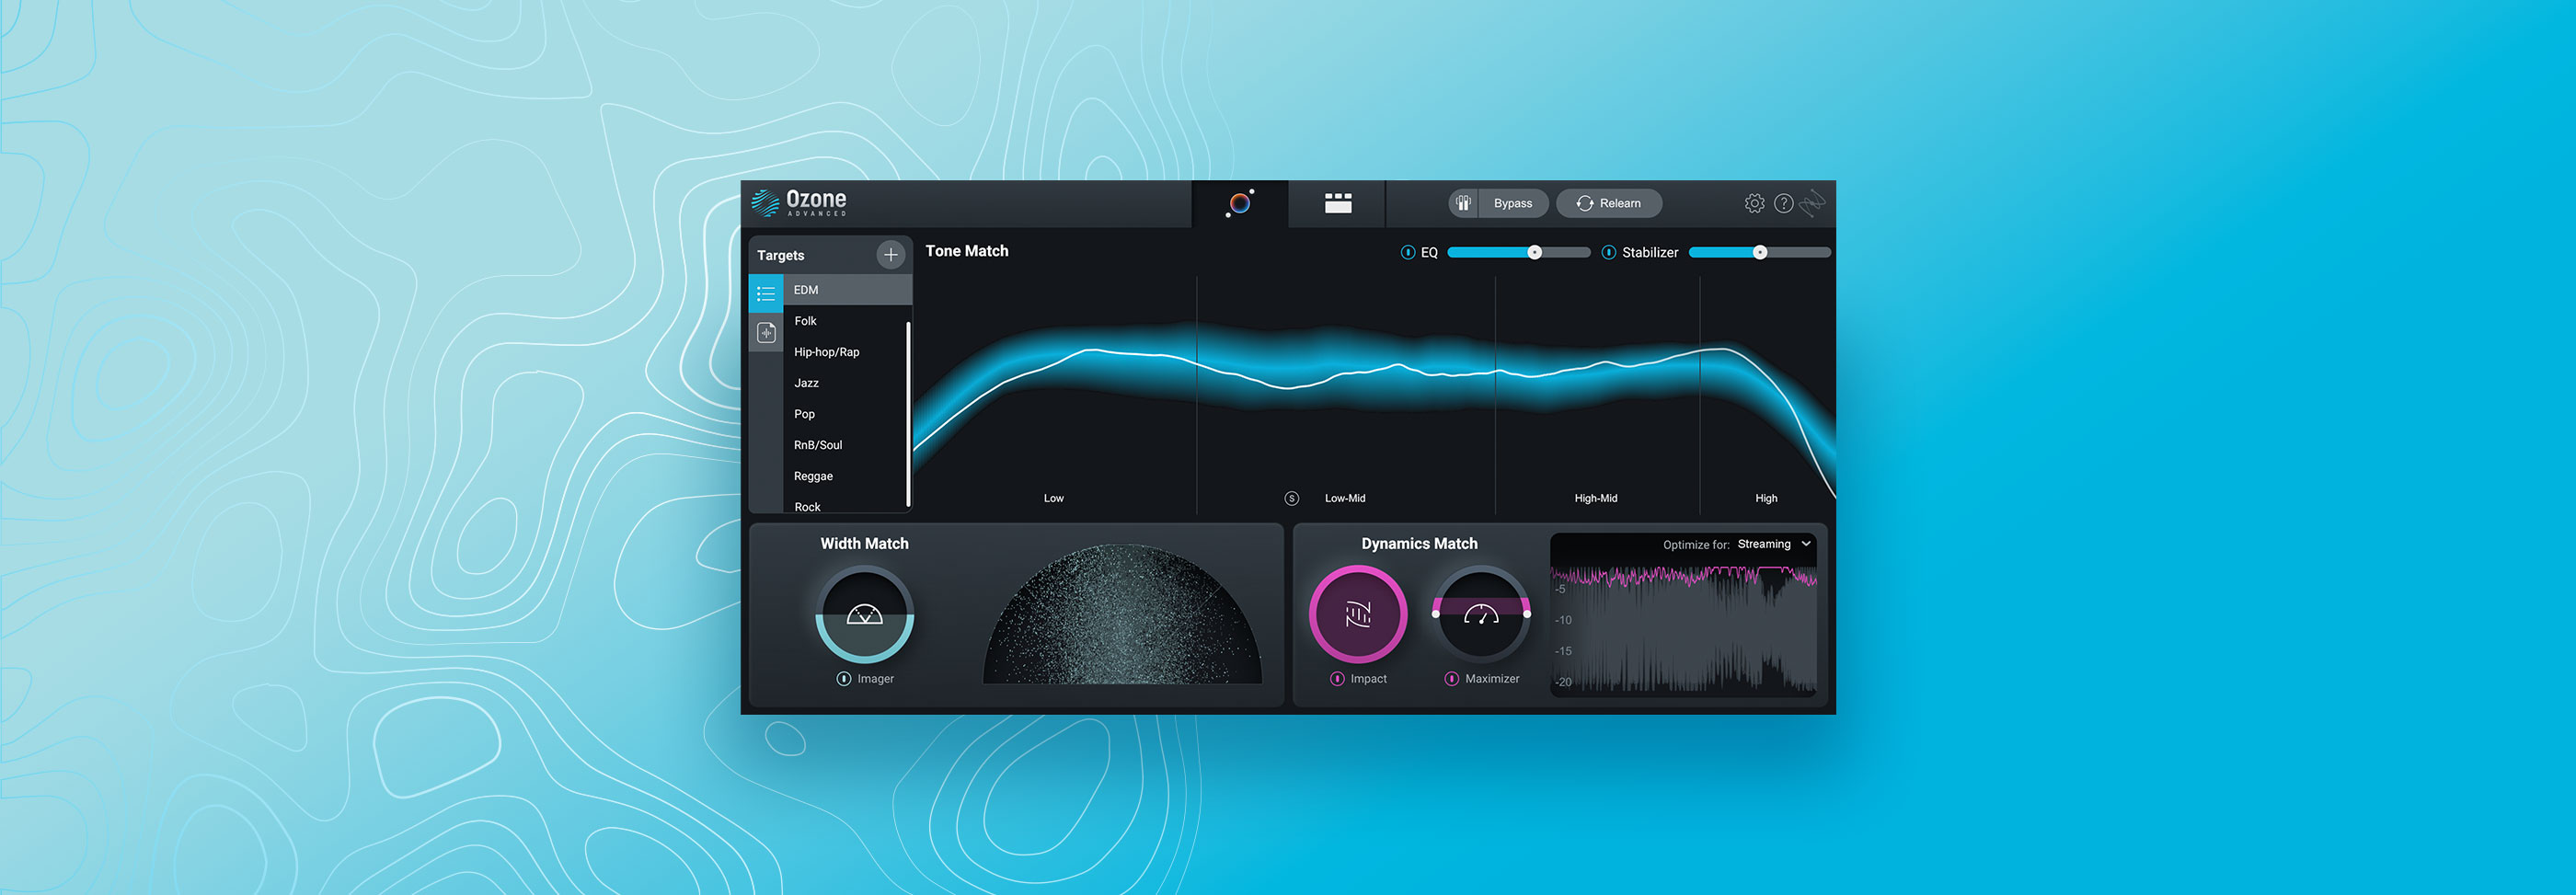
Mastering with Emerson "Em" Mancini (Lizzo, Kendrick Lamar) and Ozone
Learn how to master a song with Ozone from a professional GRAMMY-winning mastering engineer, Emerson “Em” Mancini at Larrabee Studios in Los Angeles.
When it comes to understanding mastering’s role in the production process, GRAMMY-winning engineer Emerson “Em” Mancini has a deceptively simple approach: “What is the song trying to say, how is it accomplishing that, and how can I use the sonics of the song to help that song achieve its goal?”
This philosophy certainly seems to have worked. Over his storied 14 year career at Larrabee Studios in Los Angeles, Em Mancini has mastered records for Lizzo, Portugal. The Man, Fitz and The Tantrums, Kendrick Lamar, Common, and more. Now watch him mix a song start to finish with the audio mastering tools in the new iZotope


Ozone 11 Advanced
Audio mastering is an essential part of music production. In this tutorial, you’ll learn how to use the EQ, Vintage Compressor, Impact module, Maximizer, and Exciter, and how to use reference tracks and presets in Ozone to achieve a professional-sounding master in record time.
Follow along with this tutorial using your copy of iZotope Ozone 10.
What is mastering?
For Em, “Mastering is just kind of the last step in the creative process and the first step in the sort of technical process of releasing a record.” It enhances the final mix and optimizes the overall project for a louder, cleaner sound that’s ready for distribution in streaming and physical formats.
As a mastering engineer, it’s important to come in with a fresh perspective and a fresh set of ears. Artists and producers have generally spent a huge amount of time working on these projects, and it’s helpful to have someone new to make critical decisions about how the record should sound.

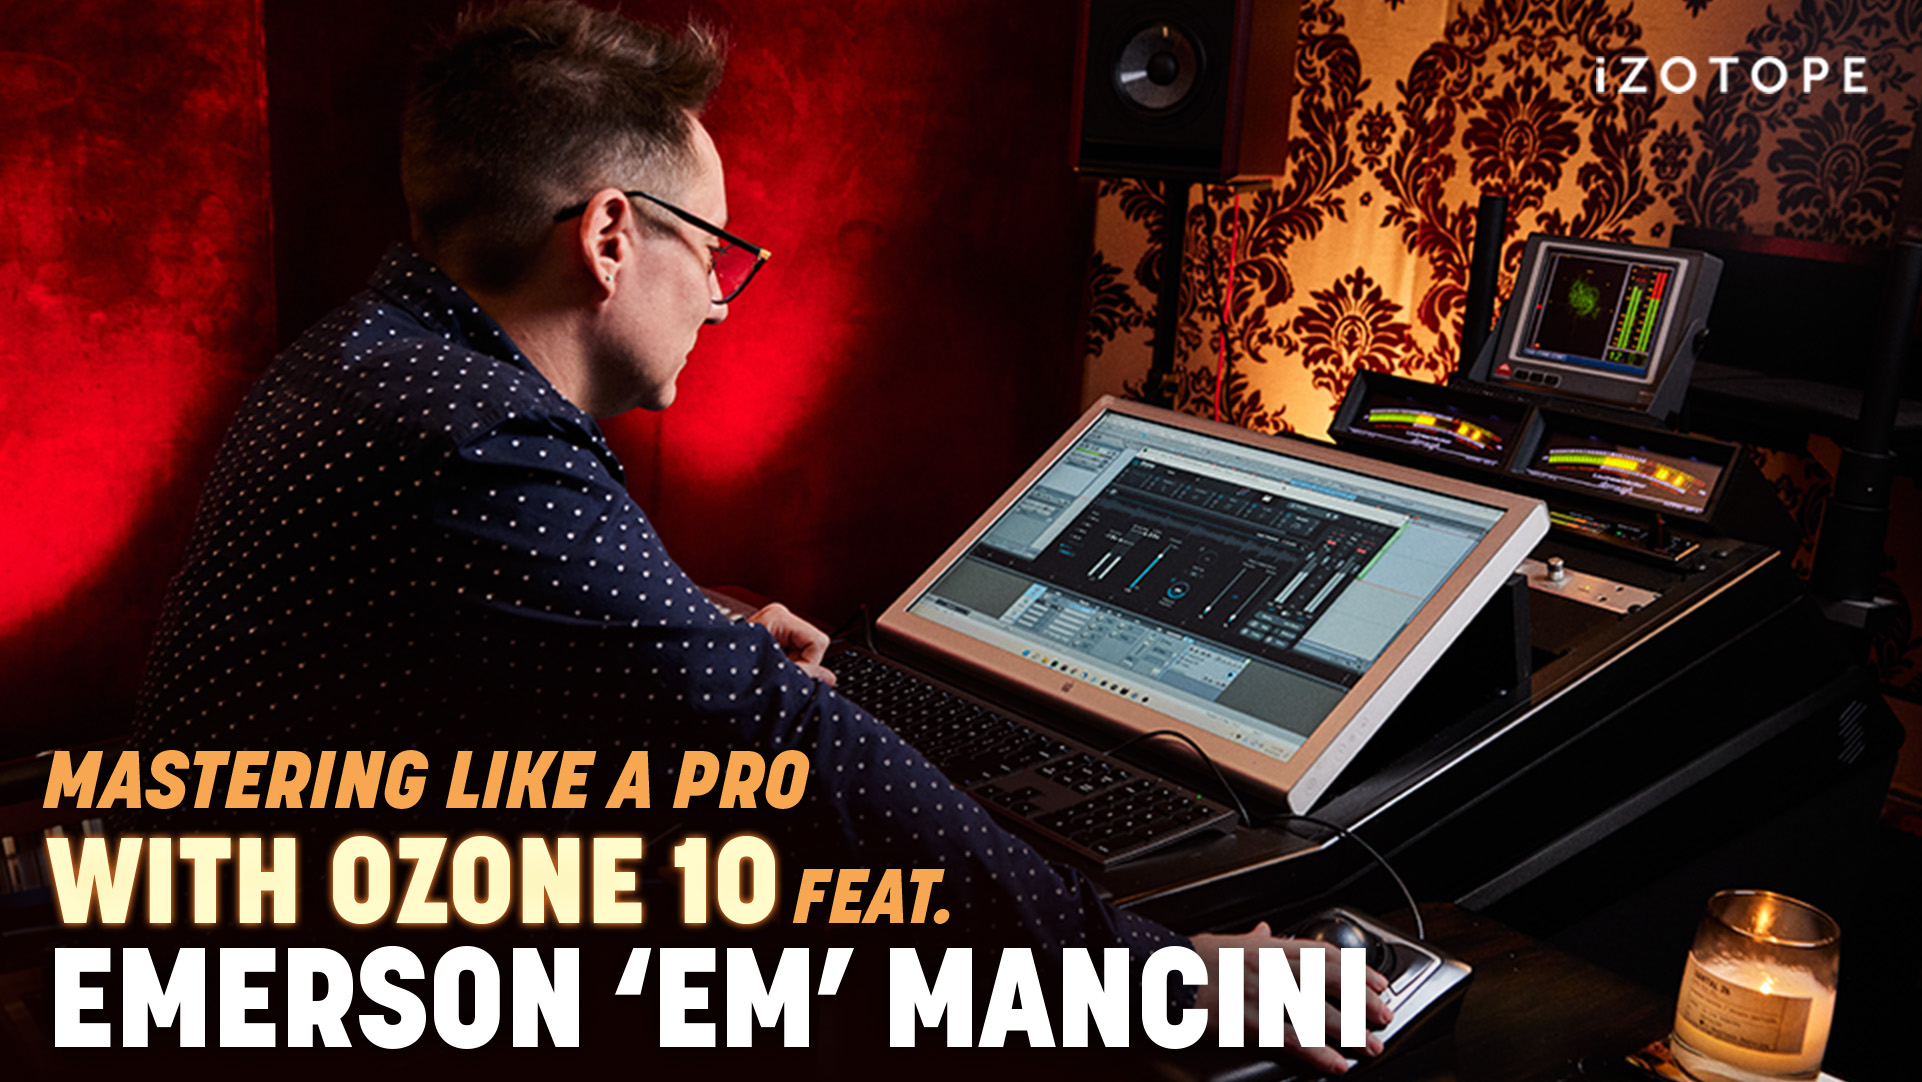
Emerson "Em" Mancini at Larrabee Studios in L.A.
Using Ozone 10 to achieve a professional sounding master
Purists will argue that analog mastering gear imparts a distinctive warmth, but for Em, “plug-ins have really gained that same level of nuance that analog boxes used to have, and Ozone has been kind of my centerpiece for a lot of stuff.”
His main arsenal is the Maximizer and the Exciter, but he’s also a fan of using multiband dynamics and mid/side EQ to fix issues with the bottom end and emphasize the lead vocal in the center. “I still think a song is a piece of art and I like to emphasize ‘what’s the most important thing?’ It’s gonna be in the center.”
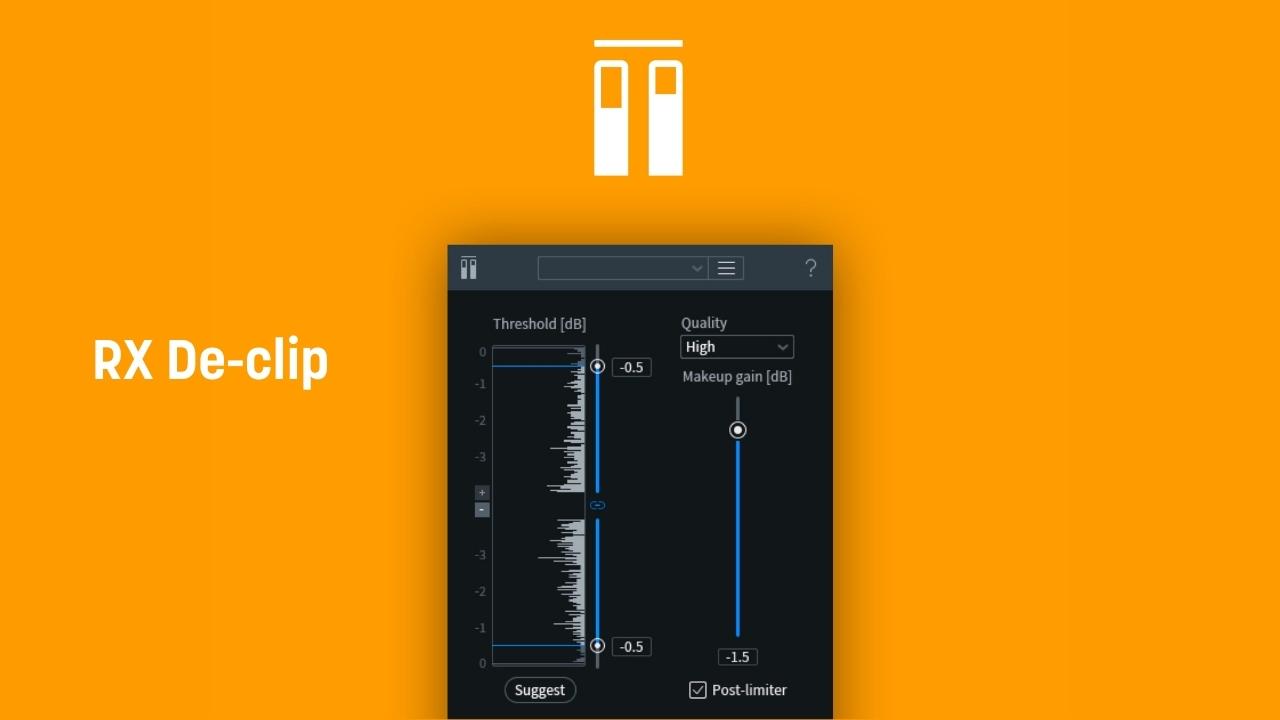
Quick tips: Using De-clip to clean up distortion
“There will be one mix that just doesn’t want to get as loud as everybody else, and I’ll have to push it and it’ll end up distorting. So what I’ll end up doing is I’ll start bringing the De-clipper from RX in to help save the day.” By putting the De-clip at the end of the signal chain, you’ll only be treating the parts that are distorting, and you can preserve all the other parts without them being affected by the De-clip or the Limiter.
Quick tips: Overarching vibe adjustments
When it comes to adjusting the overall ambience of a track, lean into the vintage modules, like the Vintage Limiter. “The vintage modules in Ozone have a vibe to them, and like a piece of vintage gear, you can run audio through it and it’ll give you a flavor.”
This is especially helpful from a sonic perspective when dealing with stylistically diverse albums like Kendrick Lamar’s Mr. Morale and the Big Steppers, which features a complex sonic collage of interludes, choir pieces, and spoken word segments. Having such a diverse collection of sounds necessitates a comprehensive effort to tie it all together.
“When I’m in a time crunch and I’ve gotta do something in an emergency, Ozone is basically the thing that I pull out.”. A simple vibe adjustment can smooth out those differences and help pull the whole thing together.
Understanding Em’s mastering workflow
After converting the files to 44.1 kHz—to match the same sample rate that’s being reproduced at the consumer level—Em turns to his time-tested Ozone toolkit: “After I set up my initial volume at the top of the chain, I’ll set my volume at the end of the chain, I’ll set my maximizer up, and then from there I’ll work back.”
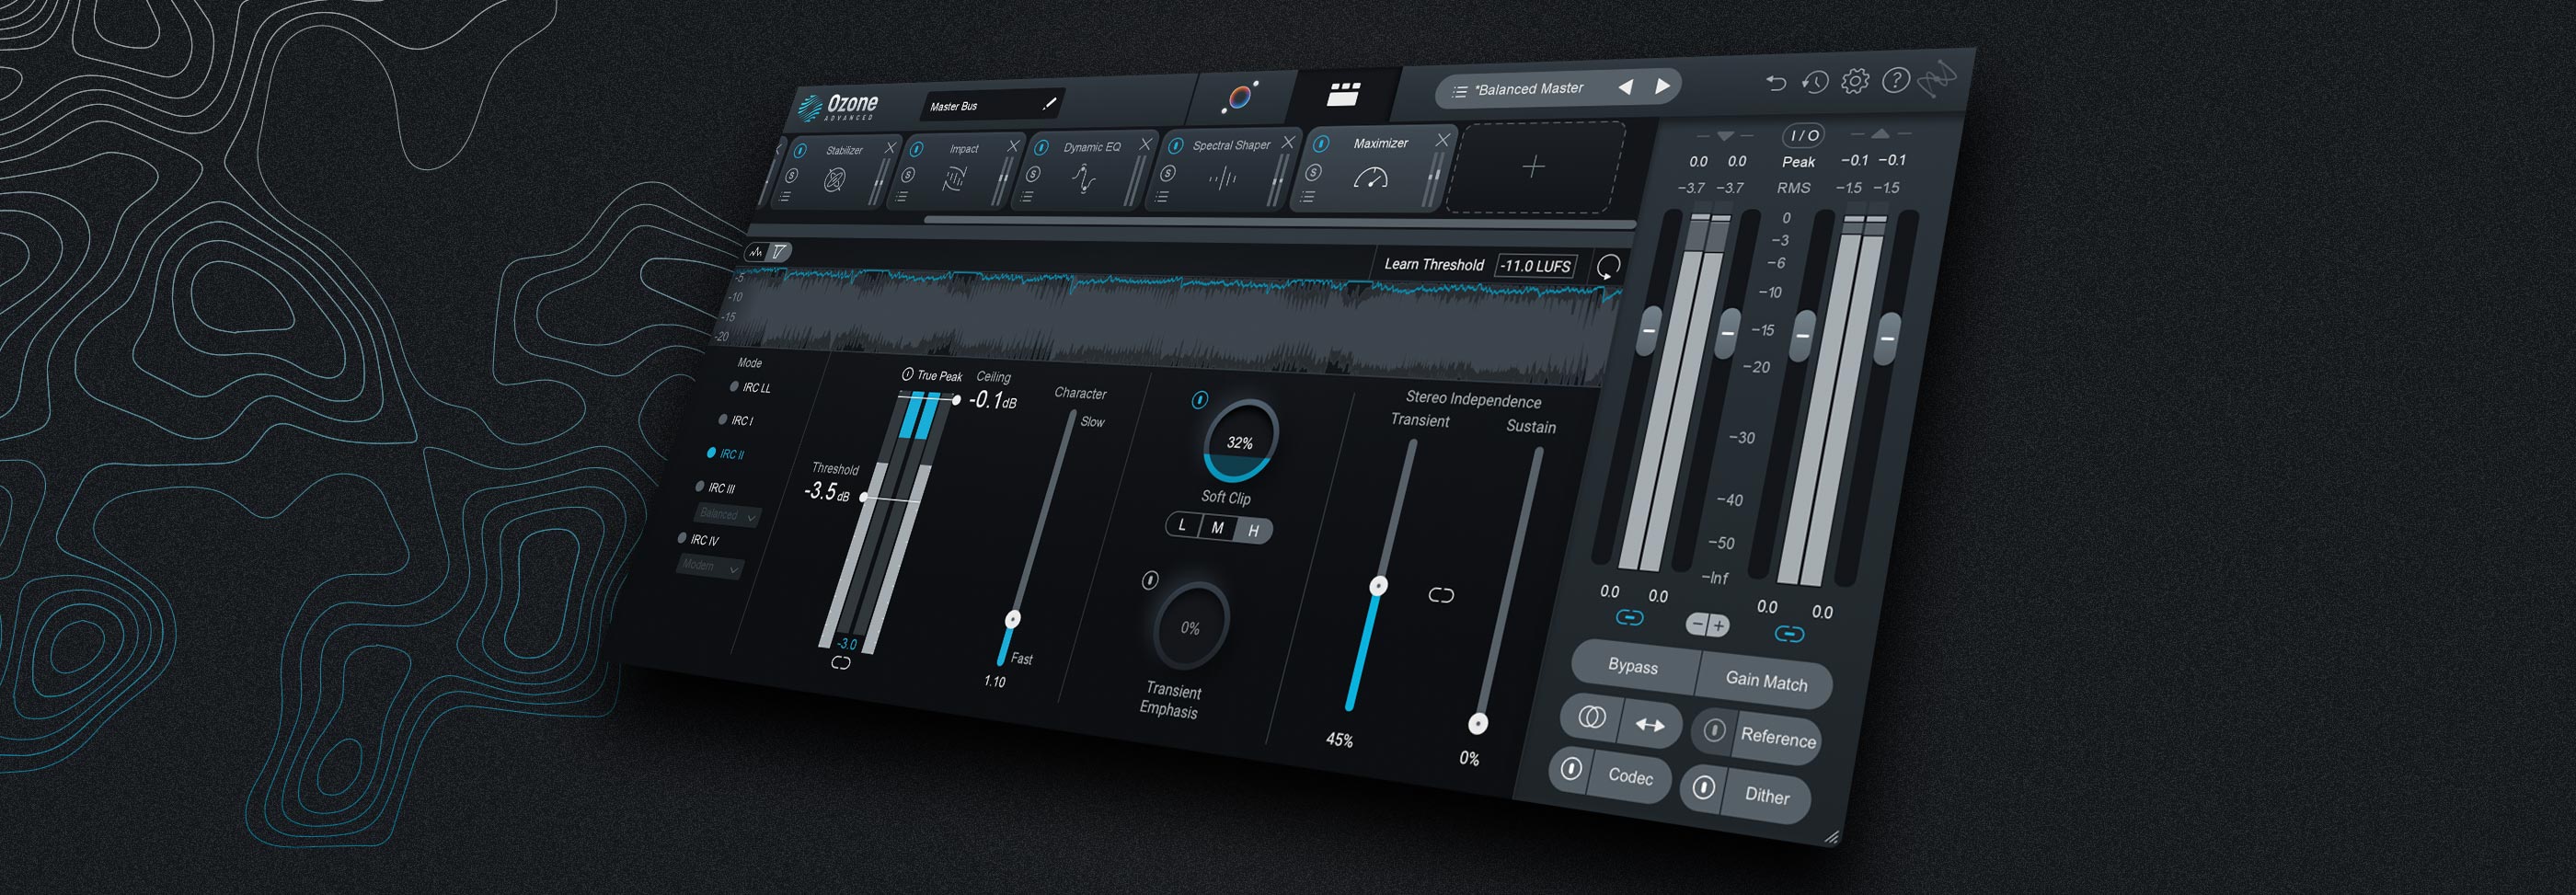
The first thing in his chain is the Equalizer (mid/side allows you to isolate specific elements), followed by the Vintage Compressor (a longer attack time protects transients), then Impact (to enhance the rhythm and feel by intuitively controlling microdynamics), Dynamics (for multi-band compression to control the bottom end), Exciter (multi-band saturation for mastering), and Maximizer (particularly Magnify Soft Clip, which boosts loudness while maintaining high fidelity and protecting the bottom end).
We’re going to break Em’s process down and walk you through each of his crucial audio adjustments in just twelve easy steps.
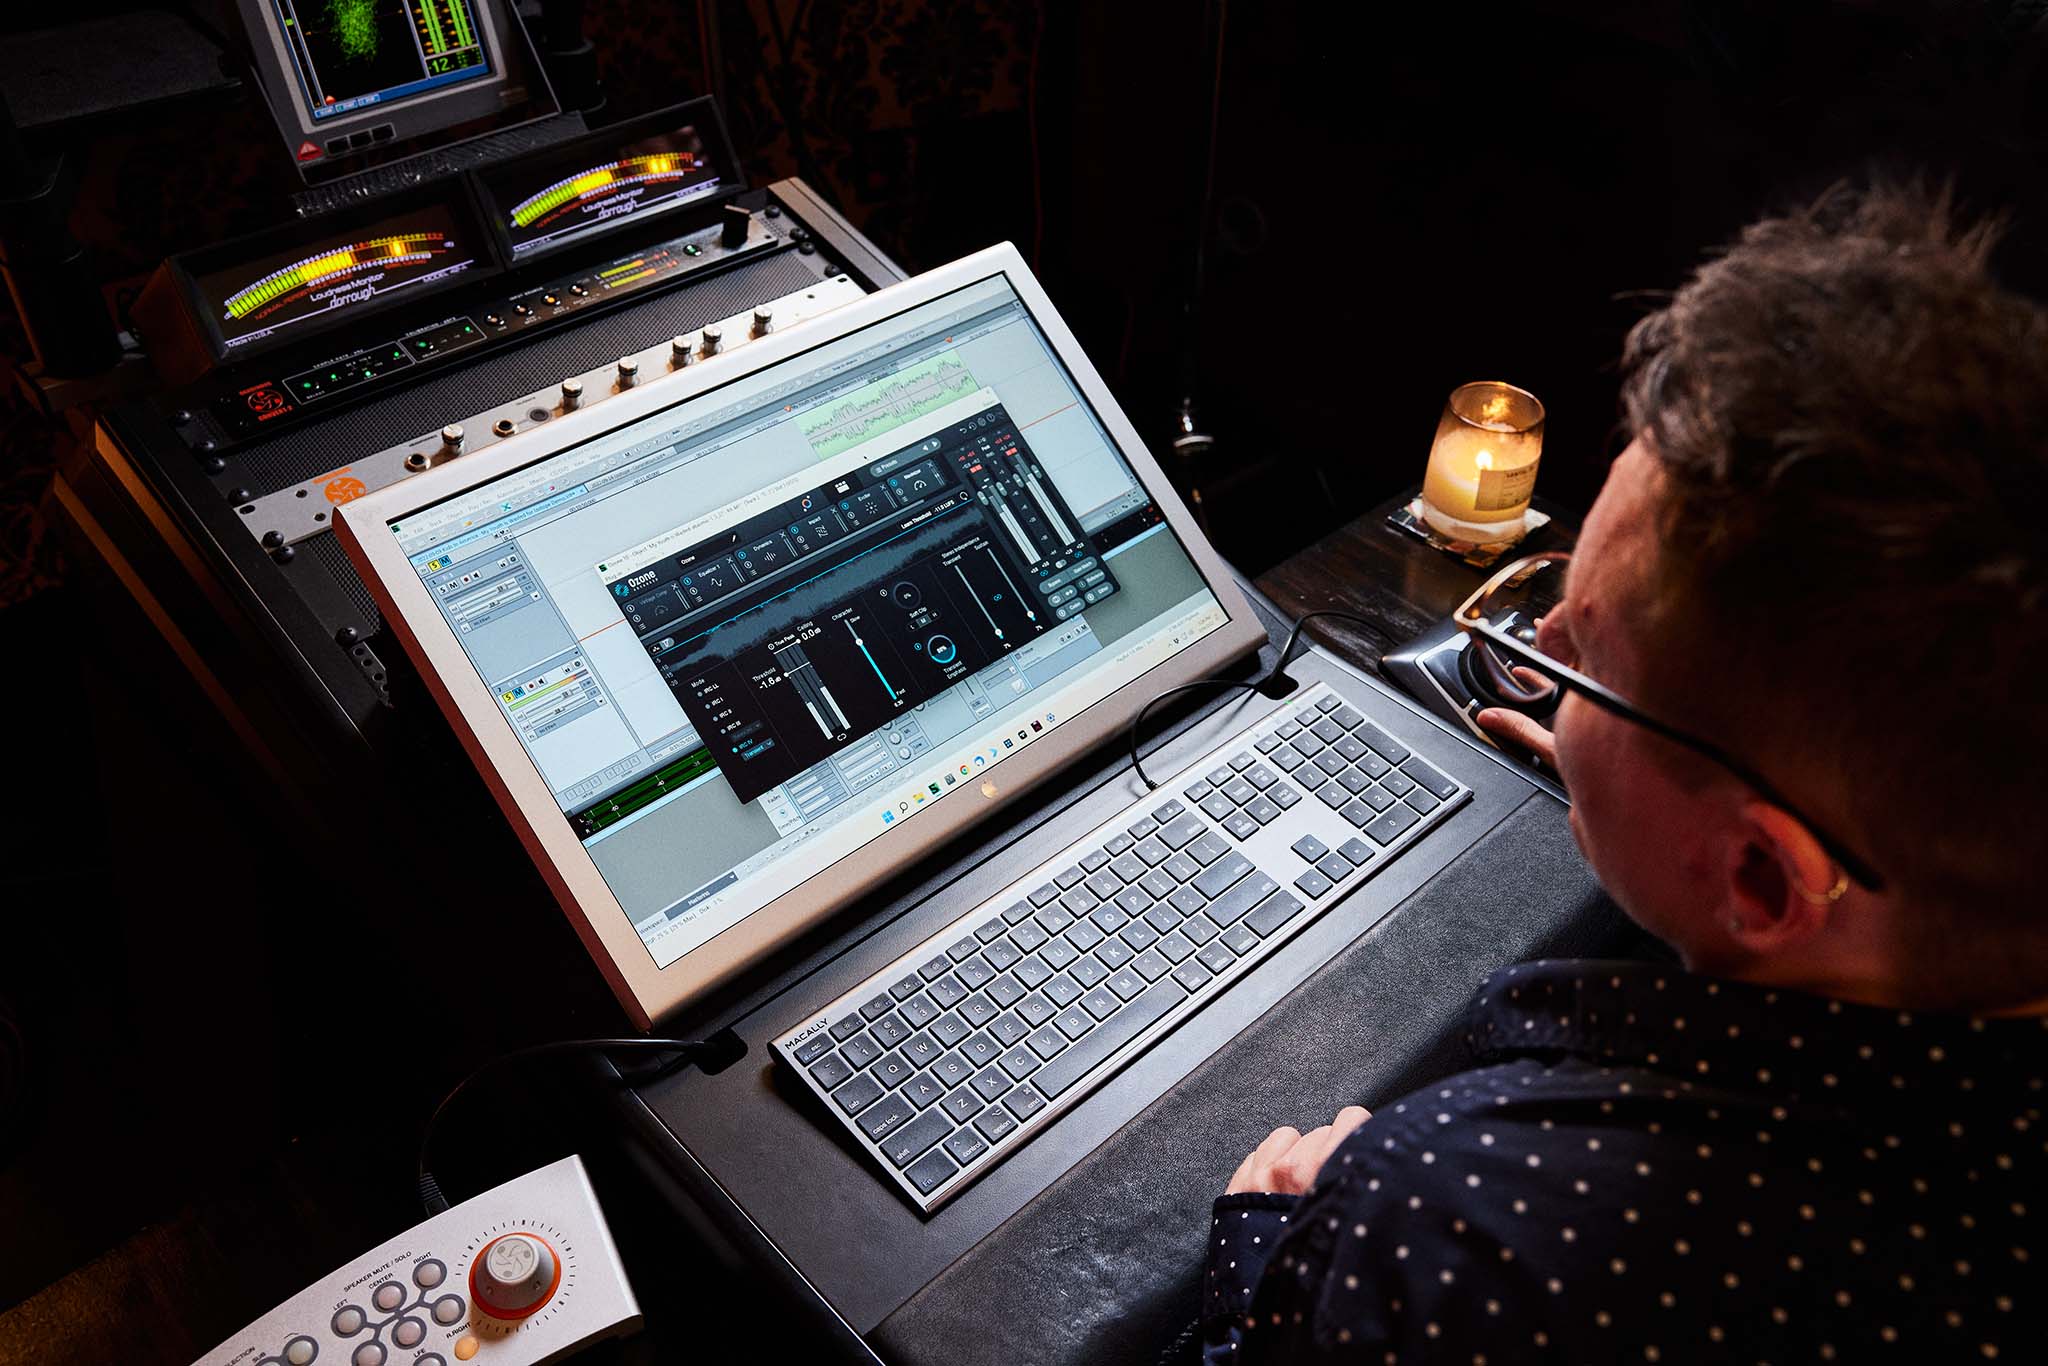
Emerson "Em" Mancini mastering with Ozone
Step 1: Set levels
Working from an already mastered track will give you a basis point for volume, and matching levels to a mastered track will ensure that the song is approximately as loud as others. This helps you to make better informed processing decisions so that your adjustments are based on compression and limiting rather than trying to get the song to be louder.
Step 2: Set Maximizer and Exciter
Setting the Maximizer and Exciter will keep your output from clipping as you adjust other modules in your project. It will also establish a sonic baseline so you can make educated decisions about where you want the vocals to sit and where to add extra sparkle and polish.
Step 3: Add high end EQ
Adding high end EQ changes with a stereo equalizer will give your project a more transparent and natural sound.
Step 4: Use the Solo EQ band
Switch to mid/side and use the solo EQ band. By soloing the band and moving the frequencies around, you can listen and decide which aspects of the vocal you want to treat.
Step 5: Add sparkle to vocals
Switch back to stereo and boost around 5k to affect vocals, backgrounds, cymbals, and more. Just be sure not to accentuate it too much, or it might make things tinny and harsh.
Step 6: Control your low end
If you’re hearing a lot of boominess in the low end, you can use a low frequency band in the Dynamics module to control it. Pull up the problematic frequency area, make a new band, and solo it to look for muddiness. Then make changes by 0.5 dB and run comparisons to see if it makes it better or worse.
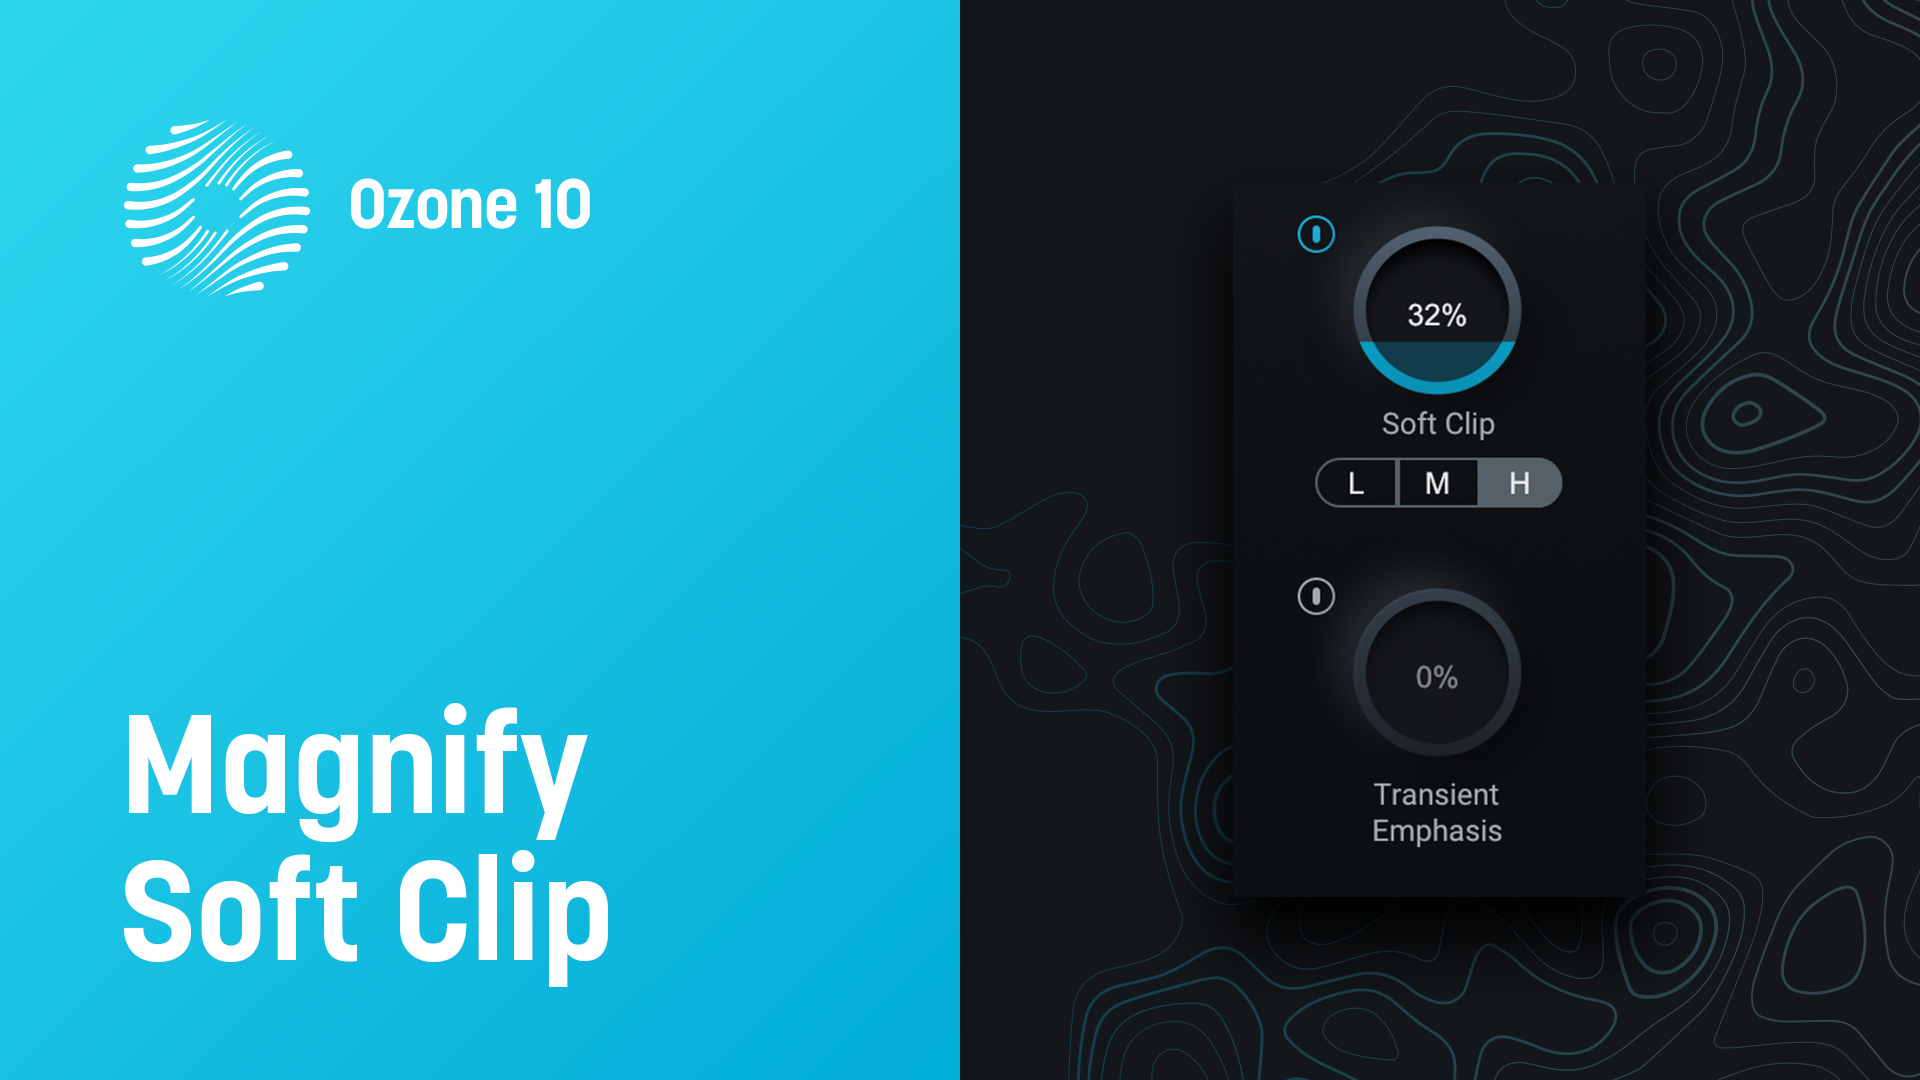
Step 7: Use Soft Clip
Soft Clip is ideal for times when you need to tame the kick drum peaks without causing vocals to pump, keep the subtle snap of a snare rimshot in a country single, or give a club track incredible impact. Use Soft Clip in Maximizer to add a bit more loudness and bring your master forward without any loss in audio fidelity.
Step 9: Use the Mid/Side EQ
You can EQ the mid channel (mono) or side channels (stereo) separately in order to individually focus on specific elements like guitars or vocals. This will allow you to brighten up the vocal in the center without affecting the sounds on the sides.
Step 10: Check your transitions
When cutting up pieces for individual treatment, it’s important to review each section to ensure your processing leads to a compelling overall arrangement.
Step 11: Work backwards
For songs that build in intensity, start mastering from the end or the loudest part of the song. This will ensure that parts with less instrumentation still sound intimate and exciting, while simultaneously preventing distortion in louder parts when the production builds.
Step 12: Make track markers
This final step indicates where a song will start and end for a CD or streaming device before preparing it for distribution.
Final Words: Training your ears
“I think there’s, generally in the world, this misconception that either you have it, or you don’t—especially when it comes to audio engineering. And that’s not true at all. You can train your ears. it’s not something that you either have or you don’t. It takes time. You have to listen to music a lot, and you have to do it critically.”
Start mastering your music
Now that you’ve seen the whole process, get your copy of Ozone 10 and start mastering your own music from start to finish. For even more resources on mastering, check out iZotope’s mastering tips and tutorials as well as the Are You Listening? audio mastering video series.
