
7 Home Recording Studio Hacks for the Bedroom Producer
Discover these tips for getting professional recordings in your bedroom, including room treatment, proper mic placement, and the right music production software to give you a clean sound.
You’re an aspiring producer—making beats, recording sounds, trying to make it all fit together. And, you’re mostly working out of your bedroom home recording studio. You’ve definitely got some mixing chops, but the problem is that all your mixes keep turning out sounding...well…not quite “there” yet. If this sounds like you, read on.
I was once where you were and so I know how frustrating it can be to have your productions lack that final bit of “professional polish” you’ve been craving. It’s easy to blame it on the less-than-ideal acoustics of your space, or on the fact that recording at home comes with unique challenges (like planning around your roommate’s showering schedule). But really, at the end of the day, there are so many things you can do to up your at-home producing game.
Below, I’m going to give you seven hacks I’ve found useful in my 16 years as a bedroom producer. And, to be clear, please know that I am STILL a bedroom producer! I never graduated to a fancy studio because—once I learned how to use my space and tools effectively—I didn’t have to! And, chances are, you don’t have to either. With the right knowledge and tools, you can bring some of that professional polish to your mixes right from the comfort of your own home. Curious? Let’s dive in.
Jump to these tips:
1. Treat your room for recording
Room treatment is not in any way sexy. Nobody wants to drop half a paycheck on something that can’t make a sound. Still, room treatment—especially when recording at home—is essential to capturing the perfect take.
Now, when I say “treating your room,” I’m talking about soundproofing your space with acoustic panels and other materials that can absorb some of the reflections that bounce off the walls. These reflections cause your recordings to sound tinny, echoey, and…let’s face it…like you recorded them in your home.
You can purchase a small set of square acoustic studio foam without breaking the bank, but if your budget is super tight, you can also use blankets, pillows, mattresses, and anything else you may have lying around your home that could help absorb sound.
Unfortunately, there’s no one-size-fits-all-solution to room treatment since every room will have different needs. But, the best tip I can give you is to try things out until you find what works for you, your space, the instruments you’ll be recording, and the genre of music you make. Test out the placement of the foam panels (or other materials) in your space. Add more. Take some away. Do some test recordings of each scenario and listen back through headphones to see which you prefer.
Even though there isn’t a template I can give you to perfectly treat your bedroom home recording studio, I can give you a couple pointers:
- Windows are evil—cover them up to minimize harsh reflections off the glass.
- Try curving your soundproofing materials and putting them in the corners of your space. Harsh angles cause more of those pesky reflections.
- Don’t forget about the ceiling!
- Snap your fingers as you’re testing out new treatment options in order to hear the amount of reflections bouncing around.
- And, remember: you’re trying to create an acoustically balanced space. You don’t want to completely deaden the sound or your recordings will sound too muffled and lifeless. A little ambience is a good thing.
Through my own trial and error, I found that adding just a bit of soundproofing foam to my walk-in closet was just what I needed to capture killer vocals.

Arthur Kody’s bedroom home recording studio
I’m not gonna lie—it doesn’t look great. But, that’s not the point. It sounds fantastic! I’ve amassed millions of streams from vocals recorded in that very closet. The bottom line: get your space to sound right for your needs. The better treated your recording environment is for how you plan on using it, the better your chances of capturing the perfect performance.
2. Invest in a solid mic chain
I’ve often heard it said that 50% of a good vocal take is the singer, 40% is the room, and 10% is the gear. If that’s the case, you could be adding up to 10% of polish to your bedroom recordings just by investing in a good mic chain! Sure, you can work all your magic at the mixing stage, but if you’re a producer looking to create great sounds efficiently, it helps to have a solid mic chain to bring life to your audio on the way into your mixing software.
A “mic chain” includes the microphone as well as all the gear you need to go from the mic to the computer. Often, this includes the mic cables, some sort of preamp, and an audio interface to convert the signal from analog to digital. However, some mic chain solutions offer an all-in-one approach. Spire Studio can act as one such interface with ultra-low noise and custom-built preamps, giving you a high-quality, clean signal. One thing I especially love about the Spire Studio is that it comes with a really great built-in microphone, but you also have the option to plug in up to two of your own mics (or 2 quarter inch instrument cables for recording direct in) and still take advantage of the Spire Studio’s amazing recording features.
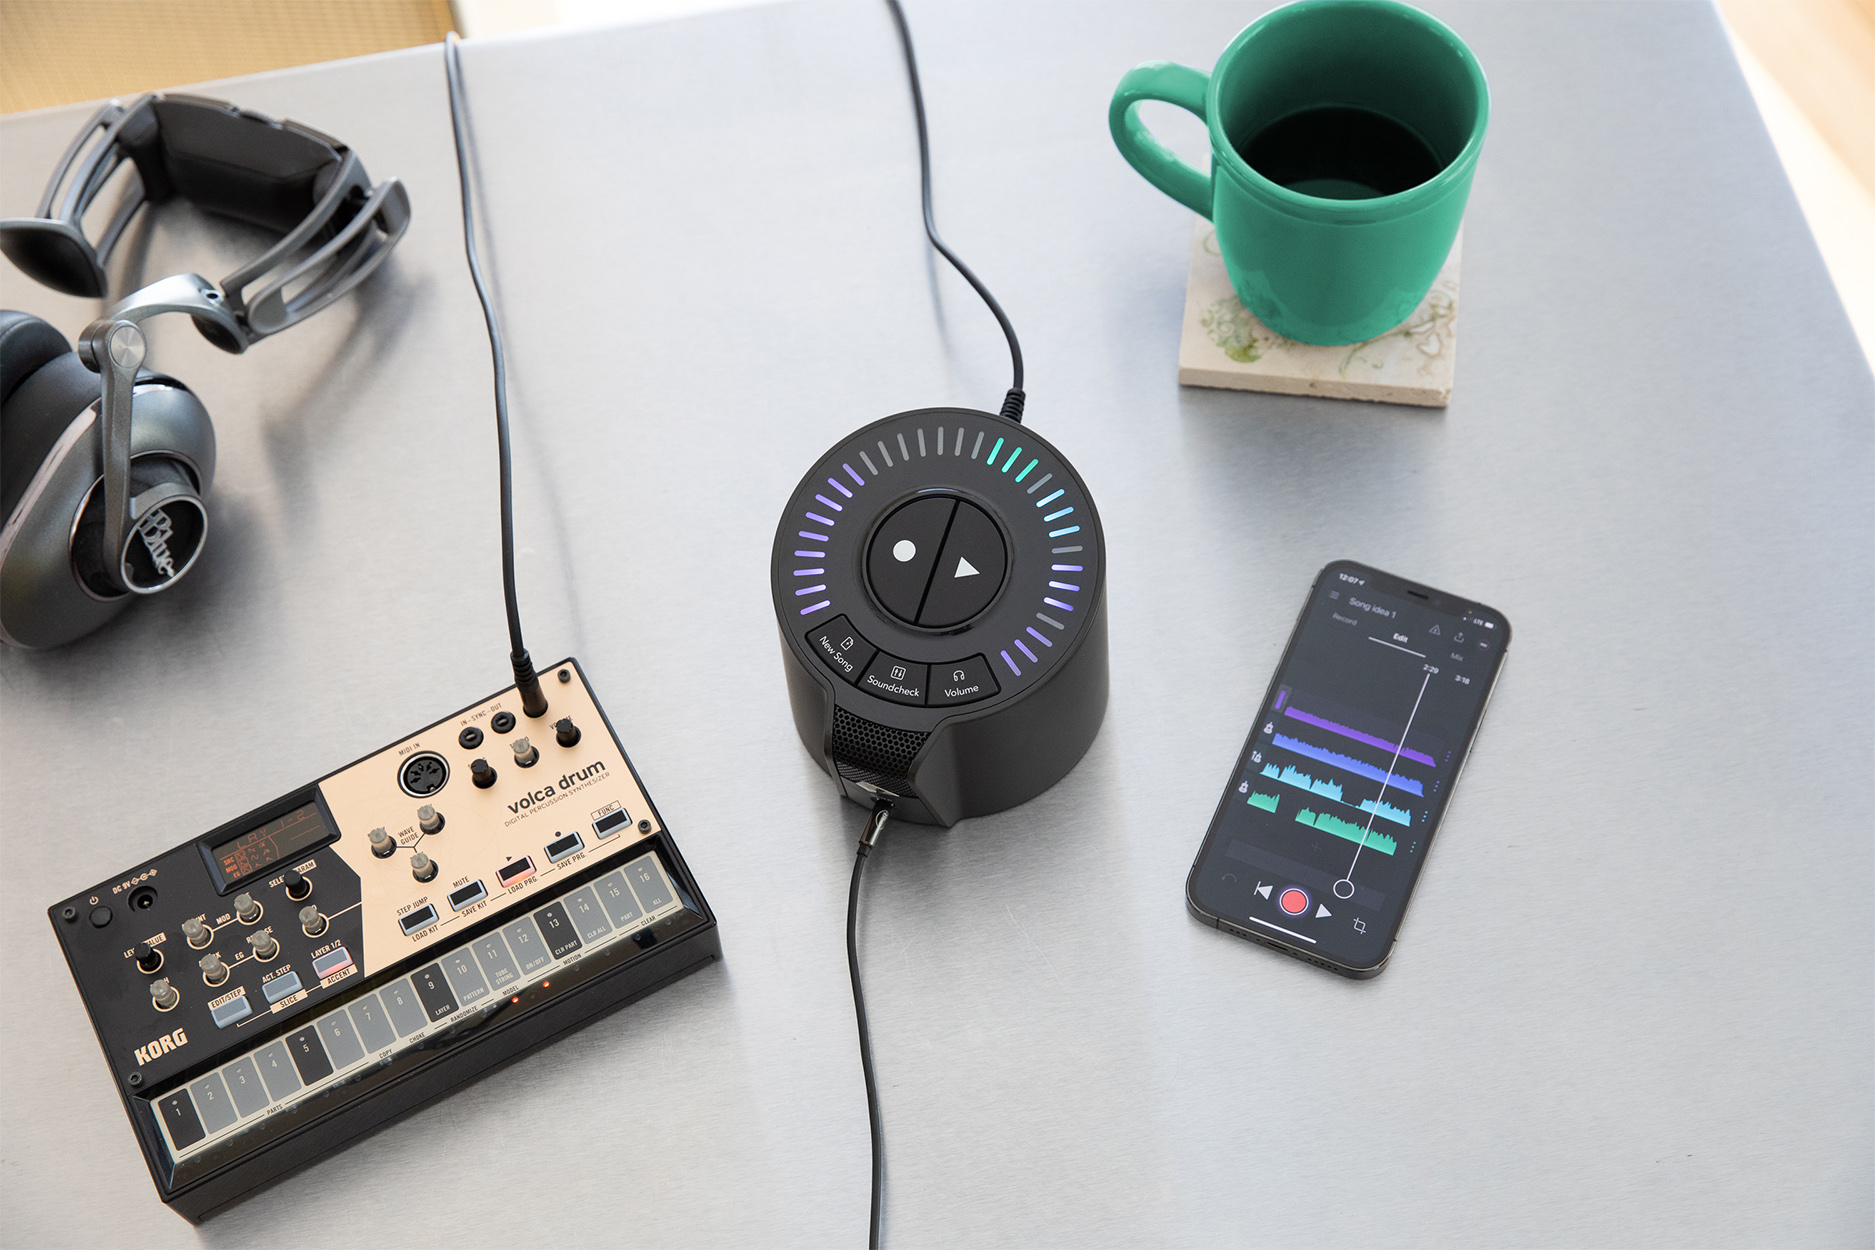
Spire Studio for recording at home
Since the Spire Studio is rechargeable, you can take it anywhere. Plus, recording becomes a breeze with the compatible Spire App for iOS. My favorite feature of the Spire Studio is Soundcheck—simply press the Soundcheck button and Spire will intelligently detect the instrument you’re playing and automatically set your input levels and sculpt your tone (using technology from the mixing plug-in Neutron). This is honestly a huge timesaver. It’s like having a personal recording engineer right there with you to make sure you’re capturing crisp, clean audio every time. And, when you’re done recording, it’s super simple to export the individual stems as high quality WAV files to pull up right in your DAW.
I’ve been using my Spire Studio to record vocals and guitar for over two years now and I can honestly say it’s still my favorite piece of recording equipment. Other mic chains can get pretty pricey as you start building them. But, the Spire Studio is just so simple to use and delivers amazing quality without breaking the bank. You can learn more in the video below.
Mic pres are very important—it’s why I wrote about them first. Conversion too is something worth researching. But you should also invest in a couple of great workhorse microphones. I’d say two would do the trick. If vocals and the occasional acoustic instrument come through your space, a dynamic mic and a great large diaphragm condenser will serve you well.
Note I said “great,” not “expensive.” Modeling microphones are getting better and better, as well as cheaper and cheaper. Large diaphragm condensers like the Aston Origin or the WA47 sound great in the sub-1000 category. For dynamic mics, a Shure SM7B, an EV RE20, or even a trusty Shure SM57 can get the job done.
If you pair one workhorse condenser and one dynamic mic, you’ll probably have enough to handle most singer/guitar situations that come into your home recording studio. Occasionally you’ll come across a singer who’d probably benefit from a ribbon, but until you’re able to spend discretionary income on one, you can feasibly handle whatever comes your way in this department.
3. Reduce background noise
One of the main differences between a professional recording and an amateur one is the presence/lack of background noise. When recording at home, it can be a bit tricky to minimize background noise—especially if you live in an apartment, next to a busy street, or with roommates.
When recording in your bedroom studio, there can be so many unpredictable noises that can creep into your recordings. Many of these sounds are outside your control (street traffic, bickering neighbors, and jets flying overhead are just a few I’ve encountered while trying to record in my home studio). But, the key to capturing a professional recording is to limit background noise as much as possible.
Pro tip: Before you begin your recording session, take a good listen to your environment. Is the air conditioner running? How about the fridge? Do you have a particularly loud external hard drive whirring away in the background? Power down whatever noise-makers you can before you begin recording to save yourself from potential frustration later, and make a noise reduction checklist for yourself to make sure you don’t miss a thing. The last thing you want is for the AC to kick on halfway through (what could have been) the perfect take.
Like I mentioned above, there are likely some noise factors in your home recording studio that are simply out of your control. For problems like this,
![]()
![]()
RX 11 Advanced
This article references a previous version of RX. Learn about ![]()
![]()
RX 10 Advanced
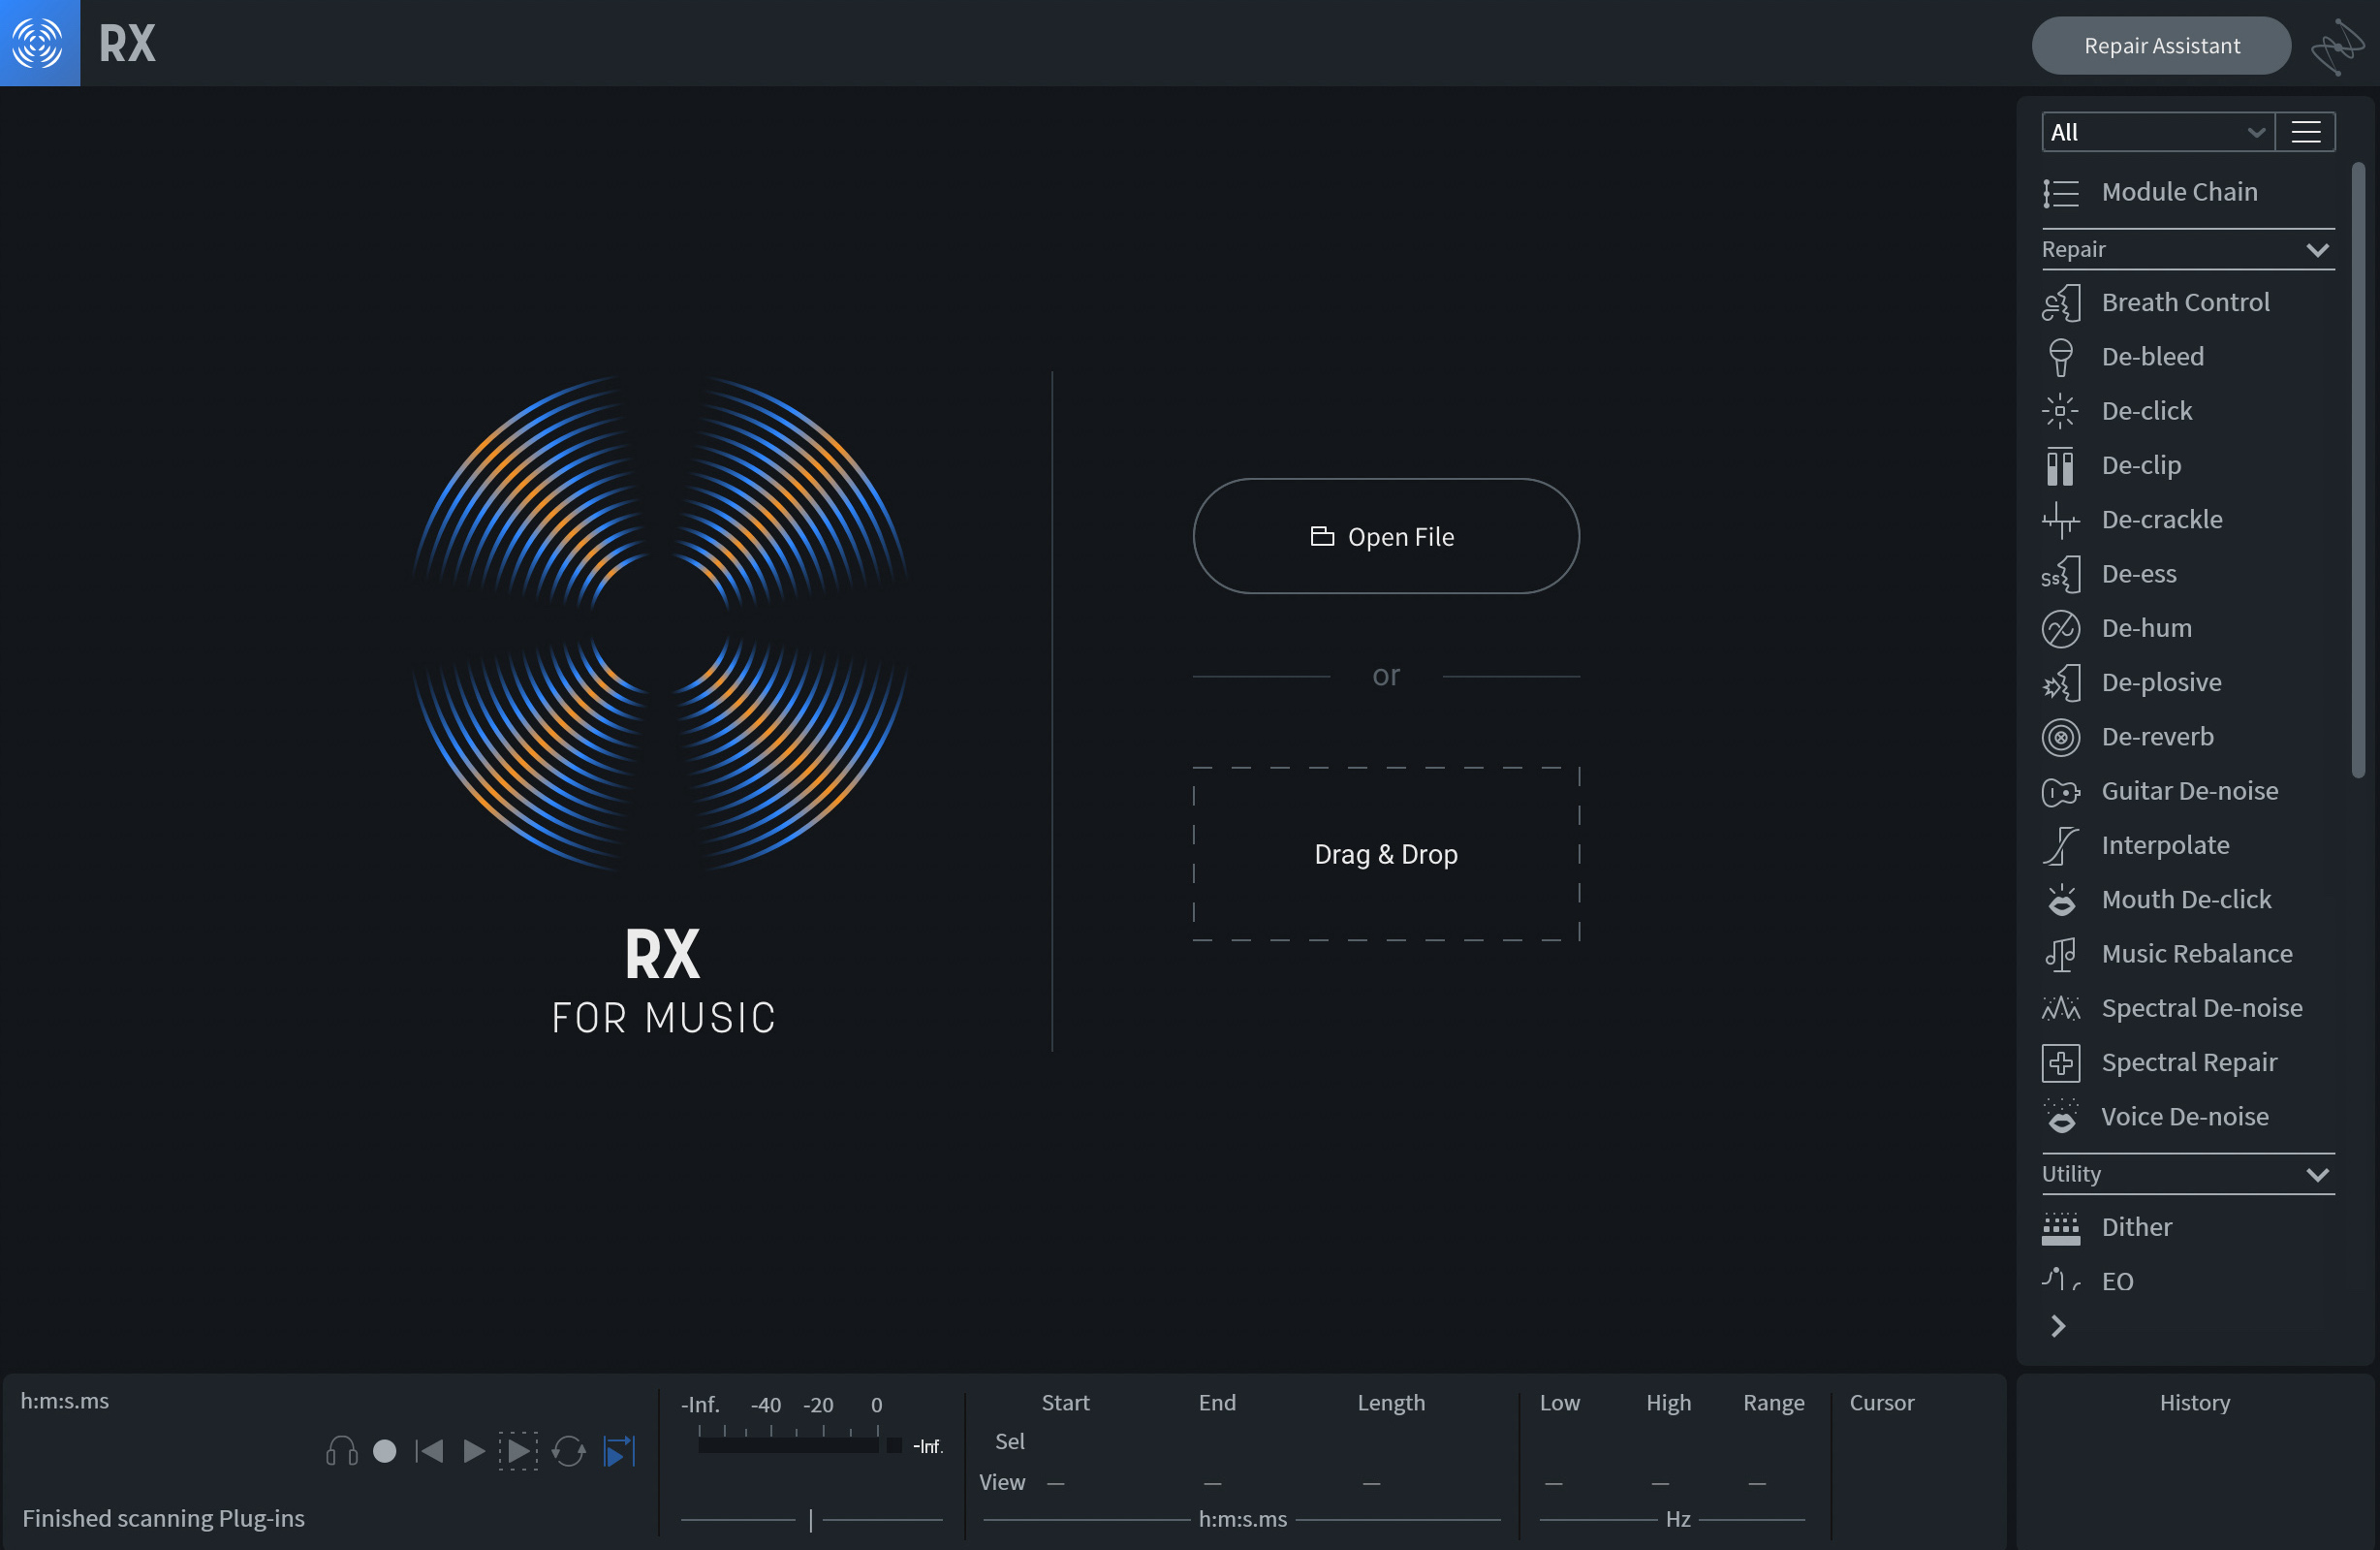
Use RX to remove unwanted background noise
RX also comes with plug-ins to remove breaths, mouth clicks, and clipping from your recordings, so it’s definitely a very useful tool to have in your toolbox. Watch the video below to learn more about what RX can do for your recordings.