
5 Basic Audio Effects Every Vocalist Should Know
We break down the basics of five important vocal effects used in recording, production, and mixing. Follow along with audio examples.
This article will familiarize you with some of the most common and essential audio effects to take your vocal production to the next level. If you are new to home recording, follow these steps to drastically improve the sound of your recorded voice.
In this article you'll learn:
- How to use pitch correction, EQ, de-essing & compression to improve the sonic character of your voice
- How to use reverb as an effect and to give your voice a distinct, ambient space
- How to create solid plug-in & FX chain for your vocal production
Want to add these audio effects to your vocals as you follow along? Get your copy of iZotope
![]()
![]()
Music Production Suite 7
1. Pitch Correction

Graphic pitch correction using Melodyne
Pitch correction/tuning is used in most professional audio recordings to change or improve the intonation of a voice. It can also be used to artificially create harmonies. The amount of pitch correction used on a recording can be a matter of taste, but it’s important for every vocalist to understand the basic functions of pitch correction.
Generally, pitch correction should be added first in your channel strip, as other effects like EQ make it more difficult to perform pitch correction properly.
Pro tip:
![]()
![]()
Melodyne 5 Essential
Now, here is the same vocal with the pitch adjusted to improve intonation:
Here is the same voice re-tuned at different pitches to create a harmony:
Vibrato
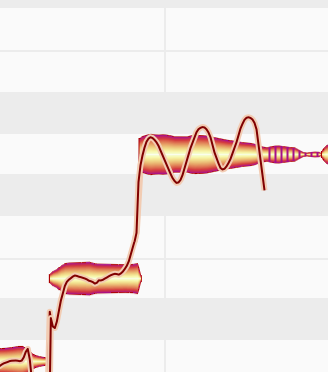
The large blobs represent overall pitch, and the lines represent the vibrato or pitch modulation
Vibrato/Pitch Modulation is another parameter used in pitch correction which adjusts the natural pitch variation created as a result of vibrato. A natural voice may alternate pitch slightly above and below the note center during the performance, and adjusting this parameter either increases or decreases the intensity.
If you’re looking for a robotic tuning effect, try removing the vibrato completely. For a more natural turning effect, keep the natural vibrato or increase it.
Here is an example of vibrato removed completely from a vocal recording:
Here is an example of vibrato being exaggerated and increased on a vocal recording:
2. EQ / Equalization

Neutron’s EQ module
EQ or equalization is an effect that adjusts the frequency content of a recording. It can be used to remove unwanted or unpleasant frequencies and also be used to sculpt a unique timbre for the voice. Parametric EQs are the most common, and they are set up with low frequencies on the left, and high frequencies on the right (measured in hertz/Hz). The range of frequencies is usually the range of what we as human beings can hear: 20 Hz – 20 kHz.
High Pass Filter
A High Pass Filter is one of the most useful EQ effects to help make your vocal recording sound more professional. A high pass filter “lets highs pass through” or cuts low frequencies. It is most commonly used to remove low frequency problems that come from plosives (recording without a pop filter, creating boomy Ps & Bs) and proximity effect (being too close to the mic while recording).

A HPF at 210 Hz on Band 1 using Neutron
Here's an example of an extreme case of using a high pass filter to demonstrate the overall shape and sound of a high pass filter. Listen to this voice recorded without a pop filter with extreme plosives in the low frequencies:
Now listen to the same voice with a HPF at 210 Hz.
“Peak & sweep” EQ
“Peak & Sweep” is a technique used to find problematic frequencies when you don’t know precisely what frequency is creating the issue. Parametric EQs have 3 parameters: frequency, gain and Q. The Q value is the bandwidth, or wideness of the range of frequencies being processed.

Band 3 has a wide Q, while Band 5 has a narrow Q in Ozone
To find a frequency that you don’t like in your recording, boost the gain of a frequency at an extreme end of the frequency spectrum and give it a narrow Q. Then, slowly start moving the boosted “peak” through the rest of the frequency spectrum until you hear the problem frequency pop out. Then, remove it by reducing the gain.
Here is an example of a voice with a bothersome frequency around 3kHz, identified by peak & sweep:
Here is the same voice with the problematic frequency cut/removed.
3. De-essing
De-essing is a process that reduces the harshness of s’s, or sibilance, in a vocal recording. It is a frequency-dependent compressor, meaning it detects and reduces the volume of a specific frequency or range of frequencies.
Sibilance can be exaggerated when recording with a condenser microphone and can be irritating for listeners, especially on headphones. To get the most out of your de-esser, use it before your compressor.
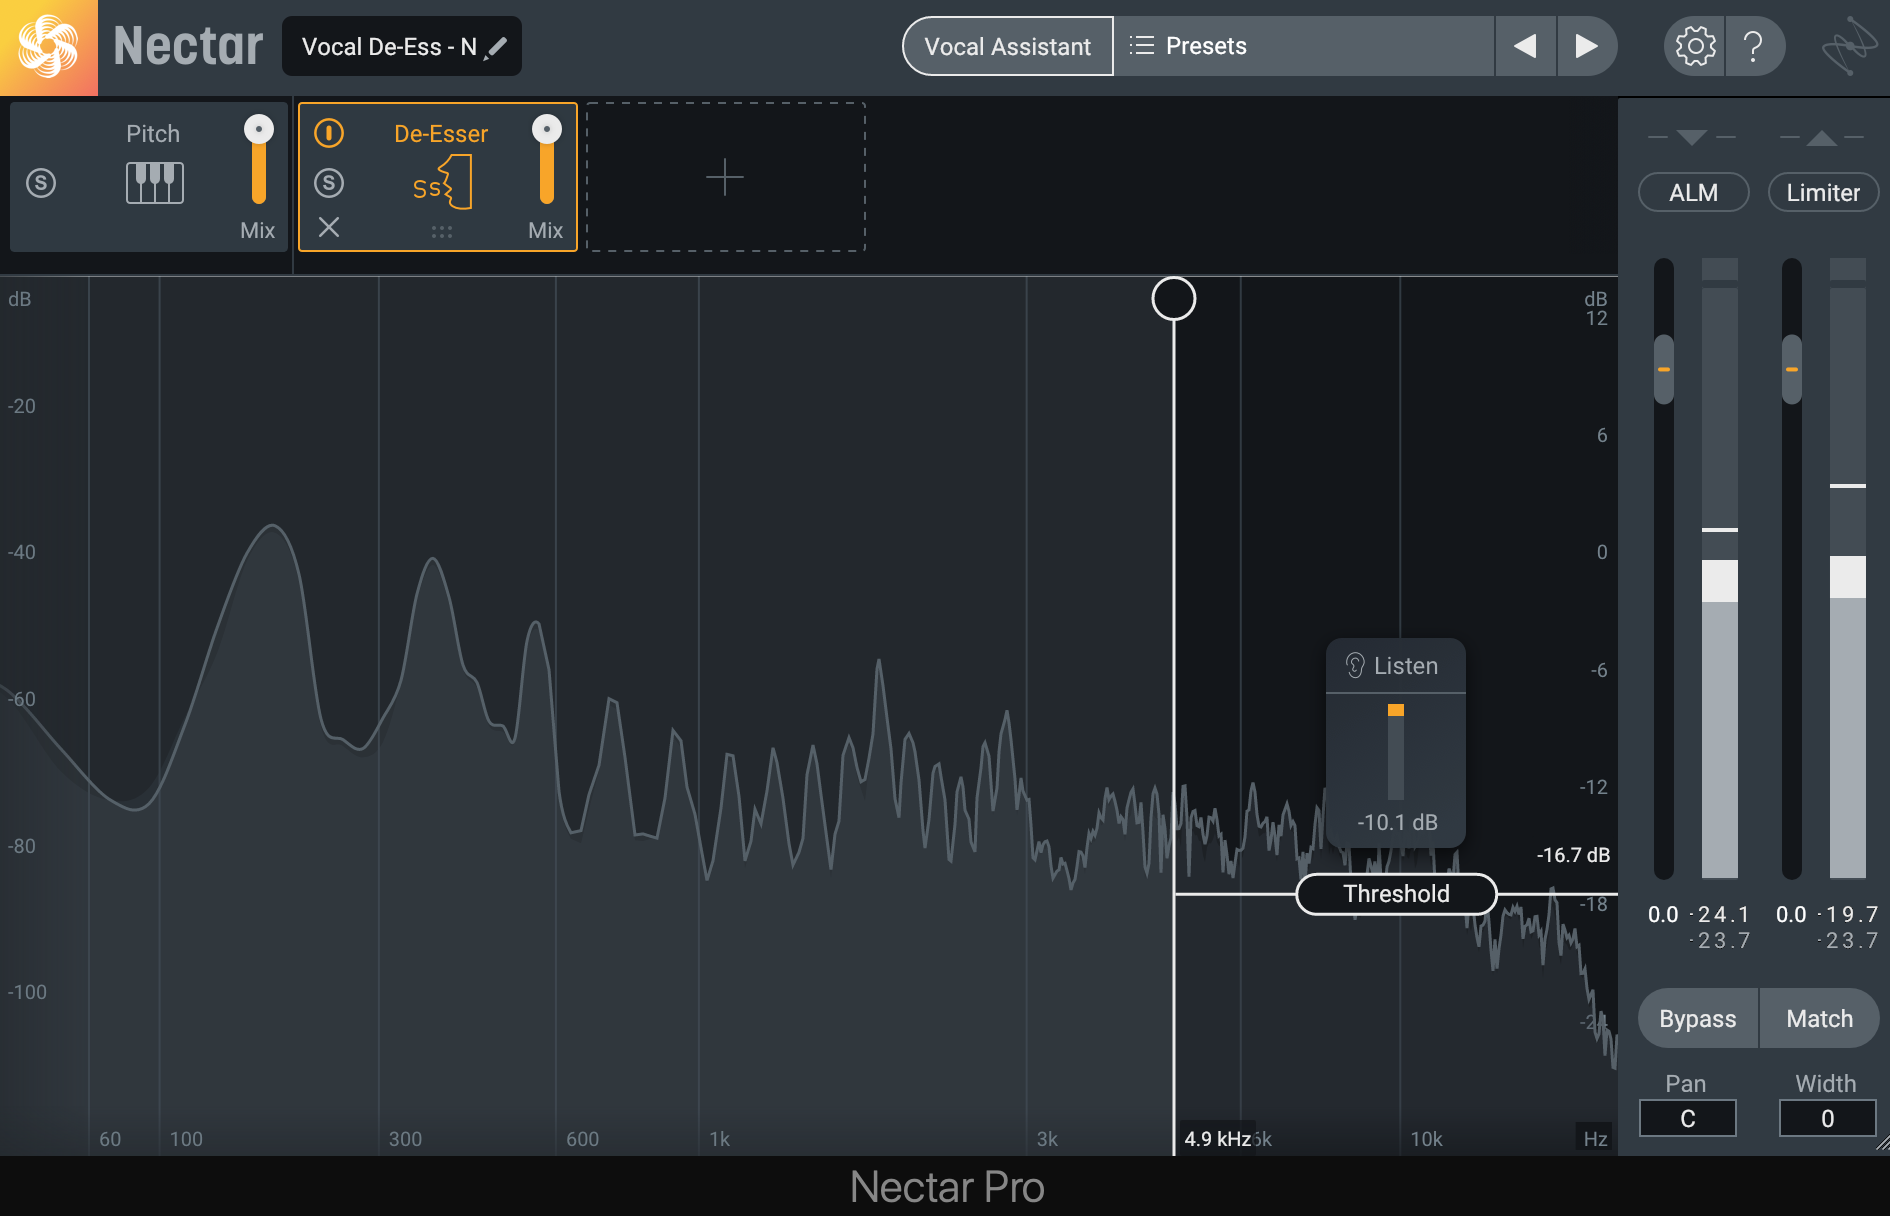
Nectar's De-esser module