
Mixing vocals: 8 steps to a pro vocal sound
Professional sounding vocals need to be clearly heard, have a consistent level, and be in tune. Explore essential techniques and tools you can use when mixing vocals.
When learning how to mix music, getting vocals to sound professional can be one of the trickiest skills to master—but, it doesn’t have to be. With the right tools and knowledge, mixing vocals can be easy. While every vocal is unique and has different needs based on genre, this mixing walkthrough provides a step-by-step guide on how to mix vocals that will sound professional in any mix.
The vocal mixing concepts below use iZotope tools, including Nectar 4 vocal mixing plugin. If you don’t already have the plugins mentioned in this article, you can get access to all of them in one bundle with Music Production Suite.
Common questions about mixing professional vocals
What makes a vocal sound professional in a mix?
A professional vocal sound balances clarity, consistency, depth, and tone, blending naturally with the rest of the track while staying upfront and emotionally engaging.
How important is EQ when mixing vocals?
Very important – EQ helps remove muddiness, reduce harshness, and enhance presence. Typical EQ moves include cutting low-end rumble and boosting clarity around 2–5 kHz.
Why use compression on vocals?
Compression controls dynamic range, ensuring the vocal stays present and consistent throughout the mix without losing natural expression.
Should I add reverb or delay to vocals?
Yes, adding reverb or delay creates space and depth, but it should be used tastefully to avoid washing out the vocal.
What tools can help achieve a polished vocal mix?
iZotope Nectar and Neutron offer vocal-specific modules like EQ, de-essing, pitch correction, and dynamic processing to streamline vocal production.
8 steps to mixing vocals
Some of the qualities that make a vocal sound “professional” are that they are in tune, they’re easy to hear, and they have a consistent level. Depending on your vibe and genre, they may also have some creative effects to help enhance their presence in the mix. Below, I’m going to walk you through eight common mixing steps that’ll help get your vocals sounding great in any mix.
For this article, I’ll be using my own vocal from a track I’ve been working on with LOVD called “Lost.” Before we begin, check out this sample of the final product we’ll be working towards.
Mixed Vocals
1. Choose the best vocal takes
I always begin mixing vocals by comping all my vocal takes into just a few tracks. Vocal comping is the process of merging only the best parts of each vocal recording to create one final audio file for each vocal track you plan on having in your mix. For example, you’ll typically end up with one track for your main vocal and a couple for your double tracks, harmonies, and adlibs.
Comping your vocals before you begin mixing them will save you a ton of time since you won’t be wasting your energy processing vocals you aren’t even planning on using.
This is also a great time to fix any timing issues in your final vocal tracks. You’ll want to ensure your harmonies and doubles are lined up with your main vocal as tightly as possible.
Below, you’ll see a screenshot of my comping process for the lead vocal of “Lost.” The original vocal recordings are in maroon and the final vocal comp is shown in hot pink.
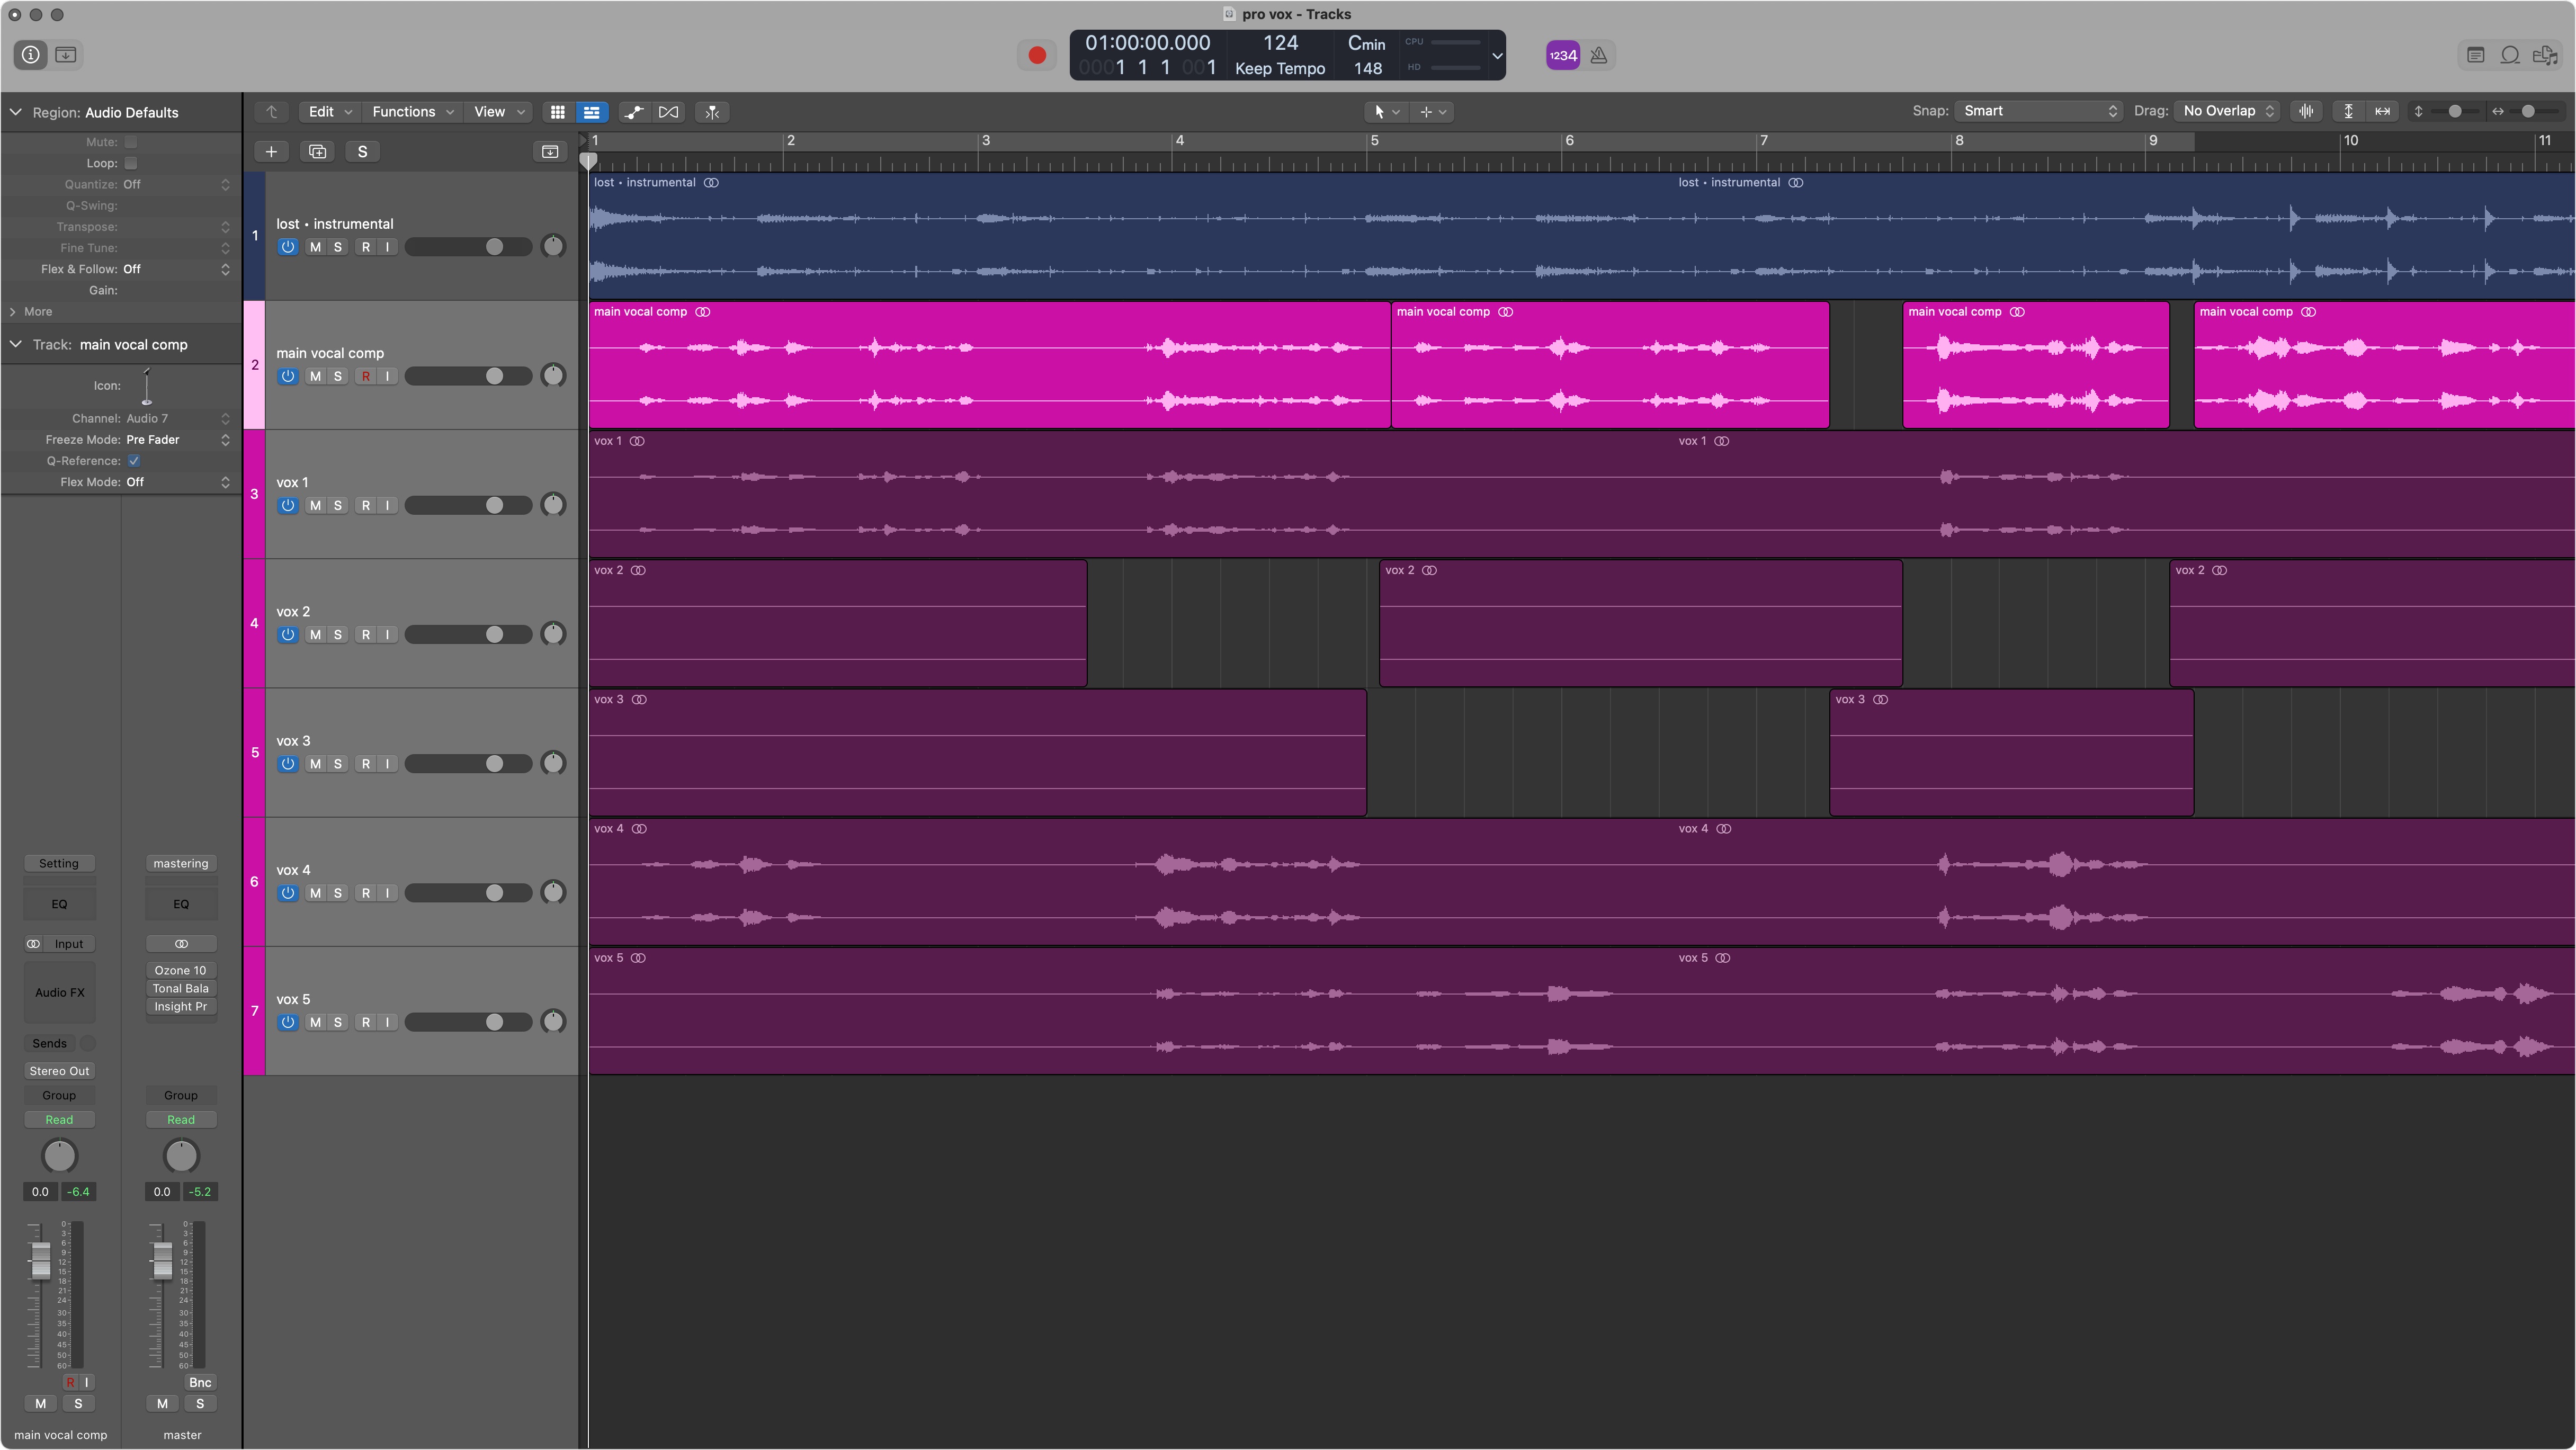
Vocal comping in a DAW
2. Remove unwanted noise
After you’ve condensed all your vocals into just a few tracks, it’s time to perform any necessary audio repairs. Whether you’re recording in your closet at home (like I did for “Lost”) or you’re in a super high-end studio, unwanted noises can always find a way to creep into your recordings. Whether you need to clean up background noise from a pesky air conditioner, lip smacking sounds from the vocalist’s mouth, or unnecessary breaths between lyrics; there are two approaches you can use for cleaning up your vocal tracks.
Remove unwanted noises step-by-step
When my vocal tracks are a bit too noisy for my liking, I’ll use RX Voice De-noise to remove any unwanted background noise quickly and easily.
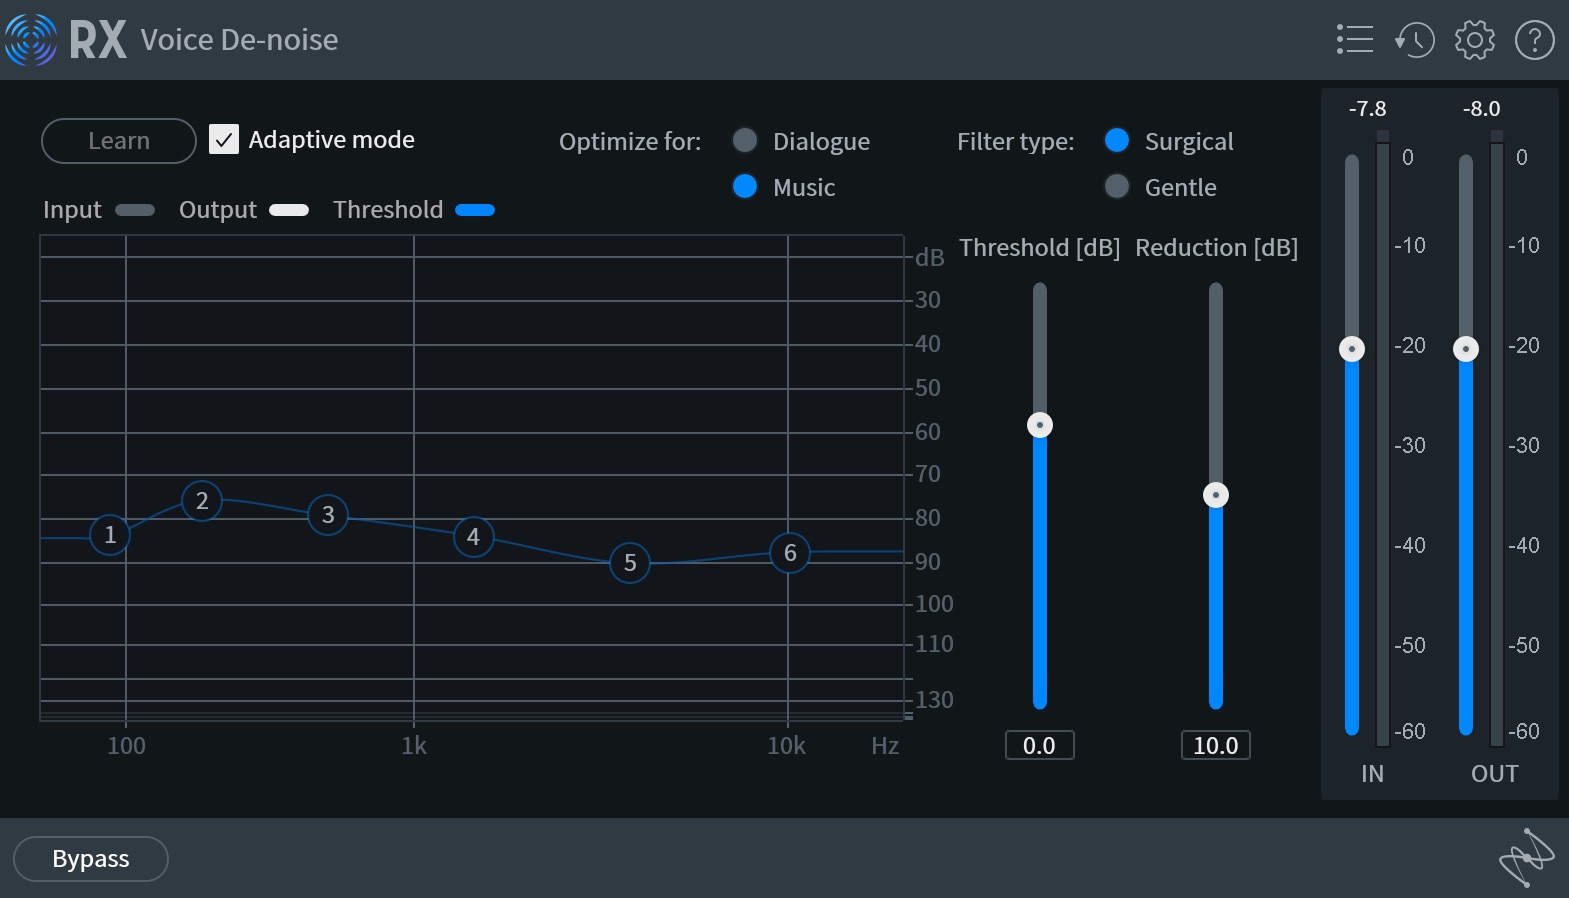
RX Voice De-noise
Then, since listeners likely don’t want to hear me smacking away in their ears while I’m singing, I used RX Mouth De-click to remove any of those wet-sounding lip pops and mouth clicks as well.
Lastly, during the repair phase, if you have any distracting breath sounds between phrases, you might want to consider using the Breath Control plugin that comes with Nectar 4 Advanced. This will cut out any unwanted breath sounds from your vocal and leave you with a nice, clean audio file to work with.
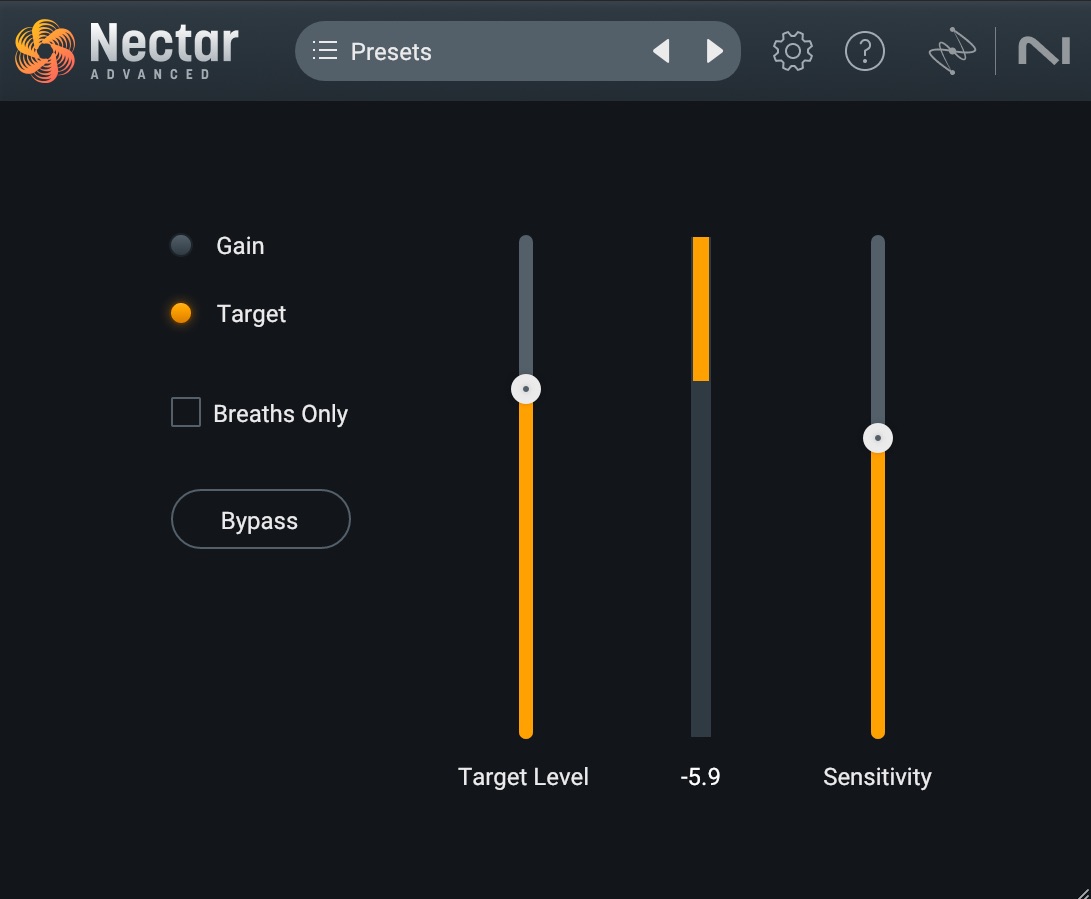
Nectar 4 Breath Control