
Table of Contents
iZotope Neutron 5 just got a major upgrade, complete with new AI-powered technology renovated for the roaring ’20s. The Mix Assistant in Neutron is now the Assistant View, and whether you’re a beginner or a pro, this tool makes things quick, intuitive, and fun.
Read on to see how to use the Mix Assistant View in Neutron 4.
Already own a copy of Neutron? Log into your iZotope account for special loyalty pricing.
Getting started with Assistant View
The old Neutron worked very well, but Neutron 4 boasts exciting new changes perfectly suited for both beginners and pros.
Let’s take a look at what happens when you click the Assistant View Icon, which already looks different:
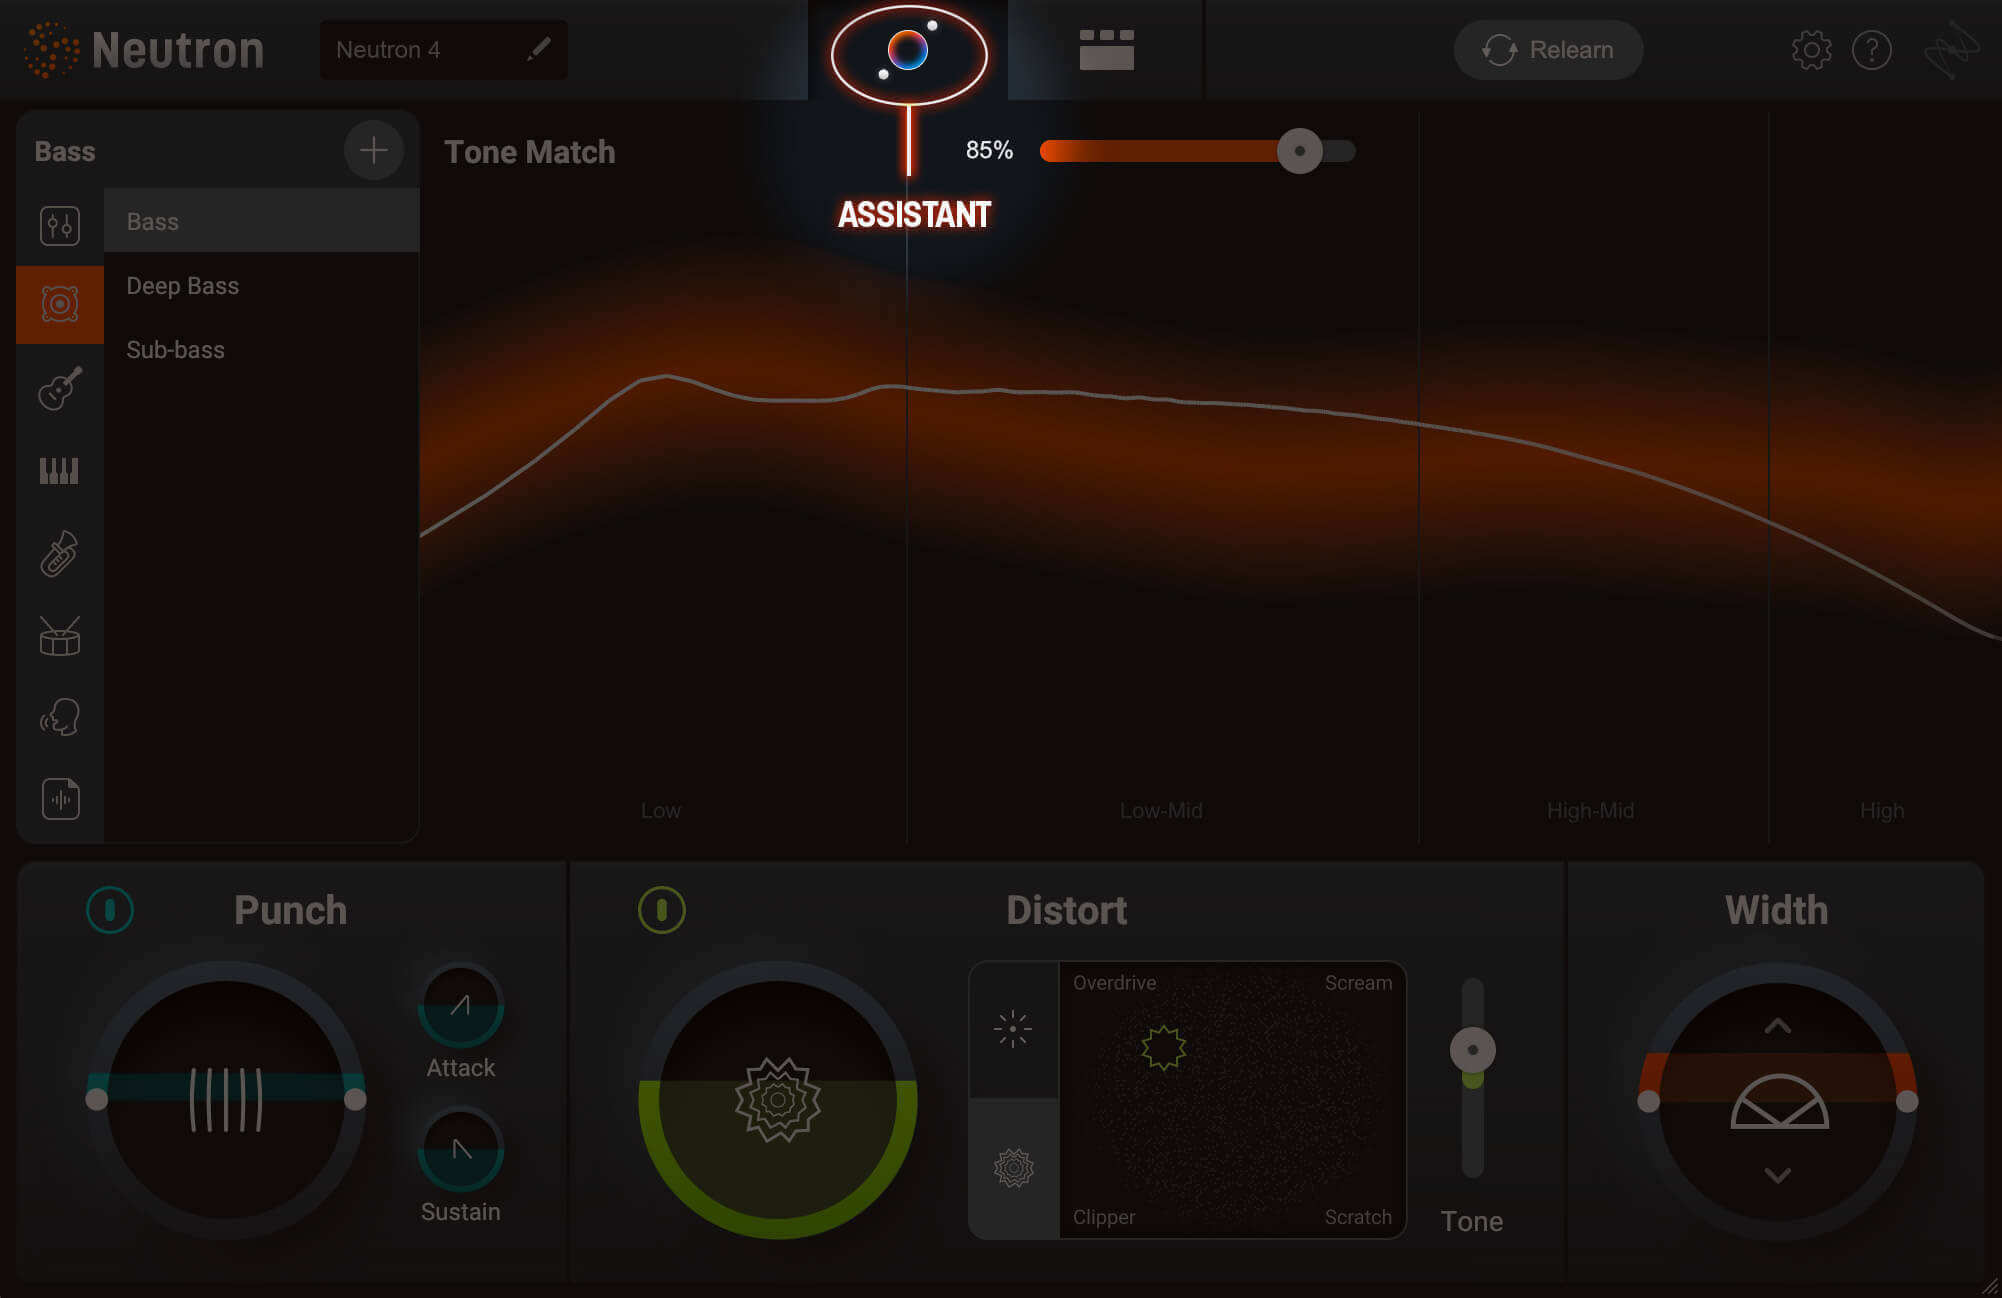
Assistant View Icon
Watch what happens when we first activate the Assistant
When you activate the Assistant in the global controls, you’ll notice you no longer have to click through a series of questions for the Assistant to generate results. As soon as you play audio, the assistant works in the background to generate a target curve.
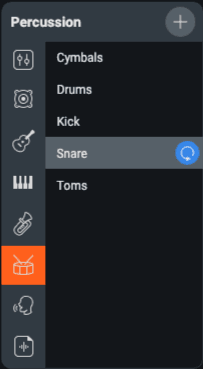
If you’re familiar with earlier iterations of Neutron, you’ll recognize the target curve—it’s right from the Sculptor module. Neutron 4’s Assistant View uses Sculptor’s curves to whip your sound into the proper shape. You’ll note the Assistant recognized the track as a drum, and is pushing the snare toward a drum frequency target.
The tonal balance target curve represents the frequency and dynamic information the Assistant recommends for your track. If you like the starting point the Assistant has generated for you, great. But if you had something else in mind for your track, we’ve added some powerful features that will allow you to communicate your intentions to the Assistant for personalized results.
Target Library
On the left hand side you’ll also see the new Target Library. This section gives you the ability to teach the assistant the spectral profile you want for your track so it can produce recommendations based on your intentions.
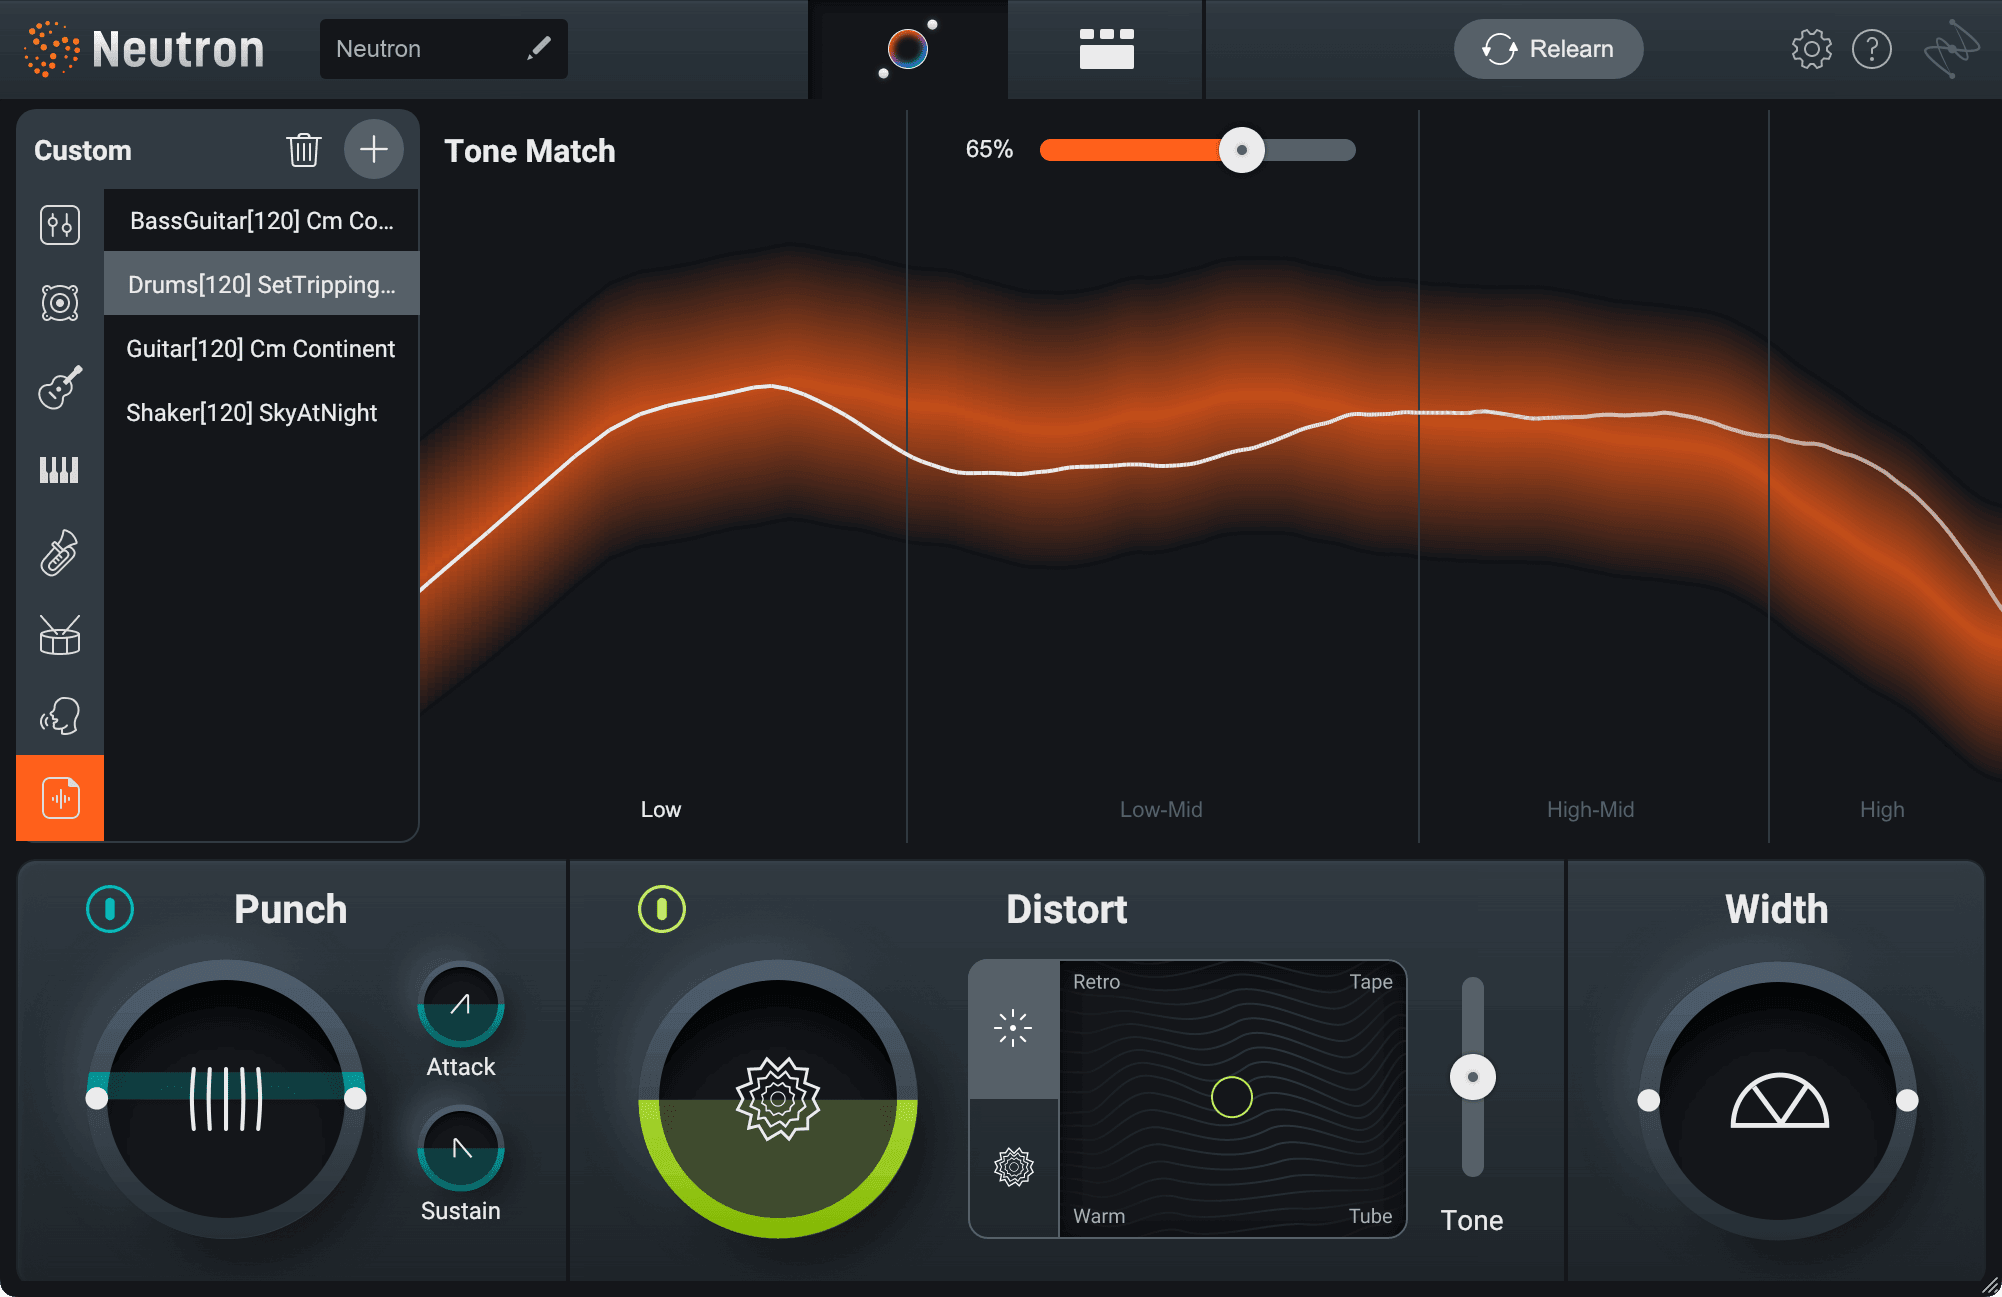
Neutron 4 Target Library
You can choose from any of the target presets available in Neutron or you can use your own samples or stem audio as references for the Assistant to match.
Love the tonal qualities of a certain bass guitar, kick drum, piano, or synth track? Load it into your Target Library to enable the Assistant to match your track to that reference.
To use your own references, simply click on the ‘addition’ button in the ‘custom section’ and drag in an audio file whose spectral profile you want your track to match. You can build your own library of references and recall them directly from Neutron 4 so you don’t have to interrupt your workflow.
Let’s see the Target Library in action. Let’s say I have a snare sample that I want to use as a custom target for this particular drum.
It sounds like this:
I can load it into Neutron 4 like so:
As you hear, the sound is pushed closer to the timbre of the snare sample I chose, especially when I push the Tone Match slider (more on this later).
Target Meter
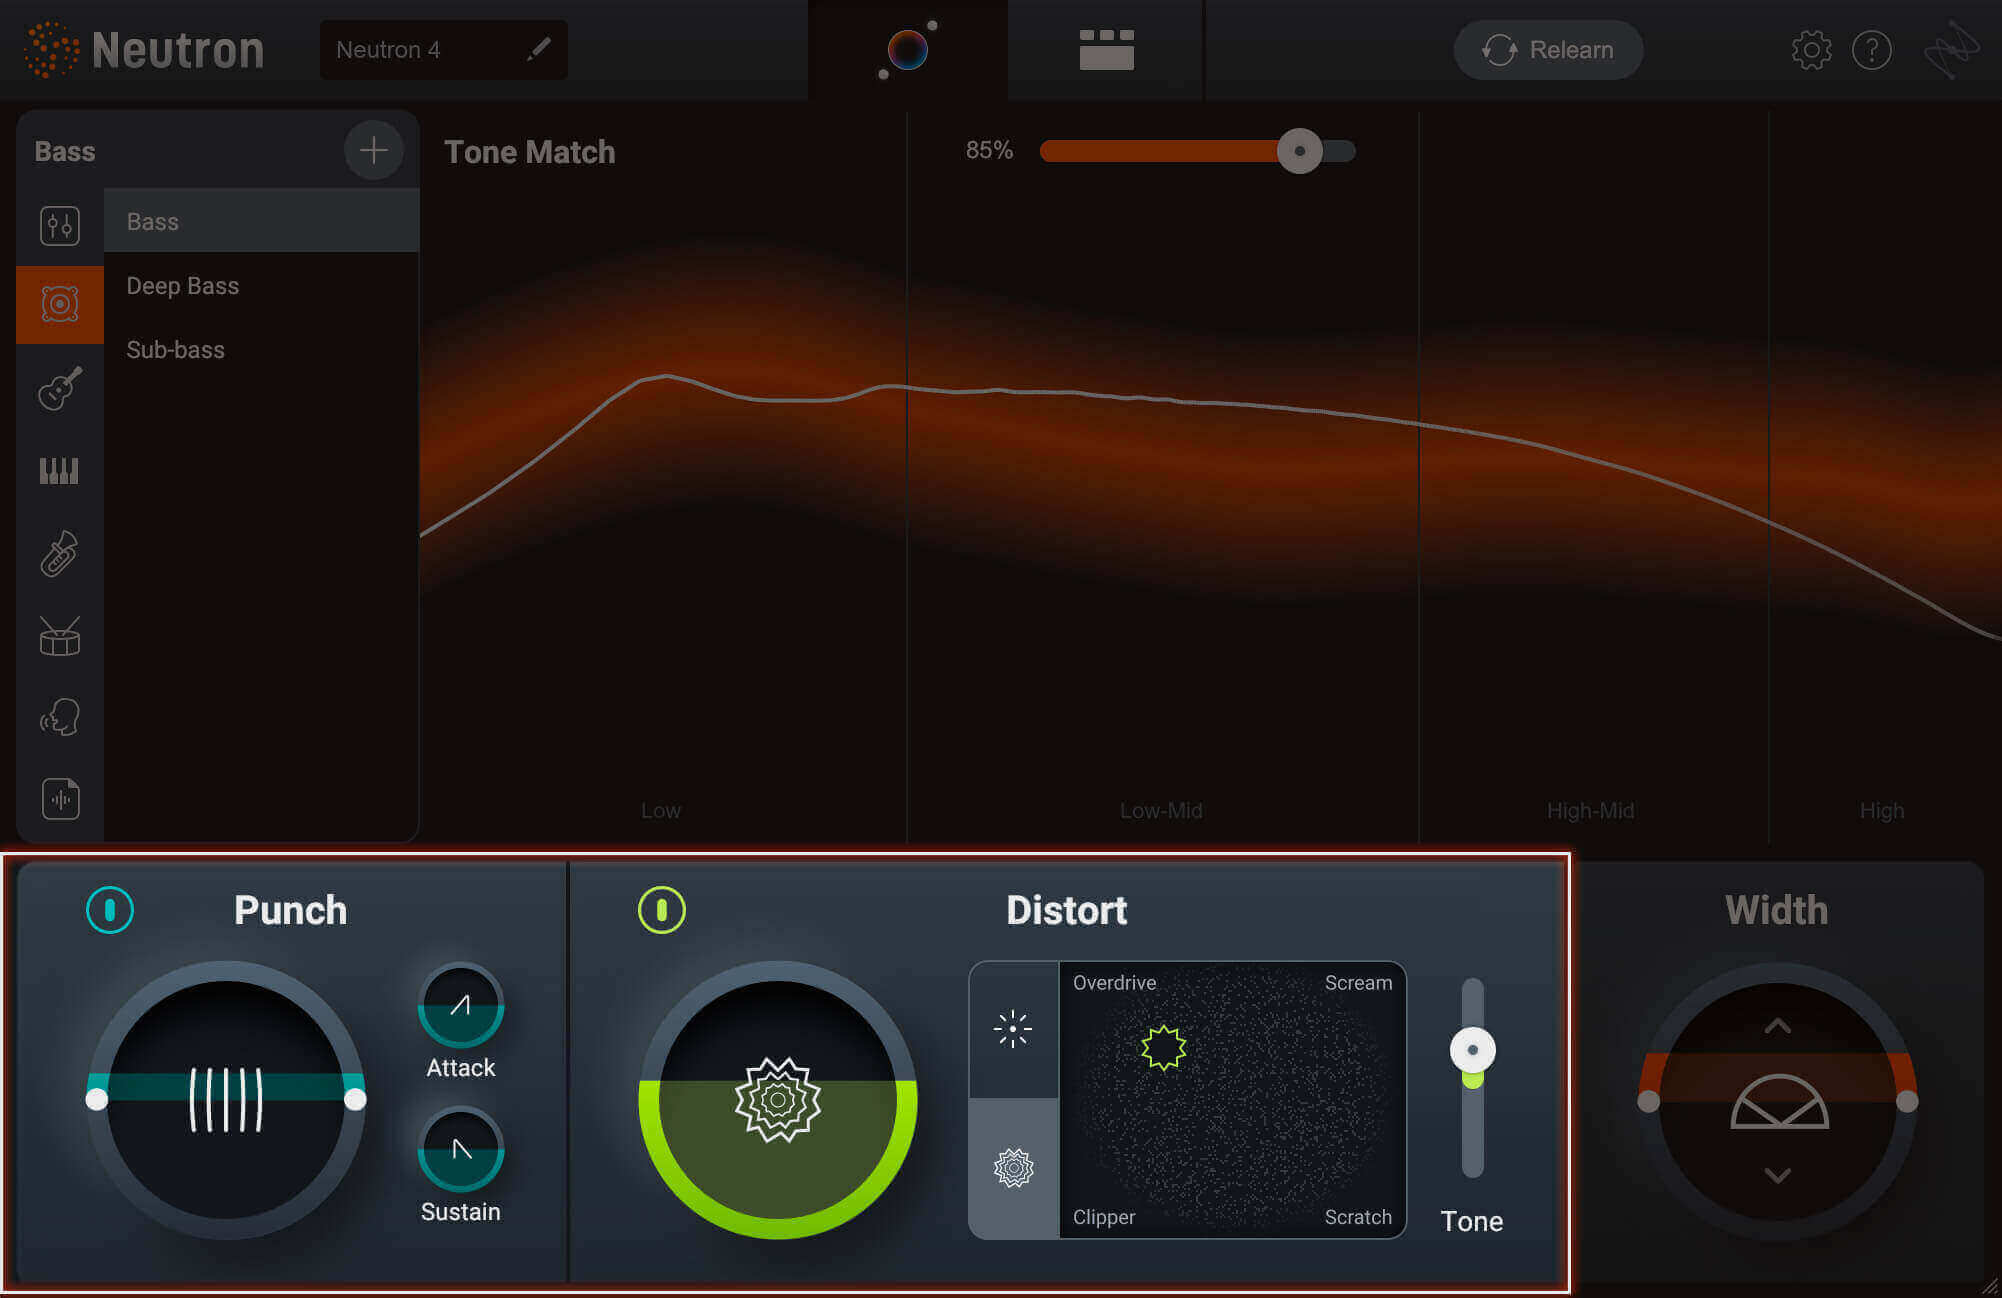
Once you have a tonal balance target curve selected for your track, the Target Meter view in the center of the plugin will display the spectral balance of your audio against the target.
The orange line represents the spectral profile of the preset or reference you selected, while the thinner line represents your audio. So at a glance, you can see how your audio compares to the target and you can use the new Intent Controls to push your audio closer to that target.
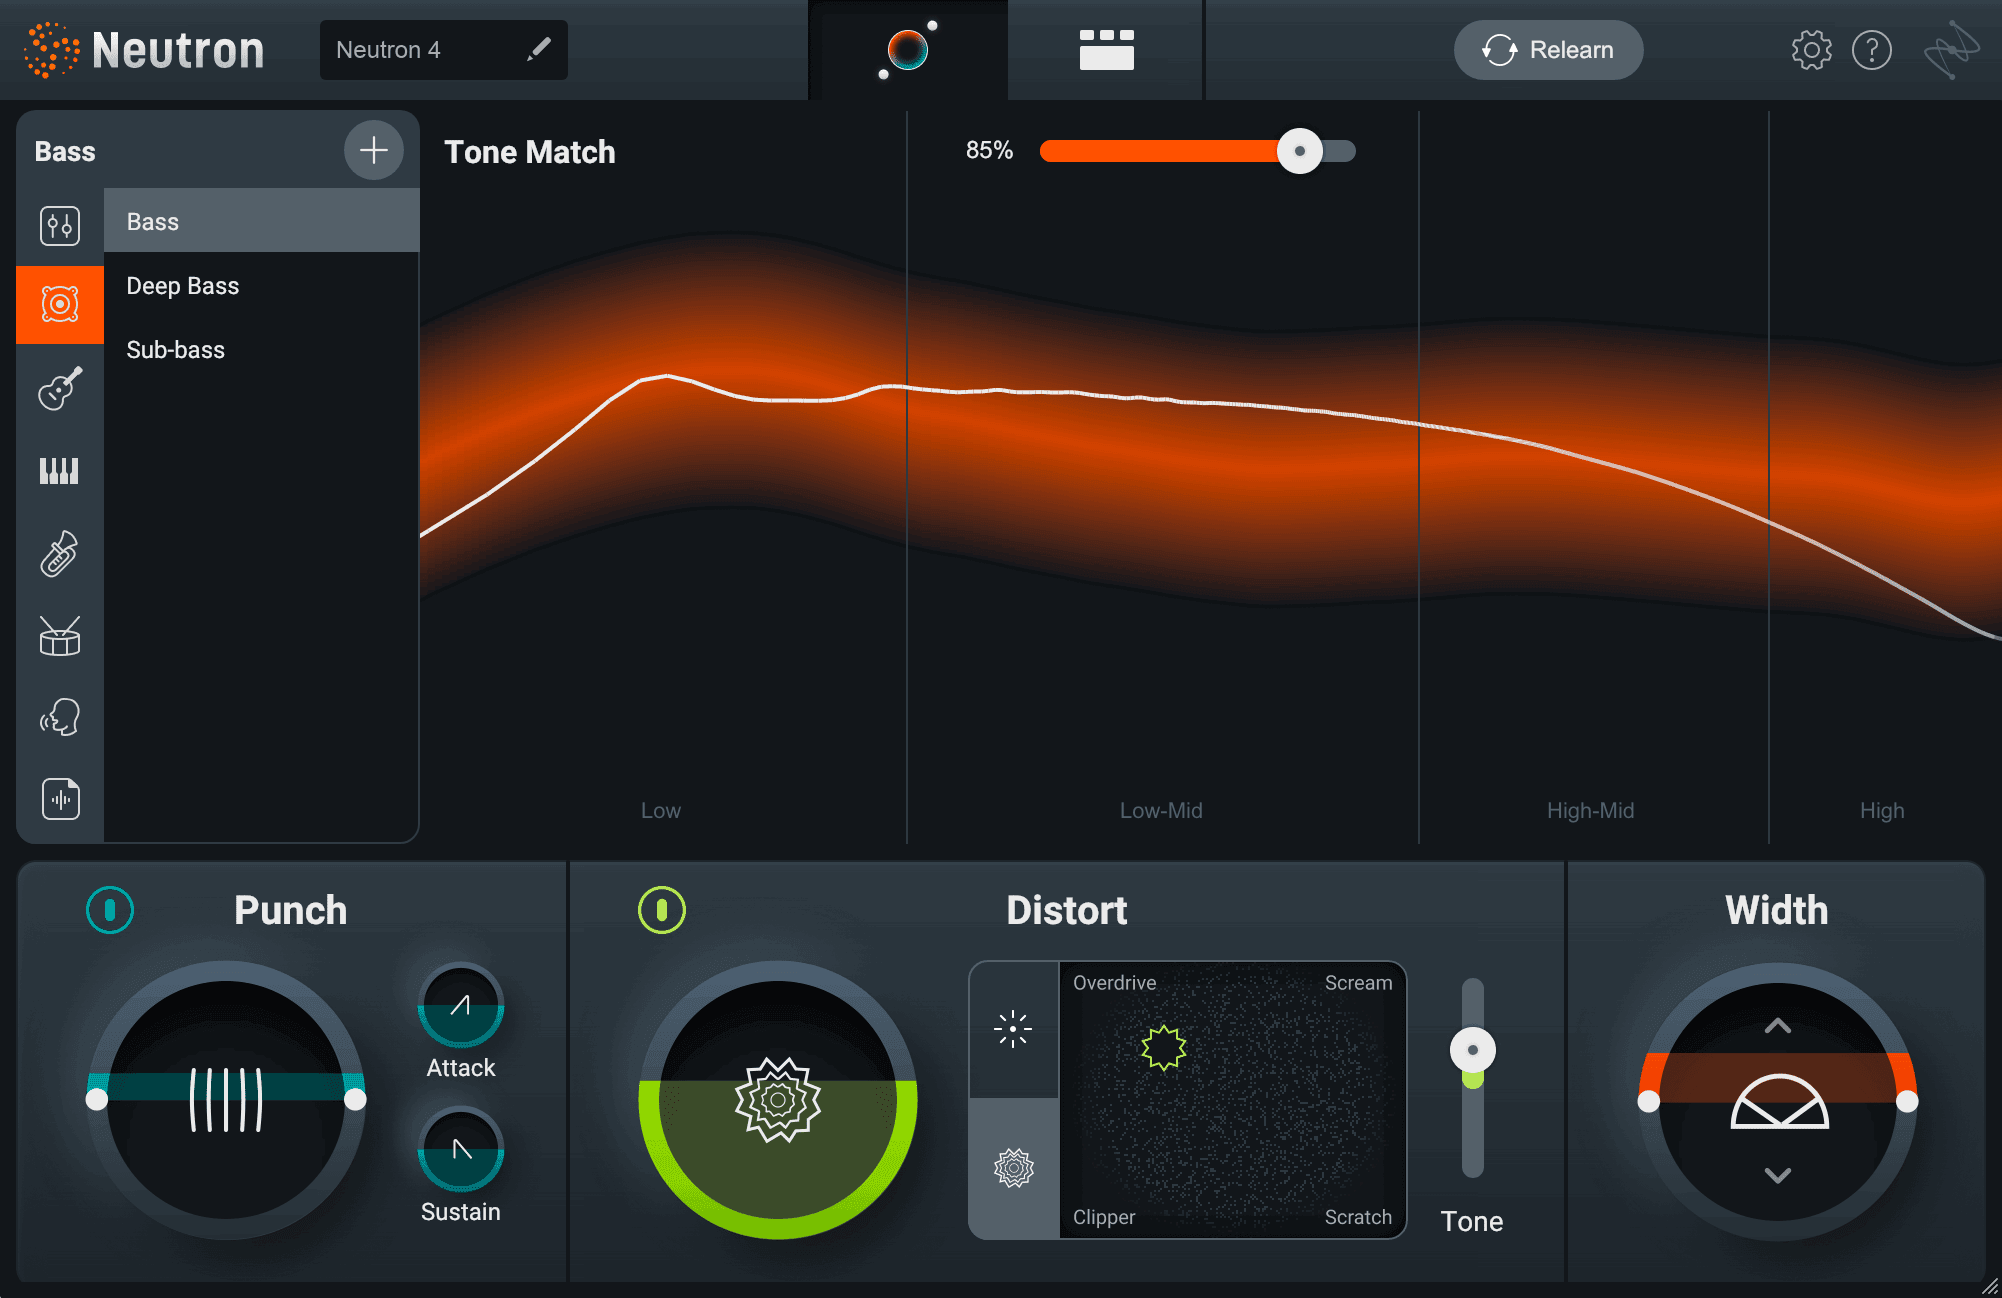
The orange line represents the spectral profile of the preset or reference you selected, while the thinner line represents your audio.
Punch, distort, and widen your sound right from the Assistant View
But here’s the thing that really ups the ante: the Assistant View doesn’t just give you a bespoke preset—it gives you the ability to tweak the sound easily and quickly, thanks to a few macro controls.
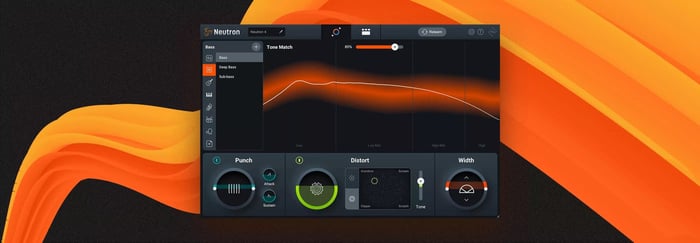
Tone Match
You’ll note the Tone Matching slider that we mentioned earlier when looking at Target Library, which pushes the sound more towards the target curve. As you slide it upwards, you should see your audio in the spectrum adjust towards the intended tonal target.
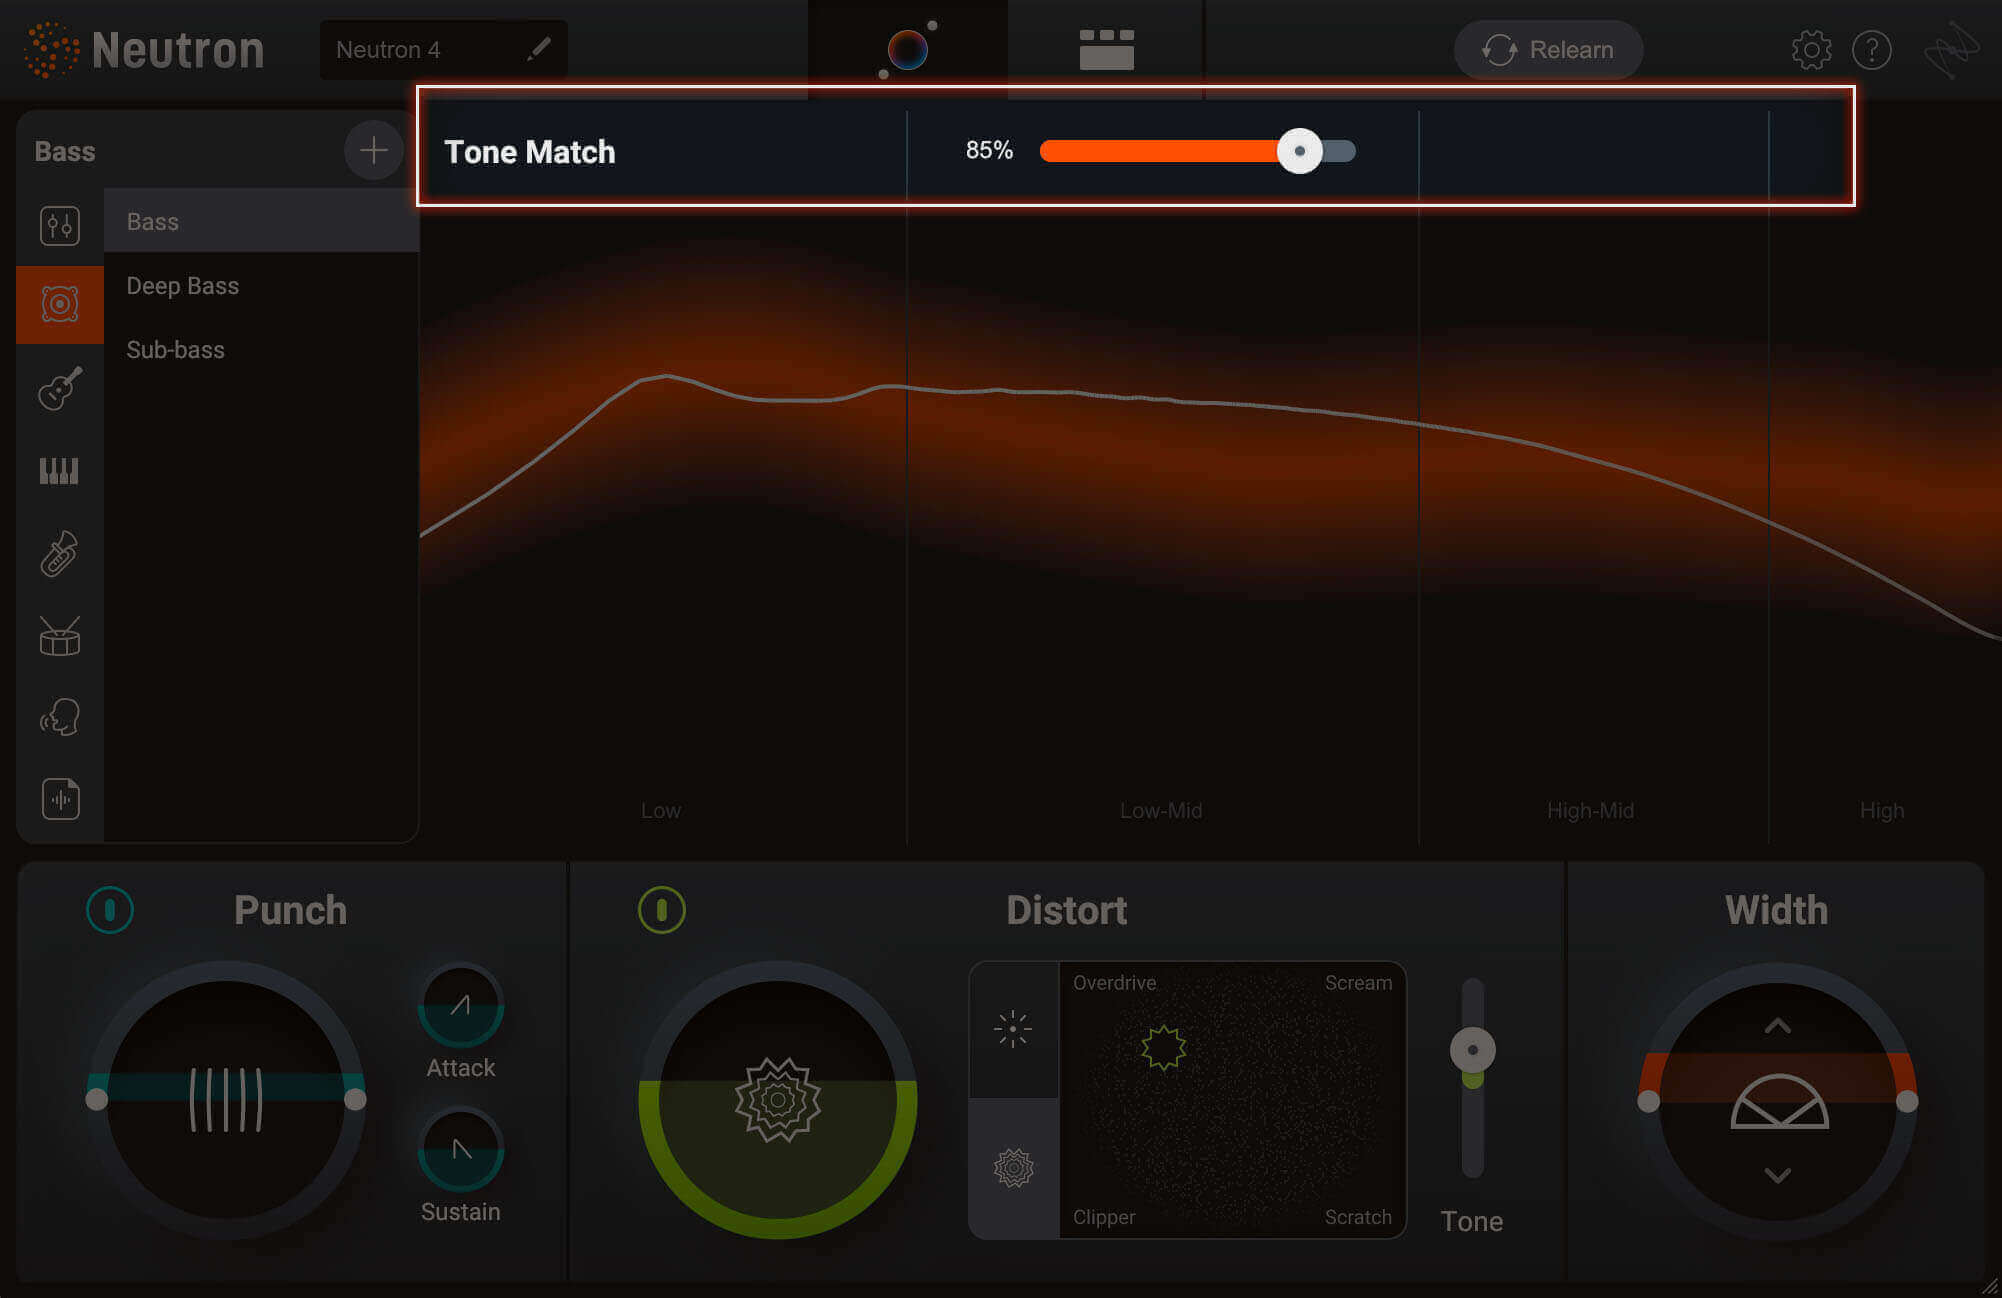
Neutron 4 Tone Match slider
This macro is directly linked to two controls:
- One is the ‘amount’ in Sculptor which controls how much spectral processing is being applied to the signal towards the target that’s been selected. You’ll see that the target is the same target you selected inside the Assistant view.
- The second is the new assistant pre EQ.
When you adjust the tone slider, the changes are simultaneously reflected in these two parameters as well.
Punch
You’ll also see the Punch and Distort sections. Punch is designed to add more snap and impact to a sound, not like a transient shaper, but more like an old-school aggressive compressor giving you classic smack and attack.
Neutron 4 Assistant View, Punch and Distort controls
Both Punch and the Distort controls are linked to modules in Neutron. Here’s how punch works within the new Neutron 4:
Distort
You may also notice an addition to the Distortion section as well—that’s right: Trash 2 , iZotope’s beloved distortion module, has come to the Exciter module in Neutron 4. And, you can manipulate Trash right from the Assistant View, like so:
Once there, you’ll be presented with an X/Y pad you can use to blend between four different Trash algorithms: clip, overdrive, scream, and scratch. That’s going to get you to flavortown fast.
Width
Finally, a width control helps center your image or stretch your sound as wide as you want.
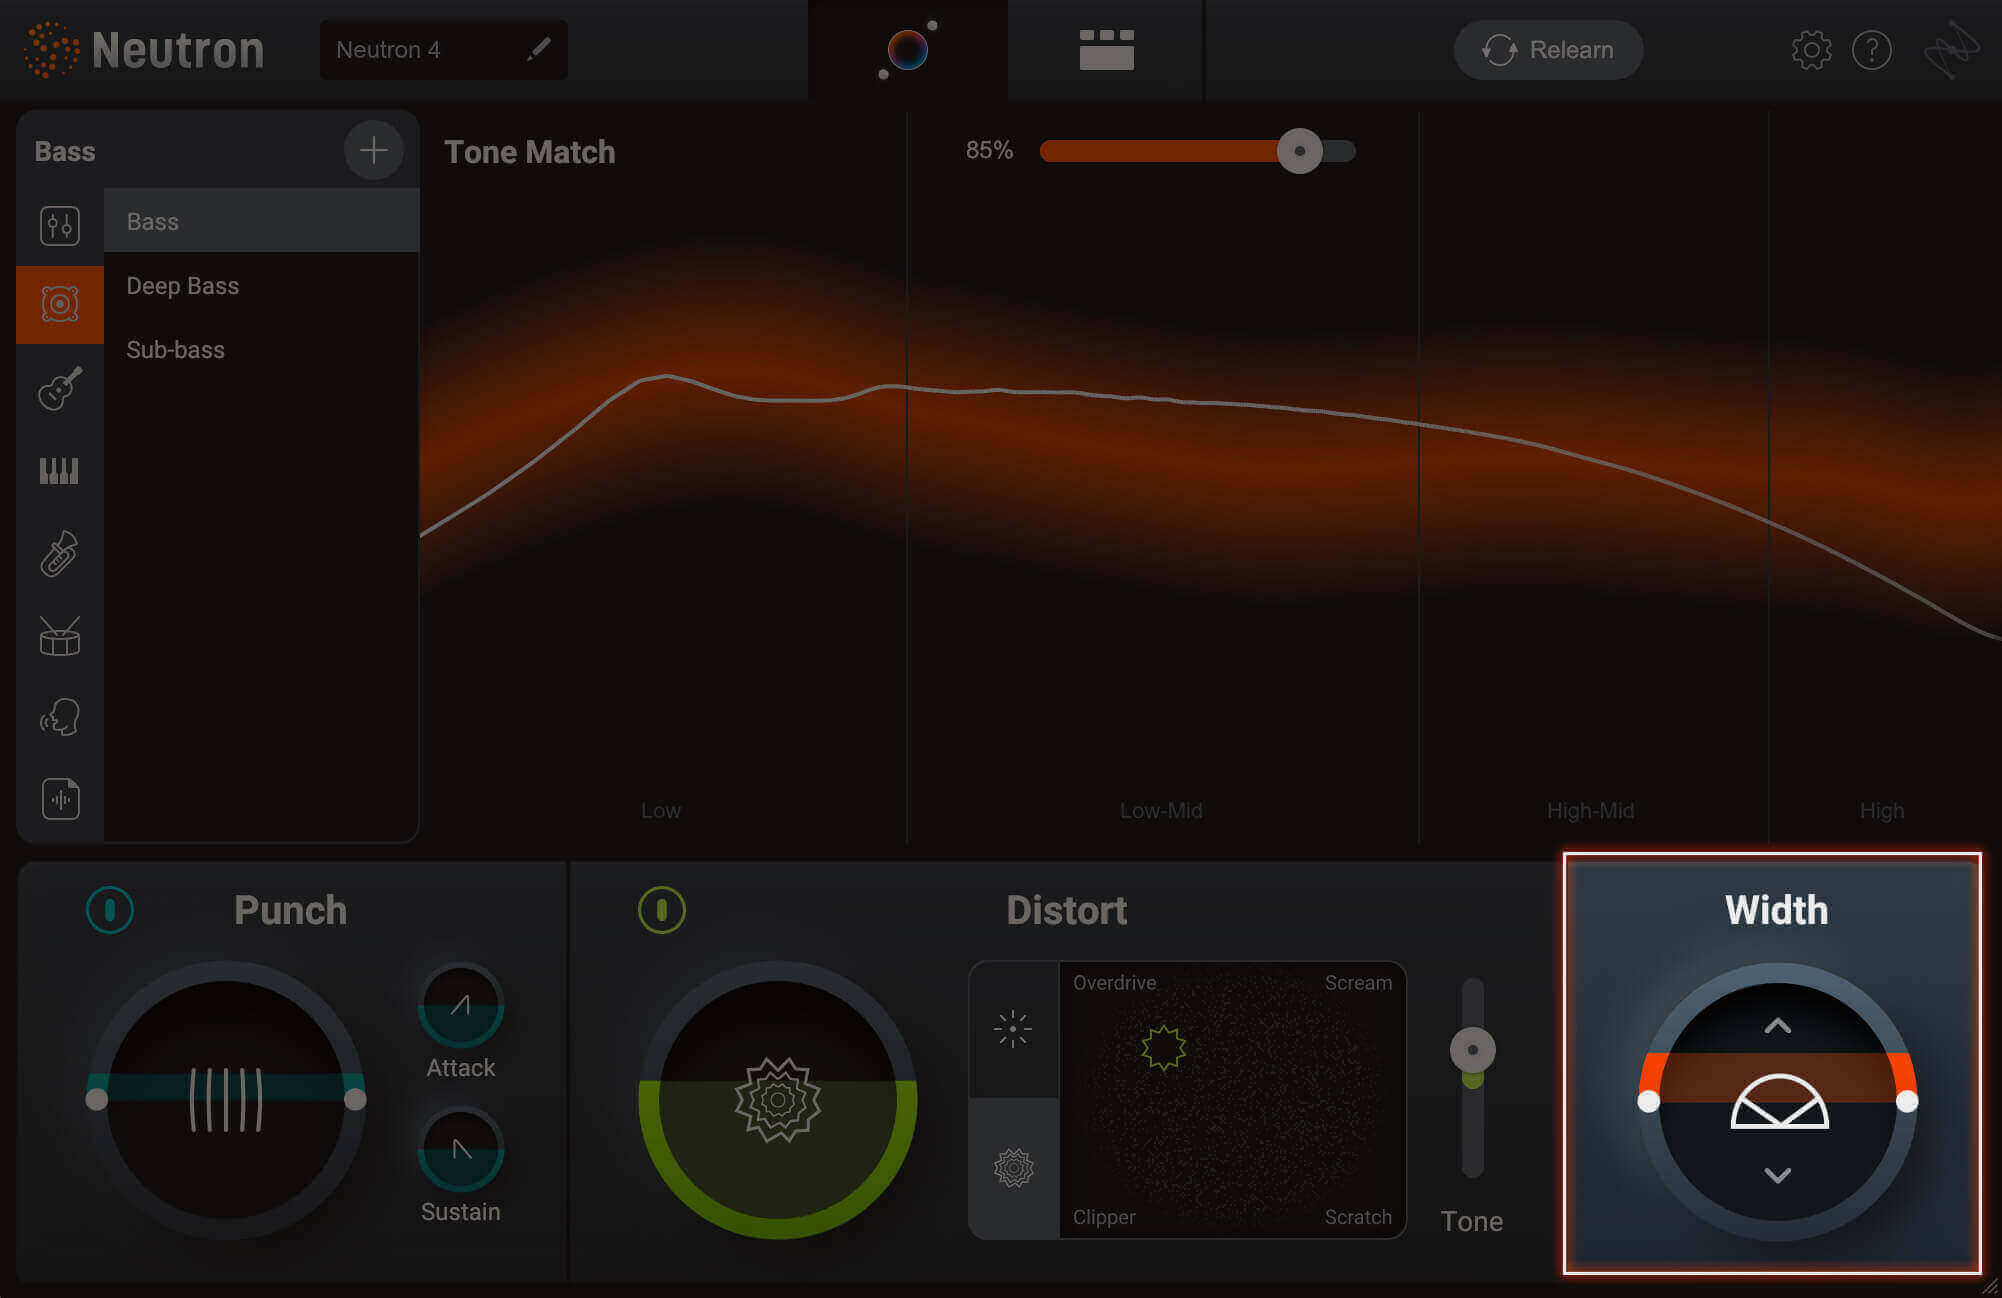
View Assistant Width controls help you create a wide sounding mix
Perhaps now you see why the Assistant View is valuable to all sorts of engineers. People who are still trying to learn how to mix music as a beginner can get a good result quickly. Then, they can use these macro-results to teach themselves how Neutron’s granular controls work.
For pros, speed is often an issue—and this tool lets you get results very quickly before diving deeper into Neutron’s individual modules.
Toggling between Assistant View and Detailed View
When toggling between the Assistant View and Detailed View, you’ll see that your Targets will be marked with a blue alert when the original settings for your starting point Target have been modified in the Detailed View. Selecting this button will restore the original settings the Target originally recommended.
The blue alert in the Assistant View notifies you that a change has been made in Detailed View
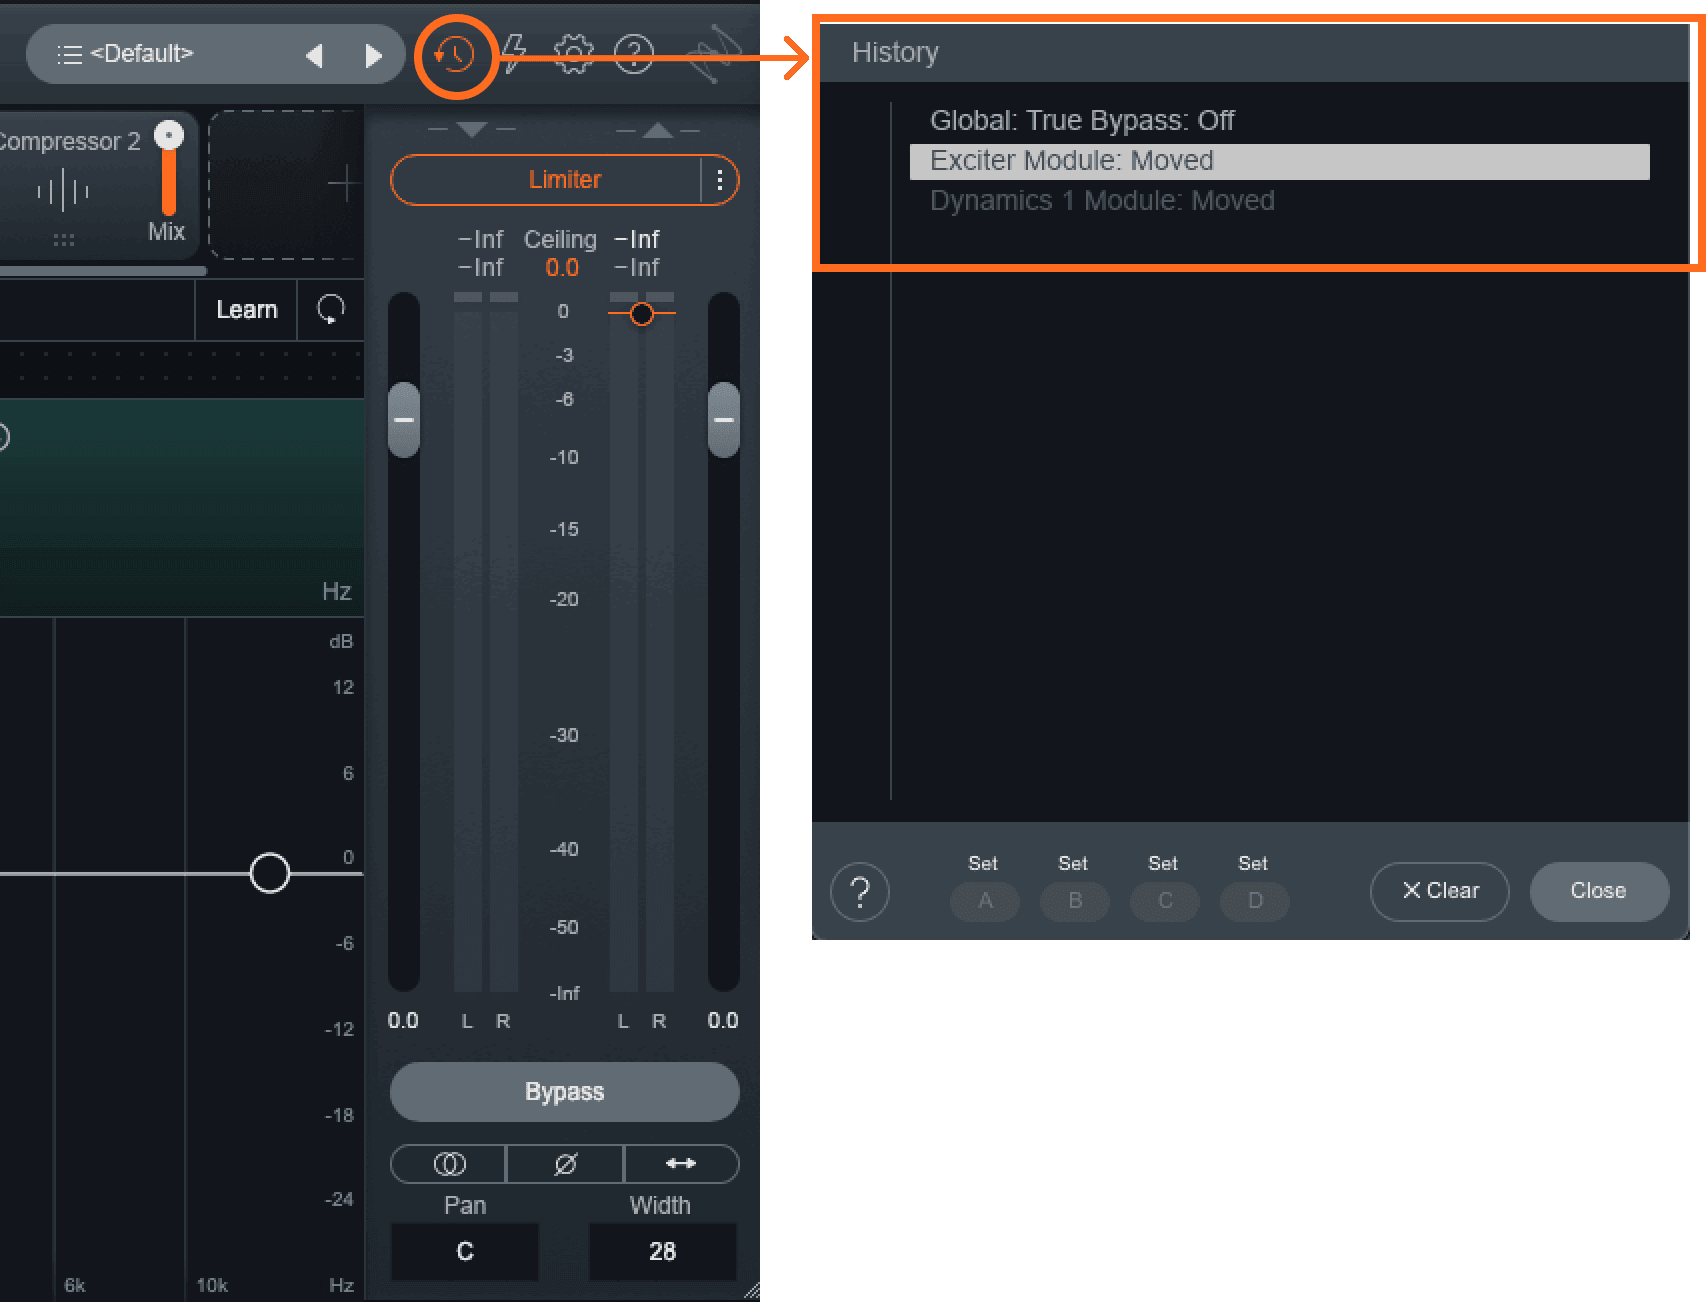
If you want to return to your custom settings, use the Undo History in Neutron to step backwards to a previous state of the controls. This will restore the custom settings you created.
You can jump between the Assistant View and the Detailed View, but it’s recommended once you start making detail adjustments that you don't go back to adjust the on the Assistant View if you want to save your changes.
But where did the old Mix Assistant go?
Have no fear, the automatic track-balancer is now found in the Visual Mixer , included with Neutron 4:
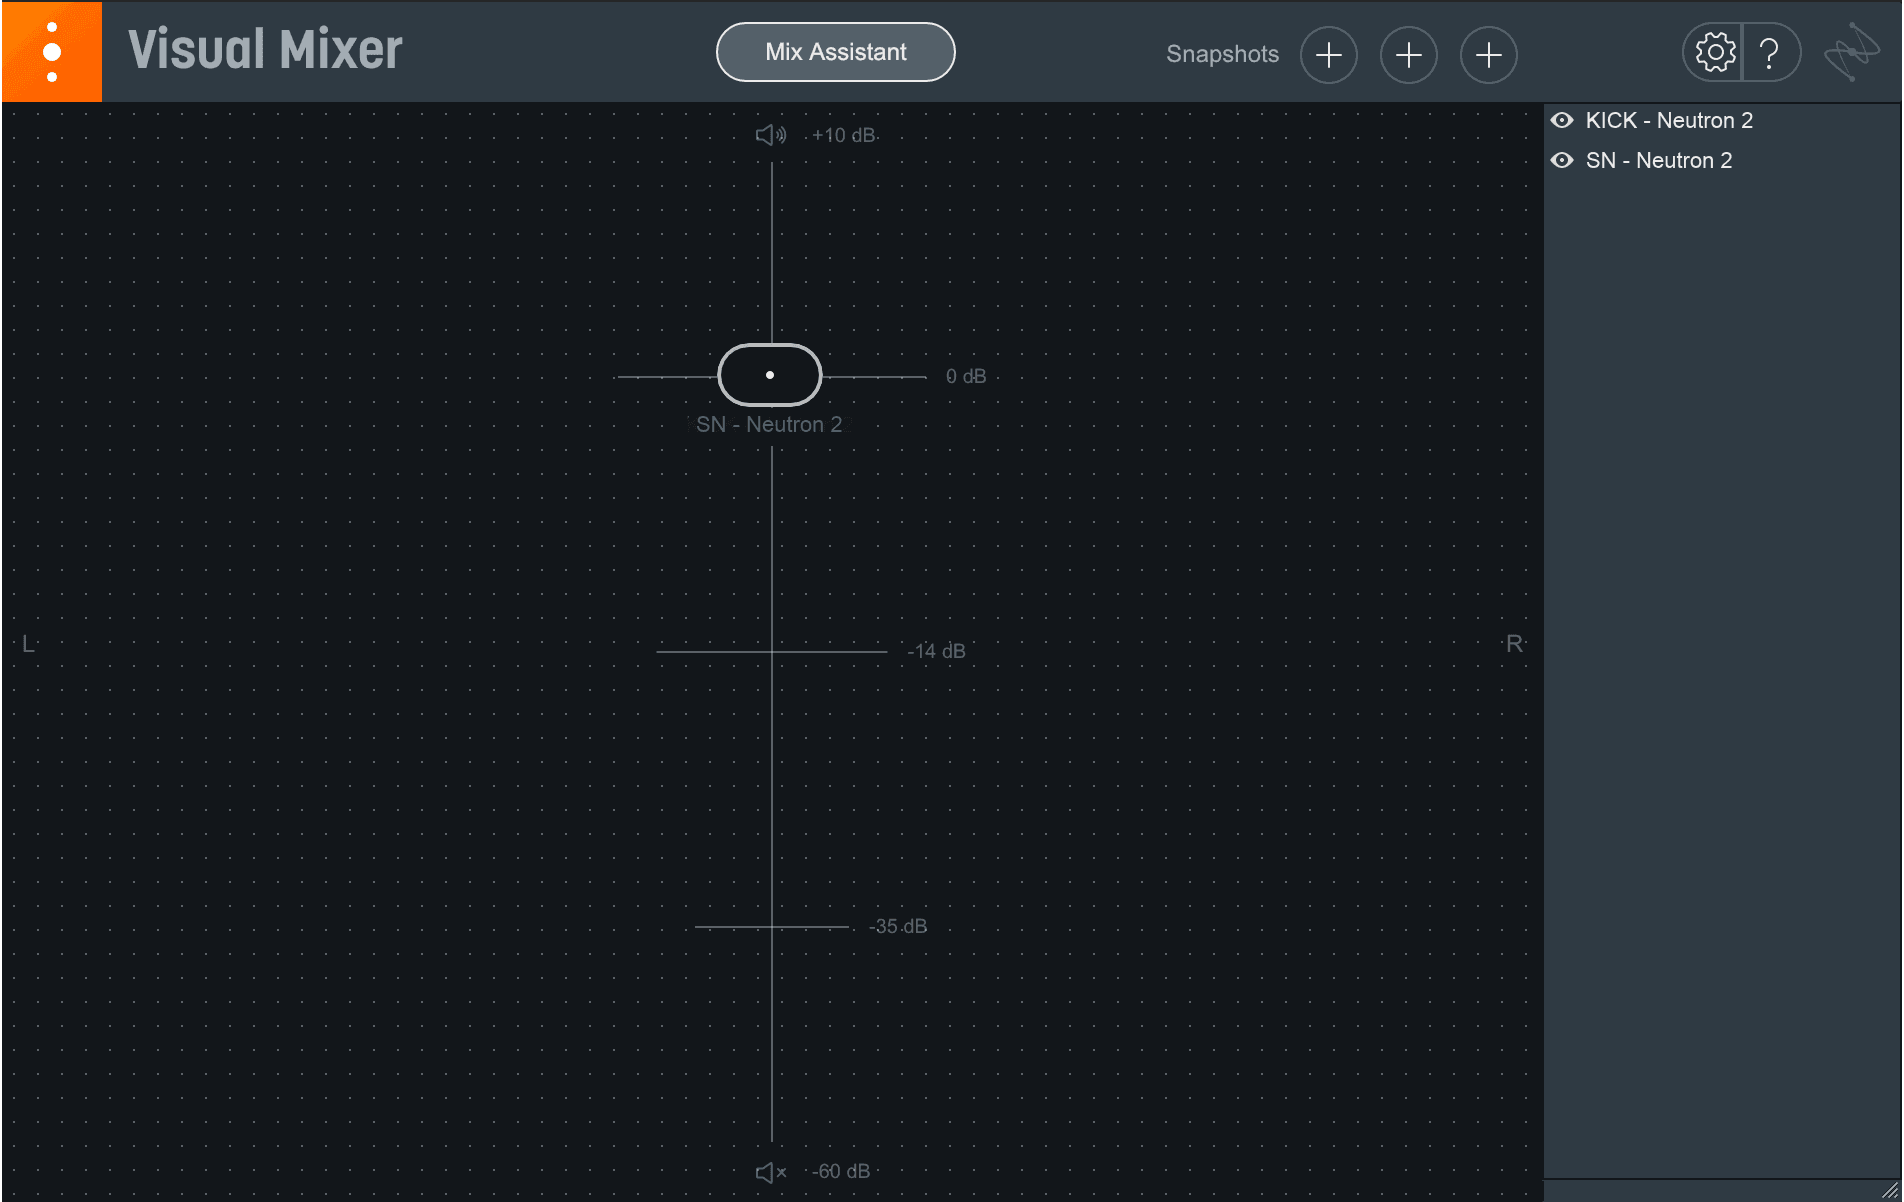
iZotope Visual Mixer
This makes sense: the old Balance Assistant always lacked panning controls, which are easily available in the Visual Mixer.
Otherwise, Mix Assistant works just like it always did:
- Drag the stems that you plan to mix into your DAW, with each mix element (kick, snare, keys, bass, vocals, etc.) on its own track.
- On each track, add a plug-in that’s compatible with Mix Assistant as an insert effect. We suggest using Relay if you’re only adding a plug-in to use Mix Assistant.
- For instructions on how to quickly add a plug-in to all channels in most DAWs, as well as other helpful information for using Mix Assistant, visit the Mix Assistant FAQs here.
- If you already have other insert effects loaded on channels, and you’d like to use Visual Mixer to control levels and panning in your mix, the Relay should be placed at the end of each track’s FX chain.
- Add Visual Mixer to the master channel as an insert effect.
- Click the “Mix Assistant” button at the top of the plug-in window and follow the on-screen instructions to run Mix Assistant.
DAW-specific Mix Assistant session templates
Want to explore the ideal setup for Mix Assistant in your DAW? Click any of the links below to download a DAW-specific session template.
Note: The track names in these sessions are completely arbitrary; regardless of the instrument, individual tracks should all have compatible plug-ins like a Relay on them.
Get fast, personalized mixing results with Neutron 4
Hopefully this article should help get you up and running with Neutron 5 ’s Assistant View—though really, the results should speak for themselves. Who knows, perhaps you’ll be able to mix an entire song using nothing but the Assistant View—it’s certainly possible, with tools like this!